
Bell Peppers: Maximize Their Freshness
In a nutshell, the secret to keeping bell peppers crisp and vibrant is moisture management. These
beautiful vegetables contain a high volume of water, which makes them highly susceptible to mold, slime, and shriveling. All it takes is letting them sit exposed to trapped humidity or left out at room temperature.
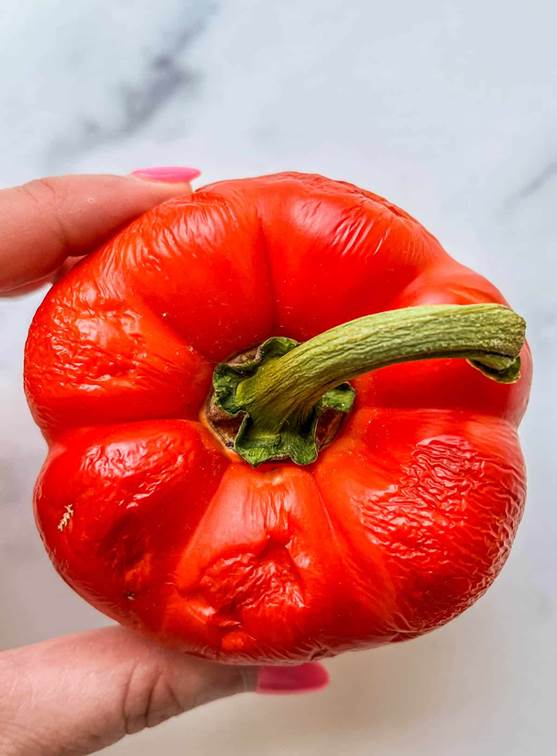
By mastering a few simple storage techniques, though, you can extend the shelf life of whole, cut, or surplus bell peppers dramatically.
Let’s look at the whole pepper, first:
· Skip the initial wash: Keep your whole bell peppers completely dry until you are ready to prepare them, as any surface water accelerates decay.
· Ditch the plastic bags: Tight plastic wraps trap the ethylene gas and natural condensation released by the vegetable, turning firm skins soft.
· Use breathable produce bags: Place whole peppers inside a mesh or reusable cotton bag to optimize air circulation.
· Incorporate a paper towel: Line your produce bag with a dry paper towel to catch residual moisture before storing it.
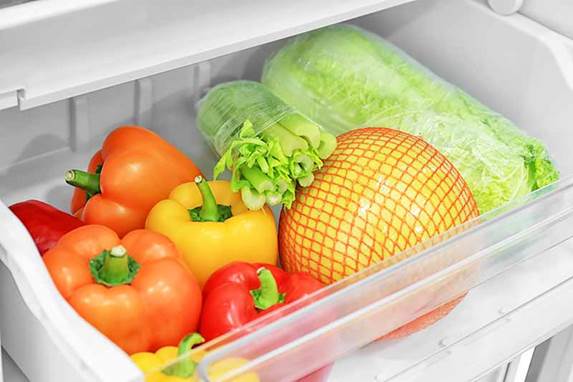
· Utilize the crisper drawer: Keep the bag tucked inside your refrigerator’s low-humidity crisper drawer. This reliable method from www.southernliving.com preserves whole peppers for one to two weeks. Green peppers may even push past this mark to last up to three weeks.
Next, sliced or chopped peppers:
· Absorb trapped humidity: Sliced peppers require an airtight container to block exterior odors and dry out the immediate surroundings.
· Create a protective barrier: Line the bottom of your storage container with a paper towel, pack the slices on top, and tightly seal the lid. The towel will continuously pull moisture away from the vulnerable, exposed flesh.
· Track the clock: Consume these slices within three to five days to enjoy their optimal crunch and flavor profile.
Finally, how about long-term freezing?
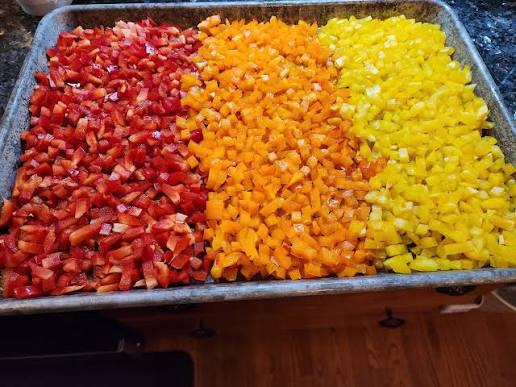
· Flash-freeze them first: Slice or dice your peppers, spread the individual pieces across a baking sheet lined with parchment paper, and freeze for 30 minutes.
· Seal tight for months: Transfer the individually frozen pieces into a heavy-duty freezer bag or a vacuum-sealed bag to store them for up to 12 months. Flash freezing keeps the pieces separate, allowing you to scoop out exact portions later for soups, fajitas, or stir-fries.
Implementing these easy adjustments will significantly cut down on grocery waste while keeping your peppers tasting fresh and ready for however you intend to use them.
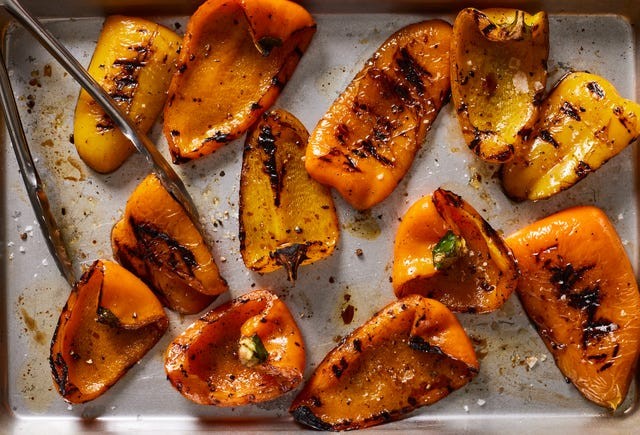
And speaking of using them, have you tried them grilled? Grilling them is a quick and easy way to pack in a ton of flavor—it’ll 100% make you think twice before buying your next jar of roasted peppers. After a quick marinade, the hot grill will char the skin of the peppers, and the covered lid will allow the peppers to steam and take on a bit of smokiness. For any of you that want to try this, I’ll close with a terrific recipe from www.delish.com.
Grilled Bell Peppers
1 cup extra virgin olive oil
1 cup balsamic vinegar
freshly ground black pepper
kosher salt
4 bell pepper (red, orange, or yellow), seeded and quartered
neutral oil for the grill
Directions:
2. Preheat a grill or grill pan to medium-high heat. Brush the grates with neutral oil and wait until you see the surface start to smoke. Remove peppers from the marinade (don’t discard the marinade!) and wipe off excess marinade. Season all of the pepper pieces on both sides with salt and pepper. Place on the grill, skin-side down, and close the lid, or cover the peppers with a metal bowl (if using a grill pan).
3. Grill for 12 to 14 minutes, undisturbed. You may need to do this in batches if working with a grill pan. Lift the grill lid (using a dry dish towel if you need to lift a metal bowl) and check that the skin on each pepper is well charred and blistered.
4. You can eat the grilled peppers with the charred skin. If you would like to remove the skin, place the freshly grilled peppers into a glass or metal bowl and cover the bowl with plastic wrap. Let steam for at least 10 minutes. After 10 minutes, you should be able to gently peel the blistered skin from the pepper. Drizzle the peppers with leftover marinade and season with salt to taste.
Recipe formatted with the Cook'n Recipe Software from DVO Enterprises.
 Alice Osborne
Weekly Newsletter Contributor since 2006
Email the author! alice@dvo.com