
Sticky Roll-Ups (Buns) or Cinnamon Rolls…What’s the Difference?
While looking over May’s Top 10 Most Captured Recipes from Cook’n, I was struck by the recipe for Buttery Sticky Roll-Ups (the #10 recipe choice). The caption under the enticing picture read “No one is going to be able to resist these Buttery Sticky Roll Ups. With a classic sugar, butter, and vanilla filling, these roll ups are a super-easy snack-time treat!”
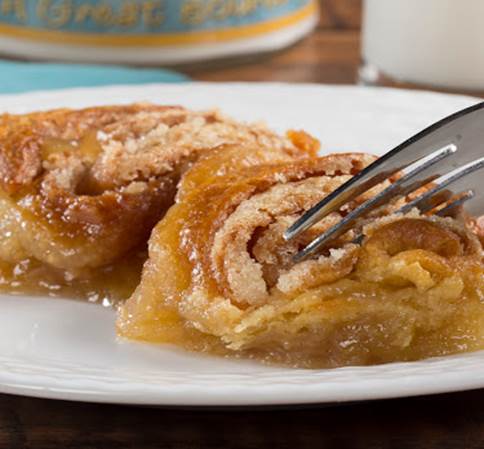
YUM, I thought. “But wait a minute—isn’t this nothing but a cinnamon roll in a different wrapper?” I also thought. Well, you can learn something new every day. Turns out, sticky roll-ups (aka “buns”) and cinnamon rolls actually are two different things.
These delicious treats differ primarily in how they are baked and topped. Cinnamon Rolls are baked right-side up in a pan, then topped with a creamy white frosting or glaze (like cream cheese, maple, or orange) after they are baked. Sticky Buns are baked in an upside-down pan lined with a mixture of butter, brown sugar, and usually nuts (such as walnuts or pecans). Once baked, they are inverted onto a plate so the rich, caramelized glaze coats the top.
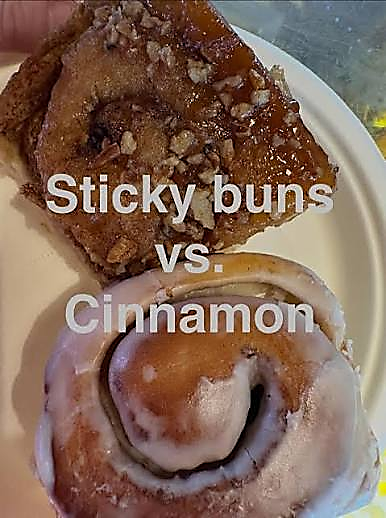
Professional pastry chefs advise carefully chopping the nuts when making sticky buns—you want an even size so you get a more even distribution in the dough or on top of the dough. Plus, chopped nuts make it easier to cut the buns if you prefer to eat them with a knife and fork. As the buns bake, the nuts on top become roasted to perfection, infusing the pastry with their earthy flavor and providing a delightful contrast to the sweet, sugary caramel.
And here’s a fun fact: if you’ve ever made Monkey Bread, then you’ve made a version of a sticky bun. Both treats share the exact same foundation: individual pieces of dough coated in cinnamon-sugar and baked together in a rich, bubbling mixture of butter and caramelized brown sugar. When baked, both yield an ooey, gooey, and tender crumb that pulls apart easily.
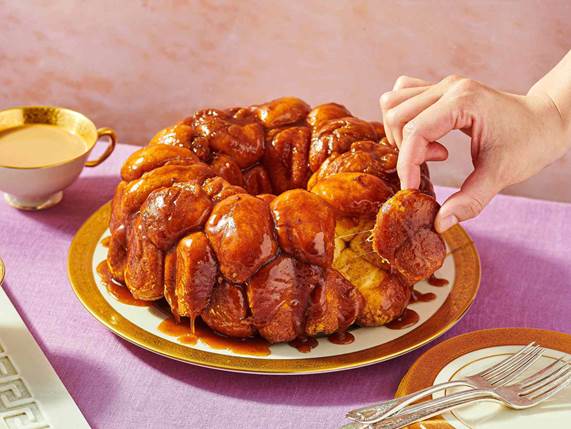
While I’ve been making Monkey Bread for years, I didn’t know it was also a sticky bun. But whatever it’s called, it’s scrumptious. Here’s the recipe I use all the time—it always gets rave reviews!
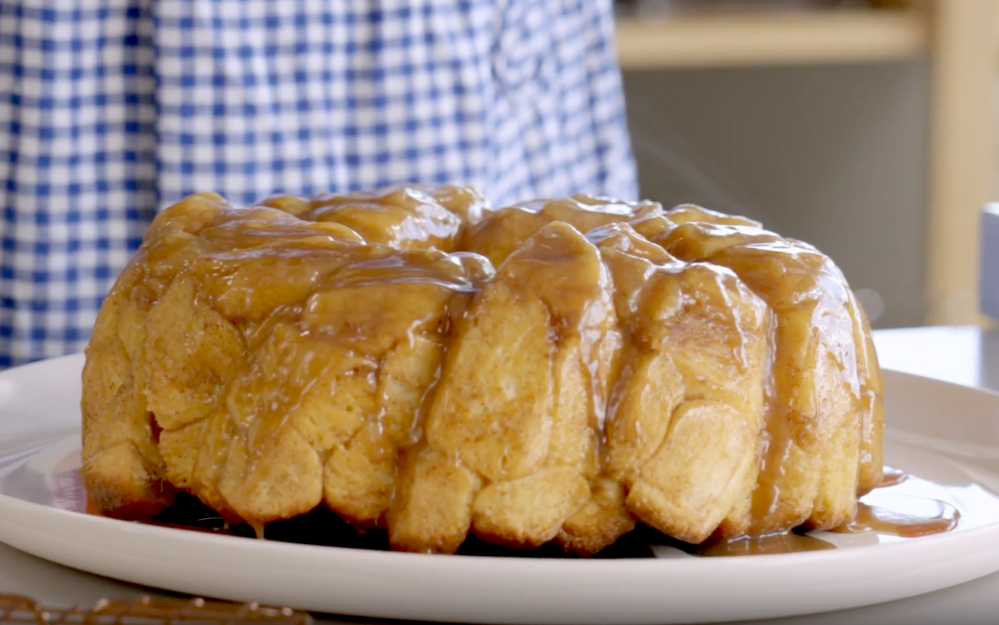
Best Monkey Bread EVER!
DOUGH
1/3 cup water (about 85°F/30°C)
2 1/4 teaspoons instant dry yeast
3/4 cup whole milk
3 3/4 cups bread flour
1/4 cup dry milk powder
2 1/2 tablespoons sugar
1 1/2 teaspoons salt
1 large egg
2 tablespoons unsalted butter melted
2 tablespoons sour cream OR plain yogurt, or crème fraîche
TO FINISH
3/4 cup sugar
2 teaspoons ground cinnamon
2/3 cup unsaltedd butter
1/2 cup heavy cream
3/4 cup light brown sugar
1 teaspoon vanilla bean paste OR 1 teaspoon vanilla extract
1 pinch salt
1 cup chopped pecans or walnuts (optional)
Directions:
2. In a small saucepan, heat the milk to about 110°F/45°C over medium-low heat (or use a heat-safe measuring cup in the microwave).
3. Add the flour, dry milk, sugar, and salt to the mixer bowl, then add the warm milk, egg, butter, and sour cream (or yogurt/crème fraîche), and mix on low speed for 4 minutes, or until a soft dough comes together around the dough hook.
4. Scrape the bowl well, then mix on medium speed for about 3 minutes more, until the dough is very smooth. Transfer the dough to a medium bowl lightly greased with neutral oil or nonstick spray. Use both hands to gently turn the dough around so it’s coated on all sides, then gently tuck the dough under itself a few times to slightly round it. Cover the bowl with plastic wrap or a clean kitchen towel, and a let the dough rise for 45 minutes to1 hour, until visibly puffy and almost double in size.
5. Lightly grease a 10 inch bundt pan with nonstick spray. When the dough has risen, roll out the dough—or use your hands to pat and press it out—into a 9x12 inch (23x30 cm) rectangle.
6. Use a bench knife/dough scraper or knife to cut the dough into approximately 1 inch (2.5 cm) cubes. First, cut the dough across into 1 inch-thick strips, then cut across the strips in 1 inch increments to create the cubes of dough.
7. In a medium bowl, toss the sugar and cinnamon together (with chopped nuts, if using) to combine. Add the cubes of dough to the cinnamon sugar mixture, and toss well to coat each piece fully. Transfer the cubes to the prepared bundt pan. Arrange an even layer of the cubes, then create another, and continue building loose layers up until you’ve put all the cubes into the pan. Cover the pan with greased plastic wrap and let it rise until it visibly increases in size and becomes puffy, 1 hour to 1 hour 30 minutes.
8. Towards the end of rise time, heat the oven to 350°F/175°C with an oven rack in the center. In a small pot, heat the butter, cream, brown sugar, vanilla bean paste (or extract), and salt over medium heat. Bring to a simmer, stirring constantly. Once it simmers, simmer it over medium heat, stirring constantly to dissolve the sugar and until the mixture thickens slightly, 3 minutes. Pour the hot mixture over the risen monkey bread—it will fall through the nooks and crannies, but it will visibly pool on the surface of the dough mixture as well. Transfer the pan to the oven.
9. Bake until the visible surface of the bread is deeply golden brown, and the bread has an internal temperature in the thickest portion of the center reaches 220°F/95°C, 35 to 40 minutes. During baking, the caramel mixture that was once pooled on the surface will sink to the base of the pan, deliciously coating all the dough pieces on the way, and ultimately forming a glossy caramel topping on what will be the top of the cake once you unmold it.
10. Let the bread cool in the pan for 10 minutes, then invert onto a platter and serve immediately, warm.
Recipe formatted with the Cook'n Recipe Software from DVO Enterprises.
 Alice Osborne
Weekly Newsletter Contributor since 2006
Email the author! alice@dvo.com