
The Ultimate Guide to Frying Meat Perfectly Every Time
Hey chefs,
There are few cooking techniques that feel as satisfying as perfectly frying a piece of meat. The sound when it hits the pan, the smell of butter and garlic, and that moment when you cut into a golden, crispy crust to reveal juicy meat inside… it’s one of those kitchen skills that instantly makes a homemade meal feel restaurant-worthy.
The funny thing is that frying isn’t difficult—it just has a handful of principles that make all the difference. Once you understand why fried foods become crispy, why breading sometimes falls off, or why one chicken cutlet stays juicy while another turns dry, you’ll be able to fry almost any protein with confidence.
Whether you’re making chicken Parmesan, pork schnitzel, country fried steak, crispy fish, or even fried tofu, these are the techniques professional kitchens rely on every day.
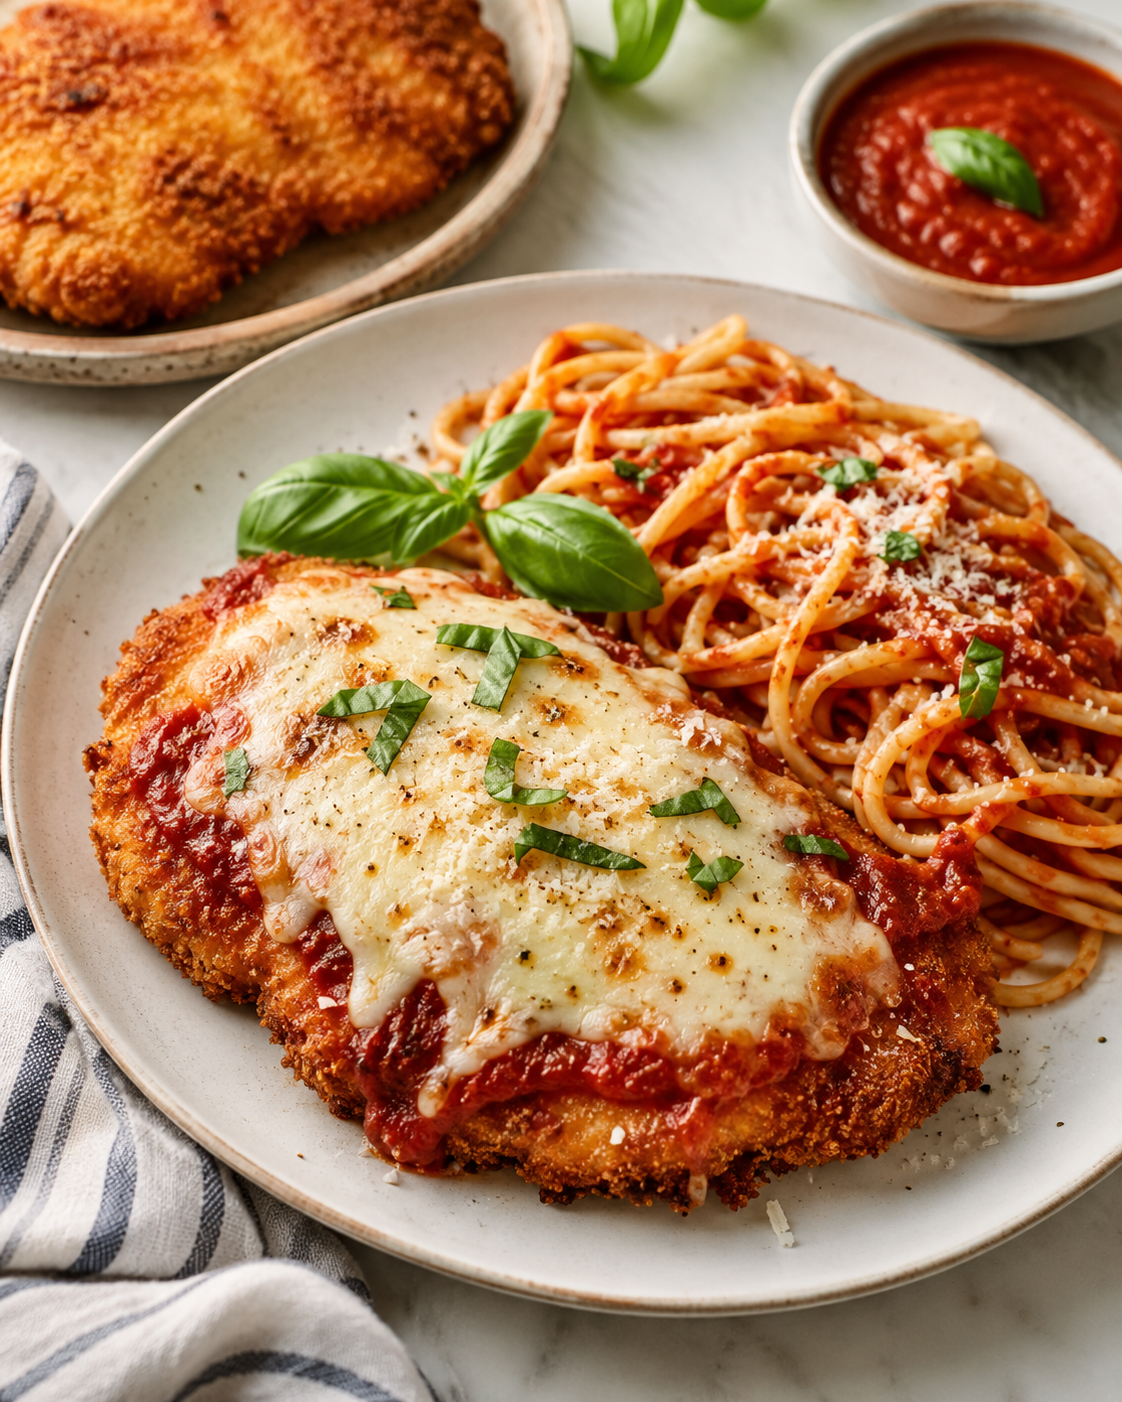
The Goal: Crispy Outside, Juicy Inside
Perfect frying is really about accomplishing two things at once:
- Develop a deeply golden, flavorful crust.
- Cook the inside gently enough that it stays moist.
Those goals sound like opposites, but they’re actually partners. A properly heated pan cooks the exterior quickly while giving the interior time to finish cooking without drying out.
Most frying mistakes happen because the heat is either too high or too low.
Start with Even Thickness
If there’s one tip I wish every home cook knew, it’s this:
Thickness matters more than almost anything else.
A thick end of a chicken breast and a thin end simply cannot finish cooking at the same time.
That’s why cutlets are so wonderful. Slicing a chicken breast horizontally and gently pounding it to an even thickness means the entire piece cooks evenly from edge to edge.
This same principle works for:
- Chicken breasts
- Pork loin
- Pork chops
- Veal
- Turkey cutlets
Even fish benefits from selecting fillets of similar thickness whenever possible.
Dry Meat Browns Better
Water is the enemy of browning.
Before seasoning or breading, pat your protein completely dry with paper towels.
Removing excess surface moisture helps:
- Seasonings stick better
- Flour adheres evenly
- Oil splatters less
- Browning happens faster
- Crust becomes crispier
This simple step is often overlooked, but it has a surprisingly large impact.
Season Every Layer
One mistake I see constantly is seasoning only the meat.
Instead, think of each layer as its own opportunity for flavor.
Season:
- the protein
- the flour
- the eggs
- the breadcrumbs
You don’t need large amounts of salt in every layer—just enough that every bite is flavorful.
Professional kitchens build flavor gradually instead of relying on one heavy seasoning at the end.
Why Flour Comes First
The classic breading process exists for a reason:
Flour → Egg → Breadcrumbs
The flour creates a dry surface.
The egg sticks to the flour.
The breadcrumbs stick to the egg.
Skip the flour, and the egg often slides right off.
Skip the egg, and the breadcrumbs won’t adhere properly.
Each layer has a specific job.
Let the Breading Rest
This is one of the biggest secrets to breading that doesn’t fall off.
After breading your cutlets, let them sit for about 10–20 minutes before frying.
During that time, the moisture from the egg hydrates the flour and breadcrumbs just enough to create one cohesive coating.
The breading becomes much less likely to separate during cooking.
It’s a small pause that makes a big difference.
Use the Right Oil
Not every oil is meant for frying.
Choose oils with relatively high smoke points like:
- Canola oil
- Vegetable oil
- Peanut oil
- Avocado oil
- Grapeseed oil
Olive oil can work for shallow frying, especially light or refined olive oil, but extra virgin olive oil reaches its smoke point sooner and has a stronger flavor that isn’t always desirable.
Don’t Crowd the Pan
This might be the most common frying mistake.
Every cold piece of meat lowers the oil temperature.
Add too many pieces at once and the temperature drops dramatically.
Instead of frying…
your food begins steaming.
That’s when breading absorbs oil instead of becoming crispy.
Leave plenty of space between each piece and cook in batches if needed.
Yes, it takes a little longer.
Yes, it’s worth it.
Resist the Urge to Flip Early
When breading first hits the pan, it’s delicate.
As it cooks, proteins set, moisture evaporates, and the crust becomes stronger.
If you try to move it too soon, you’re much more likely to tear the coating.
A good rule:
If it sticks, it probably isn’t ready yet.
Once a proper crust develops, it usually releases naturally.
Butter Has a Place—Just Not at the Beginning
Butter tastes incredible.
Unfortunately, it burns quickly.
That’s why many chefs begin frying in oil, then add butter during the last minute or two of cooking.
The butter browns slightly, coats the crust, and gives the protein incredible flavor without burning.
Garlic and herbs added during this stage make the kitchen smell amazing too.
Know When It’s Done
The biggest enemy of juicy meat isn’t frying.
It’s overcooking.
An instant-read thermometer is one of the best investments you can make.
Some helpful internal temperatures:
- Chicken: 165°F
- Pork: 145°F, then rest for 3 minutes
- Fish: about 145°F or until it flakes easily
- Veal: about 145°F
Remember that thinner cutlets cook much faster than thick pieces.
Many chicken cutlets only need about 3–4 minutes per side depending on thickness.
Let It Rest
Just because it’s done cooking doesn’t mean it’s done.
Resting for a few minutes allows juices to redistribute throughout the meat instead of spilling onto the cutting board.
If you’re making something that needs to stay crispy, place it on a wire rack instead of directly onto a plate.
Air can circulate underneath, keeping the crust crisp.
Great Proteins for Frying
Once you’ve mastered the technique, you’ll find yourself using it constantly.
Some of my favorites include:
- Chicken cutlets
- Pork schnitzel
- Chicken fried steak
- Fish fillets
- Shrimp
- Turkey cutlets
- Eggplant
- Zucchini
- Tofu
The same basic principles apply to nearly all of them.
The Best Part? Endless Possibilities
One perfectly fried cutlet can become dozens of different meals.
Top it with marinara and mozzarella for chicken Parmesan.
Serve it with lemon and capers for chicken piccata.
Slice it over a salad.
Turn it into an incredible sandwich.
Serve it with mashed potatoes and gravy.
Once you know how to fry a protein well, you’ve unlocked one of the most versatile techniques in your kitchen.
Today’s featured recipe is one of my favorite examples—a beautifully golden, Parmesan-crusted chicken cutlet that stays incredibly juicy inside. It’s the perfect foundation for chicken marinara, but it’s just as delicious served on its own with a squeeze of fresh lemon or alongside your favorite vegetables. Give it a try, and you’ll see just how much difference these simple techniques can make. Click here to get the recipe.
 Brennah Van Wagoner
Weekly Newsletter Contributor since 2025
Email the author! brennah.oaks@gmail.com