PERFECT Home-Canned Pickles EVERY Time!
Of the many things I love about our Cook’n readers is your sense of cooking adventure and you’re your general frugal nature. Cook’n readers not only know how to execute a delicious meal, you know how to carefully use your kitchen resources.

This observation leads me to my topic: Home canning pickles. Have you noticed how expensive they are in the grocery stores now? And then, you’re never sure of the quality of what you’re buying.
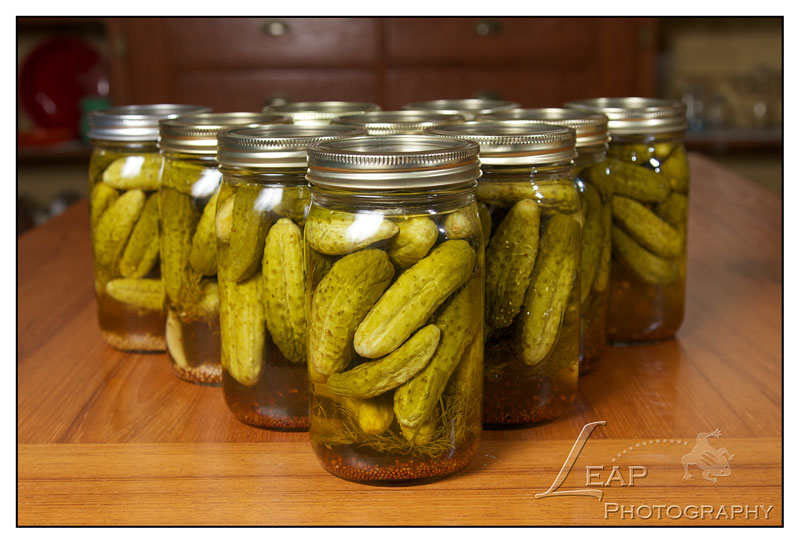
So, with cucumber season coming on, and staying true to our frugal nature, let’s consider making our own. I can safely bet many, if not most of you have experience with this. But for our newer cooks, here’s some concise and very helpful information that answers the proverbial pickling question: “How do I make sure my canned pickles stay crisp?”
It’s a reasonable question. A rubbery pickle showing up in a jar of home-canned isn’t that uncommon. And I found the answer to this reasonable question in an online newsletter I get, Heirloom Gardener. Cooking and gardening expert, Andrea Chesman, shares 4 important things to know for ensuring crisp pickles from first jar to last.
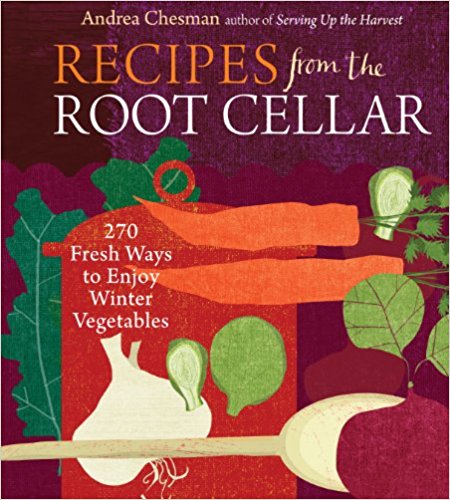
(And by the way, she wrote a great book, Recipes from the Root Cellar, which includes more than 270 recipes for simple and scrumptious eating all year long. You might want to check it out.)
Anyway, back to the crisp-pickle business. Andrea says, “A crisp pickle is the holy grail of canning.” Here are her tricks to making crisp pickles every time:
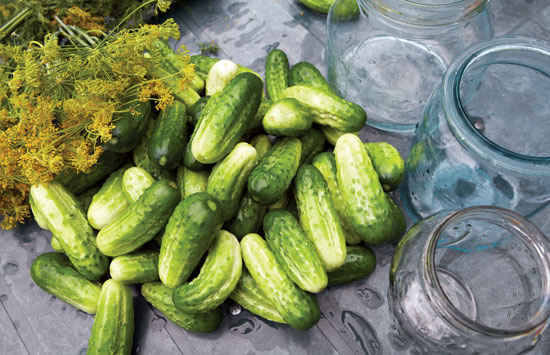
1. First, crispness starts in the garden. Pick early, pick often, pick small, and keep the cucumbers chilled before pickling. OR, if buying your pickling cukes, just be sure they’re firm, small, and bright green. (This same rule holds true for green beans and other vegetables — harvest small and keep chilled.)
2. The blossom end of cucumbers contains enzymes that speed softening. Be sure to cut those ends off. If you can’t tell which end is the blossom end, then just cut both ends off.
3. Add a crisping agent. Made of calcium chloride, a naturally occurring salt, a crisping agent makes a big difference. You only add a small amount (follow the package directions) right before you seal the jars. When shopping for this product, you’ll find it next to canning supplies. Andrea says she swears by the crisping product, BALL’S PICKLE CRISP.
4. The steam canner has been given approval by some state extension services. In a steam canner, the canning jars are exposed to less heat because it takes less time for the water to start boiling — which results in crisper pickles. (It also keeps the kitchen cooler and gets you out of there faster.) And Andrea says she swears by her steam canner. She’s had 100% success 100% of the time. But the boiling water bath works just as well, so don’t let a lack of a steam canner put you off.
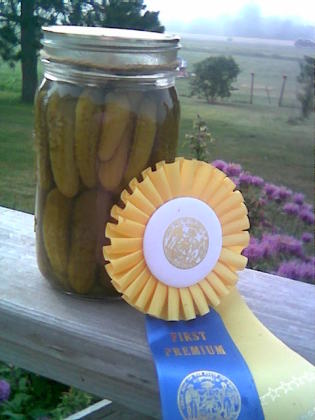
With these HOW-TOs taken care of, I’ll close with Aunt Annie’s favorite dill pickle recipe. She was an avid gardener and expert home canner. If you don’t already have a tried-and-true pickle recipe, this might be a good place to start.
The method described in this recipe is called Low Temperature Pasteurization. According to the NCHFP's current guidelines, it results in a better product texture, but must be carefully managed to avoid possible spoilage. According to their directions, place jars in a canner filled half way with warm (120º to 140º F) water. Then, add hot water to a level 1 inch above jars. Heat the water enough to maintain 180º to 185º F water temperature for 30 minutes. Check with a candy or jelly thermometer to be certain that the water temperature is at least 180ºF during the entire 30 minutes. Temperatures higher than 185ºF may cause unnecessary softening of pickles. (1)
For optimum shelf-stable safety of any fresh-pack dill pickles, the jars should be processed in a boiling water bath covered by at least an inch of water. Ten minutes for pints and 15 minutes for quarts. (2)
AUNT ANNIE’S DILL PICKLES (yield: 7 quarts)
7 wide-mouth quart jars, lids & rings
fresh dill, heads and several inches of stems
pickling cucumbers, washed, scrubbed
14 cloves garlic (2 cloves per quart, or to taste)
BRINE
8 1⁄2 cups water
2 1⁄4 cups white vinegar
1⁄2 cup pickling salt
Ball’s PICKLE CRISP (used according to directions)
GET ALL OF THIS GOING BEFORE FILLING THE JARS:
Wash 7 quart jars in hot, soapy water (or dishwasher), rinse and fill with hot water; set aside.
Fill canning kettle half-full with hottest tap water; set on burner over high heat.
In a medium saucepan, fit lids and rings together, cover with water, bring to a simmer.
In a large saucepan, bring water, vinegar and salt to boil; turn off the heat; set aside.
FILL JARS: place a layer of dill at the bottom of each jar, along with one garlic clove (if used), then TIGHTLY load the cukes into the jar to the NECK of the jar (depending on size you may get two nice layers with a few small cukes in the top--)---squeeze cukes into the jar tightly--uniform size helps; add a few TINY spriglets of dill at the top, too, and another garlic clove if desired. Add Ball’s PICKLE CRISP according to package directions.
Once jars are loaded, pour in the brine leaving half-inch head space in each jar.
Add lid and ring to each jar, tightening evenly.
Place jars into canner with water JUST to the necks of the jars.
Bring water ALMOST to a boil (about 15 minutes--depending on how fast it heats up).
Remove jars, set on a dish towel on the kitchen counter, cover with another dish towel & let cool.
Check for seal (indented lid), label jars or lids, store in cool dark cellar or cupboard.
NOTES: When washing/scrubbing cukes, sort them into piles by size. Uniform size helps make your jars look nicer and makes for easier packing, too.
- 1. https://www.uga.edu/nchfp/how/can_06/low_temp_pasteur.html
- 2. https://www.uga.edu/nchfp/how/can_06/quick_dill_pickles.html
- www.amazon.com
- www.leapphotography.com
- www.food.com
- www.motherearthnews.com
 Alice Osborne
Weekly Newsletter Contributor since 2006
Email the author! alice@dvo.com