Homemade Sourdough Starter—Easy, Fun, and Healthy!
A sourdough starter (also known as natural yeast) is a simple and useful tool that can be utilized in many dishes, and if fed right can be kept for months, if not years. For instance, I have two neighbors who are using a starter that they got from one of our neighbors who passed away several years ago.
Bread made with natural yeast is easier to digest (making it a healthier option) and lots tastier than breads made with commercial yeasts. I don’t know the science behind this, but I do know that folks who struggle with gluten issues can often eat breads made from natural yeast without any problem.
Starting a sourdough is as easy as mixing flour and water in a bowl and leaving it on the kitchen counter for a few days, stirring as often as you think of it. The yeast is there and will reveal itself.
The work is in maintaining the sourdough and keeping it alive and fresh. A sourdough starter requires regular feeding and attention, not unlike a small pet. Potentially you could pass it on to your grandchildren. I have never kept one going for more than a year at a time, fickle lover of travel adventure that I am. But luckily, sourdoughs are easy to start, so I keep starting new ones. Here is the basic recipe for any sourdough starter. Below is the basic process for making the starter (it takes approximately 1 week to get an active starter):
SOURDOUGH STARTER
Flour (any kind)
Water
Organic plums, grapes, or berries (optional)
The process may seem a little tedious, but once you get the hang of the routine, it’s no big deal. This a perfect activity as the weather cools and we have less to do outside, by the way. This how-to tutorial comes from Mother Earth News. I found this years ago and followed the instructions to the letter. I had success the first time, which is why I’m passing it on! Sandor Ellix Katz is the author, and we thank him.
1.
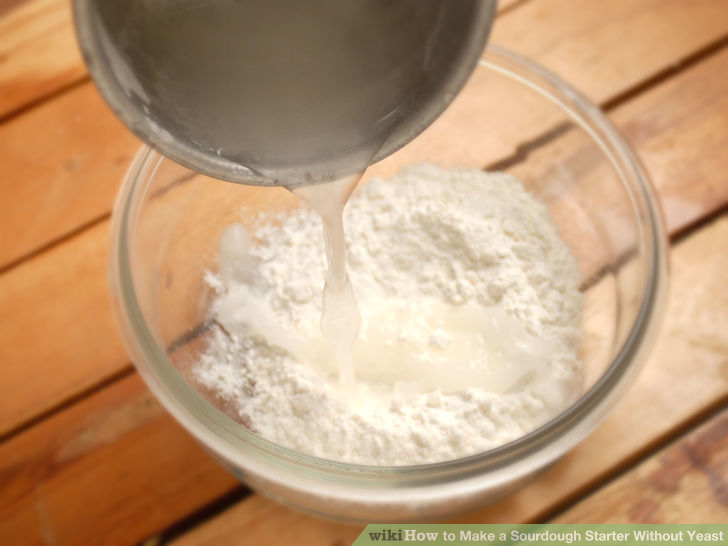
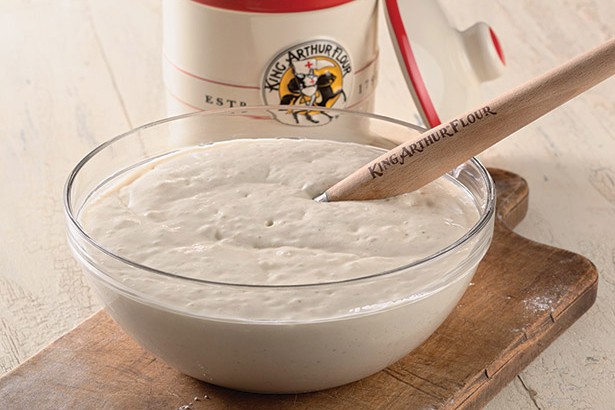
In a jar or bowl, mix 2 cups each of water and flour. Do not use water that smells or tastes heavily chlorinated. Starchy water from cooking potatoes or pasta is rich in nutrients that yeasts like, and can be used (cooled to body temperature) instead of plain water.
2. Stir the mixture vigorously. One effective technique for speeding up the introduction of wild yeasts into your sourdough starter is to drop a little unwashed whole fruit into it. Often on grapes, plums, and berries you can actually see the chalky film of yeast (“the bloom”) that is drawn to their sweetness. These and other fruits with edible skins (not bananas or citrus) are great for getting sourdoughs bubbling. Use organic fruit for this. Who knows what antimicrobial compounds could lurk on the skins of the fruits of chemical agriculture?
3.
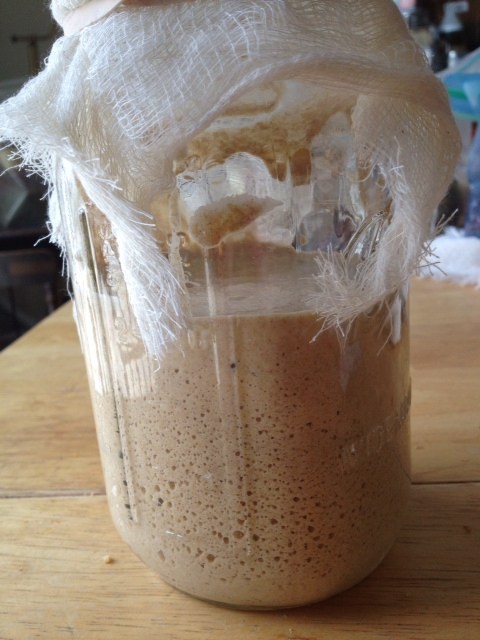
Cover the jar with cheesecloth or any other porous material that will keep out flies but allow the free circulation of air.
4. Store your batter in a warm place (70 to 80 degrees F is ideal, but work with what you have) with good air circulation. Visit your batter as often as you think of it, at least daily, and stir it vigorously. Agitation distributes yeast activity and stimulates the process.
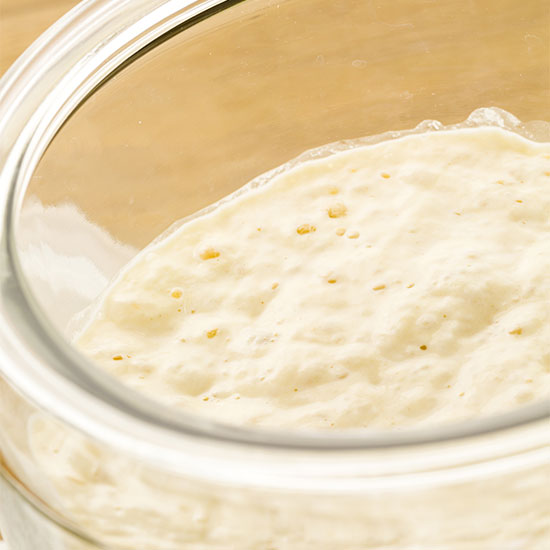
5. After some number of days you will notice tiny bubbles releasing at the surface of the batter. That is how you can tell the yeast is active. Note that the action of stirring the batter may create some bubbles. Do not confuse these with the bubbles the batter produces when you are not actively introducing air into the mixture. The number of days it will take for yeast to become active in your batter will depend upon environmental factors. Every ecosystem has its own unique microorganism populations. This is why sourdoughs from specific locations can be so distinctive.
6.
Many cookbooks recommend starting a sourdough with a pinch of packaged yeast to get the process going more quickly. I myself prefer the gratifying magic of the wild yeasts finding their way to the dough. If you do not find bubbles forming after 3 or 4 days, try to find a warmer spot. Or add a commercially available sourdough starter or a pinch of packaged yeast.
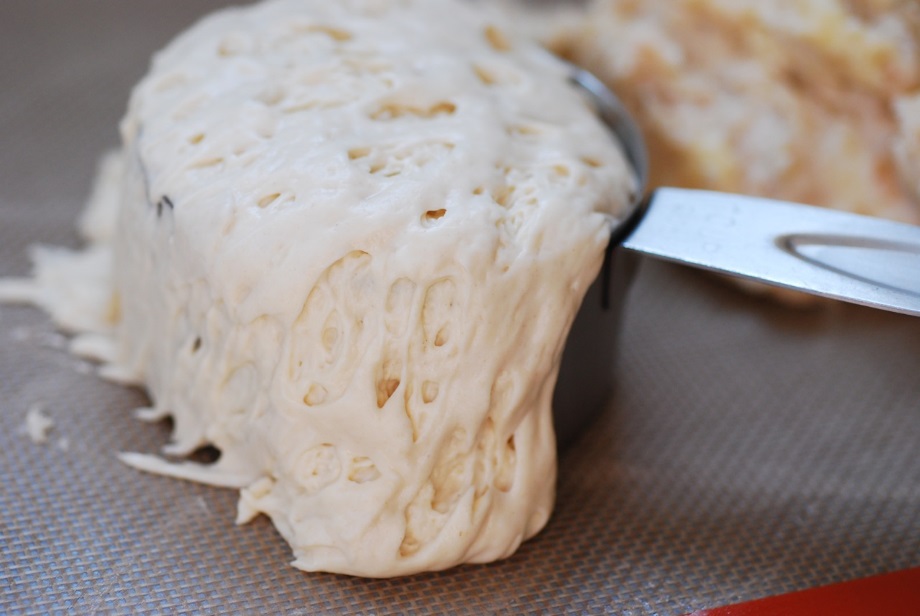
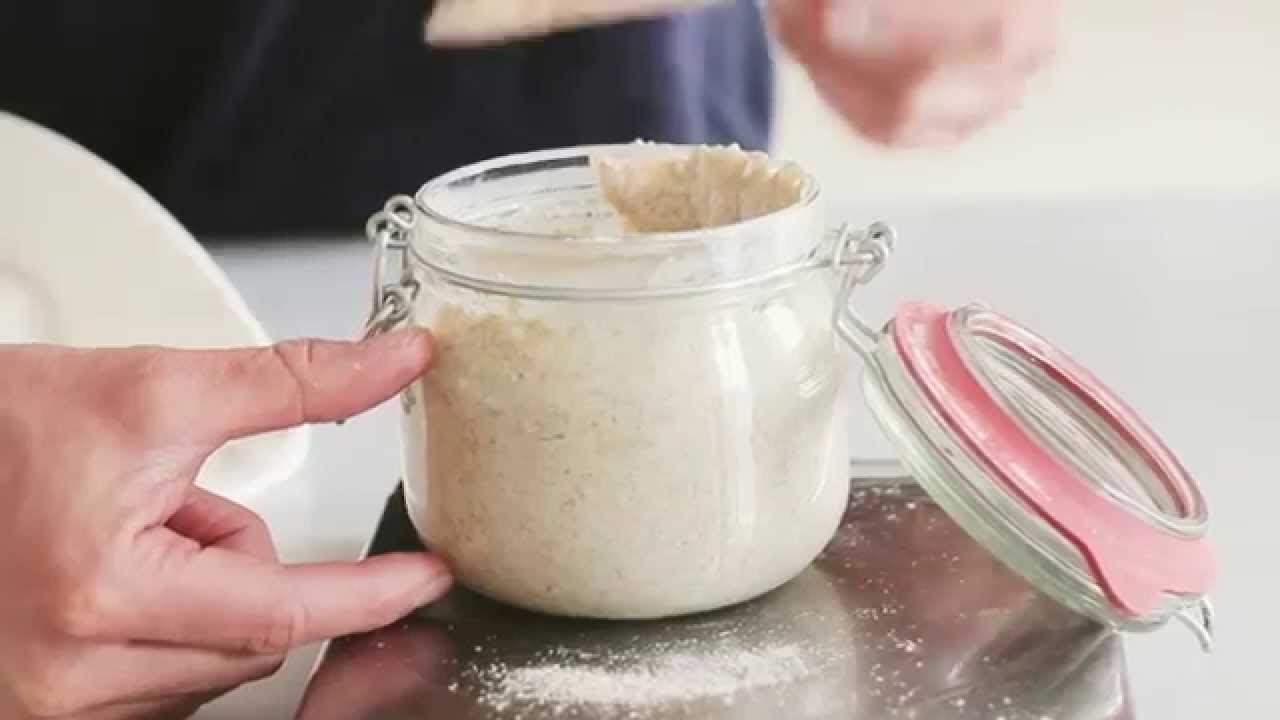
7. Once yeast activity is evident, strain out the fruit. Then add 1 or 2 tablespoons (15 to 30 milliliters) more flour to the mixture each day for 3 or 4 days, and continue stirring. You can add any kind of flour, leftover cooked grains, rolled oats, or whole grains. You are now feeding the sourdough. The batter will get thicker, and start to rise, or hold some of the gas the yeast releases, but you want it to remain essentially liquid in form. Add more water if the sourdough gets so thick that it starts to cross over into solidity.
8. Once you have a thick, bubbly batter, your starter is ready to use. When you use it, pour out what you need and be sure to save some of the starter in the jar to keep the sourdough going. All you need is a little; what remains on the edges of the jar will suffice. To replenish the starter, add water roughly equal to the volume you removed for bread (2 cups for typical recipes) and the same volume of flour. Stir well and leave it in a warm place to bubble.
Keep it going by feeding it a little flour every day or two if you are baking at least weekly. If you use it less frequently you can refrigerate it (thus slowing the yeast’s activity). It is best to refrigerate sourdough after the replenished starter has had at least 4 to 8 hours of active bubbly fermentation. A refrigerated starter still needs to be fed once a week or so. A day or two before you plan to bake, move the starter from the fridge to a warm location and feed it, to warm it up and get the yeast active again.
Maintaining a Sourdough Starter: Your sourdough starter can live forever, given regular attention. Replenish it with water and flour every time you use it. Feed it a little fresh flour every day or two. If you go away, feed your sourdough, let it ferment for a few hours, then cover and refrigerate. Sourdough can be stored in the refrigerator for several weeks, or frozen for longer periods. If you neglect your sourdough, it may get very acidic, then eventually putrid. Up to a point, sourdoughs can be easily revived by feeding them fresh flour. Other organisms dominate after the yeast has consumed all its nutrients. But the yeasts remain present and can usually return to dominance when nourished.
- www.motherearthnews.com
- www.knowwhey.com
- www.terraemadre.com
- www.wikihow.com
- www.realfoodoutlaws.com
- www.breadtopia.com
- www.youtube.com
 Alice Osborne
Weekly Newsletter Contributor since 2006
Email the author! alice@dvo.com