Creating “Spot-On” Recipes
Recipes are not the easiest things to follow sometimes. Have you ever made something and then try making it again a few weeks later, and it’s different?! Or maybe you were at a get together with some family and friends and tried something you liked. You asked for the recipe and when you made it, it was just not the same (maybe it was even better?)
I know that when I was growing up, I would have my mom (who I look up to, especially as an amazing cook) hover over me to make sure I did everything right. Somehow though, mine never came out quite like hers.
There are multiple factors in baking (really, baking is chemistry. There is a science to it.) Your conclusion will vary depending on humidity, elevation, how much you stir or knead, and a plethora of others.
I’m here to focus on one very important factor that can make or break a recipe. This vital factor is proper measuring. There’s science behind this aspect, just as with baking. If you can do a good job in this area, you’re recipe will be closer to the “spot-on” conclusion.
As a reminder/disclaimer, proper measuring is more vital in baking instead of cooking. Things like casseroles and soups, roasts and skillet dinners can sometimes be fiddled and tweaked to your desire. But when you’re making breads or baked goods, pastry crusts or candies, an inaccurate measurement can botch the whole batch.
These are the tips I received in a handout, in my own words, that are great for every baker to know!
1. Read the recipe correctly.
If the recipe calls for ¼ cup peanuts, chopped; you will measure ¼ cup peanuts and then chop them. However, if it calls for ¼ cup chopped peanuts, you will chop the peanuts first and then measure. This can make a big difference in the yield you get.
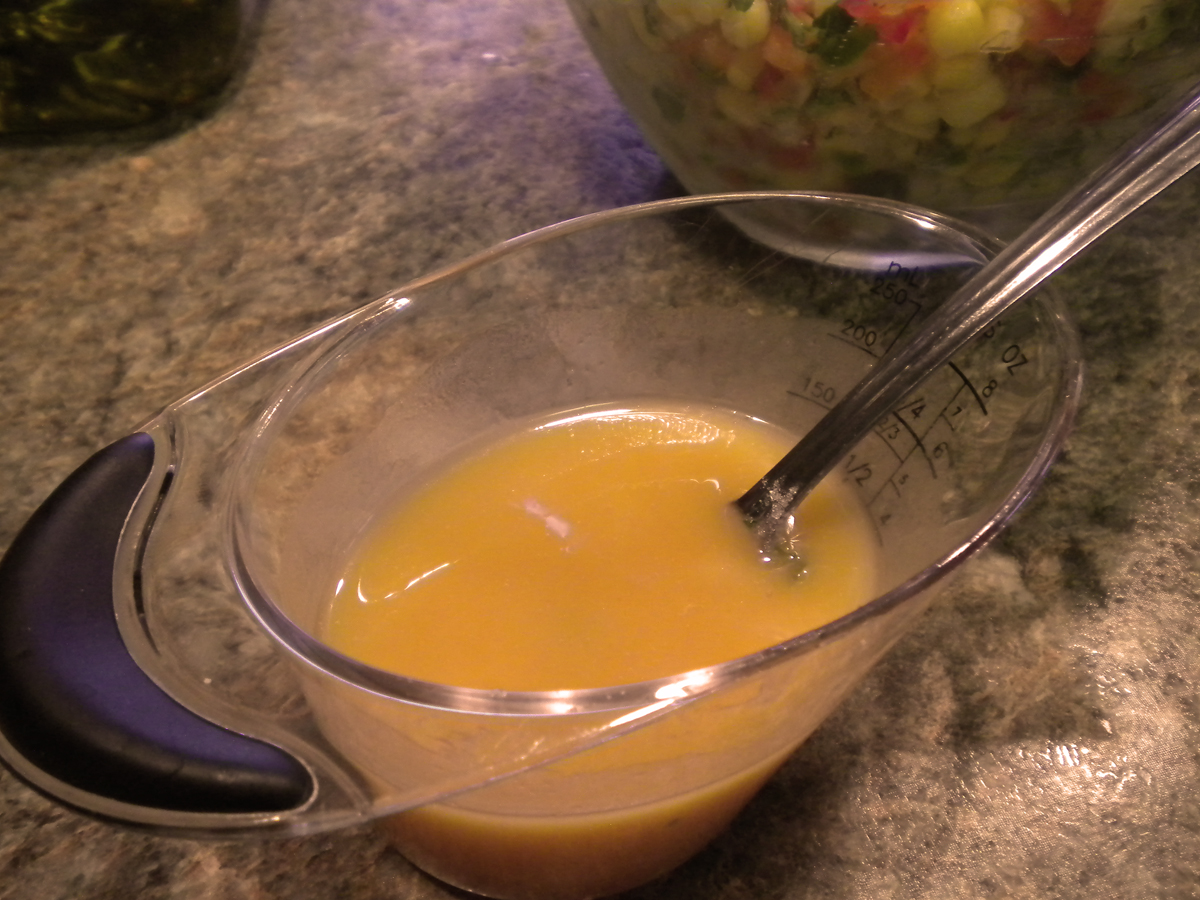
2. Liquid Ingredients
Technically you should bend over to see the liquid at eye level to make sure it is right on the mark. (Make sure you are using a liquid measuring cup. You could end up getting too much or not enough liquid if you use a dry measuring cup). However, I highly recommend the liquid measuring cups that slope out and have the numbers inside. No need to bend down to counter level to see that you’ve poured the right amount. You stand above it. Love it!
3. Liquid Ingredients (small)
When pouring ingredients into you’re teaspoon, tablespoon, etc, DO NOT pour it over the bowl. A small spill could triple the amount the recipe calls for.
4. Brown Sugar
Brown sugar is always packed when it is called for in a recipe. A good way to know you’ve packed it right is that it is level at the top and keeps it shape when you drop.
5. Flour, Baking Powder, and Baking soda.
These should be stirred before measuring to ensure they are not too packed. You will also scrape off the top with a level, straight tool (such as the back of a butter-knife). The baking soda and powder can be measured straight from the container, but it’s best to spoon the flour into the measuring cup, rather than scooping it with the actual cup. I won’t lie, I don’t usually spoon it in, but you could end up with 50% more flour than the recipe calls for. Don’t shake the flour in the cup or pack it down. Tip: One cup flour = about 112 grams. If you want, you can practice with a scale until you get the feel of it. I should do that. I feel like my flour is off a lot.
6. Solid fats
This means butter, shortening, and things like sour cream or peanut butter. If you aren’t using a butter or margarine stick, use a dry measuring cup. You can line it with plastic wrap before measuring, but I just make sure I have a spatula on hand to pack it down and scrape it out.
 Sydney Hill
Weekly Newsletter Contributor since 2012
Email the author! sydney@dvo.com