SPROUTS and MICROGREENS: Know the Difference?
If you’ve thought they were the same thing with different names, you’re not alone. The fact is, though, they’re two different things.
SPROUTS are the beginning of the growth of a seed. Every floret of broccoli you eat comes from a mature head of broccoli that was once just a little seed that became a little sprout. Lots of seeds, when in the sprout stage, are tasty and healthy.
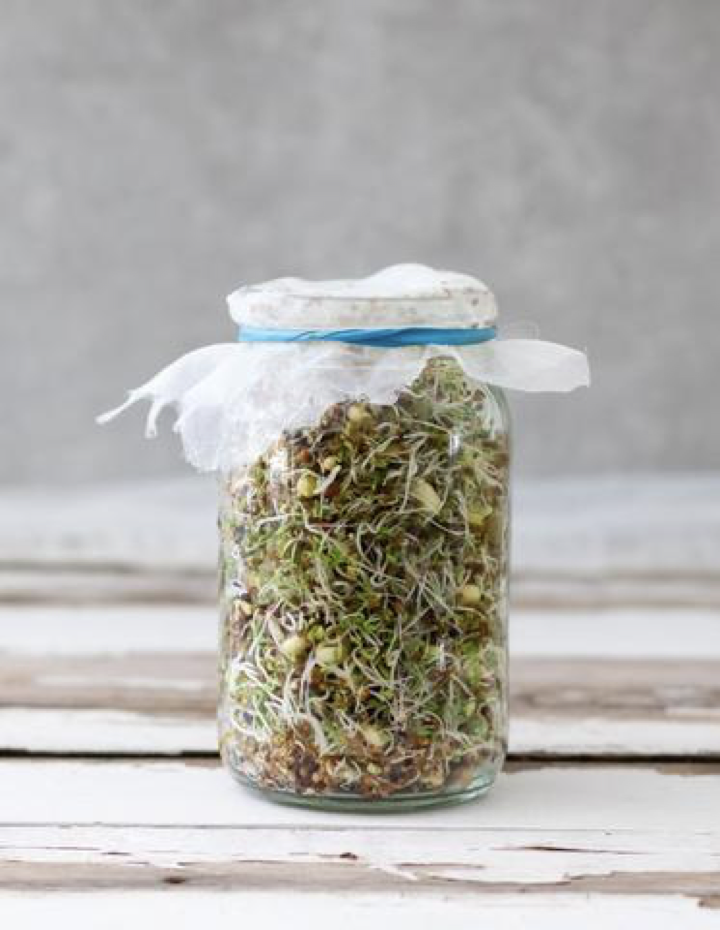
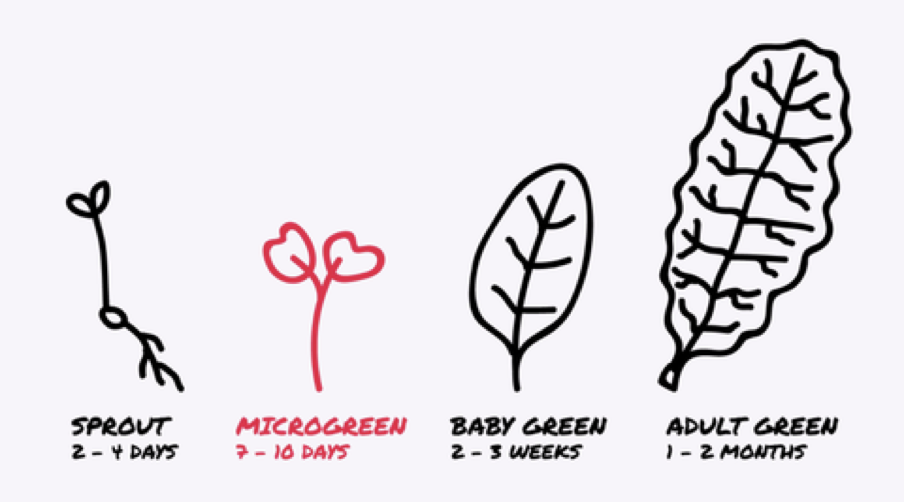
The sprout stage is the 2-4 days of growth after germination. The seed stores the nutrients for the plant to begin development of its roots, stem and cotyledons (the first leaves to appear from a germinating seed). We usually can’t see the sprout stage when plants are grown in soil of course, but if you grow them at home in a jar with water, you’ll witness this stage of life.
With Sprouts you eat the entire crop, and they are alive when you eat them.
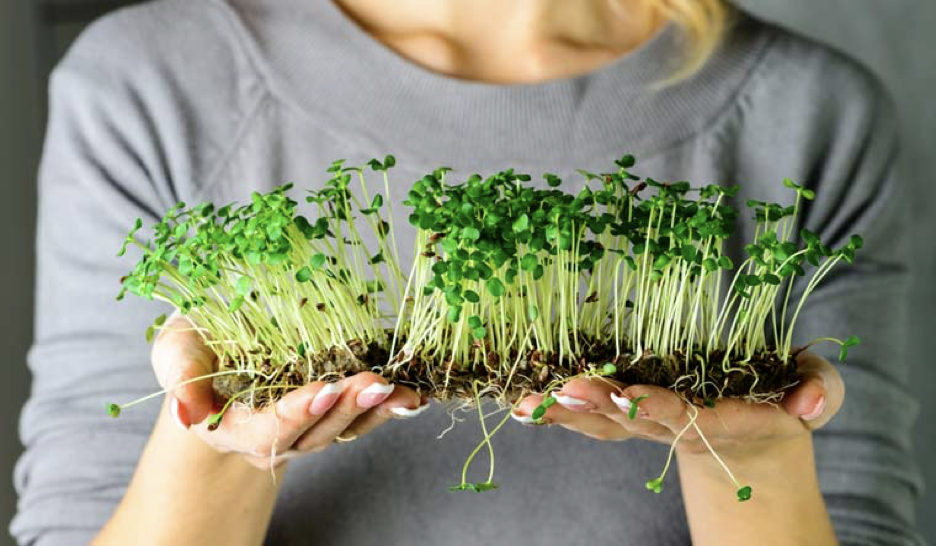
MICROGREENS are the intermediate stage between sprouts and baby greens and they reach this state in about 7-14 days. They will have formed the cotyledons and sometimes even their first set of true leaves, unlike sprouts. Microgreens are usually grown in higher light conditions with lower humidity, either in soil or a hydroponic growing pad. Some people say microgreens offer more developed flavor and texture than sprouts.
Like sprouts, microgreens are concentrated with a diverse set of vitamins and antioxidants and fiber. Nutrient levels in different microgreens vary, but they typically have higher levels per gram of vitamin C, vitamin E and carotenoids (plant compounds, some used to make vitamin A and others help maintain eye health) than mature crops (according to the JOURNAL OF AGRICULTURAL AND FOOD CHEMISTRY).
Microgreens are harvested by cutting them just above their growing medium. Once the micros are cut, they move from being alive to not. Raw, great, delicious; just not alive.
Finally, you’ll note there are two different names for the same seed. For instance, broccoli sprouts and broccoli microgreens. They are the same seed and each will grow to a full-sized plant ranging 3 feet tall to 2 feet wide (such as found in a home garden). The difference is that each crop (sprouts or microgreens) has its own page in seed catalogs or on Internet sites. You can go to the Broccoli Sprouts page to learn how to grow the seed into Sprouts and you can go to the Broccoli Microgreens page to learn how to grow it into Micros. So don’t get confused over names.
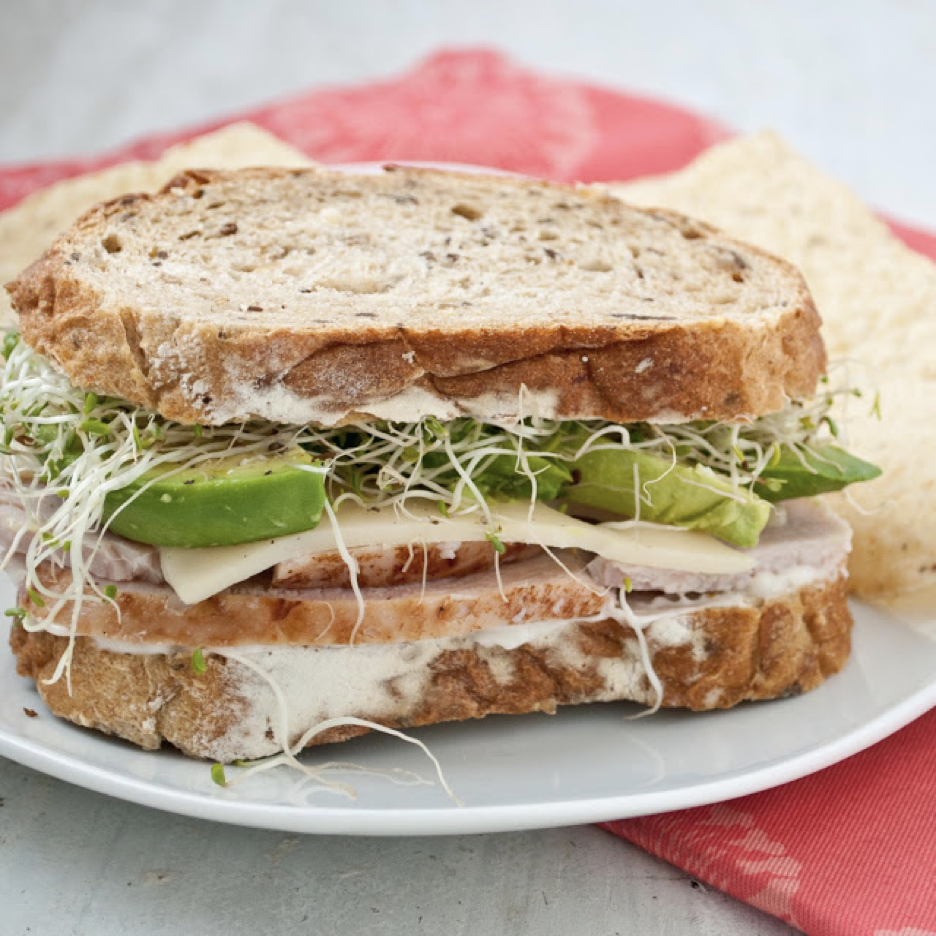
Both sprouts and microgreens are used in salads and on sandwiches. But sprouts have a few more uses. They’re wonderful tossed into soups and stews just before serving. And they are terrific additions to homemade crackers. Because they’re so high in nutrition, they turn a tasty snack into a super healthy snack.
I’ll close with one of my favorite homemade sprouted grain crackers that I found on the very helpful blog, BREAD EXPERIENCE. These crackers store well and stay fresh for several days.
You need to plan ahead to make these, as it takes about 2 days for your grain to soak and sprout. All you need is a glass jar and a bit of cheesecloth to cover the opening (secured in place with a rubber band). There’s a large amount of information online regarding sprouting seeds, if you’re new to this. But here’s a brief tutorial:
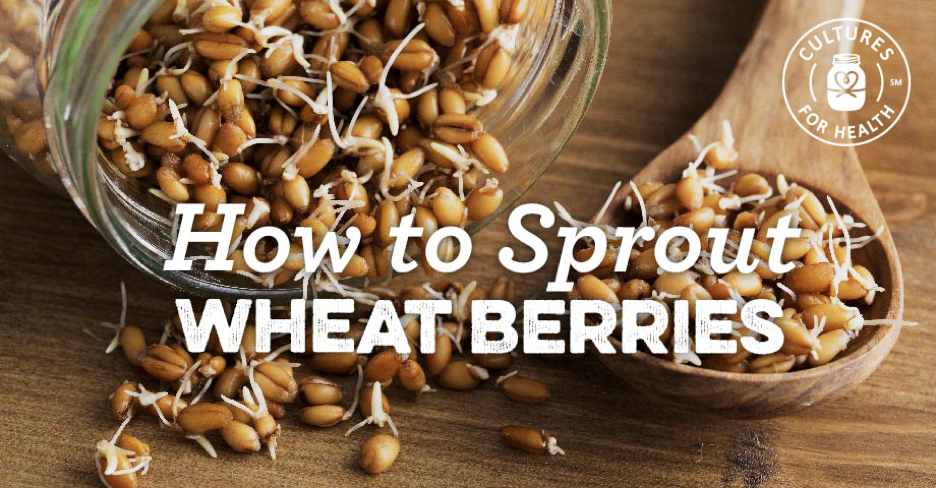
1) Place ½ cup wheat berries in a bowl; cover with 2 inches water. Cover the bowl and let berries soak for 6 to 8 hours or overnight.
2) Drain and rinse berries two times. Transfer rinsed berries to a quart-size canning jar or something similar. Place a piece of cheesecloth over the top of the jar and fasten with a rubber band.
3) Place jar in cool, dark place on its side (inside a kitchen cabinet will work fine).
4) Rinse the berries at 12-hour intervals (twice a day) until they germinate.
You can start this process in the evening and by the next evening (18 – 24 hours), the sprouts will likely have long shoots. At this point, refrigerate them until when you plan to make the crackers.
2 cups sprouted wheat or spelt (from 1/2 cup wheat or spelt berries)
4 to 6 tablespoons water
1 tablespoon raw honey
3 tablespoons Coconut Oil (or olive oil)
3/4 cup whole wheat flour (more for dusting, if necessary)
1 1/4 teaspoons salt
Directions:
Add Recipe to Cook'n
SPROUTS are the beginning of the growth of a seed. Every floret of broccoli you eat comes from a mature head of broccoli that was once just a little seed that became a little sprout. Lots of seeds, when in the sprout stage, are tasty and healthy.
The sprout stage is the 2-4 days of growth after germination. The seed stores the nutrients for the plant to begin development of its roots, stem and cotyledons (the first leaves to appear from a germinating seed). We usually can’t see the sprout stage when plants are grown in soil of course, but if you grow them at home in a jar with water, you’ll witness this stage of life.
With Sprouts you eat the entire crop, and they are alive when you eat them.
MICROGREENS are the intermediate stage between sprouts and baby greens and they reach this state in about 7-14 days. They will have formed the cotyledons and sometimes even their first set of true leaves, unlike sprouts. Microgreens are usually grown in higher light conditions with lower humidity, either in soil or a hydroponic growing pad. Some people say microgreens offer more developed flavor and texture than sprouts.
Like sprouts, microgreens are concentrated with a diverse set of vitamins and antioxidants and fiber. Nutrient levels in different microgreens vary, but they typically have higher levels per gram of vitamin C, vitamin E and carotenoids (plant compounds, some used to make vitamin A and others help maintain eye health) than mature crops (according to the JOURNAL OF AGRICULTURAL AND FOOD CHEMISTRY).
Microgreens are harvested by cutting them just above their growing medium. Once the micros are cut, they move from being alive to not. Raw, great, delicious; just not alive.
Finally, you’ll note there are two different names for the same seed. For instance, broccoli sprouts and broccoli microgreens. They are the same seed and each will grow to a full-sized plant ranging 3 feet tall to 2 feet wide (such as found in a home garden). The difference is that each crop (sprouts or microgreens) has its own page in seed catalogs or on Internet sites. You can go to the Broccoli Sprouts page to learn how to grow the seed into Sprouts and you can go to the Broccoli Microgreens page to learn how to grow it into Micros. So don’t get confused over names.
Both sprouts and microgreens are used in salads and on sandwiches. But sprouts have a few more uses. They’re wonderful tossed into soups and stews just before serving. And they are terrific additions to homemade crackers. Because they’re so high in nutrition, they turn a tasty snack into a super healthy snack.
I’ll close with one of my favorite homemade sprouted grain crackers that I found on the very helpful blog, BREAD EXPERIENCE. These crackers store well and stay fresh for several days.
You need to plan ahead to make these, as it takes about 2 days for your grain to soak and sprout. All you need is a glass jar and a bit of cheesecloth to cover the opening (secured in place with a rubber band). There’s a large amount of information online regarding sprouting seeds, if you’re new to this. But here’s a brief tutorial:
1) Place ½ cup wheat berries in a bowl; cover with 2 inches water. Cover the bowl and let berries soak for 6 to 8 hours or overnight.
2) Drain and rinse berries two times. Transfer rinsed berries to a quart-size canning jar or something similar. Place a piece of cheesecloth over the top of the jar and fasten with a rubber band.
3) Place jar in cool, dark place on its side (inside a kitchen cabinet will work fine).
4) Rinse the berries at 12-hour intervals (twice a day) until they germinate.
You can start this process in the evening and by the next evening (18 – 24 hours), the sprouts will likely have long shoots. At this point, refrigerate them until when you plan to make the crackers.
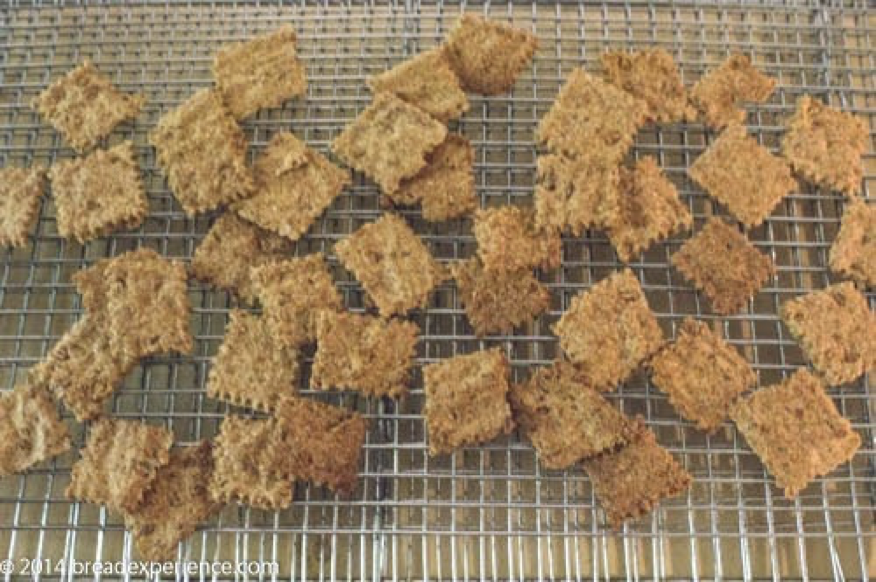
Sprouted Grain Crackers
Yield: approximately 8 dozen
Ingredients:
2 cups sprouted wheat or spelt (from 1/2 cup wheat or spelt berries)
4 to 6 tablespoons water
1 tablespoon raw honey
3 tablespoons Coconut Oil (or olive oil)
3/4 cup whole wheat flour (more for dusting, if necessary)
1 1/4 teaspoons salt
Directions:
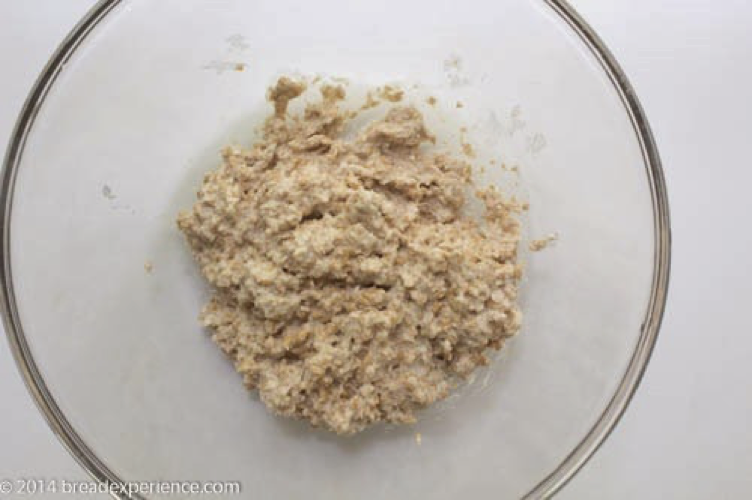
1. Process the sprouts in a blender or food processor. Add tablespoons of water, a little at a time, and process the berries until smooth (this may take 4-6 tablespoons of water total; if your sprouts are more liquid, you may need less water so add it in a tablespoon at a time to safely reach desired consistency. If you add a little bit too much water, it’s okay, just add more flour to the final dough; see photo).
2. Transfer the mixture to a medium-size mixing bowl and add the oil and honey (if using). Mix well.
3. Add the dry ingredients. Mix the salt and flour together and add to the sprout mixture. Stir with a Danish dough whisk or your hands until the mixture is thoroughly combined.
4. Place dough (covered) in refrigerator to rest for 2 hours.
5. Preheat oven to 350 degrees F.
6. Divide the dough into two equal pieces and roll out each piece onto a piece of parchment paper sprayed (or greased) with oil. Try to roll the pieces out to the same thickness so they bake evenly.
7. Cut the crackers into the desired shape using a pizza wheel or decorative cutter.
8. Bake the crackers. Slide each piece of parchment paper onto a baking sheet and place one baking sheet on the middle shelf and the other sheet on the bottom shelf. Bake the crackers for 10 minutes, then switch the baking sheets from top to bottom and bake for 10 minutes more.
9. To ensure the crackers get crispy, turn the oven off and leave the crackers in the oven until it cools down. Keep an eye on the crackers to make sure they don’t burn. If you rolled some out more thinly than others, they will bake faster. Remove those while the rest of the crackers continue baking.
10. Remove the crackers from the oven and let them cool on a wire rack.
Recipe formatted with the Cook'n Recipe Software from DVO Enterprises.
Sources:
- www.breadexperience.com
- www.hamama.com
- www.theweek.in
- www.neighborfoodblog.com
- www.culturesforhealth.com
 Alice Osborne
Weekly Newsletter Contributor since 2006
Email the author! alice@dvo.com