Strawberry Shortcut Cake
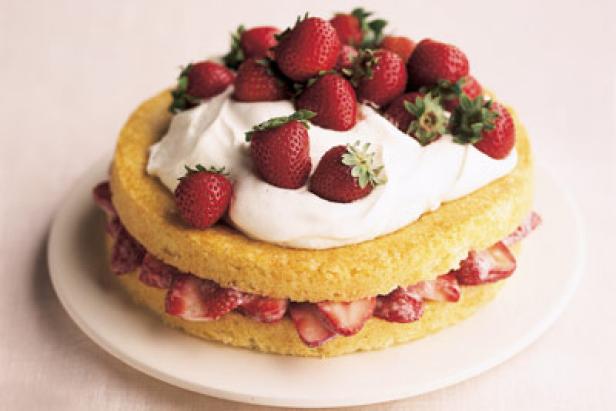
Fill a homemade cake with fresh summer berries and whipped cream. Dovetailing Tip: Use the strawberries that you prepped on day 1 for today’s dessert.
Prep time:
Cook time:
Serving size: 8
Calories per serving: 318
Ingredients:
Cook time:
Serving size: 8
Calories per serving: 318
1 cup all-purpose flour
3/4 cup granulated sugar
1 teaspoon baking powder
1/2 teaspoon fine salt
4 tablespoons unsalted butter, melted
1 large egg, beaten
1/2 cup whole milk
1 teaspoon pure vanilla extract
2 pints strawberries
1 tablespoon granulated sugar
1 cup heavy cream
1 tablespoon confectioners' sugar
1/2 teaspoon pure vanilla extract
Directions:
For the cake: Preheat the oven to 375 degrees F. Butter an 8-inch round cake pan, line it with parchment paper, butter the paper, and dust the pan lightly with flour.
Whisk the flour with the granulated sugar, baking powder, and salt in a medium bowl. Lightly whisk in the butter, egg, milk, and vanilla, just until smooth. Pour the batter into the prepared cake pan and bake until a toothpick inserted in the center comes out clean, about 25 minutes. Cool on a rack for 10 minutes, then turn it out of the pan, flip upright, and cool completely on the rack.
For the strawberries and cream: Set aside 1 pint of the best-looking whole berries for topping the cake. Hull and thinly slice the rest of the berries and toss with the granulated sugar. Set aside. Whip the cream with the confectioners' sugar and vanilla to soft peaks. Refrigerate until ready to use.
To assemble the cake: Cut the cake in half horizontally with a serrated knife. Place the bottom layer cut side up on a cake stand or serving plate. Drizzle the juices from the sliced berries over the cut sides of both halves. Fold a couple tablespoons of the whipped cream into the sliced berries and spread over the bottom layer. Top with the other piece of cake, cut side down. Spread the remaining whipped cream on the top of the cake and top the cake with the whole berries.
Know-How: Cutting a cake into layers is easy as saw-spin-separate: Begin to saw the cake in half horizontally. Just before you reach the middle of the cake, give it a quarter turn. Continue to saw almost to the center, then give it another quarter turn and saw again until you reach your original point of entry. Saw completely through the cake's center and separate the layers.
Source: foodnetwork.com
Recipe formatted with the Cook'n Recipe Software from DVO Enterprises.