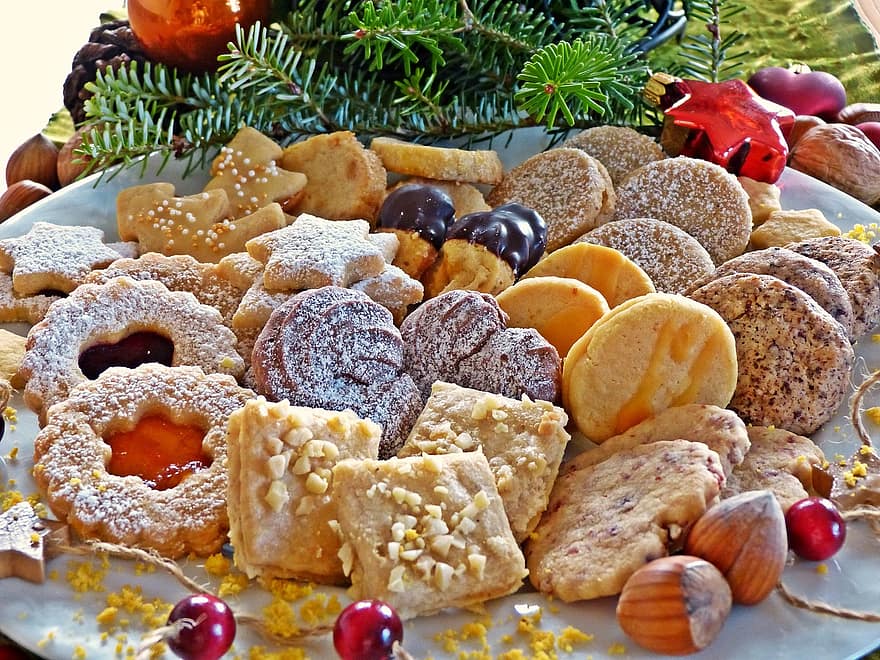
4 Easy Ways to Decorate Holiday Cookies this Year
Baking holiday cookies is a favorite tradition for a lot of families out there. I love the cute designs you can get when using royal icing, but it can be a lot of work and a pretty big mess. It makes you wonder if there’s an easier way to get festive, fun cookies with a lot less work. Today I wanted to share a few ways you can have delicious, beautiful cookies that really bring the holiday cheer and taste great as well—no piping tips necessary.
Before I get into these fun ideas, I just wanted to share a quick, awesome tip I learned from reading all these recipes and articles about Christmas cookies. When you are making sugar cookies with cookie cutters, you want the dough to be chilled--if the dough isn’t chilled, the cookies will spread too much and lose their precise shapes. They can also get too brown around the edges before they are cooked all the way through if they are not chilled. So, the best way to roll out cookies and have chilled dough is to roll out your cookie dough right after you mix it when it is nice and soft right onto a baking sheet and stick that in the fridge for at least an hour or two. Then you take out the chilled dough and cut your shapes from that chilled, rolled out dough and can send them straight to the oven. Voila!
Now, onto our fun and easy ways to decorate cookies:
1. Cookie Stamps.
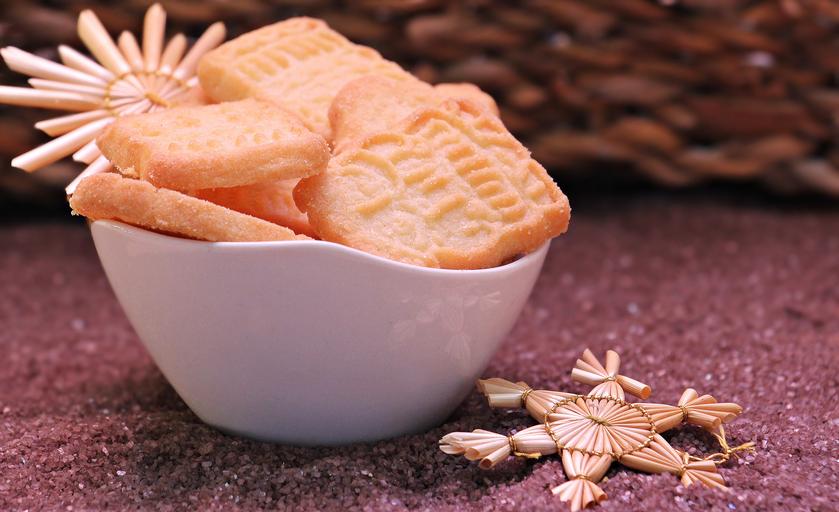
I love the Nordic Ware brand for various baking items, including my favorite sheet pans. Another great thing they make is cookie stamps. On Amazon if you search “Nordic Ware Holiday Cast Cookie Stamps, 3-inch rounds, Silver” you will find a few different options for some beautiful stamps. These create such a beautiful pattern or design on top of a shortbread or similar cookie and are so beautiful all on their own. Many reviewers talked about what a hit they are at holiday parties or baby showers. They have beautiful Christmas ones like snowflakes, or reindeer, but they also have ones that can be used any time of year like bees, and geometric prints.
If you’d like to dress it up a bit more, you can dip part of the cookie in chocolate and put sprinkles on, or simply press big sparkly, sprinkles into the cookie dough right before popping them in the oven so they shimmer and shine.
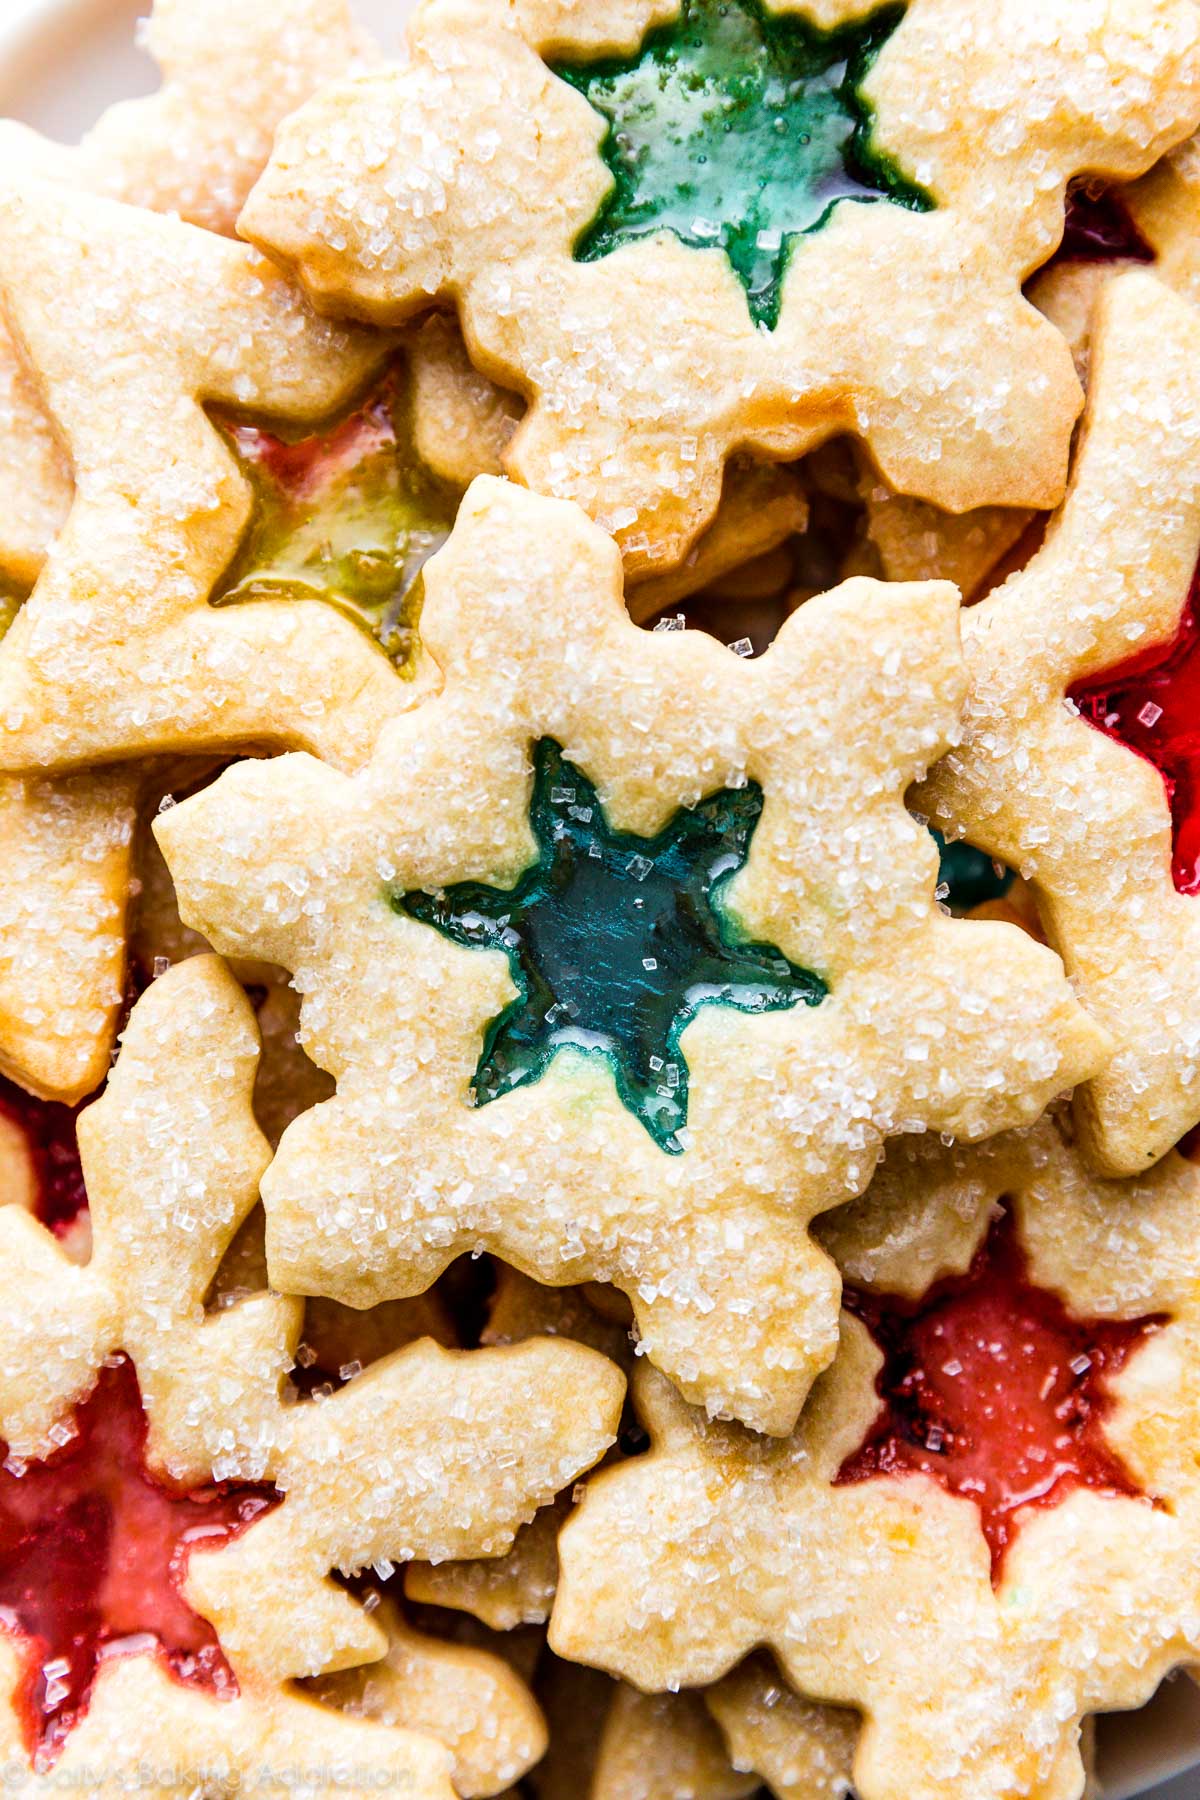
2. Stained Glass Cookies.
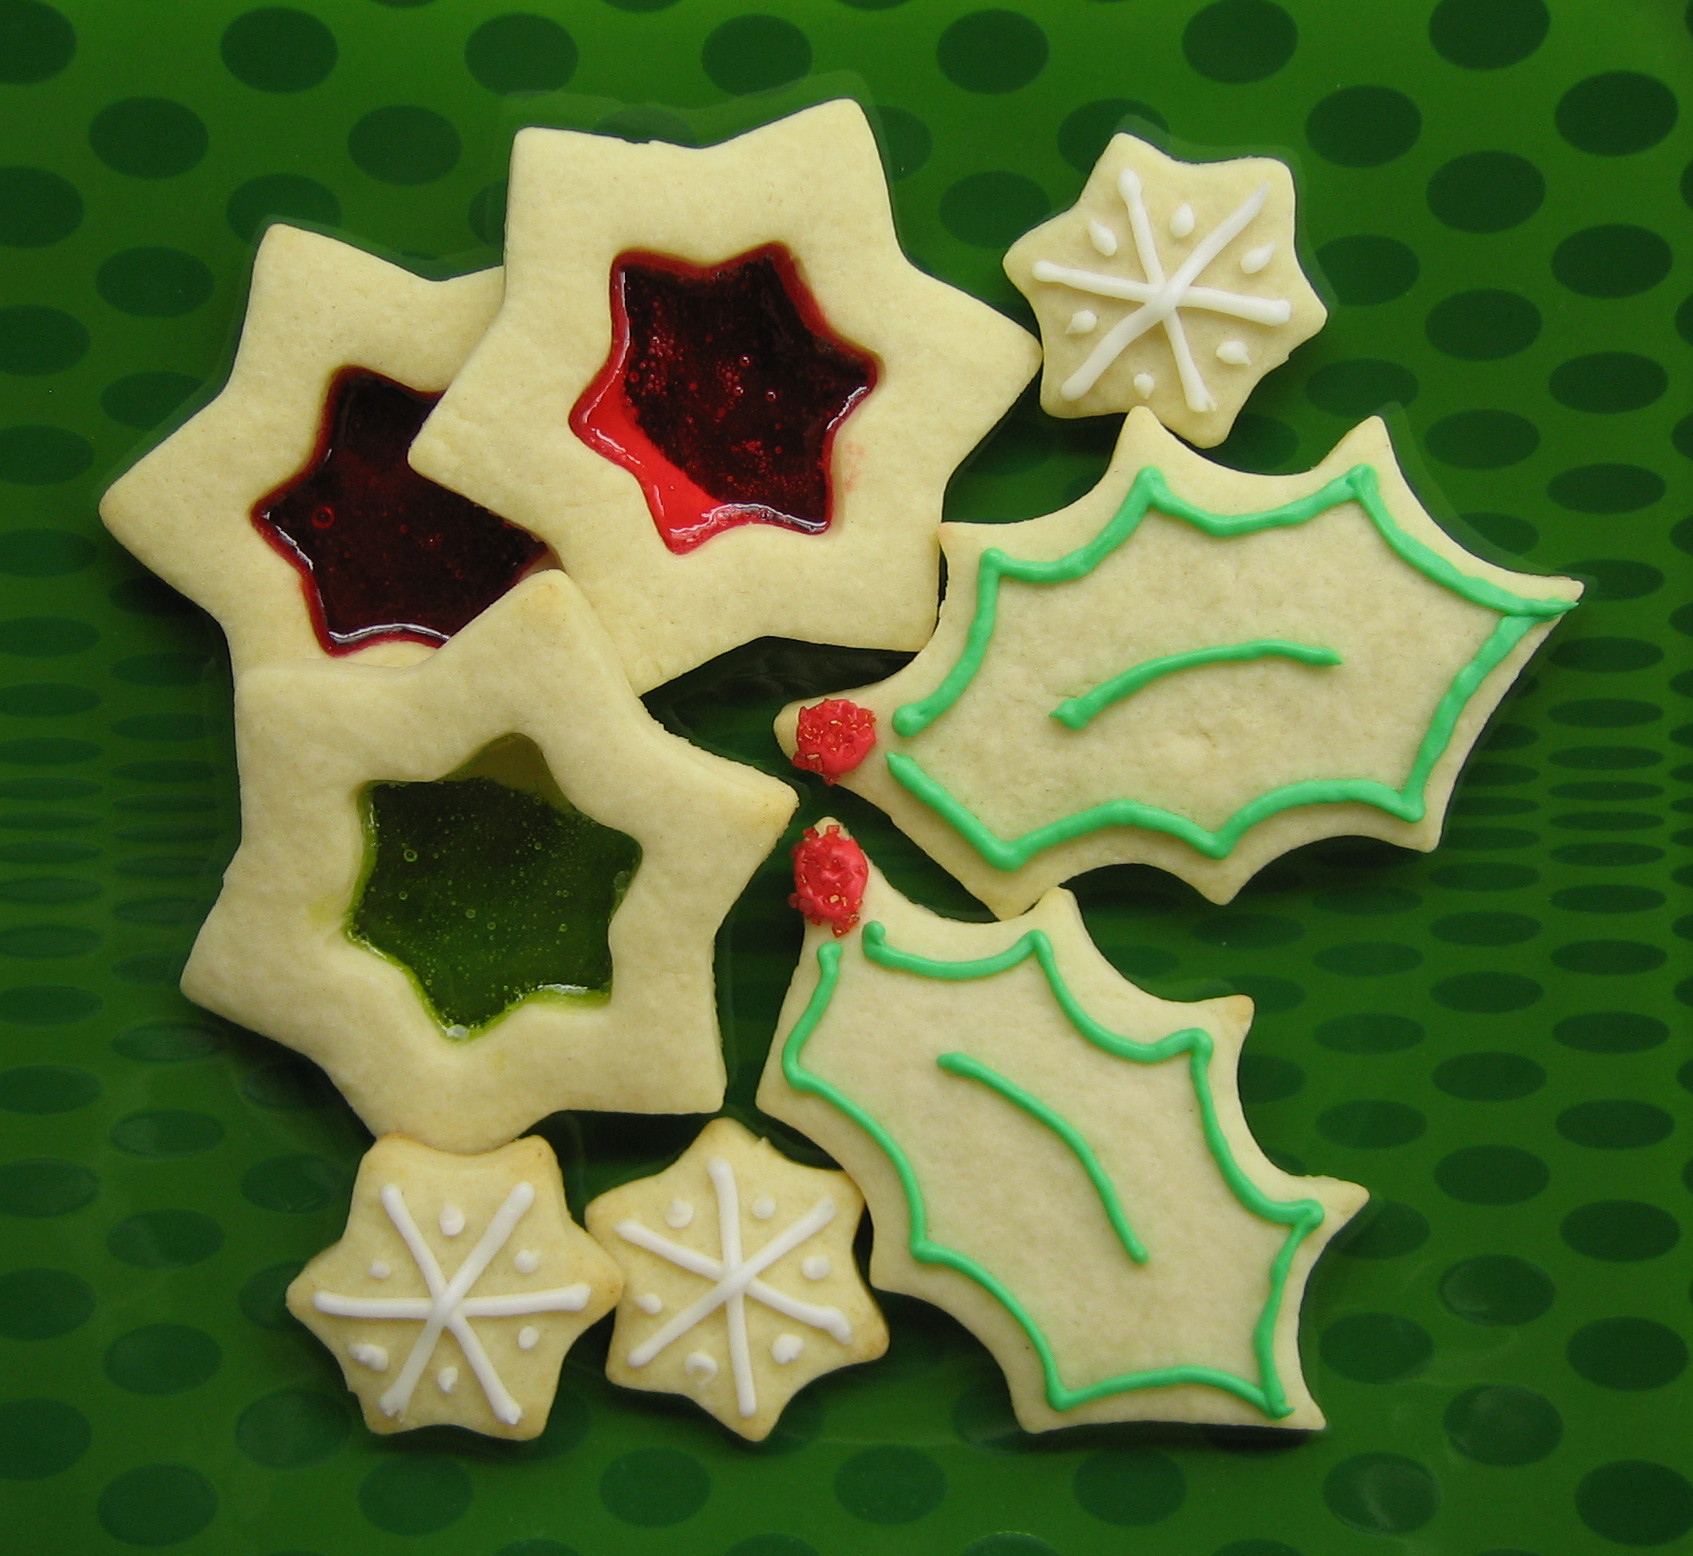
Have you ever heard of or seen these beautiful cookies? You simply cut out the center of your cookie--whether that is by using a smaller version of the same cookie cutter, or you could even use a small circle cookie cutter or a sharp knife--and fill the center with crushed hard clear candy, such as Jolly Ranchers. The hard candy melts down while the cookies are baking and it creates a beautiful, colorful window that looks like stained glass. They are really stunning cookies! I have a five star recipe at the bottom for these stained glass cookies from Sally’s Baking Addiction.
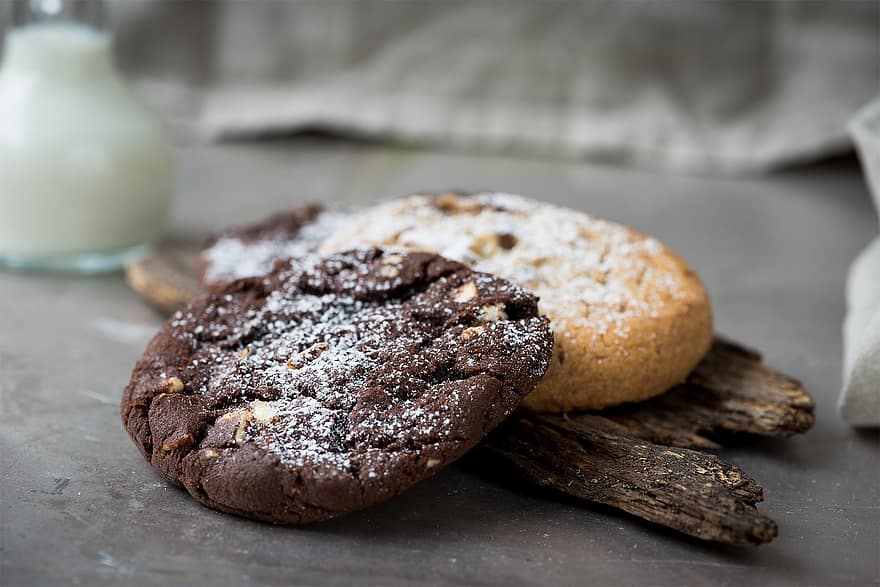
3. Use Powdered Sugar. For dark cookies like crinkled chocolate or gingerbread cookies, all you really need to dress them up is a bit of powdered sugar. Dust them generously with a bit of powdered sugar after they’re out of the oven and they will look so beautiful like they’ve been dusted in snow.
4. Use candy melts for icing. Instead of using royal icing and mixing food dyes to achieve the perfect colors, consider using candy melts for icing. There are so many colors and they become a great alternative to traditional icing as they get glossy when heated up in the microwave. You can dip, drizzle with a fork or even use piping bags with these melted candy melts.
Do you have any tips for your favorite ways to dress up holiday cookies? Please share your thoughts in the comments below.
2 and 1/4 cups (281g) all-purpose flour (spoon & leveled)
1/2 teaspoon baking powder
1/4 teaspoon salt
3/4 cup (170g) unsalted butter, softened to room temperature
3/4 cup (150g) granulated sugar
1 large egg, at room temperature
2 teaspoons pure vanilla extract
1520 15–20 unwrapped hard candies, such as jolly ranchers or life savers
1 large egg white or 2 tablespoons (30ml) water
1/3 cup (65g) coarse sugar or sprinkles
Directions:
Before I get into these fun ideas, I just wanted to share a quick, awesome tip I learned from reading all these recipes and articles about Christmas cookies. When you are making sugar cookies with cookie cutters, you want the dough to be chilled--if the dough isn’t chilled, the cookies will spread too much and lose their precise shapes. They can also get too brown around the edges before they are cooked all the way through if they are not chilled. So, the best way to roll out cookies and have chilled dough is to roll out your cookie dough right after you mix it when it is nice and soft right onto a baking sheet and stick that in the fridge for at least an hour or two. Then you take out the chilled dough and cut your shapes from that chilled, rolled out dough and can send them straight to the oven. Voila!
Now, onto our fun and easy ways to decorate cookies:
1. Cookie Stamps.
I love the Nordic Ware brand for various baking items, including my favorite sheet pans. Another great thing they make is cookie stamps. On Amazon if you search “Nordic Ware Holiday Cast Cookie Stamps, 3-inch rounds, Silver” you will find a few different options for some beautiful stamps. These create such a beautiful pattern or design on top of a shortbread or similar cookie and are so beautiful all on their own. Many reviewers talked about what a hit they are at holiday parties or baby showers. They have beautiful Christmas ones like snowflakes, or reindeer, but they also have ones that can be used any time of year like bees, and geometric prints.
If you’d like to dress it up a bit more, you can dip part of the cookie in chocolate and put sprinkles on, or simply press big sparkly, sprinkles into the cookie dough right before popping them in the oven so they shimmer and shine.
2. Stained Glass Cookies.
Have you ever heard of or seen these beautiful cookies? You simply cut out the center of your cookie--whether that is by using a smaller version of the same cookie cutter, or you could even use a small circle cookie cutter or a sharp knife--and fill the center with crushed hard clear candy, such as Jolly Ranchers. The hard candy melts down while the cookies are baking and it creates a beautiful, colorful window that looks like stained glass. They are really stunning cookies! I have a five star recipe at the bottom for these stained glass cookies from Sally’s Baking Addiction.
3. Use Powdered Sugar. For dark cookies like crinkled chocolate or gingerbread cookies, all you really need to dress them up is a bit of powdered sugar. Dust them generously with a bit of powdered sugar after they’re out of the oven and they will look so beautiful like they’ve been dusted in snow.
4. Use candy melts for icing. Instead of using royal icing and mixing food dyes to achieve the perfect colors, consider using candy melts for icing. There are so many colors and they become a great alternative to traditional icing as they get glossy when heated up in the microwave. You can dip, drizzle with a fork or even use piping bags with these melted candy melts.
Do you have any tips for your favorite ways to dress up holiday cookies? Please share your thoughts in the comments below.
Stained Glass Window Cookies | Sally's Baking Addiction
These fun and festive stained glass window cookies are made with sugar cookie dough and crushed hard candies. Author: Author: Sally Total Time: 3 hours (includes cooling)
Cook time:
Yield: Yield: 24
Serving size: 5
Calories per serving: 410
Ingredients:
Yield: Yield: 24
Serving size: 5
Calories per serving: 410
2 and 1/4 cups (281g) all-purpose flour (spoon & leveled)
1/2 teaspoon baking powder
1/4 teaspoon salt
3/4 cup (170g) unsalted butter, softened to room temperature
3/4 cup (150g) granulated sugar
1 large egg, at room temperature
2 teaspoons pure vanilla extract
1520 15–20 unwrapped hard candies, such as jolly ranchers or life savers
1 large egg white or 2 tablespoons (30ml) water
1/3 cup (65g) coarse sugar or sprinkles
Directions:
Whisk the flour, baking powder, and salt together in a medium bowl. Set aside.
In a large bowl using a hand mixer or a stand mixer fitted with a paddle attachment, beat the butter and sugar together on high speed until completely smooth and creamy, about 2 minutes. Add the egg and vanilla and beat on high speed until combined, about 1 minute. Scrape down the sides and up the bottom of the bowl and beat again as needed to combine.
Add the dry ingredients to the wet ingredients and mix on low until combined. Dough will be relatively soft. If the dough seems too soft and sticky for rolling, add 1 more Tablespoon of flour.
Divide the dough into 2 equal parts. Place each portion onto a piece of lightly floured parchment paper or a lightly floured silicone baking mat. With a lightly floured rolling pin, roll the dough out to about 1/4-inch thickness or slightly thinner (anywhere between 1/8 – 1/4 inch is fine). Use more flour if the dough seems too sticky. The rolled-out dough can be any shape, as long as it is evenly thick.
Lightly dust one of the rolled-out doughs with flour. Place a piece of parchment on top. (This prevents sticking.) Place the 2nd rolled-out dough on top. Cover with plastic wrap or aluminum foil, then refrigerate for at least 1-2 hours and up to 2 days.
As the cookie dough chills, begin crushing the candies. The best way to crush the hard candies is to separate them by color, place each color in plastic bags, and crush them with a rolling pin or meat mallet. Don’t crush the candies into a fine powder– crush them into fine pebble-sized bits. The crushed candies will pierce the bag no matter how careful you are. Some candy dust will escape, so just know that this step is messy. If you don’t want to use plastic, use a paper bag or paper plate. (A bag is preferred so candy doesn’t go flying everywhere.) Set crushed candy aside.
Once cookie dough has chilled, preheat oven to 350°F (177°C). Line 2-3 large baking sheets with parchment paper or silicone baking mats. Carefully remove the top dough piece from the refrigerator. If it’s sticking to the bottom, run your hand under it to help remove it– see me do this in the video above. Using your large cookie cutter, cut the dough into shapes. Using your small cookie cutter, cut out the center shape. (You don’t need the center piece– re-roll it!) Re-roll all the remaining dough and continue cutting until all is used. Repeat with 2nd piece of dough. Note: It doesn’t seem like a lot of dough, but you get a lot of cookies from the dough scraps you re-roll.
Carefully arrange cookies on baking sheets 3 inches apart. If your cookies are intricately shaped, use two hands to transfer them to the lined baking sheet.
Optional Topping: If using an egg white, beat it lightly with a fork or small whisk for 10 seconds. It’s easier to brush onto tops of cookies if it’s beaten first. Brush tops of shaped cookies with egg white or water. Sprinkle coarse sugar/sprinkles on top.
Fill Cookie Centers: Fill the cut-out centers about 3/4 full with crushed candies. The candy pieces melt and expand, so you don’t need to over-fill. I use and recommend 1 color per cookie, but feel free to mix for a spotty multicolor look. The candies are sticky, so wipe off your fingers as needed.
Bake for 12-13 minutes or until candies have melted and the cookies are lightly browned around the edges. If your oven has hot spots, rotate the baking sheet halfway through bake time. Allow cookies to cool on the baking sheet until the melted candy center sets, about 15 minutes. Once melted candy center has set, transfer to a wire rack to cool completely.
Cover and store cookies at room temperature for up to 1 week. For longer storage, cover and refrigerate for up to 10 days.
Source: sallysbakingaddiction.com
Recipe formatted with the Cook'n Recipe Software from DVO Enterprises.
Sources:
- ww.snappygoat.com
- www.pikist.com
- www.sallysbakingaddiction.com
- www.commons.wikimedia.org
- www.thekitchn.com
 Mary Richardson
Weekly Newsletter Contributor since 2014
Email the author! mary@dvo.com