Toasting Homemade Jam Season
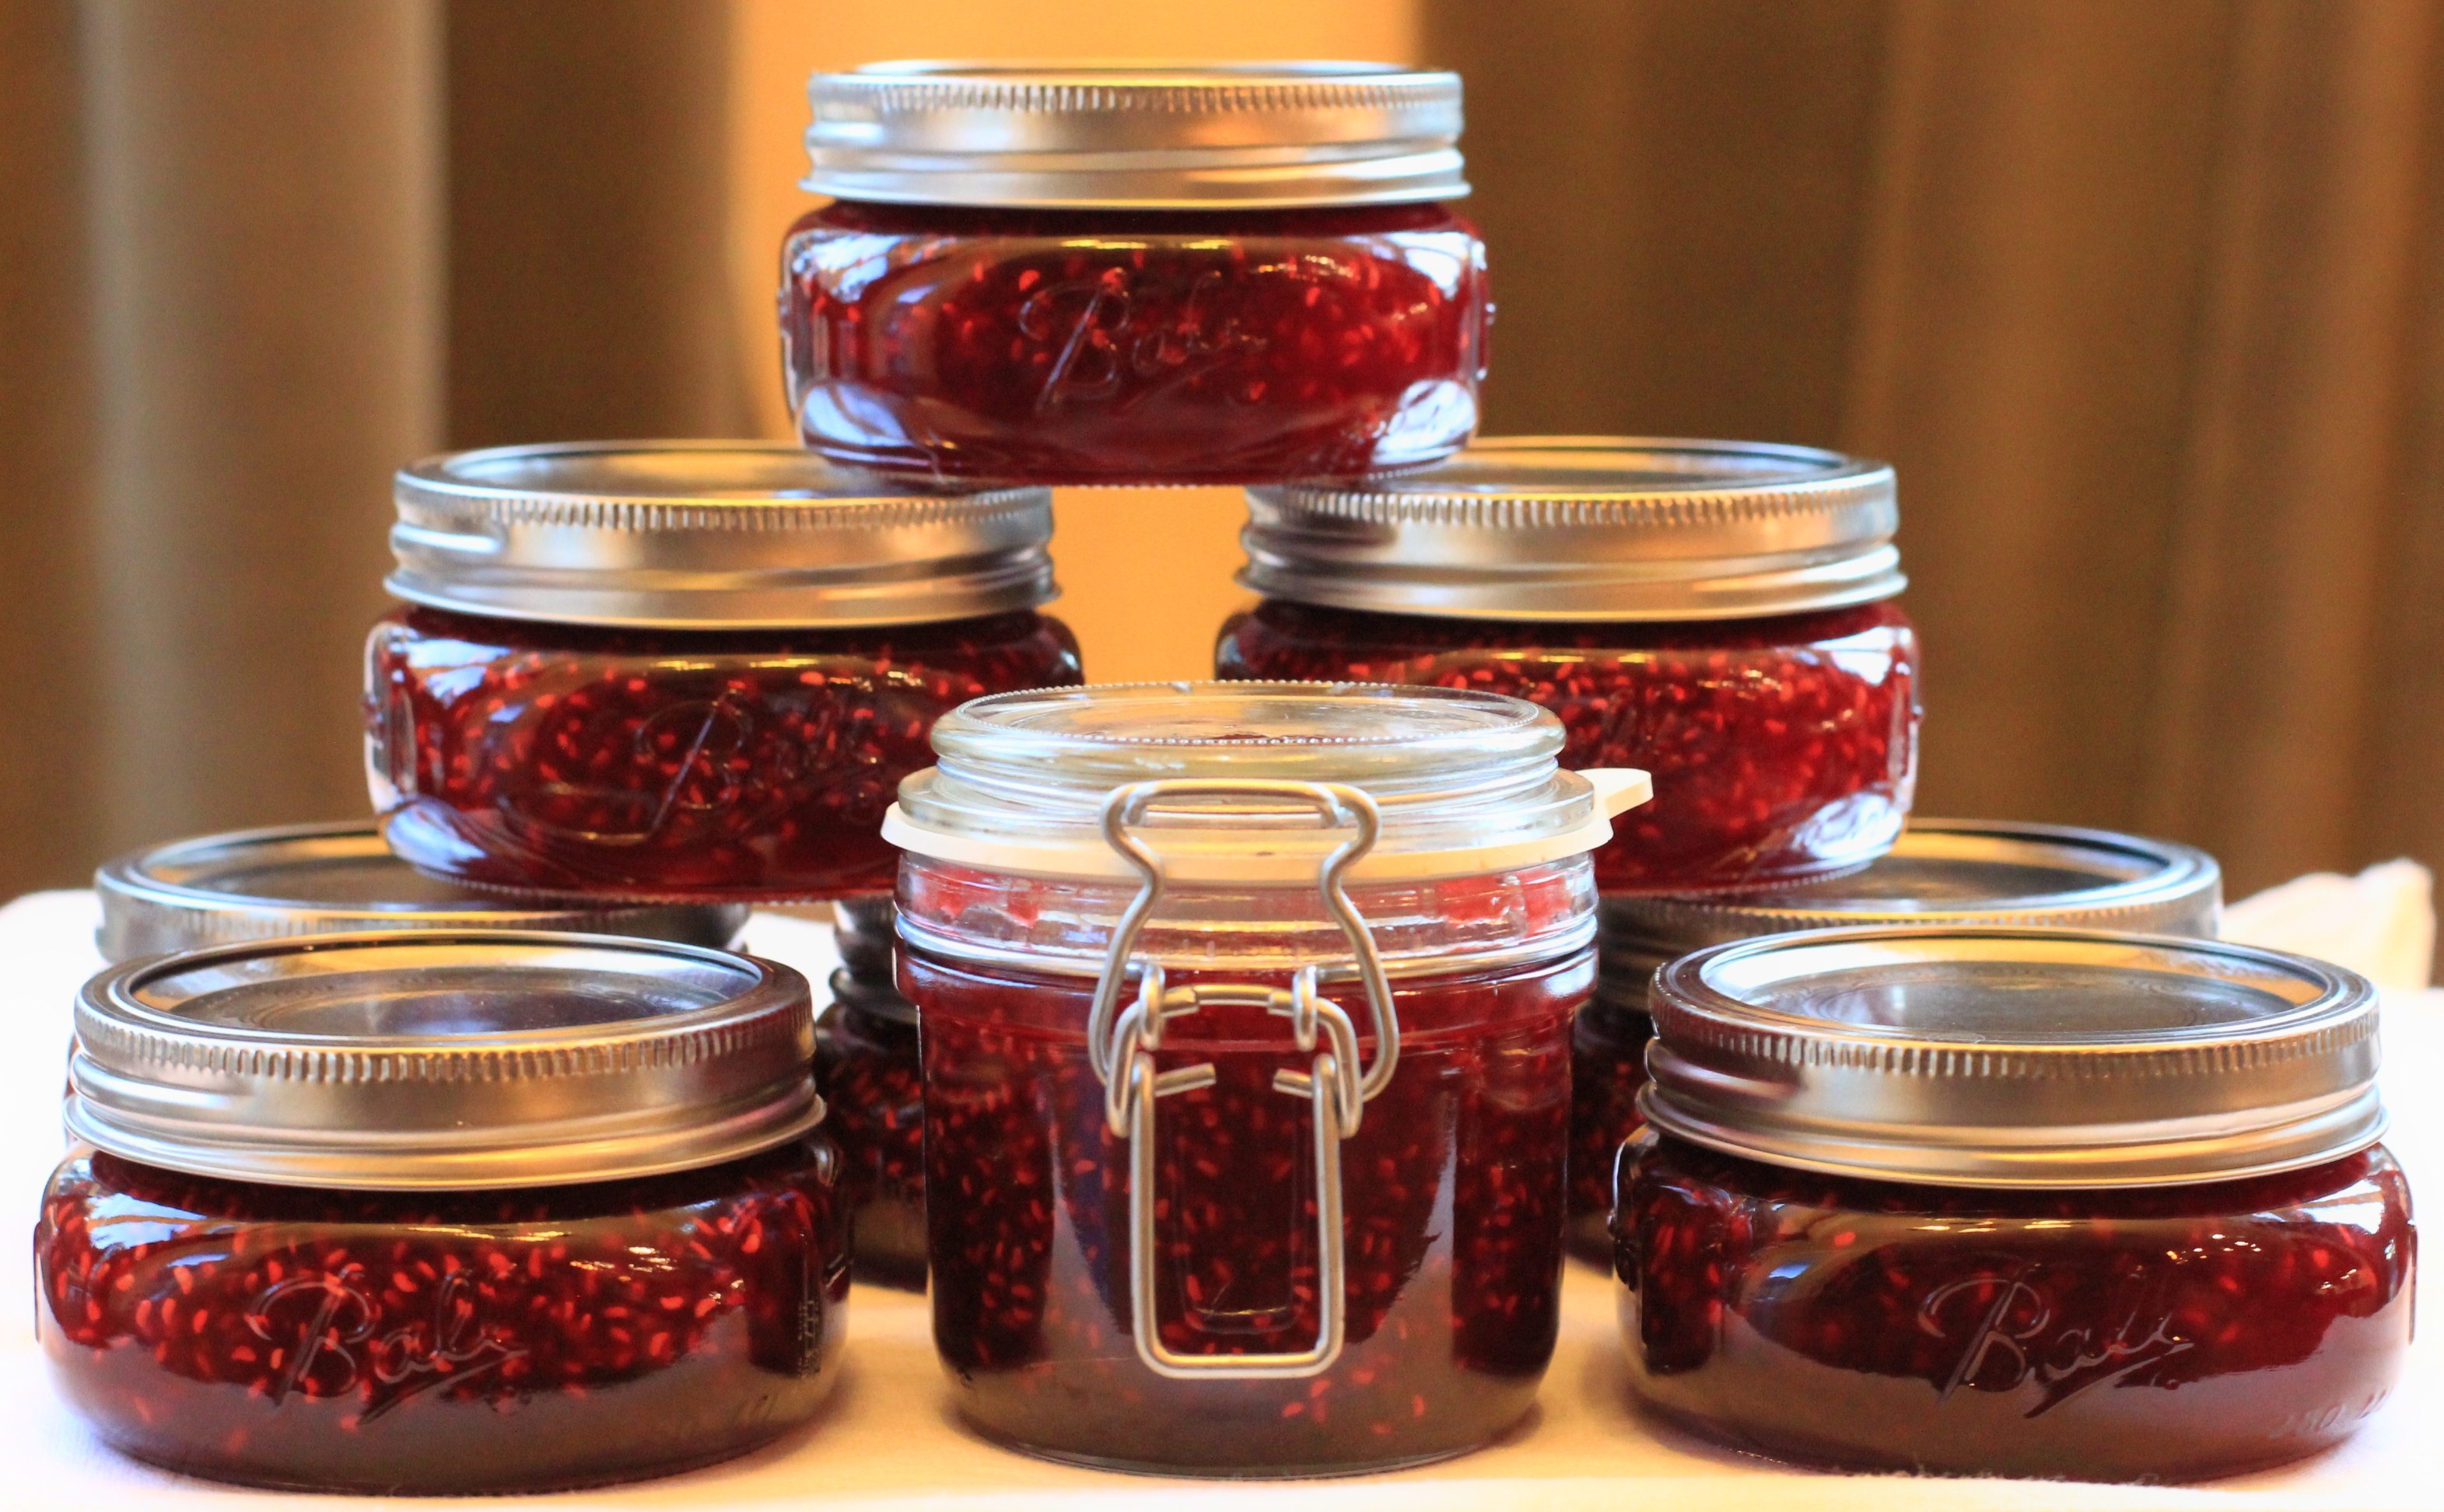
Homemade jam is the best, don’t you agree? Once you’ve had homemade, the store-bought stuff never measures up. With homemade you always know what’s in it and 100% of the time you’re getting real fruit and no fillers, artificial flavorings, food colorings, preservatives or other mystery ingredients.
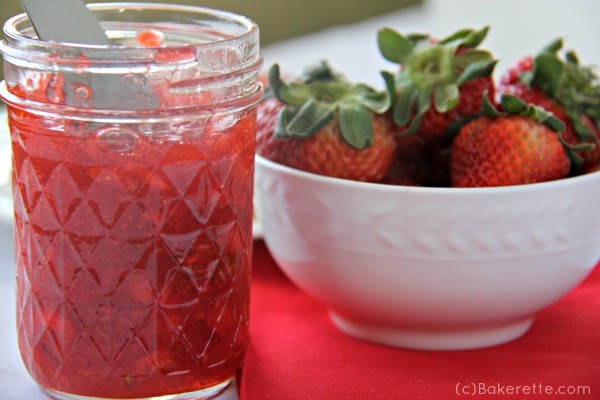
And the beauty of jam making: whatever grows well where you live will work in jam. June is the month of strawberries and rhubarb for much of the country, and California already has cherries and early stone fruit.
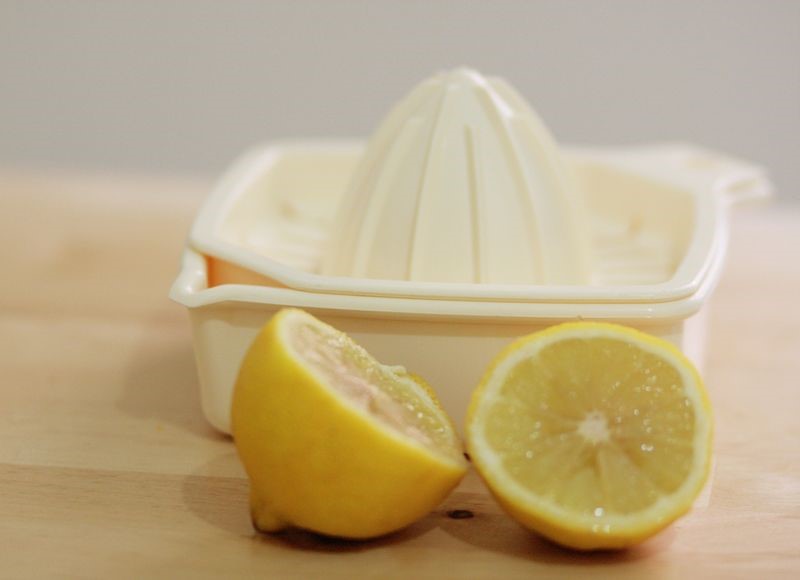
Years ago I found a basic jam recipe in one of Aunt Annie’s cooking magazines and I’ve relied on it ever since. It adapts with a few minor adjustments to any fruit I have on hand. This basic recipe balances the sugar with freshly squeezed lemon juice and the results are a modestly sweet jam that everybody raves about.
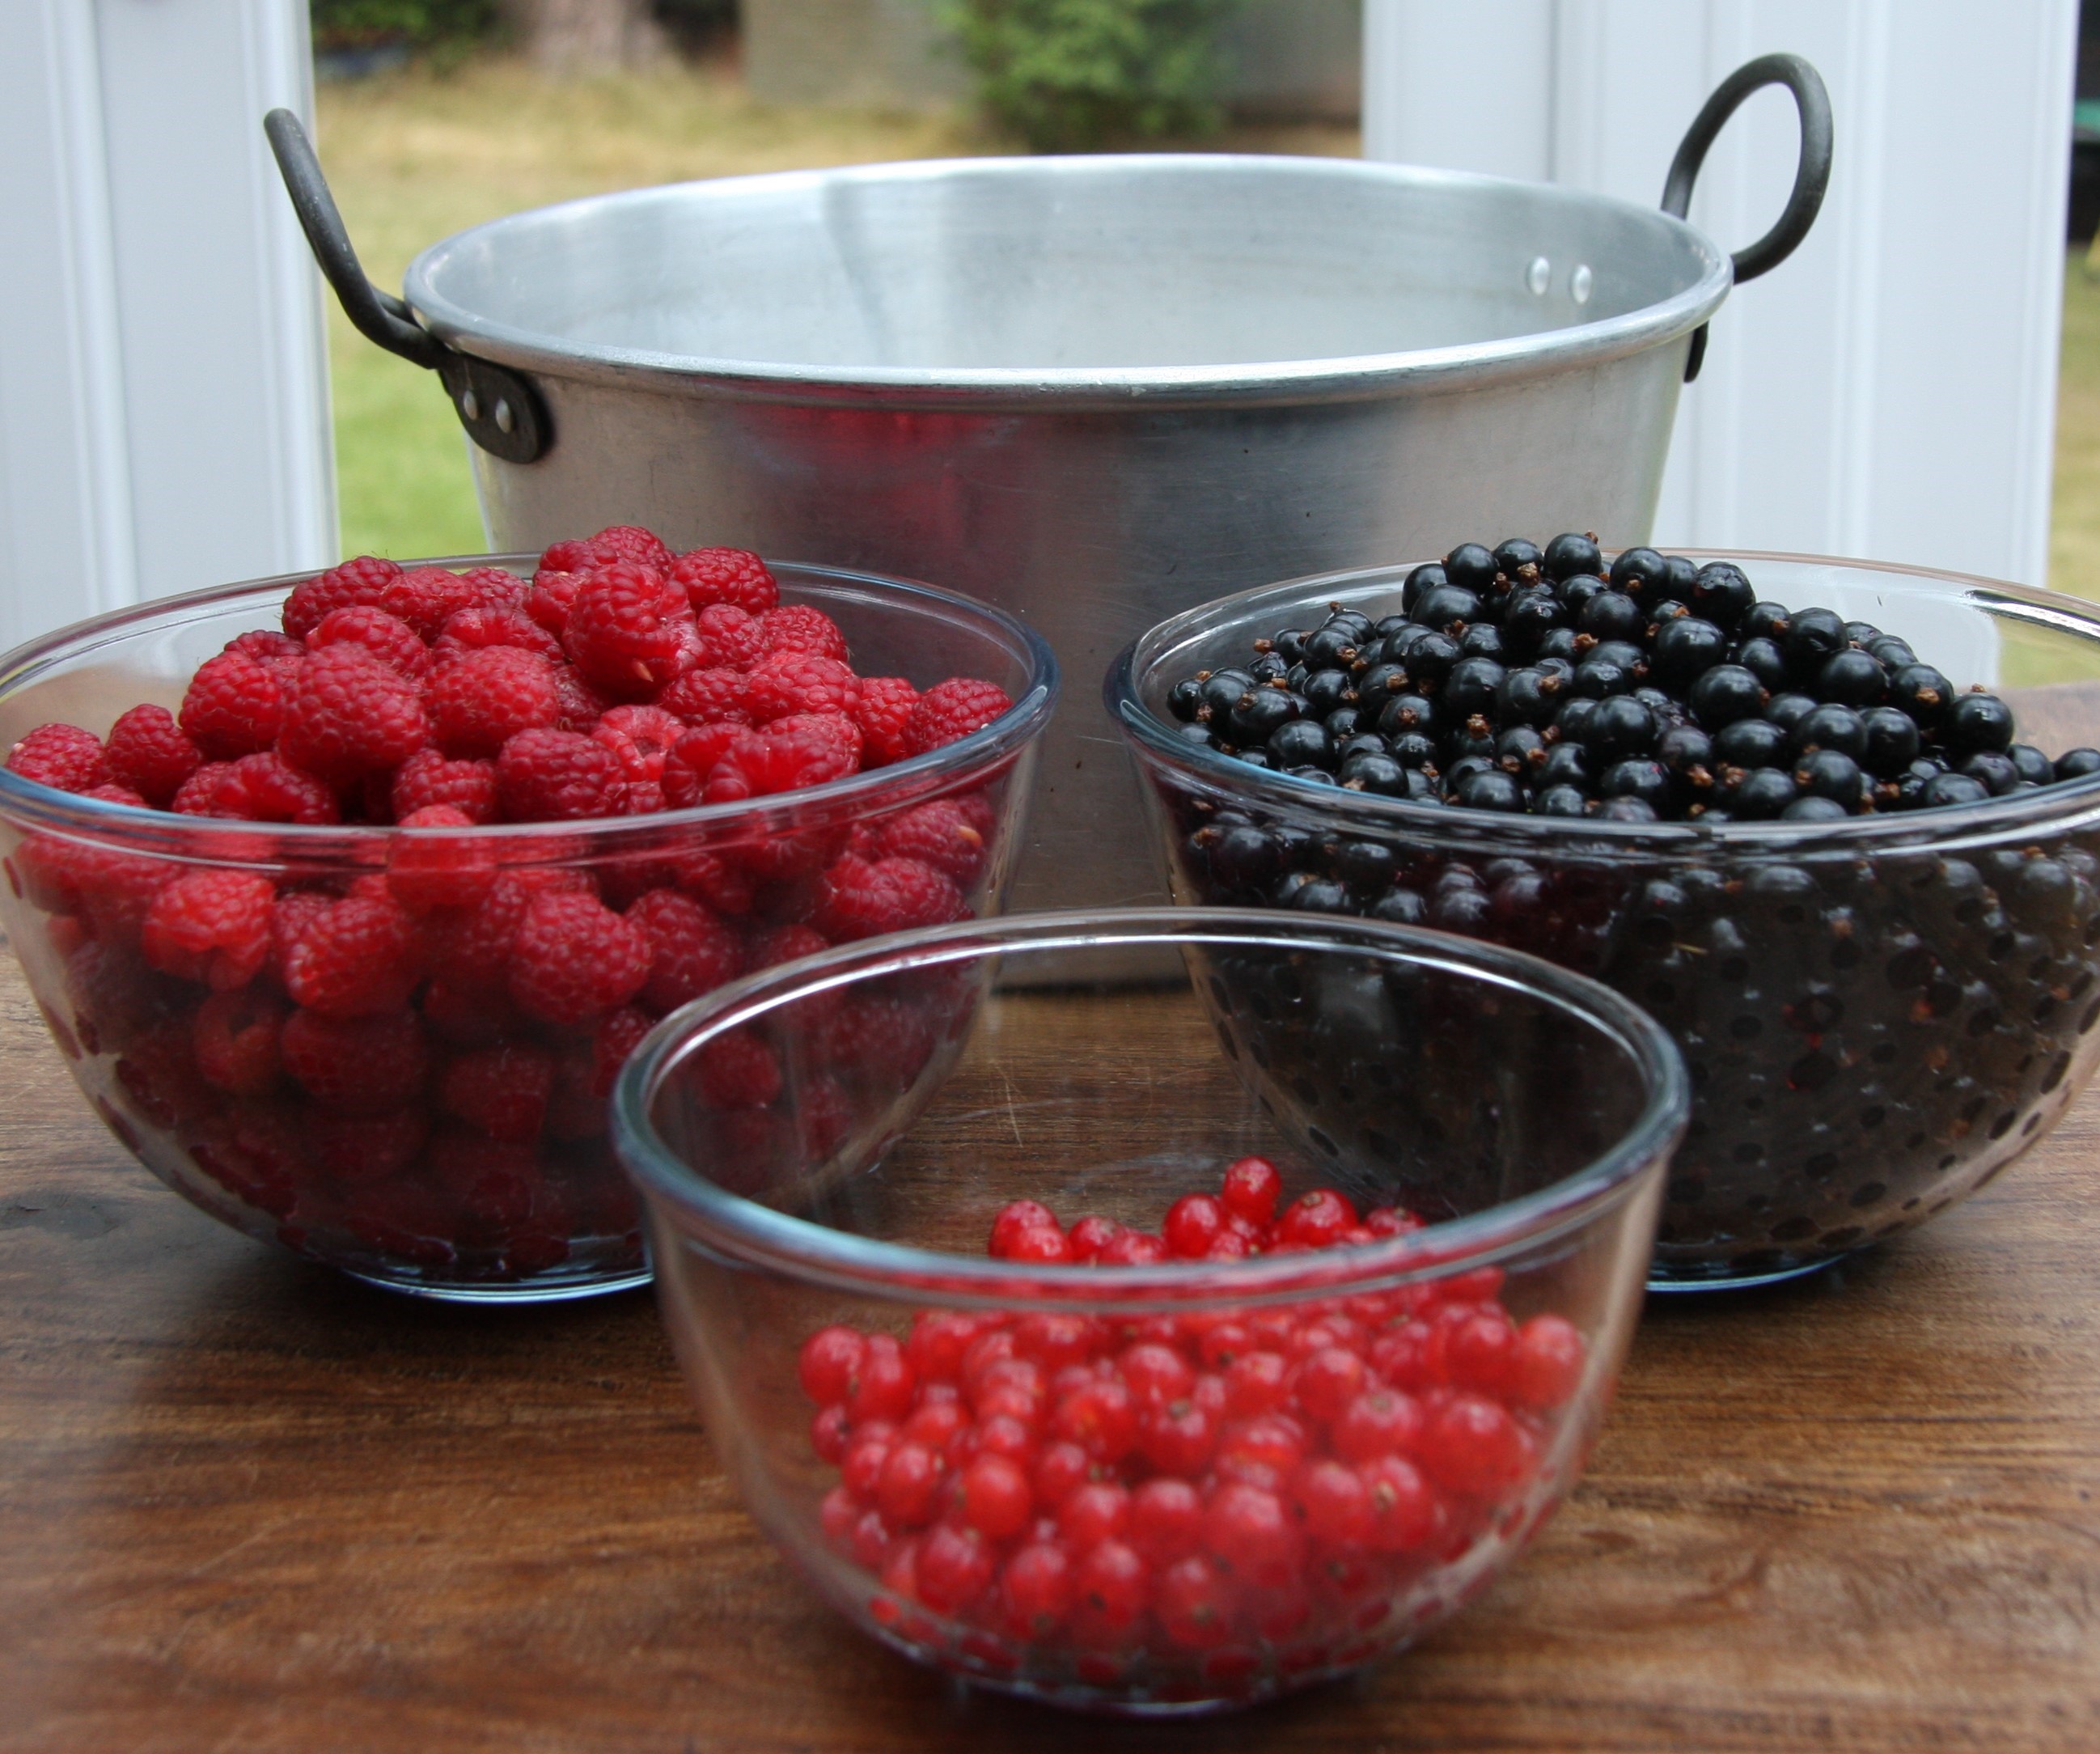
Aunt Annie used to tell me that “Good fruit makes good jam,” so that has become my first rule of jamming. Now, no matter what the season, I try to use the best fruit I can find.
I learned the hard way, by the way, that it’s best to work in small batches. So that has become my second jamming rule. SMALL batches are the way to go. Typically, three pounds of fruit will yield approximately 2 ½ pints of jam, give or take. If you want more jars, make two small batches rather than one double batch. You’ll find the results will be nearly as fast, and the quality will be superior.
And another good thing to know? If you’re just learning to make jam, you don’t need to worry about canning it—that is, you don’t need to process the sealed jars in a boiling water bath. All you need to do is just store the jam in the refrigerator, where it will last for weeks.
As you gain experience you can delve into canning and safe canning techniques (including all there is to know about botulism). But for now, relax and have fun with this adventure; rest assured that homemade jam won’t kill your friends and family.
And why can you relax and not worry about botulism? Jam made from almost all familiar fruit is classed among the “high-acid foods,” which are not susceptible to the risk of botulism. I read in a Mother Earth News article on jam making that “…acidity is a silver bullet against botulism. The only way to hurt someone with a jar of jam is to hit him in the head with it.” I appreciated this reassurance, since jam making is a little daunting when first starting out.
Back to the store-bought jam issue. Besides not tasting that great, it’s expensive. So it’s worth the effort to learn to make your own. And fruit jam is a versatile food staple with so many uses. It obviously has a natural home on breakfast toast, pancakes, pound cake, and ice cream. But it’s also delicious on the savory plate—similar to how we use cranberry jelly with turkey. A dab of peach or apricot jam is delicious with pork, for instance, while cherry jam and plum jam goes well with cheese.
So all this said, if you’re not a seasoned jam maker, consider giving this a try. And to get you started, here’s my basic jam recipe. Meanwhile, let’s all raise a piece of homemade jam-covered toast to the fruity deliciousness of summer!
ALICE’S BASIC JAM (Yields about 2-1/2 pints)
3 pounds prime, just-ripe fruit (strawberries, blueberries, blackberries, loganberries, raspberries, cherries, peaches, plums, etc.)
2½ cups sugar (or adjust as explained below)
1 to 2 fresh lemons (depending on size)
1. Clean and cut the fruit as you would for making fruit salad or fruit pie. For example: remove the caps from strawberries, and cut into quarters; or peel and pit peaches, and slice into pieces; or trim rhubarb and chop it into chunks.
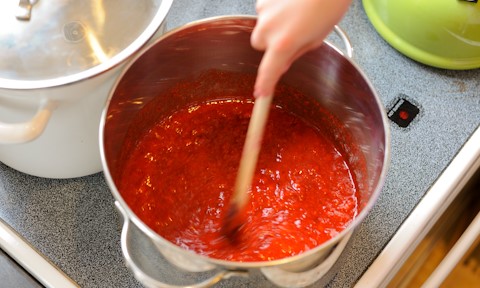
2. Using a potato masher or your own clean hands, crush the fruit until soupy. Measure this puree, and note the quantity. You’ll probably have about 5 cups, but expect some variation depending on the fruit. Put the puree in a wide, heavy-bottomed, non-reactive pot. The puree should be no more than 1 inch deep in the bottom of the pot.
3. For every two cups of fruit puree, add to the pot one scant cup of sugar and 1 tablespoon freshly squeezed lemon juice. Stir to combine, and taste. Very tart fruit (such as sour cherries or some plums) might need a little more sugar. Very sweet fruit (such as white peaches) might need a little more lemon juice. Adjust to taste.
4. Bring the fruit-sugar mixture to a boil over high heat, stirring frequently. After it boils, continue to cook over medium-high heat, stirring constantly, for 12 to 14 minutes, or until thickened. Check the consistency by turning off the heat and putting a spoonful of hot jam on a chilled saucer in the freezer for one minute. When ready, the cold jam will form a light skin that wrinkles when you push your finger through it, and it will cling to the saucer when you tilt the saucer upright. If the cold jam is too runny, bring the pot back to a boil for another minute or two, stirring constantly, then check the set again.
5. When thickened to your liking, ladle jam into clean half-pint jars or other air-tight containers. Allow to cool; will store in the refrigerator for up to a month.
- www.fabulesslyfrugal.com
- www.redvelvetgirls.typepad.com
- www.thetanglednest.com
- www.lovinghomemade.com
- www.bakerette.com
 Alice Osborne
Weekly Newsletter Contributor since 2006
Email the author! alice@dvo.com