How to Quick Freeze Meat So It Doesn’t Get Freezer Burnt
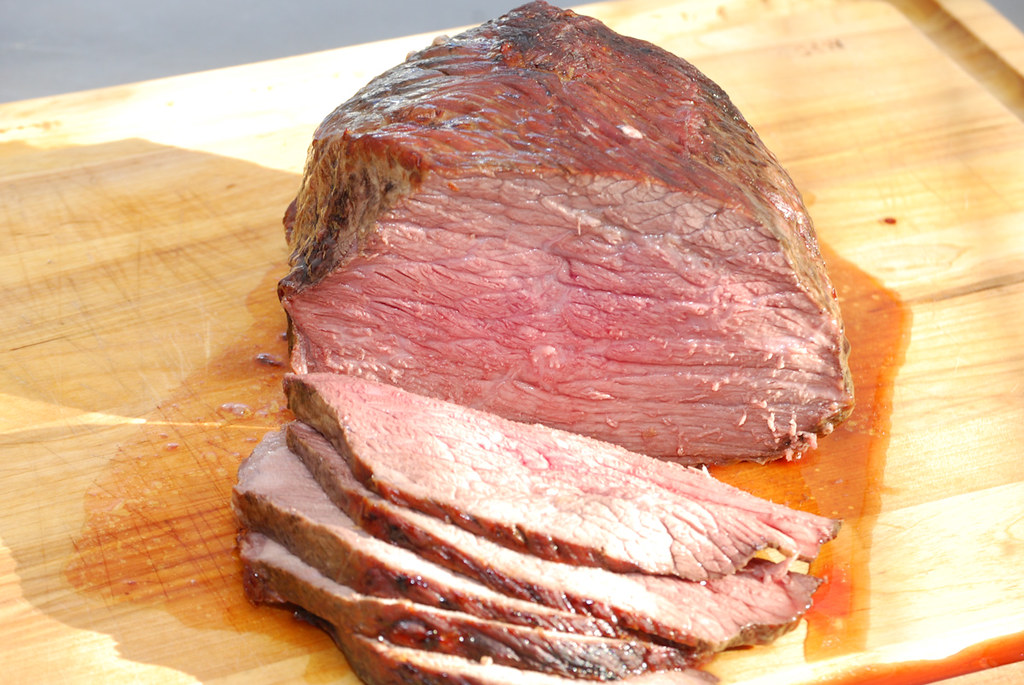
There is nothing more sad than being so excited to make something delicious from some frozen meats you have in the freezer, only to pull them out and find them barely recognizable from all the frozen crystals that have taken over the meat. This happened to me a couple weeks ago when I went to pull out some delicious rib-eye steaks I picked up about a month before when they were on a killer sale. They were super freezer burned and I was so sad! I still did my best to cook them up but they were dry and didn’t quite taste right. It was such a bummer.
Why is freezer-burned meat dry?
You might be wondering why freezer-burned meat always turns out on the dry side--here’s why. When meat freezes, ice crystals form and these sharp crystals actually tear the protein fibers apart. This is actually the reason that there is so much extra liquid when you defrost frozen meat to use. This happens because the fibers have opened up and can no longer hold that precious liquid that makes those steaks so juicy. Once it’s gone you can never get it back, so that is why your meat ends up dry.
How to Keep Frozen Meat Juicy When Thawed and Avoid Freezer Burn
Now this is the ultimate question, right? Here are some tips I found online to help you achieve this goal of meat that doesn’t form those ice crystals so badly. You can help counteract the huge ice crystals forming by flash freezing your meat so that the meat already starts out very cold when you put it into the freezer. In this case, the meat freezes quickly enough that ice crystals stay very small--which doesn’t tear up the protein fibers as severely. The best way to flash freeze the meat to get ready for the freezer is with an ice bath. Using water, salt, and ice you create the perfect environment for the meat to freeze quickly.
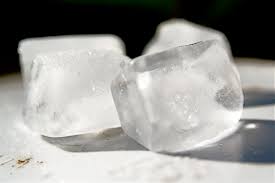
For an ice bath, you’ll need:
1 pound ice
Add ½ cup salt
Add ⅓ cup water
Add those ingredients to a large bowl and stick your sealed meat into the ice water for two to three hours, depending on the thickness of the cut. This helps your meat chill quickly and then it is ready for the freezer. Try to place the meat in a place where it will receive the most air flow, or at the back of the freezer. Just remember this doesn’t completely avoid your meat growing crystals, it just minimizes the size of the ice crystals that form. Bottom line: the faster the freeze, the smaller the crystals.
The Best Ways To Wrap Your Meat To Freeze
Oxygen can also cause your meat to look or smell unpleasant because the oxygen breaks down the meat faster. So you want to try and eliminate the oxygen as much as possible.
Why is freezer-burned meat dry?
You might be wondering why freezer-burned meat always turns out on the dry side--here’s why. When meat freezes, ice crystals form and these sharp crystals actually tear the protein fibers apart. This is actually the reason that there is so much extra liquid when you defrost frozen meat to use. This happens because the fibers have opened up and can no longer hold that precious liquid that makes those steaks so juicy. Once it’s gone you can never get it back, so that is why your meat ends up dry.
How to Keep Frozen Meat Juicy When Thawed and Avoid Freezer Burn
Now this is the ultimate question, right? Here are some tips I found online to help you achieve this goal of meat that doesn’t form those ice crystals so badly. You can help counteract the huge ice crystals forming by flash freezing your meat so that the meat already starts out very cold when you put it into the freezer. In this case, the meat freezes quickly enough that ice crystals stay very small--which doesn’t tear up the protein fibers as severely. The best way to flash freeze the meat to get ready for the freezer is with an ice bath. Using water, salt, and ice you create the perfect environment for the meat to freeze quickly.
For an ice bath, you’ll need:
1 pound ice
Add ½ cup salt
Add ⅓ cup water
Add those ingredients to a large bowl and stick your sealed meat into the ice water for two to three hours, depending on the thickness of the cut. This helps your meat chill quickly and then it is ready for the freezer. Try to place the meat in a place where it will receive the most air flow, or at the back of the freezer. Just remember this doesn’t completely avoid your meat growing crystals, it just minimizes the size of the ice crystals that form. Bottom line: the faster the freeze, the smaller the crystals.
The Best Ways To Wrap Your Meat To Freeze
Oxygen can also cause your meat to look or smell unpleasant because the oxygen breaks down the meat faster. So you want to try and eliminate the oxygen as much as possible.
- The best way to protect your meat would be to vacuum seal your meat--if you’ve got something like a FoodSaver, this is very easy. Alternatively, you could actually vacuum seal it with a straw and your breath, if you feel so inclined. Place your meat in a freezer ziptop bag and manually suck the air out with a straw. This is very effective, but most people wouldn’t want to suck air out of a bag with raw meat.
- You can also put your meat in a ziptop bag and place in a bowl of water. This will force the air out of the bag and then you can seal it.
- Lastly, you could tightly wrap the meat in plastic wrap, followed by a tight wrap of foil, then place in a ziptop freezer bag.
Sources:
- www.flickr.com
- www.piqsels.com
- www.smokingmeats.com
- www.americastestkitchen.com
 Mary Richardson
Weekly Newsletter Contributor since 2014
Email the author! mary@dvo.com