5 Common Baking Problems (And How to Avoid Them)
One of my favorite things about cooking and baking is that there is so much potential to always get better and learn new techniques. I have read so many articles and hacks over the years and yet I feel I am still just at the tip of the iceberg when it comes to the wealth of knowledge I could learn.
I love trying new recipes and techniques and challenging myself. I am probably a better cook than baker, mostly because I love to use my instincts and taste buds to throw this or that in there until it’s just right. Of course I know this doesn’t work as well for baking. You have to follow the recipe with baking if you want spectacular results, which I have learned the hard way time and time again! :\
I came across a cool article from one of my favorite websites CookingLight.com where they shared a ton of baking mistakes and I learned a lot from this article. There were so many of their tips that I am on the naughty list for.
Here are a few of the tips I learned from them and I hope you will find them helpful as well. Here’s to fluffier cakes, non-soggy muffins and crumble-free brownies!
Problem #1: You are getting soggy muffins.
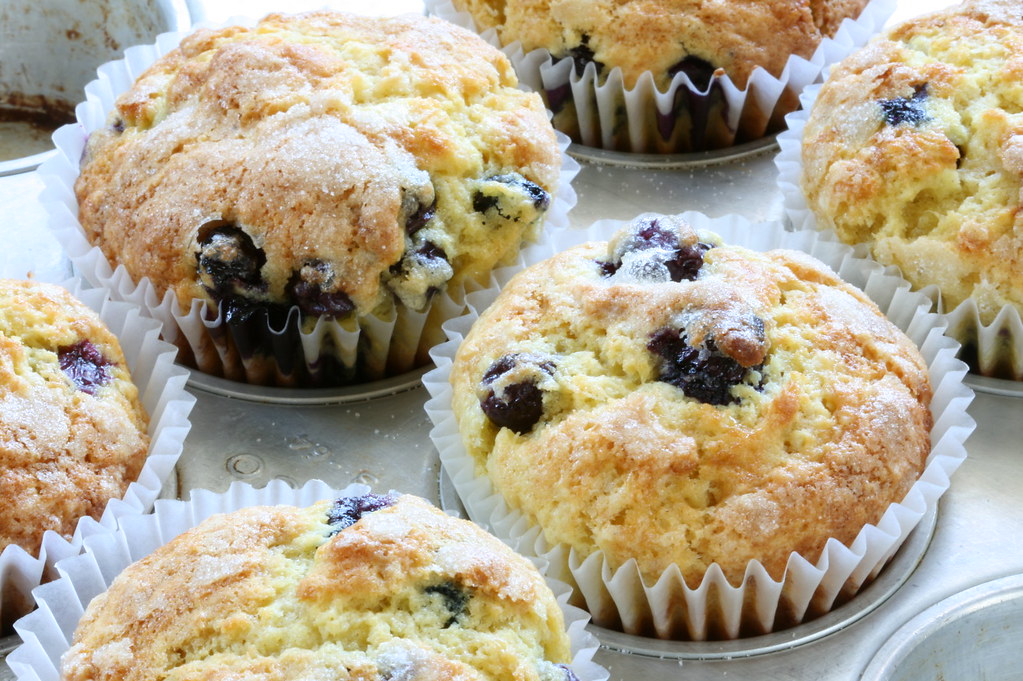
If you are getting muffins that are soggy throughout, it is likely that you are letting them rest in the pan all the way until they are cooled. There is a lot of moisture that escapes while the muffins are cooling and it needs somewhere to go, or else the muffin will absorb it and become soggy.
Try this instead: Only cool the muffins in the pan for 5 minutes and then place them on a cooling rack to cool the rest of the way. This way, your muffins stay moist in the middle, but have a nice crumb on the outside.
Problem #2: You are not using the proper size pan.
This is the one I fall most guilty to when I am baking brownies and since my husband likes thin brownies, I skip the recommended pan and go for the big 9x13 pan for one small package of brownies and always risk them being overcooked or burnt.
Try this instead: You should always stick to the recommended pan and follow exactly what the recipe says. This is because larger pans that are more shallow need increased heat, while smaller pans that are deeper need decreased heat. You are going to throw everything off if you try and bake outside the recommendations. You are likely to have a “fail”.
Bonus Tips to Remember:
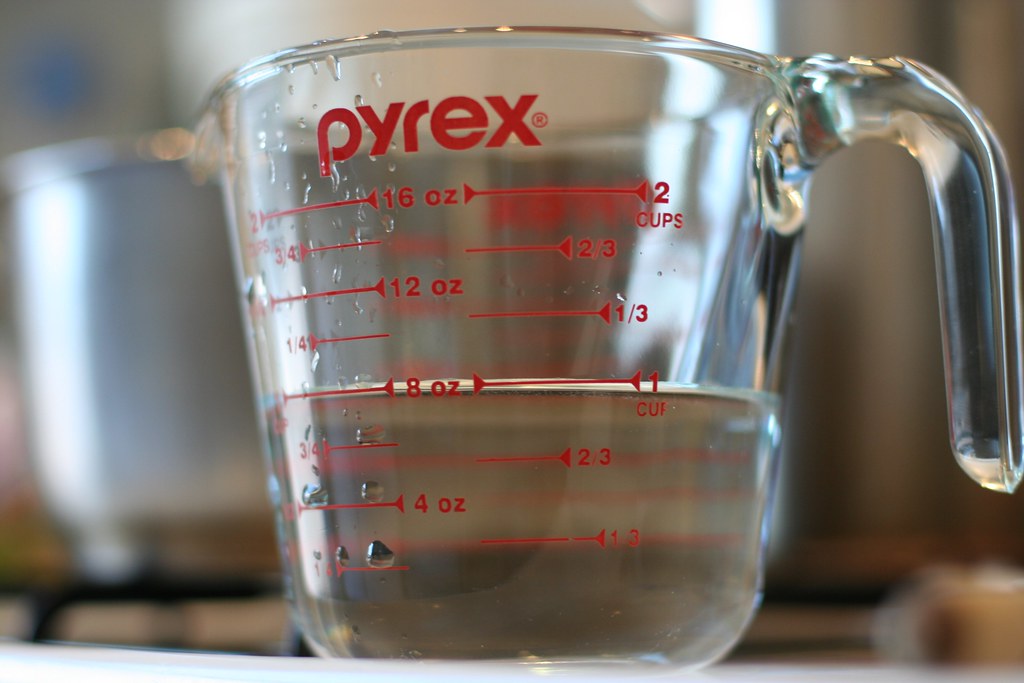
I certainly get a little lazy when baking and if I’m making a batch of brownies, I tend to use the dry measuring cups for my oil and water, just to name one example. Yes, the water is overflowing and often spills and makes a mess, but I never thought too much about this. However, there are the glass liquid measuring cups for a reason. This way you can add the right amount of liquid and it will not spill out and there is often a spout on the glass jar for easy pouring. Check the measurement at eye level. The dry measuring cups are perfect for spooning dry ingredients into them and leveling off with a spoon. Flour does not need to be sifted unless the recipe calls for it.
Bonus tip: Keep in mind that if you are measuring ounces, 8 ounces is only 1 cup when measuring liquids. 1 cup equals 8 fluid ounces. Dry ingredients like flour and sugar vary in weight. For example, 1 cup of flour equals 4.5 ounces.
Problem #4: You can never seem to cut your brownies into perfect squares.
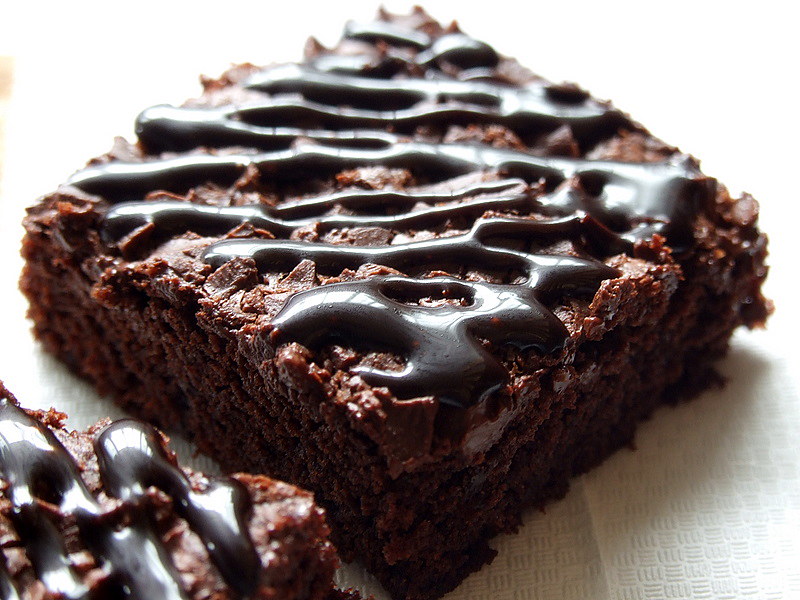
It is hard for me to get perfect brownie squares, especially when they are warm because it always seems to stick to the knife and crumble away.
Try this instead: Use a plastic knife or the edge of a silicone spatula to get a nice clean cut. The silicone or plastic glides right through the brownie without sticking.
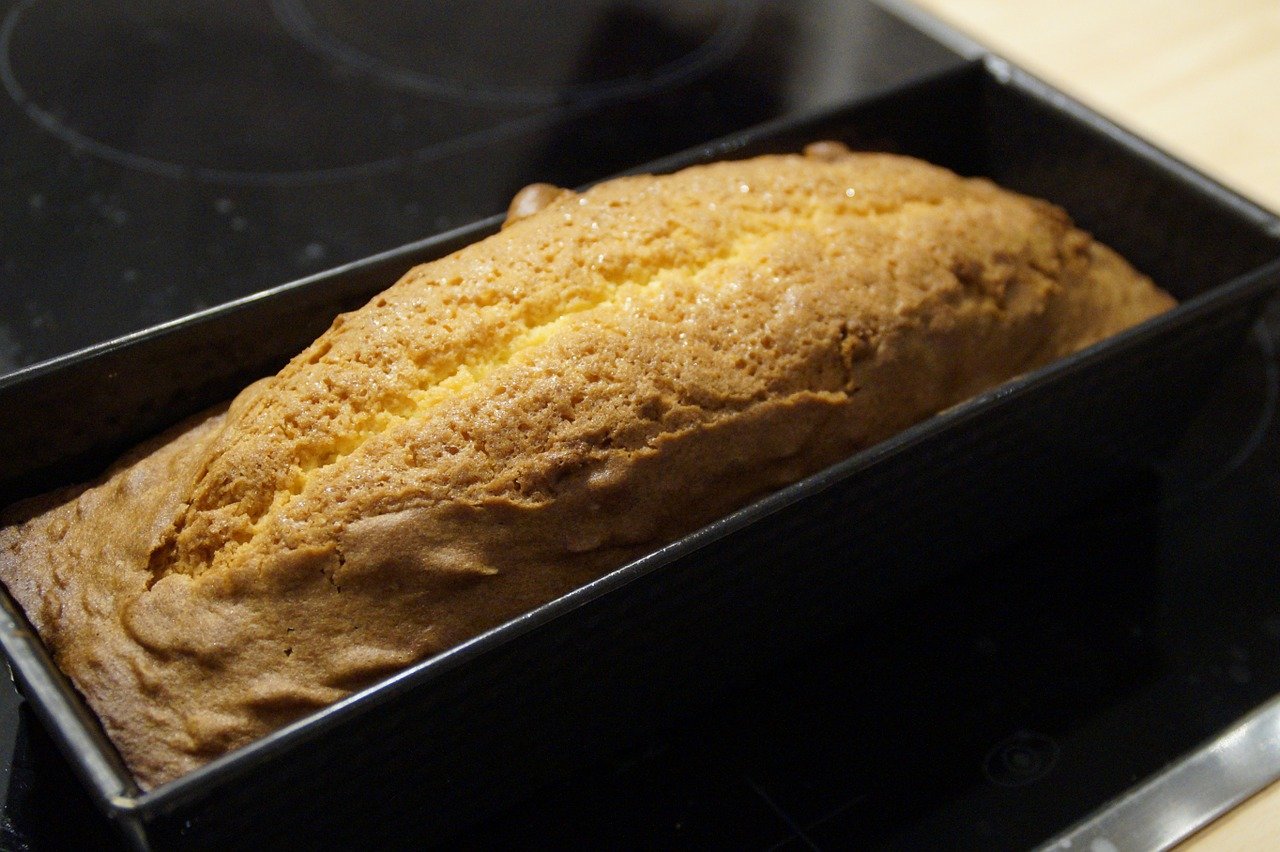
Problem #5: You put your baked goods into the oven before the oven is preheated.

This seems like a pretty harmless mistake but it’s actually very important. If you put your item in before the oven is preheated, your cake, for example, might rise prematurely and then collapse before your time is up. They recommend you preheat at least 15 minutes before the item goes in the oven for best results.
Well there is my roundup of helpful baking tips for today. I have a few more I’m going to share another time, but these are some tips and the why behind them for baking challenges I personally have sometimes. Which of these tips (if any) did you find the most helpful today? Please share in the comments below.
I love trying new recipes and techniques and challenging myself. I am probably a better cook than baker, mostly because I love to use my instincts and taste buds to throw this or that in there until it’s just right. Of course I know this doesn’t work as well for baking. You have to follow the recipe with baking if you want spectacular results, which I have learned the hard way time and time again! :\
I came across a cool article from one of my favorite websites CookingLight.com where they shared a ton of baking mistakes and I learned a lot from this article. There were so many of their tips that I am on the naughty list for.
Here are a few of the tips I learned from them and I hope you will find them helpful as well. Here’s to fluffier cakes, non-soggy muffins and crumble-free brownies!
Problem #1: You are getting soggy muffins.
If you are getting muffins that are soggy throughout, it is likely that you are letting them rest in the pan all the way until they are cooled. There is a lot of moisture that escapes while the muffins are cooling and it needs somewhere to go, or else the muffin will absorb it and become soggy.
Try this instead: Only cool the muffins in the pan for 5 minutes and then place them on a cooling rack to cool the rest of the way. This way, your muffins stay moist in the middle, but have a nice crumb on the outside.
Problem #2: You are not using the proper size pan.
This is the one I fall most guilty to when I am baking brownies and since my husband likes thin brownies, I skip the recommended pan and go for the big 9x13 pan for one small package of brownies and always risk them being overcooked or burnt.
Try this instead: You should always stick to the recommended pan and follow exactly what the recipe says. This is because larger pans that are more shallow need increased heat, while smaller pans that are deeper need decreased heat. You are going to throw everything off if you try and bake outside the recommendations. You are likely to have a “fail”.
Bonus Tips to Remember:
- Place pans as near to the center of the oven as possible.
- Don’t place pans directly over one another.
- Do not crowd the oven, as this leads to uneven baking.
I certainly get a little lazy when baking and if I’m making a batch of brownies, I tend to use the dry measuring cups for my oil and water, just to name one example. Yes, the water is overflowing and often spills and makes a mess, but I never thought too much about this. However, there are the glass liquid measuring cups for a reason. This way you can add the right amount of liquid and it will not spill out and there is often a spout on the glass jar for easy pouring. Check the measurement at eye level. The dry measuring cups are perfect for spooning dry ingredients into them and leveling off with a spoon. Flour does not need to be sifted unless the recipe calls for it.
Bonus tip: Keep in mind that if you are measuring ounces, 8 ounces is only 1 cup when measuring liquids. 1 cup equals 8 fluid ounces. Dry ingredients like flour and sugar vary in weight. For example, 1 cup of flour equals 4.5 ounces.
Problem #4: You can never seem to cut your brownies into perfect squares.
It is hard for me to get perfect brownie squares, especially when they are warm because it always seems to stick to the knife and crumble away.
Try this instead: Use a plastic knife or the edge of a silicone spatula to get a nice clean cut. The silicone or plastic glides right through the brownie without sticking.
Problem #5: You put your baked goods into the oven before the oven is preheated.
This seems like a pretty harmless mistake but it’s actually very important. If you put your item in before the oven is preheated, your cake, for example, might rise prematurely and then collapse before your time is up. They recommend you preheat at least 15 minutes before the item goes in the oven for best results.
Well there is my roundup of helpful baking tips for today. I have a few more I’m going to share another time, but these are some tips and the why behind them for baking challenges I personally have sometimes. Which of these tips (if any) did you find the most helpful today? Please share in the comments below.
Sources:
- www.pixabay.com
- www.flickr.com
- www.whatscookingamerica.net
- www.cookinglight.com
 Mary Richardson
Weekly Newsletter Contributor since 2014
Email the author! mary@dvo.com