Stop Wasting Time Continually “Organizing” Your Pantry!
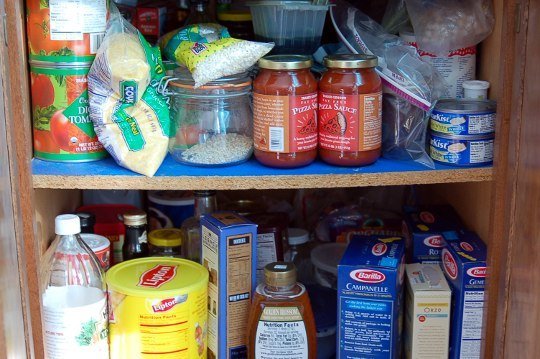
See this maddening chaos? The pasta is mixed with the baking ingredients which have gotten lost behind random bags of who knows what... “This pantry used to be organized,” is what I hear so often when I’m doing kitchen consulting.
“Yeh, yeh, I know. But this time around we’re gonna create LASTING organization so you never waste any more time dealing with this frustration again!” is always my reply. And because I know good and well that many many of our Cook’n readers deal with this frustration too, here’s what we do to take care of it once and for all and create a user-friendly space:
Step One: Remove everything off the shelves of your pantry; you want everything out on the counter where you can see it so you can “deal” with it. And here’s where we need to understand 2 things: 1) pantries need organizing on a regular basis, BUT 2) you’ll only need to do this major blowout once. In other words, we’ll be creating a solid organizational foundation—a blueprint for placement of items. Then when things get skeewampus again, you’ll know exactly where to put things and they’ll go back where they belong quickly and easily (with minimal decisions).
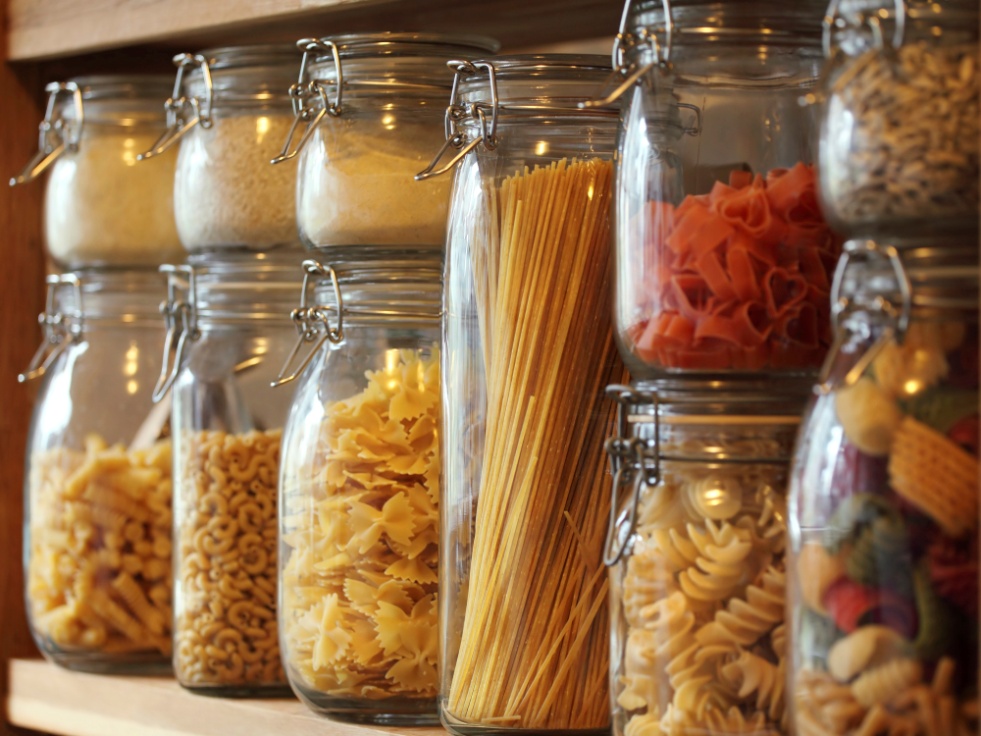
Step Two: Assess the pantry contents that are now out on your counter(s). Go through everything you've been squirreling away. Check for expiration dates and throw away what is no longer good, or needed, wanted, or used. Be sure to sniff the contents of your bottled oils. They go rancid—NEVER keep rancid oil. It’s horribly bad for the body. And the goal is to get every opened bag and box of things out of those boxes and bags and into air tight containers (I prefer glass).
Step Three: By now your trash should be getting full of nasty stuff, no-longer-wanted stuff, mystery stuff (“Why the heck did I buy this?” stuff). With shelves empty it’s the time to wipe and clean and apply shelf liner (rubberized liner does a terrific job of protecting your shelf surfaces and keeps things in place, but it’s all a matter of preference).
Next look at all the stuff on your counters (by now there should only be “keepers” waiting for you). Group them as best you can into categories. All herbs together. All spices together. All fats and oils together. All sugars and sweeteners together. All flours together. All grains together. All canned protein together. All tomato products together. All soups together. All pastas together. All condiments together. Etc. Etc. It’s the tried-and-true supermarket principle of organization.
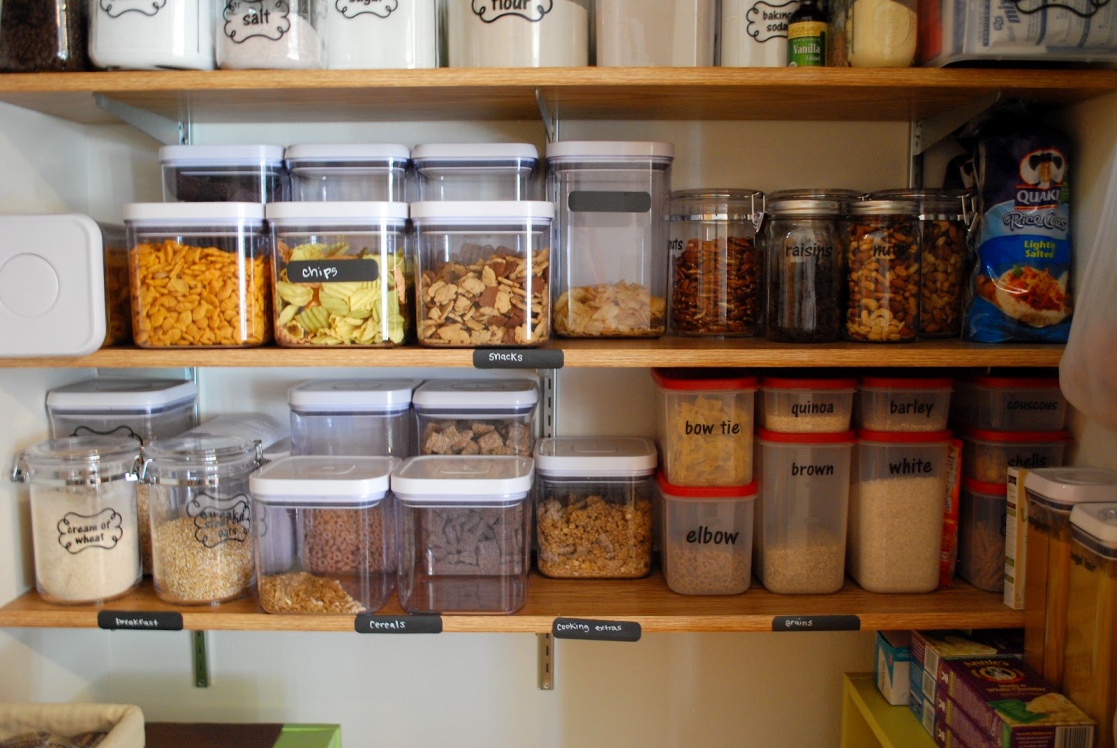
NOW, go back to the pantry and make space assignments. Again, this is personal preference, but it makes good sense to store little-used items higher up, or towards the back. You want items you need most often at hand. You may even want to attach pretty labels to your shelves (especially if there are other folks in the house that get into your pantry as well). The rule (and I’m almost a Gestapo about this) is: We put things back where we found them. NO chucking and stuffing allowed.
Step Four: Time to reload the pantry with your categories of keepers. Eventually, if you’re not able to transfer opened bags and boxes of things to air tight containers now, plan to do it soon. Glass canning jars work well. (Hobby Lobby has a great assortment of glass storage keepers and they’re on sale often.) Glass is nice because you can see what and how much you have.
Step Five: Monitor this space regularly and when you see things out of place, put them back in their assigned spots. Easy. (Oh, and going forward, only buy and store things you’ll actually like, use, need, want, and have room for!)
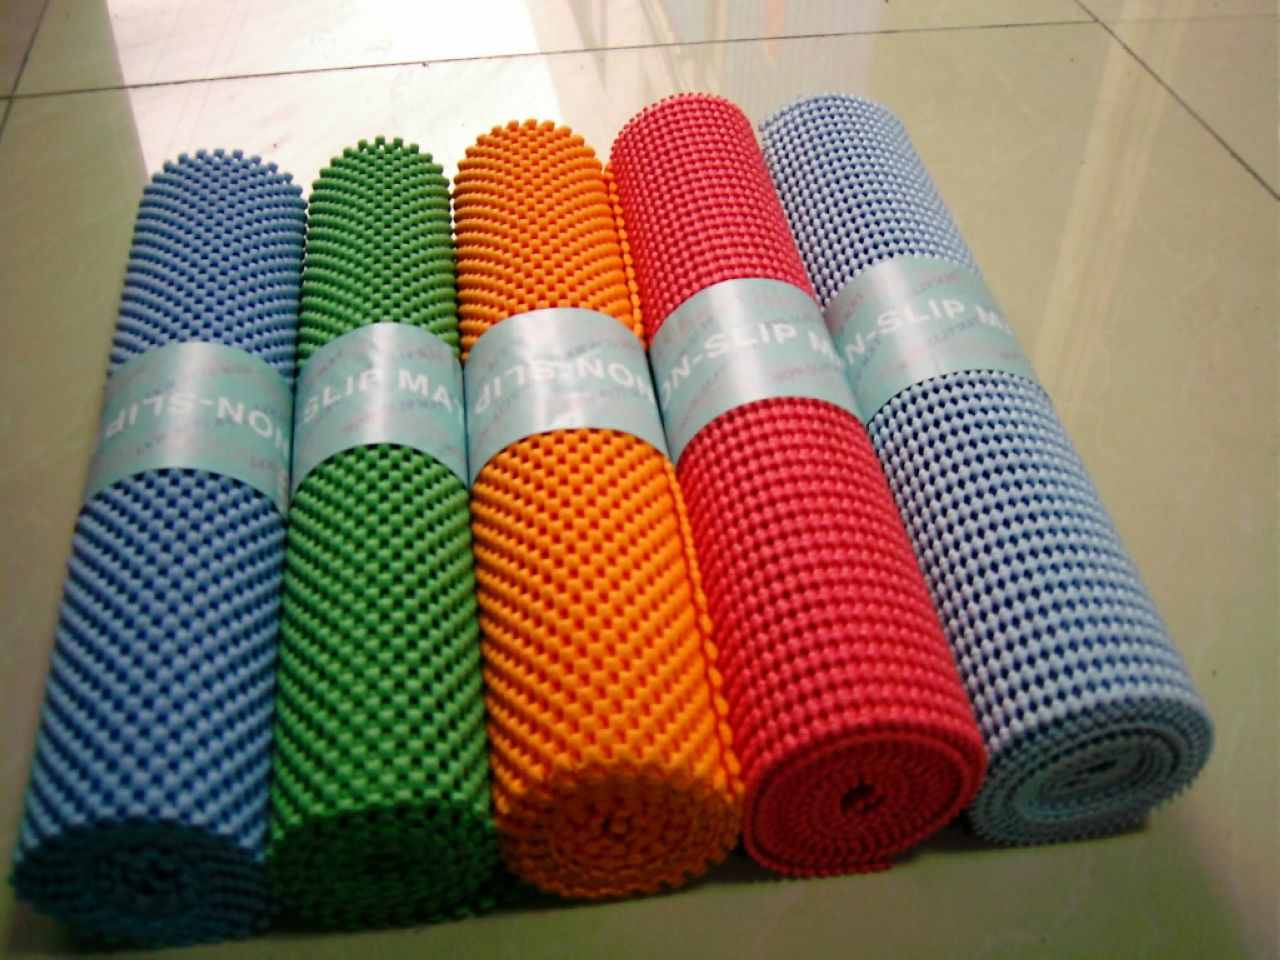
Finally, since I’ve mentioned it, let’s talk about rubberized shelf liner. I found these creative ideas for using non-slip liner on a favorite site, The Kitchn (www.thekitchn.com). It can be found in hardware stores, home improvement stores, and even Walmart. If you have trouble finding it, look in the section that sells power tools. Mechanics often use these rubber mats to line their tool boxes.
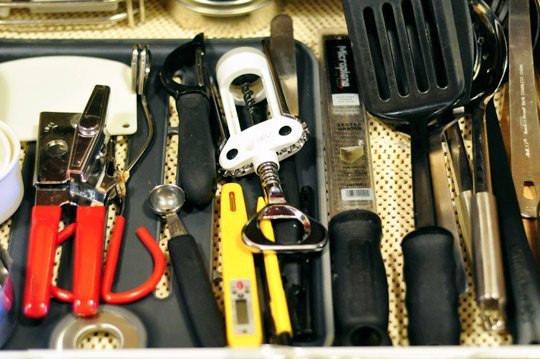
This rubbery mesh grips surfaces and reduces friction in drawers and on shelves, and but it can do so much more. See if any of these ideas can serve you:
Place it underneath cutting boards to keep them from slipping while you’re cutting and chopping.
A square scrap makes a perfect jar-opener. It’s got grip!
Place a large piece under your stand mixer or high-power blender to keep the appliance from “walking” over the counter while in use.
Place a piece under mixing bowls and baking pans so that when you’re mixing or pouring batter, nothing slips away from you—the bowl or pan stays put.
Tighten faucets and drawer handles when there’s not a wrench handy. This rubber mat will do the gripping for you.
Use a large piece as an emergency drying rack. When you have an overflow of dishes (after a party, for instance), this non-slip mat lets moisture evaporate from underneath and the sticky grippiness keeps things from sliding around.
There you go. Ideas for doing things a little easier in this very busy center of your home and timely instruction on how to stop wasting time continually organizing your pantry!
- www.mcbabybump3.com
- www.foodnetwork.com
- www.envia-business.net
- www.thekitchn.com
 Alice Osborne
Weekly Newsletter Contributor since 2006
Email the author! alice@dvo.com