Gluten Free Pizza
When I went gluten free, I knew I had a ton of change in front of me. Most of them I handled, adapted and was fine. But one of the things I still missed was pizza. Sure, I can find frozen pizzas, but those are frozen pizza- not the best quality. Plus, I was still reacting to some of them, even though they said they were gluten free. Also, I love a pizza with a medium to thick crust. Almost everywhere I went, they had thin, crispy crusts. Not what I love the most.
Fortunately, I have not been alone on this journey. I have a sister-in-law that has been doing this much longer than I have. And she had a pizza crust recipe! Woo hoo! If you make the change to gluten free, I highly recommend finding someone that has been doing it for a while and learning from them the tips and secrets of gluten free living!
She was even nice enough to help me learn how to make gluten free breads, which don’t work the same as a typical gluten filled bread dough. While you can get similar results, the dough itself is very different. Here’s some tips for making gluten free bread, even if it’s from a mix instead of a recipe!
First it is typically a lot stickier, and so a lot harder to handle. It’s kind of a cross between a bread dough and a stiff cake batter. You mix it using a paddle instead of dough hook and it has a lot more liquid to it. Don’t try to make it look like a typical dough.
As you handle it, use either water or greased plastic wrap to handle it. It’s fairly hard to roll out, so usually it’s a pour and spread method. I usually use a plastic spatula and frequently dip it in water to keep the dough from sticking.
Rising time usually isn’t as long as with gluten filled dough, but still important. Carefully watch your dough to make sure you get it to the right stage before baking.
Depending on the recipe, you use various ingredients to mimic the binding nature of gluten. Many recipes will call for xanthan gum or something else to help the food stick together. Don’t forget it! I have a time or two and I end up with super crumbly stuff.
Have fun, experiment and enjoy!
Gluten Free Pizza Crust
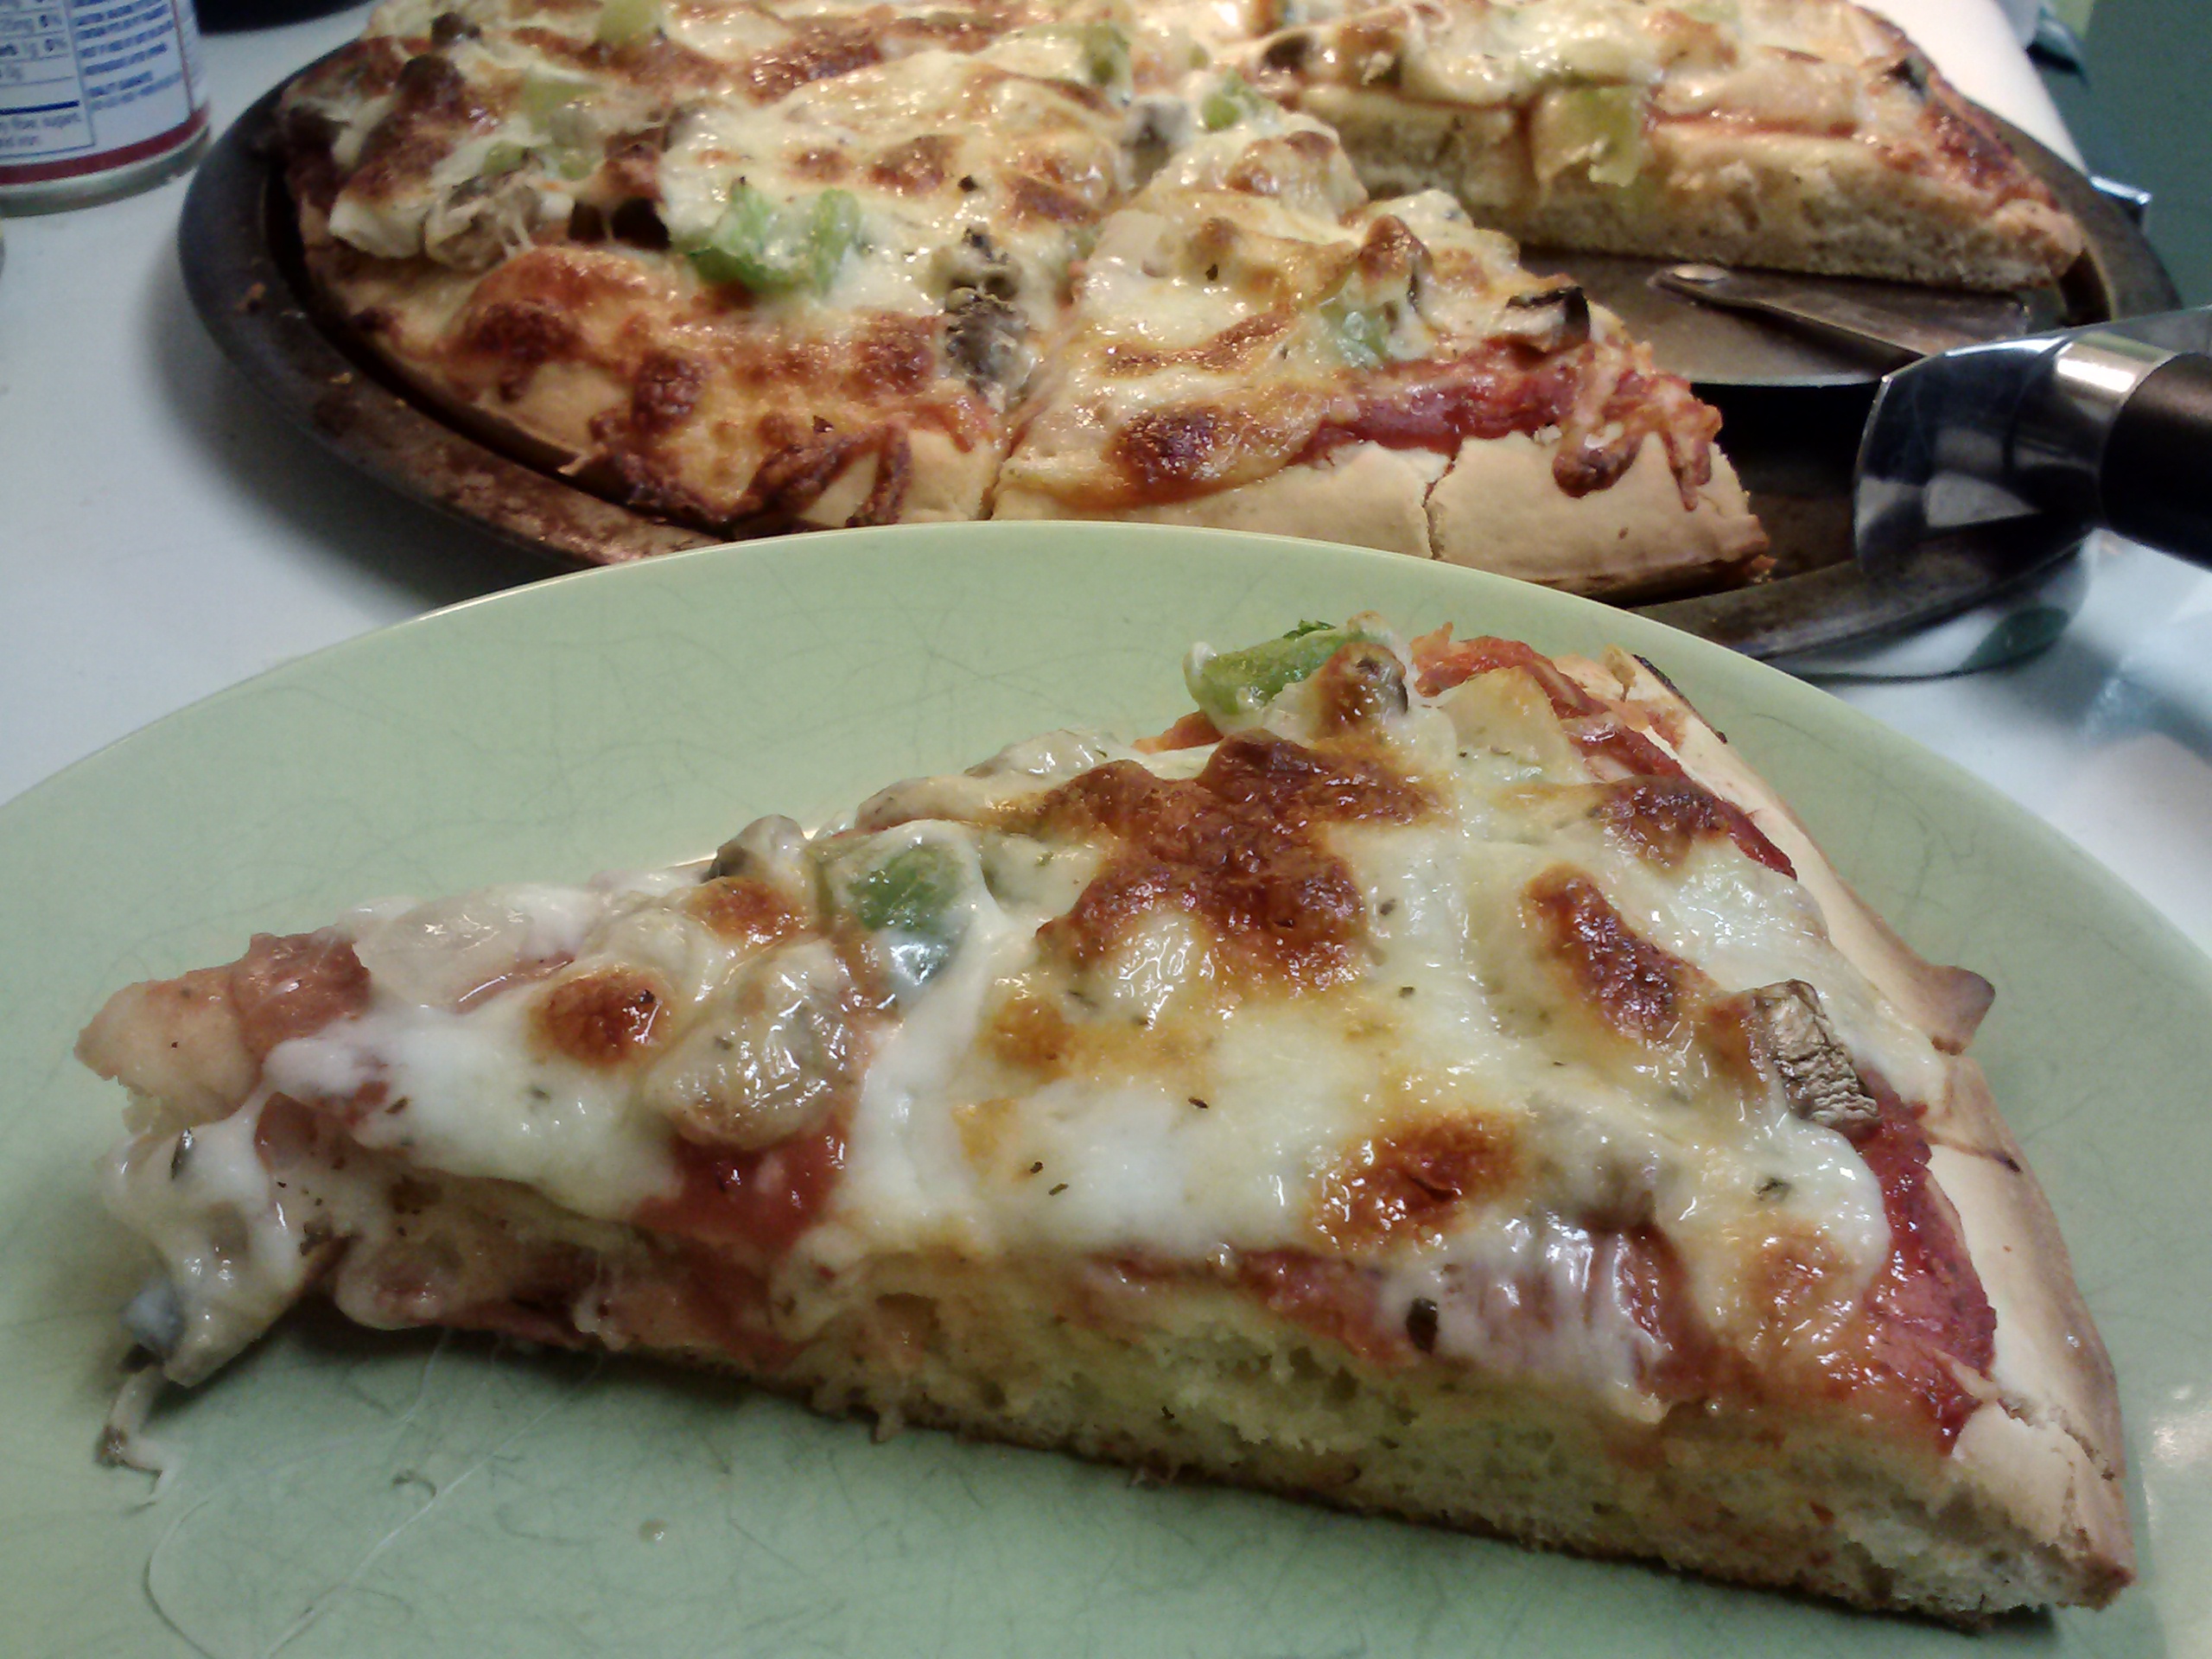
One of the things I missed the most after going gluten free was good pizza! While you can get crusts, nothing beats a great homemade pizza! Enjoy!
Serves: 8
Prep Time: 45 minutes
Cook Time: 15 minutes
2 tablespoons yeast
1 tablespoon sugar
3/4 cup warm water
3 tablespoons vegetable oil
2 cups brown rice flour
2 cups tapioca flour
2/3 cup dry milk powder
1 teaspoon salt
3 eggs
Grease two pizza pans. I recommend ones with a slight lip on the edge for the gluten free dough.
Combine the yeast, sugar, oil, and warm water. The water should be about 110 degrees to properly dissolve the yeast. Lightly mix and let set for a couple minutes.
In a stand mixer (highly recommended!) with a paddle (not a dough hook!) add the brown rice flour, tapioca flour, dry milk powder, and salt. Lightly mix together, and then add the yeast mixture. Mix until blended. Add the eggs and beat on high speed for 4 minutes. The dough will be very sticky and wet- not like a normal bread dough.
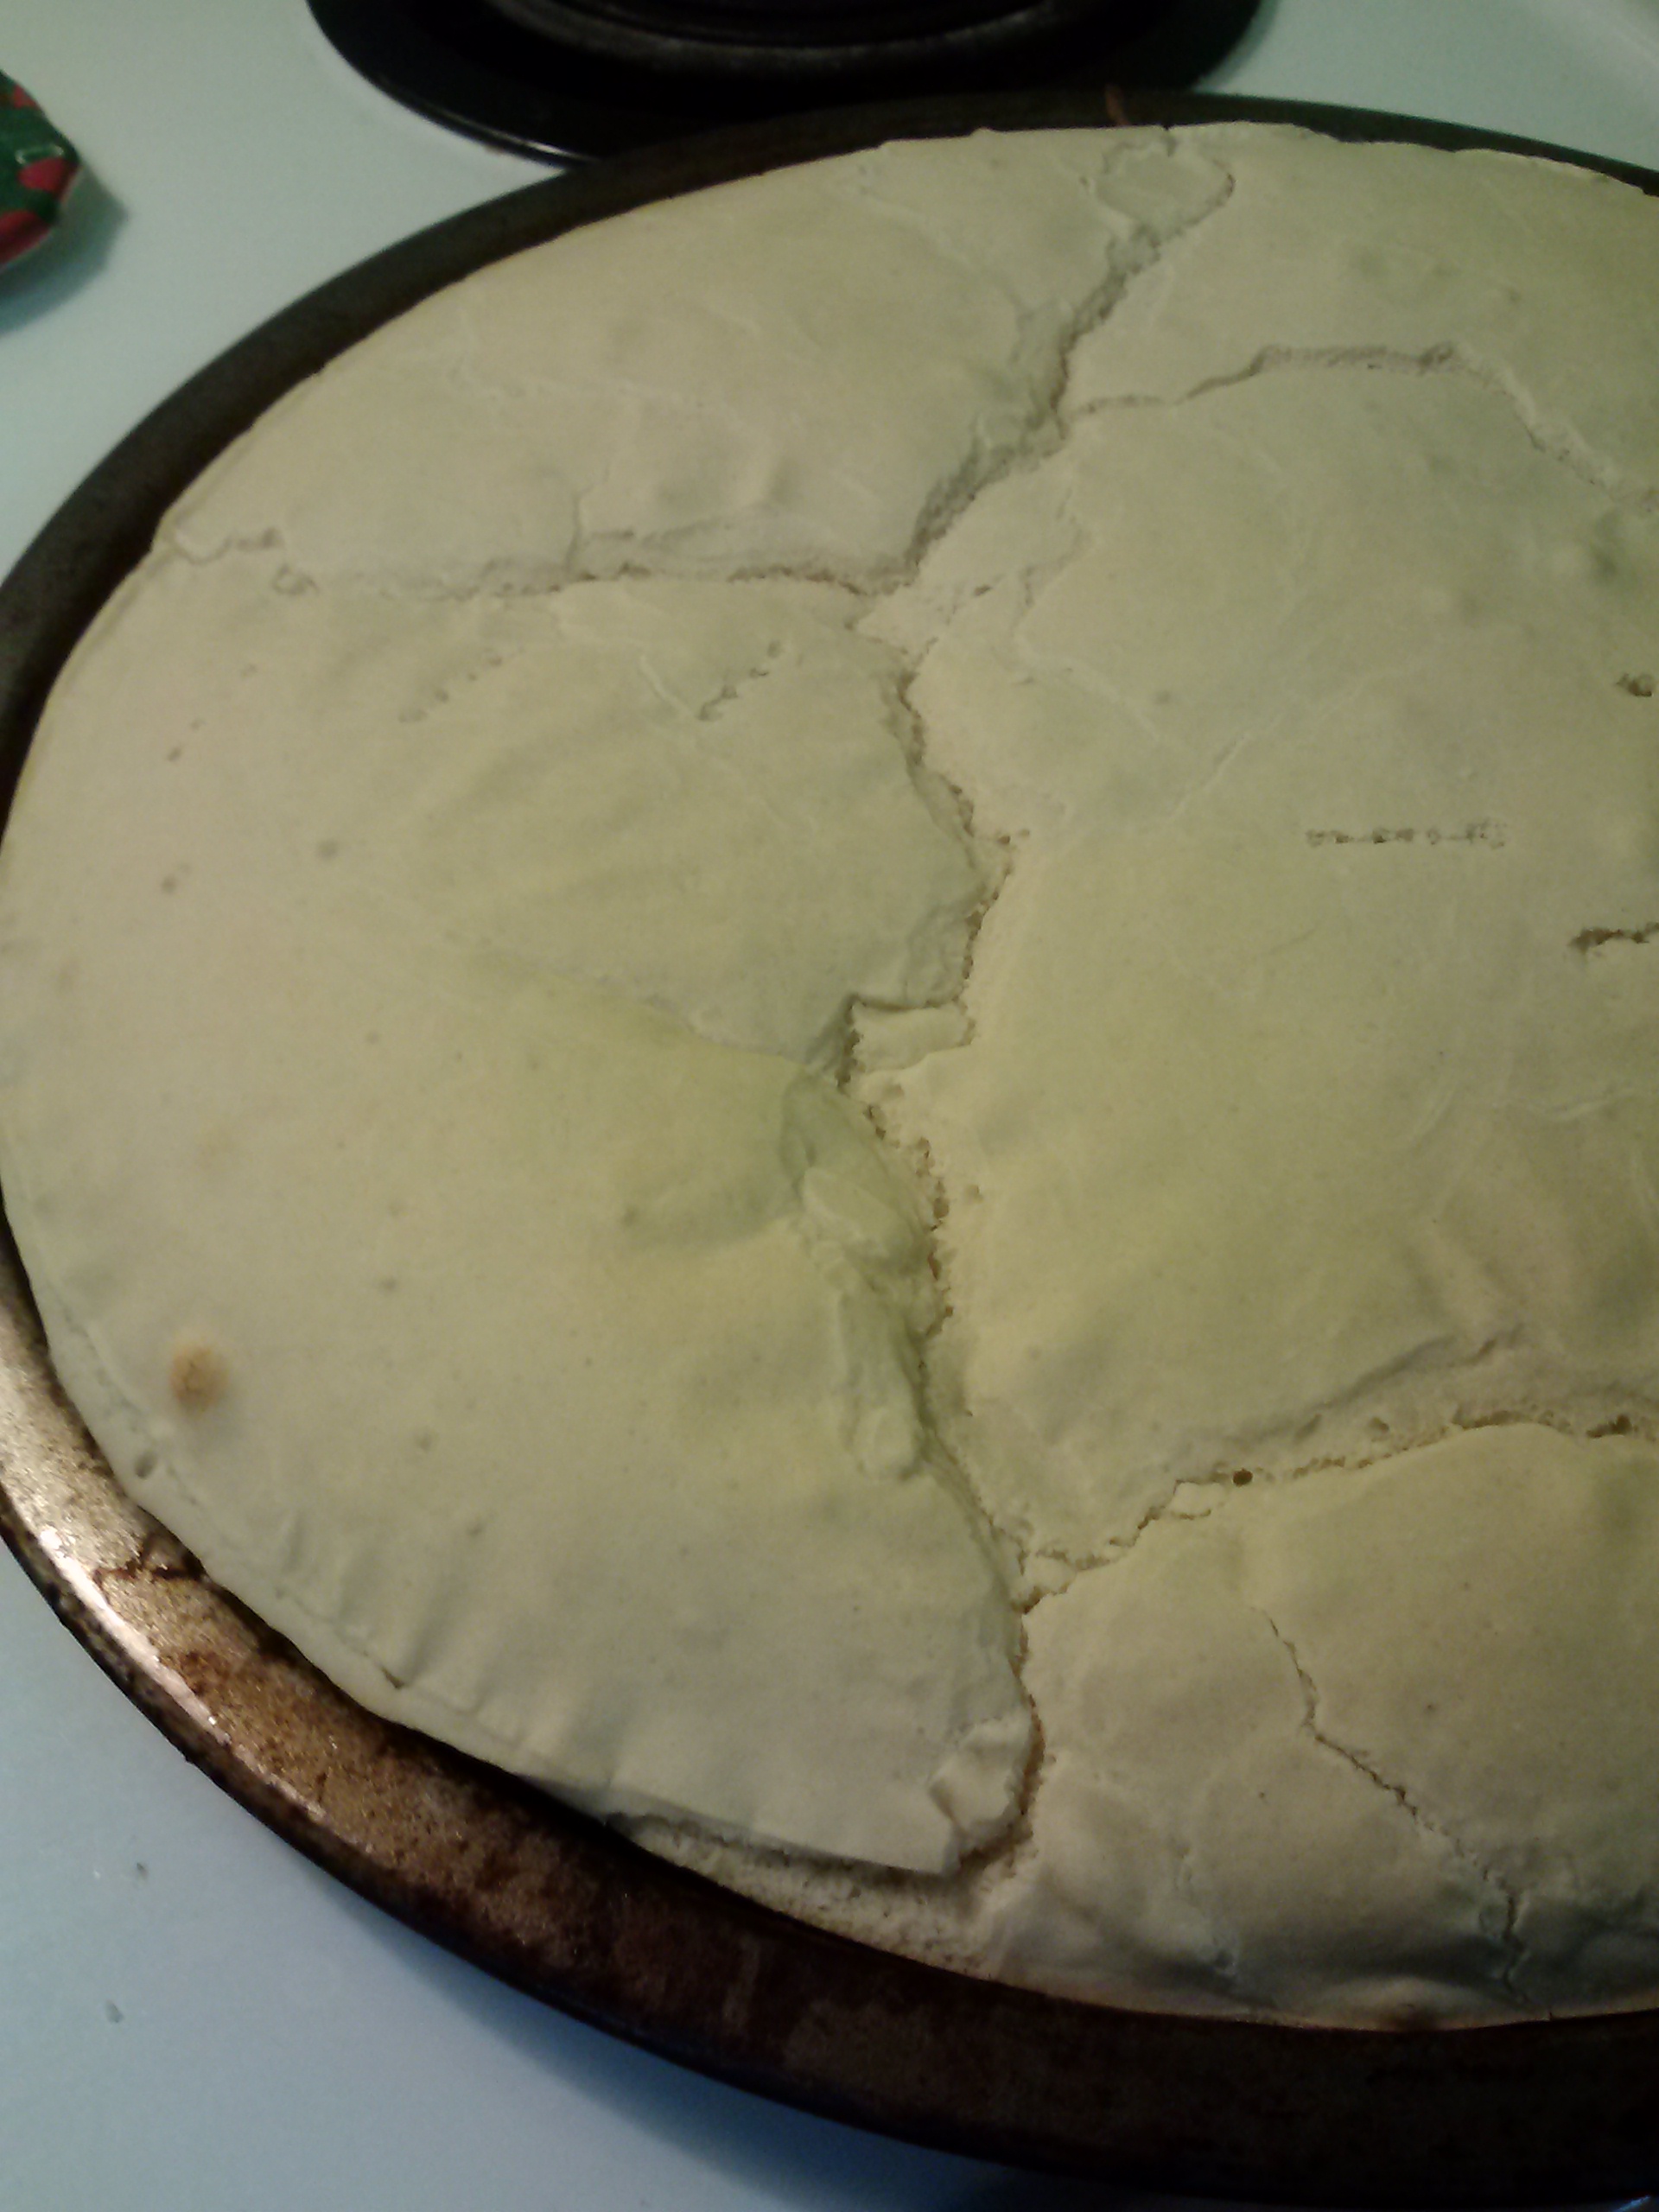
After beating, spread the dough on the two pizza pans. I use a rubber spatula to do this. Every couple passes, I did the spatula in water so that the dough doesn't stick. Cover with plastic wrap sprayed with cooking spray so it doesn't stick.
Let rise until about double. While rising, preheat oven and prep your toppings.
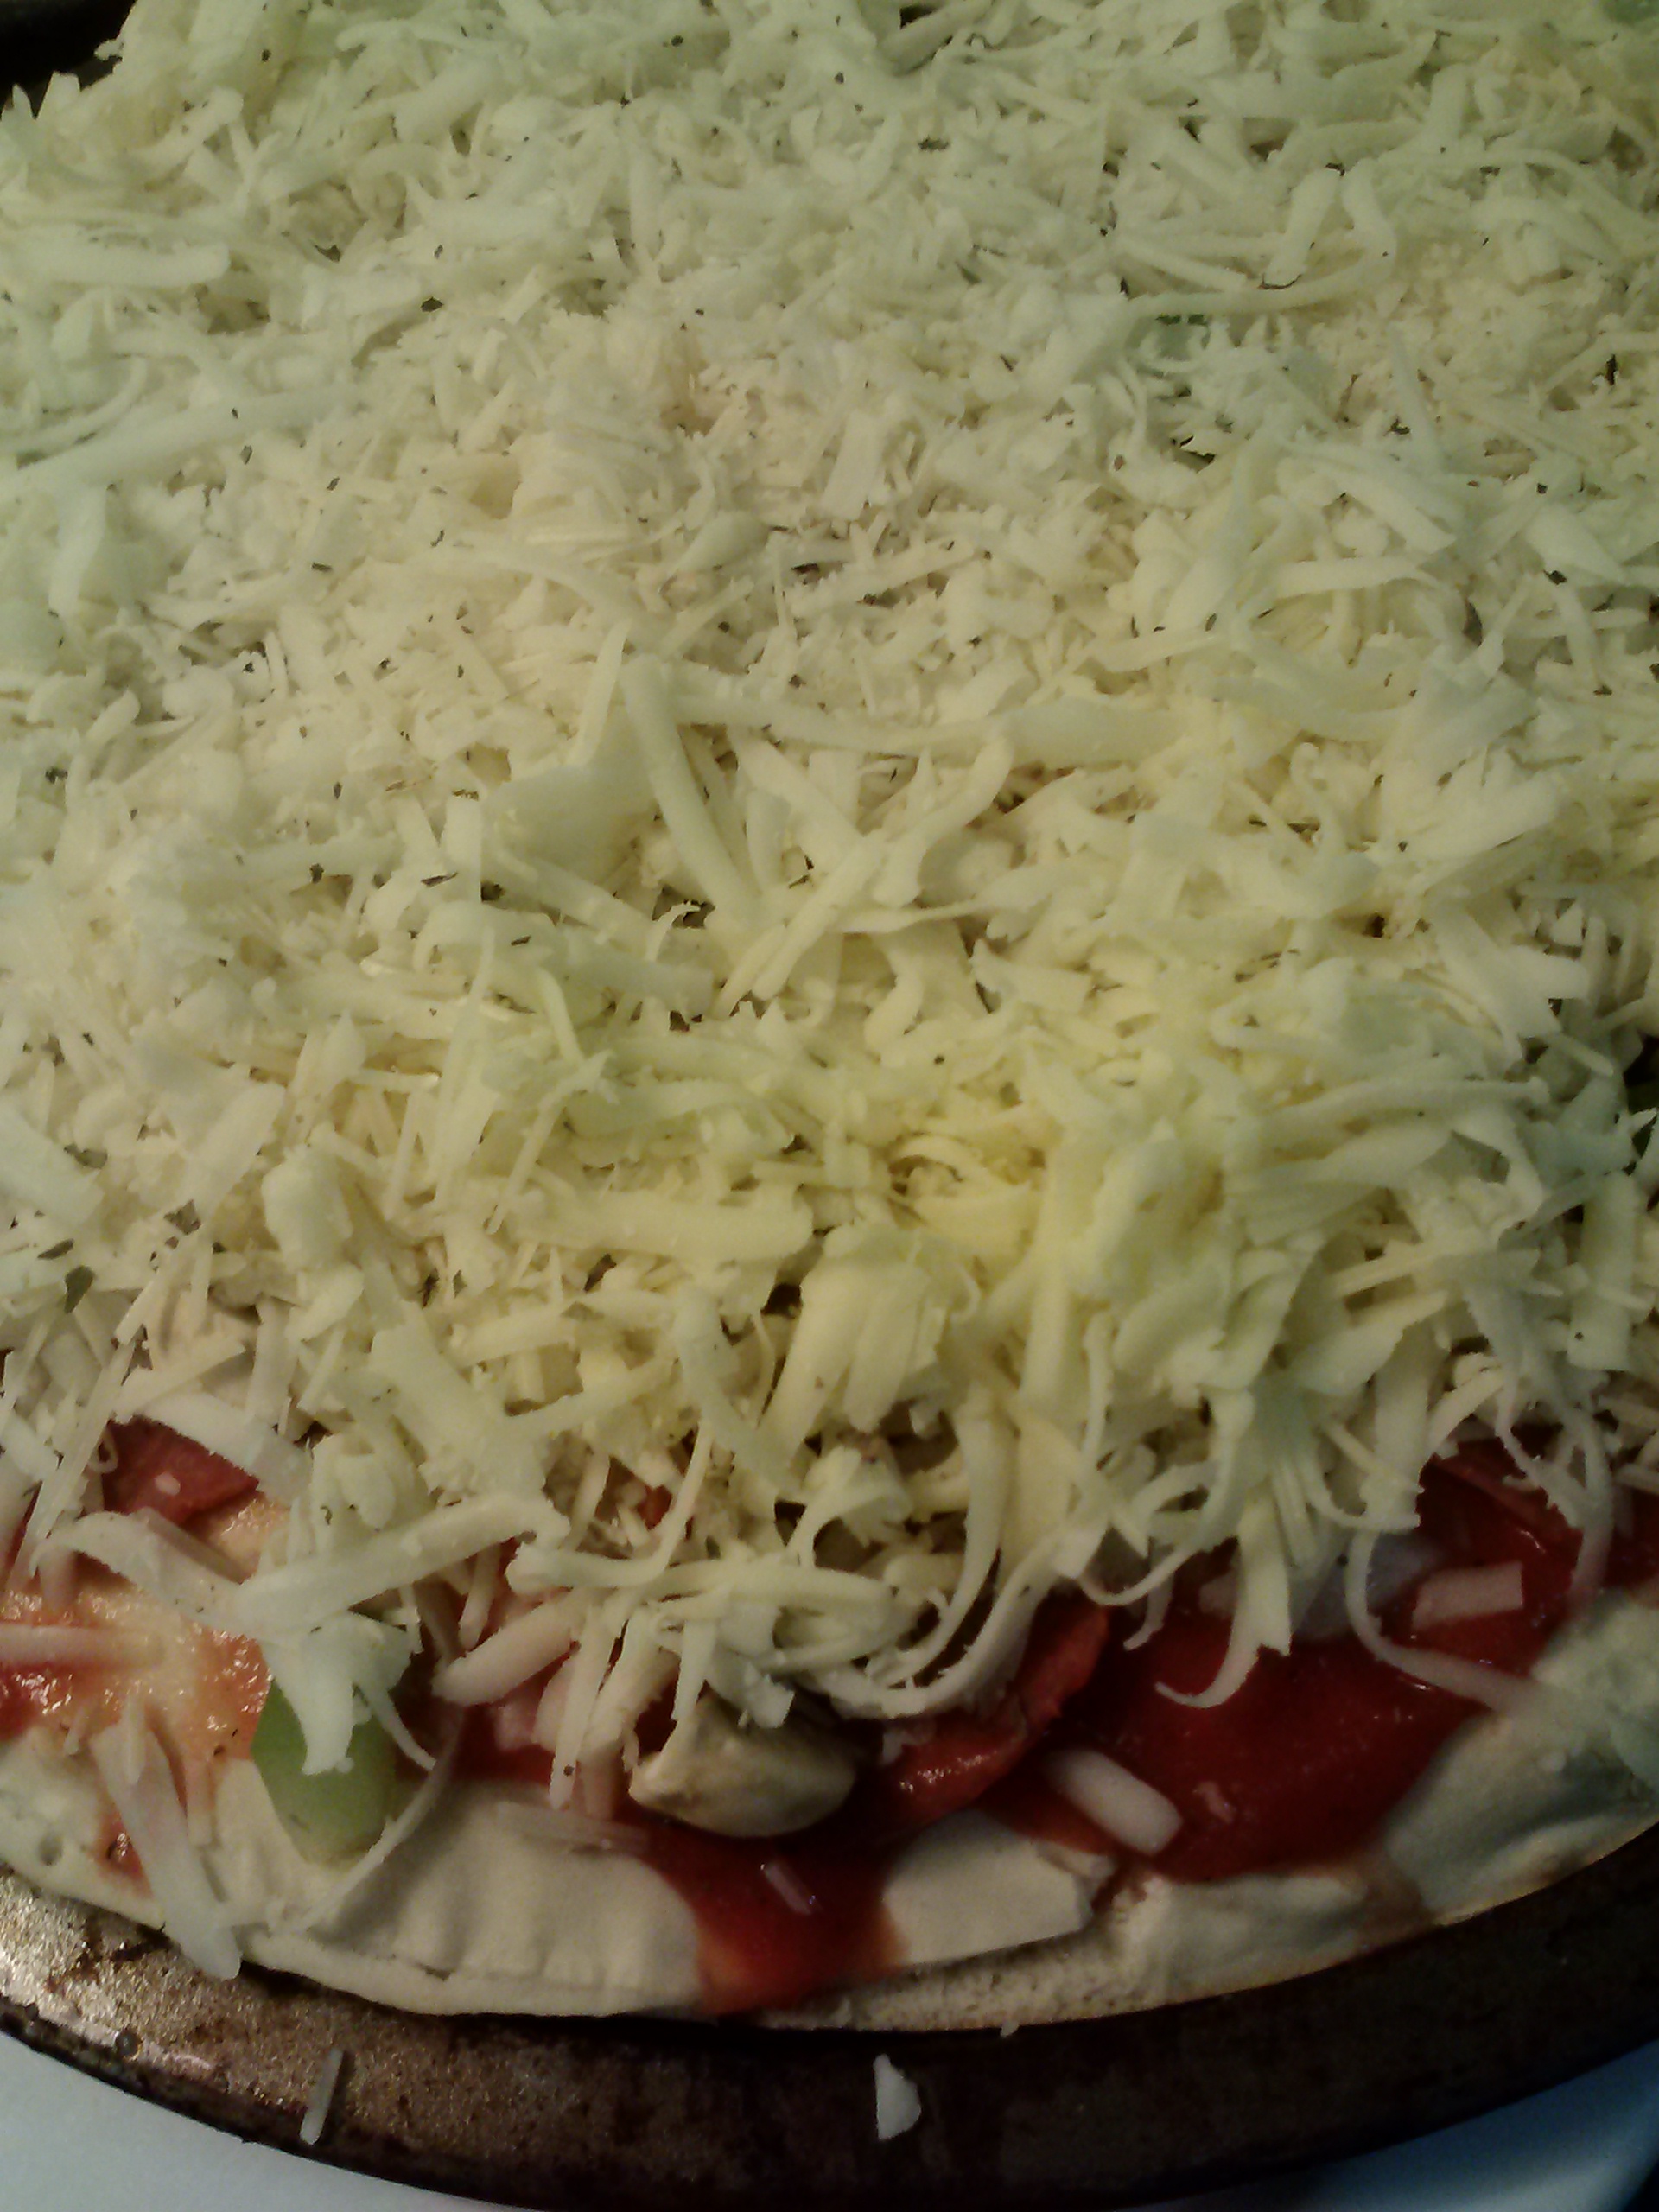
After dough has risen, bake for about 7 minutes. Then top with your sauce and other toppings. Continue baking until cheese is melted. Enjoy!
Please feel free to adjust this to your area. This was developed at high altitudes and low humidity. I know someone that used this closer to sea level and much higher humidity- she increased the water to almost 1 1/2 cups but only used 2 eggs. Try that if this version doesn't work well!
 Brenda Lower
Monthly Newsletter Contributor since 2015
Email the author! brenda@dvo.com