
Why Homemade Dinner Rolls Turn Out Dense—and How to Make Them Pillowy Soft
Hey chefs,
There are few things more disappointing than pulling a pan of homemade rolls out of the oven, only to discover that they are heavy, dry, and suspiciously close to dinner-roll-shaped rocks.
You followed the recipe. The yeast was alive. The dough rose. The tops even turned golden.
So why are they dense?
Soft, pillowy dinner rolls are not created by one magical ingredient. They come from a series of small decisions: how much flour you add, how thoroughly you knead, how long you let the dough rise, how tightly you shape the rolls, and when you finally put them in the oven.
The good news is that once you know what the dough is supposed to look and feel like, fluffy homemade rolls become much more predictable.
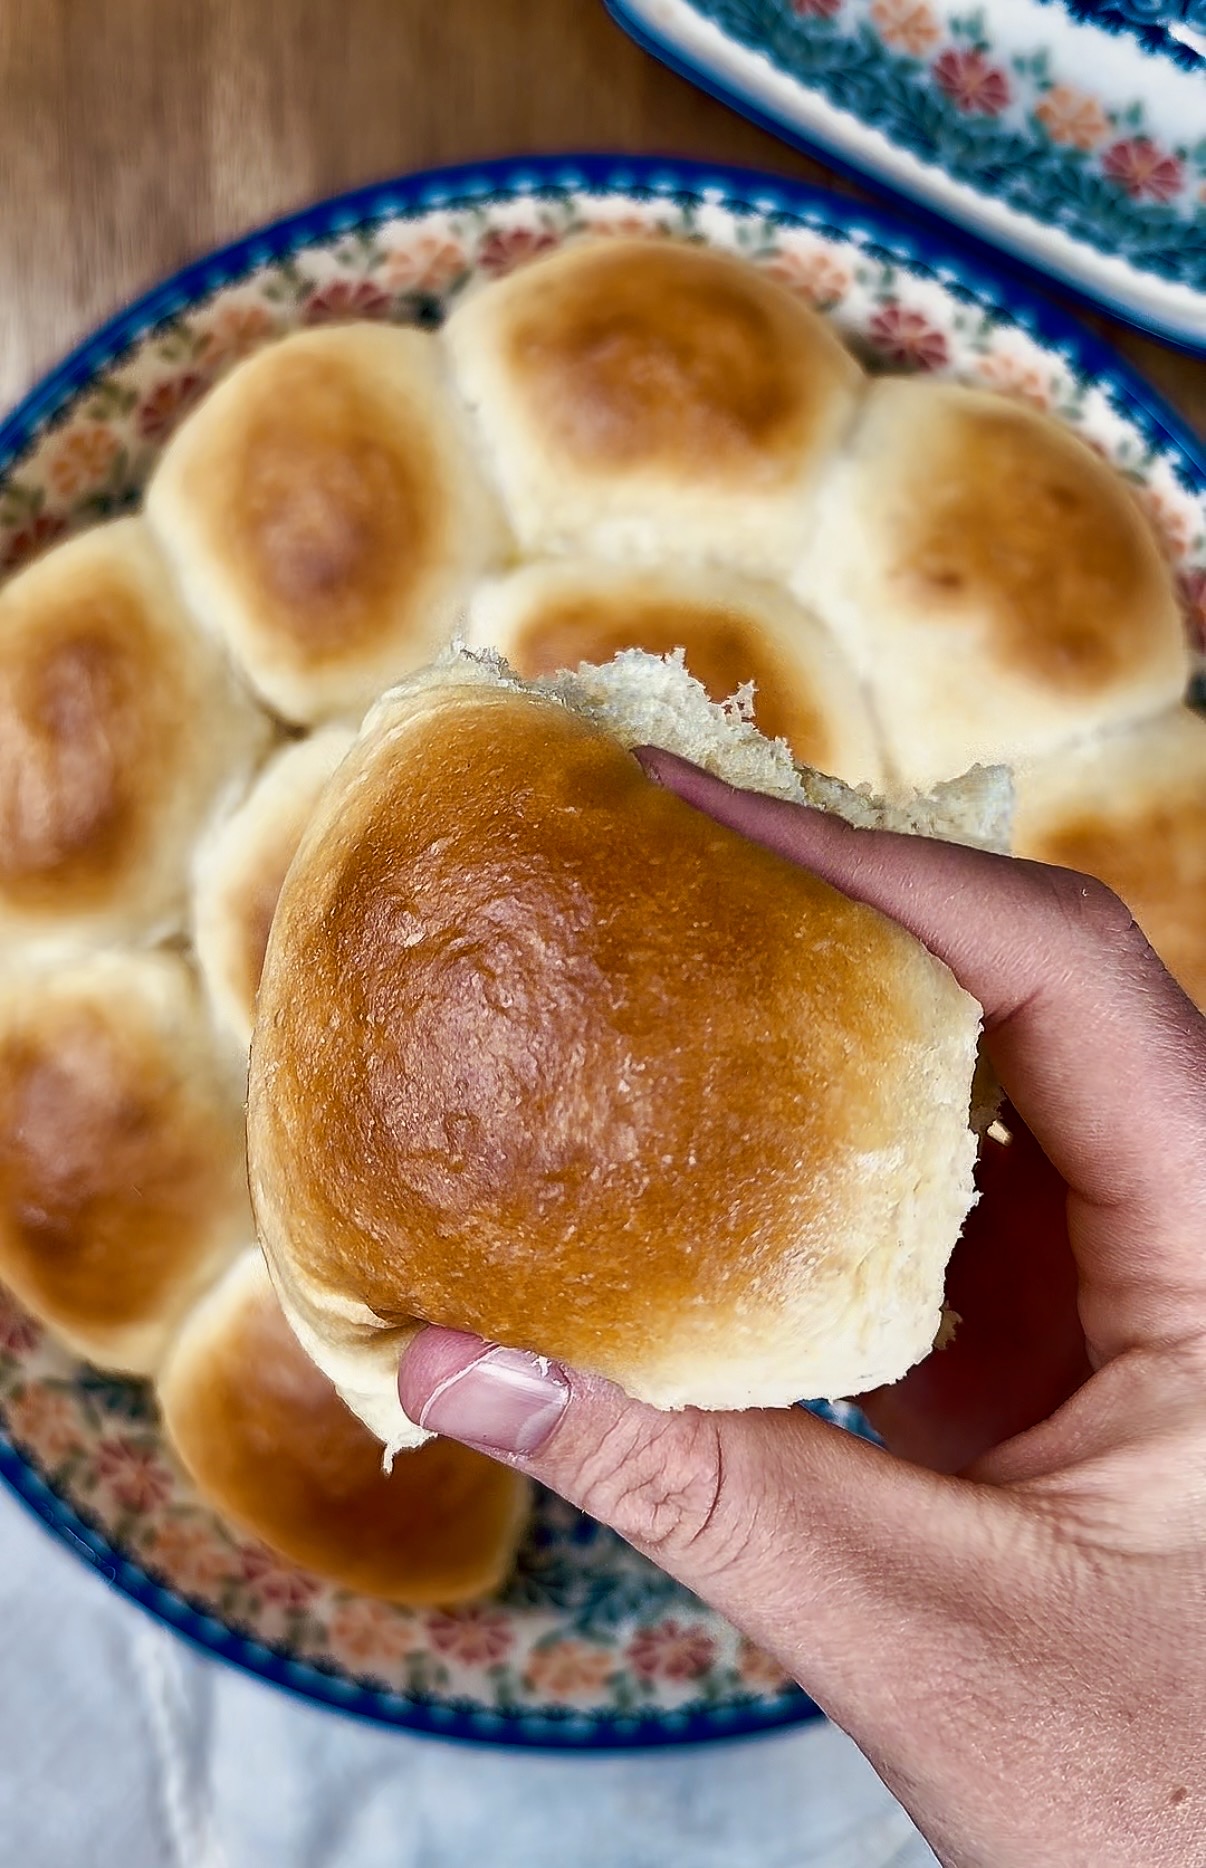
Start With a Soft Dough
The most common reason homemade rolls turn out dense is simple: too much flour.
Bread dough can feel sticky and unruly when you first begin mixing it, so the natural instinct is to keep adding flour until it becomes neat, dry, and easy to handle. Unfortunately, that tidy dough often bakes into a dry, firm roll.
For soft dinner rolls, the dough should be soft and slightly tacky.
Tacky means it may cling lightly to your fingers, but it should not coat your hands like paste. As the dough is kneaded, the flour continues absorbing moisture and the gluten becomes stronger, making the dough smoother and easier to handle.
Give the dough time before deciding it needs more flour.
If it is genuinely wet and impossible to work with after several minutes of kneading, add flour a little at a time. A spoonful can make a meaningful difference. Dumping in an extra cup almost certainly will.
Kneading Is What Gives Rolls Their Lift
Yeast creates gas, but gluten is what traps it.
As flour and liquid are mixed and kneaded, gluten proteins connect and form a stretchy network throughout the dough. That network acts like a collection of tiny balloons, expanding as the yeast produces carbon dioxide.
If the dough is under-kneaded, it cannot hold onto that gas efficiently. The rolls may spread instead of rising upward, and the finished crumb can feel tight and heavy.
Properly kneaded dough should look smoother than it did when you started. It should feel elastic and spring back slightly when stretched.
You can also use the windowpane test. Pinch off a small piece of dough and gently stretch it between your fingers. If it can stretch into a thin, translucent membrane before tearing, the gluten is well developed.
If it tears immediately with rough, jagged edges, it probably needs more kneading.
Enriched doughs made with butter, eggs, milk, and sugar often take longer to develop than basic bread dough. Eight to ten minutes in a stand mixer is not unusual, and kneading by hand may take even longer.
Rich Ingredients Make Softer Rolls—but Slower Dough
The ingredients that make dinner rolls tender and delicious also make the yeast work a little harder.
Butter coats flour proteins and limits some gluten development, which helps create a softer texture. Eggs add richness, structure, and color. Milk contributes tenderness and helps with browning. Sugar holds onto moisture and keeps the finished rolls soft.
But fat and sugar can both slow fermentation.
That is why rich dinner-roll dough may take longer to rise than a simple dough made with flour, water, yeast, and salt.
Do not panic if your dough has not doubled after exactly one hour. A recipe’s rising time is an estimate, not a deadline.
Watch the dough, not just the clock.
Your Kitchen Temperature Matters
Yeast is sensitive to temperature, which means bread dough behaves differently from one kitchen to another—and sometimes from one season to another.
In a warm July kitchen, dough may rise much faster than expected. In a cool winter kitchen, the same dough may need considerably more time.
A warm environment encourages yeast activity, but hotter is not always better. Dough that rises too quickly can become overproofed before you realize it.
Place the dough somewhere comfortably warm rather than hot. Avoid setting it directly on a heating vent, in strong sunlight, or next to a very hot oven.
Your liquid should also be warm, not scorching. If it feels unpleasantly hot to your finger, it may be too hot for the yeast.
Warm liquid helps wake the yeast up. Hot liquid can damage or kill it.
Let the First Rise Build Strength and Flavor
During the first rise, also called bulk fermentation, the yeast produces gas while the dough develops flavor and structure.
Most recipes instruct you to let the dough rise until doubled. This does not have to mean a mathematically perfect doubling, but the dough should look noticeably larger, airy, and relaxed.
If you gently press a finger into the dough, the indentation should fill back slowly.
If it springs back instantly, it may need more time.
If it collapses or feels extremely fragile, it may have risen too long.
Underproofed dough has not produced enough gas, so the finished rolls tend to be tight and dense. Overproofed dough may rise dramatically and then deflate because the gluten structure can no longer support the trapped gas.
Shape the Rolls With Tension
Shaping is not only about making the rolls look pretty.
A well-shaped roll has a smooth, taut surface that helps direct the rise upward. A loosely gathered piece of dough may spread outward or bake with a rough, uneven top.
To shape a dinner roll, pull the edges of the dough toward the bottom to create a smooth top. Pinch the seam underneath, then cup your hand around the dough and drag it gently against an unfloured work surface.
That slight friction tightens the outer surface.
Try not to flour the counter heavily while shaping. A completely flour-coated surface removes the friction you need to create tension.
For evenly baked rolls, divide the dough by weight. Even pieces proof and bake at the same rate, which means you are less likely to end up with one enormous roll and three tiny ones hiding in the corner of the pan.
Do Not Rush the Second Rise
The second rise happens after the rolls are shaped and placed in the pan.
This stage is where they become light, airy, and ready to bake. The rolls should look puffy, soft, and expanded. In a pull-apart pan, they will usually begin touching one another.
Gently press the side of one roll with a lightly floured fingertip.
If the indentation springs back quickly, the rolls need more time.
If it slowly rises back and leaves a slight impression, they are ready to bake.
If the indentation remains deeply sunken and the dough feels delicate, they may be overproofed.
Underproofing is one of the biggest causes of dense rolls. It is tempting to bake as soon as the rolls look slightly larger, but “slightly larger” is not the same as fully proofed.
They should look almost too puffy to be real.
Bake Them Until They Are Actually Done
Pale dinner rolls are often underbaked dinner rolls.
A roll can look set on the outside while the inside is still gummy and doughy. Once cooled, that underbaked center can feel dense rather than fluffy.
Dinner rolls should be deeply golden on top, not beige. For extra certainty, check the internal temperature with an instant-read thermometer. Most enriched rolls are fully baked at around 190°F in the center.
If the tops are browning too quickly before the centers are done, loosely cover the pan with foil and continue baking.
Bake Them Close Together for Soft Sides
If you want tall, pull-apart rolls with soft edges, place them close together in a baking dish.
As they rise and bake, the rolls support one another and expand upward. The sides that touch stay pale and tender, while the exposed tops become golden.
For crustier individual rolls, space them farther apart on a sheet pan.
Neither method is wrong, but they produce different results.
For classic pillowy dinner rolls, I will always choose the cozy, crowded pan.
Brush Them While They Are Hot
A generous brush of melted butter immediately after baking gives dinner rolls a softer crust, richer flavor, and that irresistible glossy finish.
Salted butter is especially good because it balances the sweetness of an enriched dough. A little honey can also be added for extra shine and a subtle sweet finish.
Then comes the hardest part: let them rest.
The crumb continues setting for several minutes after the rolls leave the oven. Pulling them apart immediately can compress the soft interior and make the centers seem gummy.
Give them at least 10 to 15 minutes, even though your kitchen smells like butter and patience feels completely unreasonable.
How to Keep Homemade Rolls Soft
Once the rolls are completely cool, store them in an airtight container or tightly sealed bag at room temperature.
Do not refrigerate them unless absolutely necessary. Refrigeration speeds up the process that makes bread feel stale and firm.
For longer storage, freeze the rolls. Wrap them well and place them in a freezer-safe container or bag. Let them thaw at room temperature, then warm them gently in the oven.
A quick brush of butter after reheating makes them taste remarkably close to freshly baked.
The Soft-Roll Checklist
Before your next batch goes into the oven, ask yourself:
Is the dough soft rather than stiff?
Did I knead it until smooth and stretchy?
Did I allow it to rise based on appearance rather than a strict timer?
Did I shape the rolls with a smooth, taut surface?
Did I let the shaped rolls become truly puffy?
Did I bake them until deeply golden and fully cooked inside?
If the answer is yes, you are well on your way to rolls that are tall, tender, and soft enough to squish between your fingers.
And if you want the perfect recipe to practice with, my easy Hawaiian sweet rolls are buttery, lightly sweet, and made with pineapple juice for their signature flavor. They bake together into a pan of fluffy, golden pull-apart rolls that are perfect for summer barbecues, sliders, Sunday dinners, or eating directly from the pan while pretending you are only taste-testing one.
 Brennah Van Wagoner
Weekly Newsletter Contributor since 2025
Email the author! brennah.oaks@gmail.com