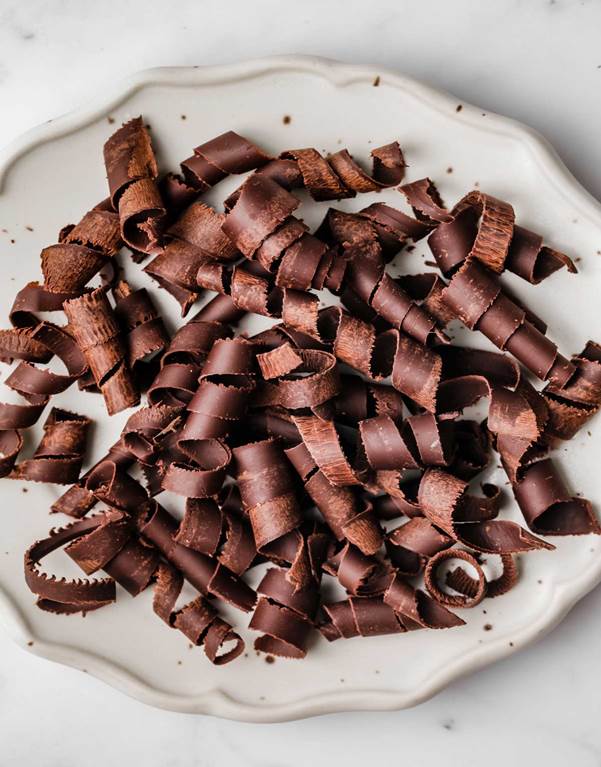
Chocolate—It Can Be SO PRETTY!
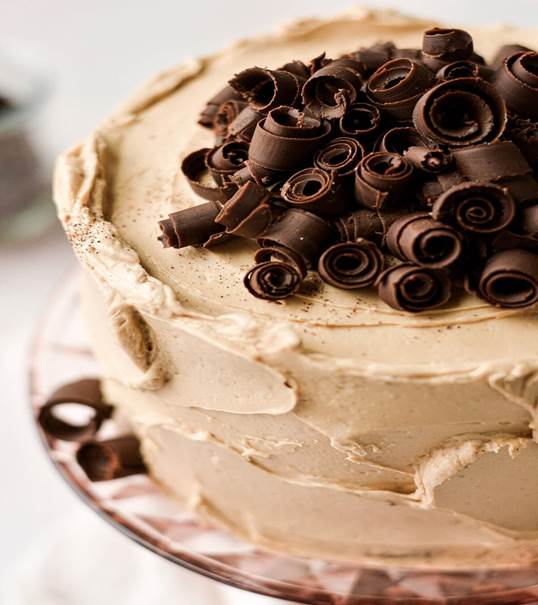
One of the simplest ways to take any baked and frosted treat (think cakes, cupcakes, and sugar cookies) to a whole new level is by decorating with chocolate curls.
Making these pretty garnishes is a simple, high-impact decoration technique that can be achieved in a couple ways, primarily using a vegetable peeler or by spreading melted chocolate and using a scraper.
The key to success is having the chocolate at the right temperature. Chocolate that’s too cold will break; and if it’s too warm, it will smudge.
Let’s look first at using the vegetable peeler (the easiest of the two methods). This technique is best for making small, delicate curls and letting them fall directly onto a dessert.
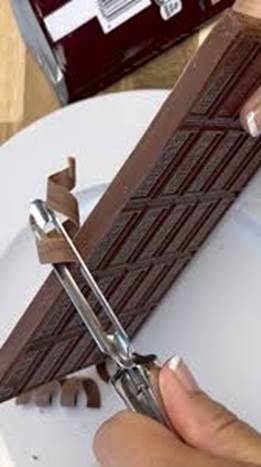
Prepare the Chocolate: Use a thick chocolate bar (milk, dark, or white) at room temperature. If the room is cold, warm the bar slightly in the microwave for 10-15 seconds at 50% power.
Make the Curls: Hold the bar securely (using parchment paper to avoid melting it with your hands) and draw a vegetable peeler along the thin, flat side of the bar.
Lift and Place: Use a toothpick or skewer to gently move the curls onto the dessert to avoid breaking them.
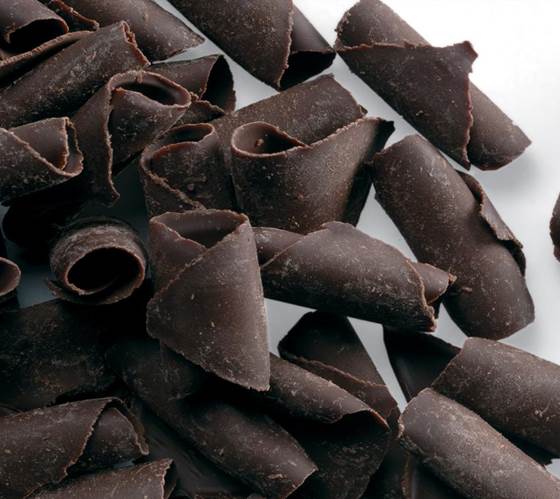
For making larger, more dramatic curls, the second technique, using melted chocolate spread is best.
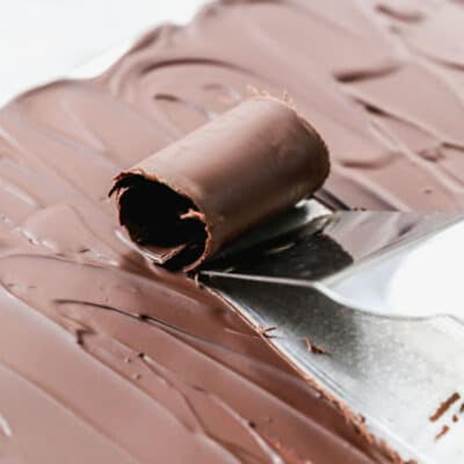
Melt chocolate and spread: Melt 4 ounces of chocolate (optionally with 1-2 teaspoons of shortening or oil for better pliability) in a double boiler or microwave. Spread it in a very thin, even layer onto the back of a baking sheet.
Chill: Refrigerate for 3–5 minutes or freeze for 1–2 minutes until the chocolate is firm-ish but not hard or brittle.
Curl: Hold a metal spatula or bench scraper at a 45-degree angle to the pan. Press firmly and push forward, letting the chocolate curl over itself.
Transfer: Use a toothpick or tweezers to place the curls.
I’ll close with a few important tips for success:
· Temperature Check: If the chocolate breaks, it is too cold and needs to warm up for a few minutes. If it smears, it is too warm and needs to go back into the freezer.
· Best Type of Chocolate: Use high-quality chocolate bars rather than chocolate chips for better curling, as bars have a higher cocoa butter content.
· Storage: Store finished curls in an airtight container in the refrigerator to keep them firm.
Chocolate is such a great ingredient. Not only does it taste amazing, it can be so pretty!
 Alice Osborne
Weekly Newsletter Contributor since 2006
Email the author! alice@dvo.com