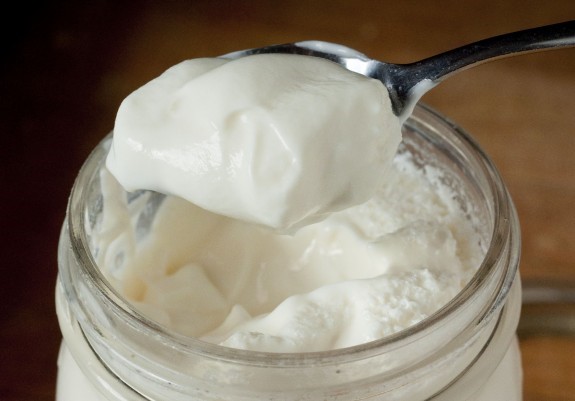
Why and How to Make Your OWN Homemade Yogurt
Today I received a great enewsletter - www.enjoystorage.com - from a friend and neighbor, Tammy Hogan, today. She's an amazing cook and one of her specialties is creating outstanding meals and treats from the family food storage. So when Tammy talks, I listen.
In this edition she talked about making her own yogurt. Have you ever done this? I've toyed with the idea. Tammy says it's simple-that it takes only about 15 minutes of active participation. And she lists the numerous benefits of making your own:
- less expensive
- sweetness or tartness level is controlled by you
· fresher probiotics (they live longer and do more good the fresher they are; an important factor, considering store yogurt often sits on the shelves for weeks)
· no additives, preservatives, or other mystery ingredients included; homemade yogurt doesn't need all this junk-it will stay fridge-fresh for 2 weeks
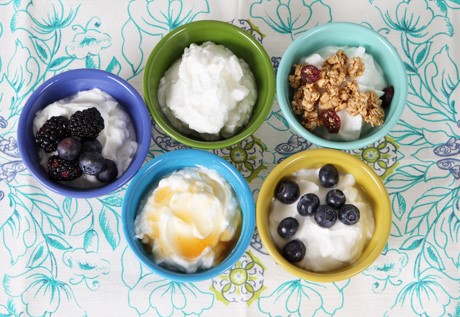
- endless flavor options
· easy to make from a short ingredient list: whole milk, yogurt start
· other than a standard candy thermometer, no special equipment needed
Tammy also mentioned she uses her unflavored yogurt in baking (a tasty way to cut back on fat and calories). She concludes by saying once you try making your own you may never go back to store-bought.
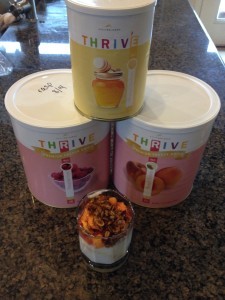
Tammy makes her yogurt using a food storage product she personally stores and sells-THRIVE is the brand. She uses their Greek Yogurt Bites, and creates flavor variations using THRIVE's freeze-dried fruit, or honey crystals, or vanilla powder. I've tasted THRIVE and really like it and can see why her yogurt would be so good.
But the cool thing is, we don't need anything other than what Tammy mentions above-milk and yogurt start. And we can get the start at some grocery stores and any natural foods store. So here are the basics on making our own yogurt.

First to know, though, is that for our first few batches, it's recommended that we use whole milk, because it produces a naturally thick final product. However, yogurt can be made with skim or low-fat milk-it just will probably be a bit thinner than store-bought varieties, which contain thickeners.
Next, here are a few notes from seasoned yogurt makers:
· You can use store-bought yogurt as a starter, but be sure to choose a yogurt that tastes good to you. It's important to select an unsweetened version that contains live cultures, but the fat content doesn't matter.
· If you can't find powdered starter at your grocery or natural food store, it can be found online (the New England Cheesemaking Supply Company, for instance: https://www.cheesemaking.com/ ).
· Read the package instructions to determine how much starter to use for a batch of yogurt-many come in small envelopes or packets perfectly sized to make a single batch.
· You'll need a candy thermometer, something to incubate the yogurt, such as a thermos (some people use a yogurt maker, but it's not necessary), cheesecloth for straining (optional), and glass canning jars or other containers for storage.
5 STAR HOMEMADE YOGURT
4 cups (1 quart) milk
3 tablespoons plain yogurt (purchased or homemade) OR powdered yogurt starter (the amount needed is specified on package)
Flavorings such as jam; honey; extracts such as vanilla, almond, or coconut; fresh or dried fruit; garlic, herbs, etc, for savory varieties (all are optional)
PREPARATION:
1. Clean and sterilize all equipment, tools and work surface. Boiling water or the dishwasher works well.
2. Fill a large bowl or sink with ice.
3. Attach a candy thermometer to a heavy, large pot and add milk. Place the pot over moderate heat; heat the milk until it reaches at least 180°F or boils, stirring occasionally to prevent a skin from forming and making sure the milk doesn't scald or boil over. OR, place milk in a large microwave-safe bowl or large glass measuring cup with spout (for easy pouring) and microwave for 2- to 3-minute intervals, until it reaches 180° or boils.
4. Remove milk from heat; cool to 110°F-115°F (no cooler) by placing pot in bowl or sink of ice and occasionally stir milk.
5. Using yogurt as a starter culture: In a small bowl, combine 1 cup warm milk with yogurt and stir. Add the yogurt-milk mixture to the remaining warm milk and stir until completely incorporated. Do not stir vigorously.
6. Using a powdered yogurt culture: Follow the manufacturer's instructions and add the specified amount of powdered culture to warm milk; whisk until completely incorporated. Do not stir vigorously.
7. Another way to thicken yogurt: whisking in 3 or 4 tablespoons nonfat powdered dry milk when adding starter.
8. Ladle mixture into a pre-warmed thermos or yogurt maker and incubate between 110°F and 115°F for 5 to 10 hours, depending on flavor and consistency desired (longer incubation periods produce thicker, tarter yogurt). It can safely incubate for much longer-even overnight, though (the longer the incubation period, the thicker and more tart the final yogurt). Don't disturb yogurt during incubation.
9. After incubation, place yogurt in storage containers and refrigerate until cold, 2 to 3 hours. Stir in flavorings just before serving.
10. For thicker, Greek-style yogurt: After incubation, spoon yogurt into a cheesecloth-lined colander set over a bowl; cover and let drain in the refrigerator, for at least 1 hour or overnight. (Drained whey can be discarded, but because it's full of vitamins and minerals, it can be reserved for smoothies, cooking, baking.)
11. To double/triple recipe, increase starter and milk proportionately.
12. If more whey separates out of the yogurt during refrigeration, just stir it in before serving.
13. Yogurt can be refrigerated in covered glass, ceramic, or plastic containers, for up to 2 weeks, but flavors are best during the first week. Tartness increases with age.
- www.simplebites.net
- www.enjoystorage.com
- www.pomegranates365.com
- www.epicurious.com
 Alice Osborne
Weekly Newsletter Contributor since 2006
Email the author! alice@dvo.com