Serves: 0
* The enclosed items will enable you to make the nativity scene as pictured on the front of the box year after year. Read all instructions carefully before beginning. Metal Cutters The metal cutters included are a large triangle for stable, manger/baby Jesus, Mary, Joseph, wiseman, star, camel, donkey, and sheep. Wash cutters in warm, soapy water after each use. Do not use abrasives or scouring pads. Carefully bend cutters to reshape if needed. Dry thoroughly with a soft towel before storing. Reusable Decorating Bag The plastic-lined bag holds colored icing of your choice. To assemble bag with the two-piece coupler and tip, see next paragraph. To fill the decorating bag after assembling, fold down the top ofthe bag to form a 2- to 3-inch cuff over your hand. Spoon icing into the bag, making sure that it is never more than half full. Unfold the cuff and twist top of bag tightly, forcing a small amount of icing out of the tip to remove air bubbles. For dots, stars, and beads, hold the bag perpendicular to the decorating surface. For lines and borders, hold the bag at a 45° angle to the surface. Wash bag in warm, soapy water to eliminate all traces of grease and dry thoroughly after each use. For additional colors, small plastic storage bags can be used by cutting off the tip of one corner and inserting a decorating tip. Then fill the bag with about one-third cup of the desired color of icing and twist top of bag to close. Two-Piece Coupler The coupler allows you to change decorating tips on the reusable decorating bag without emptying the bag. Insert the larger piece into the empty decorating bag with the smaller end and threads protruding from the small end of the bag. Place the desired tip over the end of the coupler and screw the ring into place over the tip. To change tips, unscrew the ring, replace the tip, and screw the ring into place. Wash coupler in warm, soapy water after each use. Dry thoroughly before storing. Decorating Tips
The round tip allows you to make lines and dots. The star tip makes stars, borders, and beads of icing for assembling the stable. Wash tips immediately after use to prevent icing from hardening in the tip. Dry thoroughly before storing.
Making and Decorating the Pieces
Bake figures and 2 stable backs using the Gingerbread recipe below. Cool completely before decorating. Prepare Icing Glaze (see below). Divide glaze into as many portions as you need colors and tint with liquid or paste food colors as desired, using the picture on the top of the box as a guide. Liquid food colors will create subtle colors. For more intense coloring, use paste colors which can be purchased where cake decorating supplies are sold. Spread glaze on figures. Flaked coconut sprinkled on wet glaze makes wooly coats for the sheep. Try toasted coconut (see below) for variety. Add silver decorating balls to the star and wisemen for accents while glaze is wet. After the glaze has dried for at least 8 hours, use the decorating bag and tips to add outlines, features, and trim.
Assembling the Scene
Select an appropriate base on which to assemble your nativity scene, such as a 15 x 20-inch piece of foil-covered plywood, formica, masonite, or sturdy cardboard. Construct the stable by piping large beads of white Royal Icing (see below) along one side of each stable back (A) pipe a row of large beads along the bottom edge of each stable back (B) butt two sides together (C) place on the rear center of the base, allowing space in front for the figures. Stable backs should support each other until the icing sets. Hold in place until set, then attach the star to the peak of the stable with beads of Royal Icing.
Pipe large beads of Royal Icing on the bottom of each figure, setting it in place as you go. Prop upright if necessary until the icing sets. Scatter granulated raw sugar or toasted flaked coconut around the figures and stable for a finishing touch.
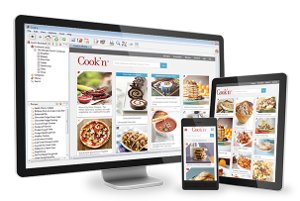
This Your Nativity Bake Set recipe is from the Holiday Cookbook Cookbook. Download this Cookbook today.
"I must say this is the best recipe software I have ever owned."
-Rob
"Your DVO cookbook software saves me time and money!"
-Mary Ann
"Call it nutrition software, meal planning software, cooking software, recipe manager, or whatever you want. It is the software I use to stay healthy!"
-David
"Your software is the best recipe organizer and menu planner out there!"
-Toni
"Thank you so very much for creating such a wonderful cooking recipe program. I think this is the best recipe program there is!"
-Sarah
"I saw lots of recipe software for PC computers but I was having a hard time finding really good mac recipe software. I'm so glad I discovered Cook'n! It's so nice to have all my recipes in a computer recipe organizer. Cook'n has saved me so much time with meal planning and the recipe nutrition calculator is amazing!!!
-Jill
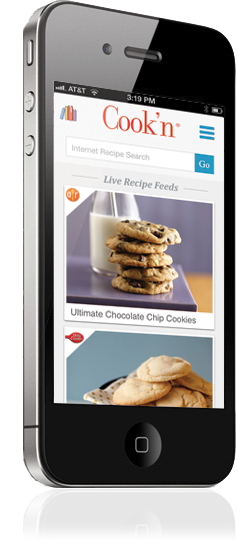
My favorite is the Cook'n Recipe App.
-Tom