The Pizza Lesson I’ll Never Recover From
Hey chefs,
Alright, today I’m taking you back to one of my all-time favorite days in culinary school: Pizza Day.
Picture this—flour floating through the air, ovens blazing, students hovering over dough like it’s sacred treasure. Our head chef grew up in New York (yes, the land of corner-slice legends), and let me tell you: his pizza was the pizza. Crispy, chewy, blistered, balanced. The kind of slice that ruins you for all mediocre pizza forever.
And today, we’re talking about how to get that kind of pizza coming out of your oven at home.
A Quick Tour Through Pizza Dough Styles (and What Makes Each One Unique)
Before we get into technique, it helps to understand the three major dough families you’ll run into. They all use the same basic ingredients—flour, water, yeast, salt—but the ratios, fermentation, and handling give each style its signature texture.
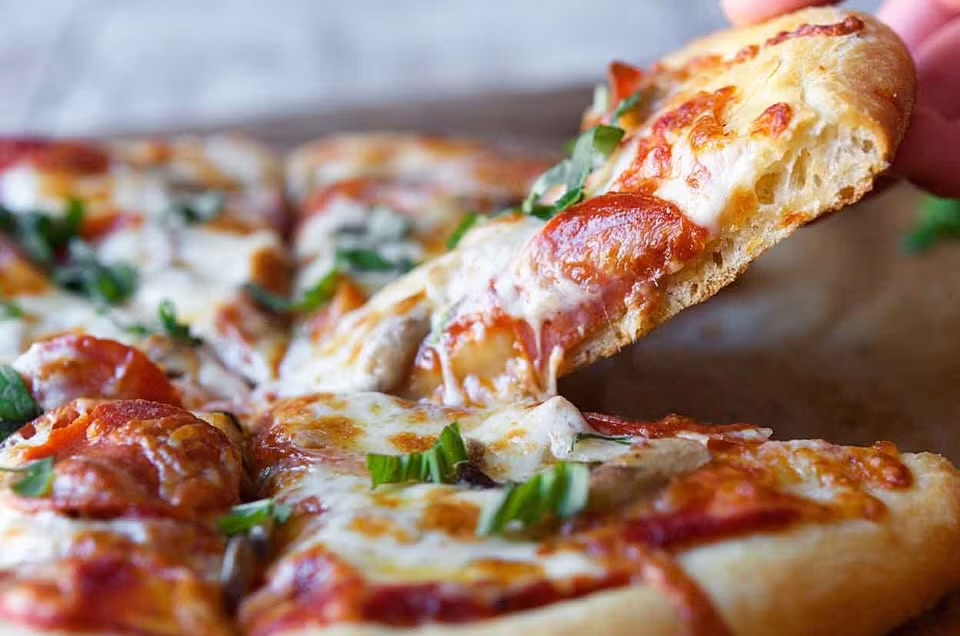
1. New York–Style Dough
Texture: Thin, foldable, chewy, with blistered edges
Key Characteristics:
- High-gluten flour
- Moderate hydration
- Slow fermentation for flavor
- Olive oil for tenderness
This is the dough we made in class—your beautifully balanced, everyday hero of pizza styles. Perfect for oven baking at home.
2. Neapolitan Dough
Texture: Puffy, soft, lightly charred
Key Characteristics:
- “00” flour
- Very high hydration
- No oil
- Lightning-fast bakes at 800–900°F
This is your classic Vera Pizza Napoletana style—the kind you get in Naples or at artisan wood-fired pizzerias. Light, pillowy, and deeply romantic.
3. Sicilian / Detroit / Focaccia-Style
Texture: Thick, airy, crisp on the bottom
Key Characteristics:
- High hydration
- Baked in pans
- Olive oil–rich for a fried-crisp bottom
This style is all about height and holes—the divine love child of pizza and bread.
Understanding these styles helps you tailor hydration, fermentation, and mixing technique to get the exact pizza experience you want.
The Pizza Dough Techniques That Make All the Difference
(aka: the things that separate a “meh” pizza from a chef’s kiss pizza)
1. Bloom Your Yeast
That first step, where the warm water meets yeast and sugar?
That’s not optional—that’s insurance. You’re looking for a creamy, foamy head. If it doesn’t bloom, your dough isn’t going anywhere.
2. Hydration Is Everything
Higher hydration = more open, airy crumb.
Lower hydration = more structure and chew.
Our culinary school dough sits right in the sweet spot for a crisp-chewy New York crust.
3. Knead Until the Gluten Network Is Solid
You want stretchy, elastic, smooth dough.
Your best friend? The windowpane test: take a small piece of dough and pull it gently. If you can stretch it so thin that light shines through without tearing? The gluten is developed and the dough will rise beautifully.
If it tears? It needs more kneading.
4. Don’t Skip the Resting
Pizza dough needs time to relax its gluten so it can stretch instead of snap back.
Letting your dough rest—before AND after dividing—means easier shaping and a much better crust structure.
5. Fermentation = Flavor
If you want deeper flavor, refrigerate the dough before rising and let it cold-ferment for up to four days.
This slow fermentation creates:
- A more complex flavor
- Better browning
- More pronounced bubble structure
It’s how pizzerias develop that elusive “why is this so good?” quality.
6. Pre-Cooking the Dough Is a Game-Changer
This is a technique we used in class, and it’s fantastic for home cooks.
By lightly setting the bottom in a hot cast-iron or sauté pan before topping, you:
- Keep the dough from tearing
- Avoid a soggy center
- Build a firm, crisp base that survives any amount of toppings
The dough should stay soft and pliable—just set on the bottom.
7. Don’t Overload Your Toppings
A little goes a long way.
Pizza isn’t a dump cake. It’s architecture.
Too much sauce? Soggy center.
Too much cheese? Grease pool.
Too many toppings? The bottom will never crisp.
Follow the classic Italian rule:
If you think it’s just enough, it’s probably too much.
If you think it’s too little, congratulations—that’s the right amount.
8. High Heat = Superior Oven Spring
500°F is the sweet spot for home ovens.
A pizza stone helps create that blast of conductive heat that mimics a pizza oven. No stone? Use an upside-down sheet pan preheated in the oven.
9. The Two-Minute Rest Before Slicing
That quick rest on the cutting board lets the cheese settle and prevents a swampy slide-off situation. It’s small but mighty.
Bringing It All Together
Whether you’re aiming for a classic New York slice or just trying to get a crisp bottom with a tender, airy crumb, pizza success comes down to mastering:
- Gluten development
- Fermentation
- Stretching technique
- Heat management
Once you get those right, your homemade pizza will easily rival your favorite pizzeria—and possibly beat it.
At the end of the day, pizza is one of the most joyful foods to make. It’s tactile, it’s creative, and it makes everyone in the house wander into the kitchen to ask, “Is that ready yet?”
Here is the recipe.
Now go make some magic.
 Brennah Van Wagoner
Weekly Newsletter Contributor since 2025
Email the author! brennah.oaks@gmail.com