The New Baking Pan You NEED Right Now!
There is this cake I get from a restaurant we have here that I dream about. All the food I’ve ever had at this plate is absolutely delicious and worth coming back for, but the cake….is…..EXCEPTIONAL!
Now, I’m going to be mean here and say that I found a copycat for this mysterious cake and I will come back after I have made this copycat recipe to report so this particual story is to be continued…………
However, in order to make this exceptional cake, I had to have the right baking pans. Thus began my introduction to the mini springform pan. I think the springform pan was truly inspired when that invention was thought up. I mean, what in the world would we do without cheesecake?! I mean, really! But a mini springform pan?! Wow. Just wow.
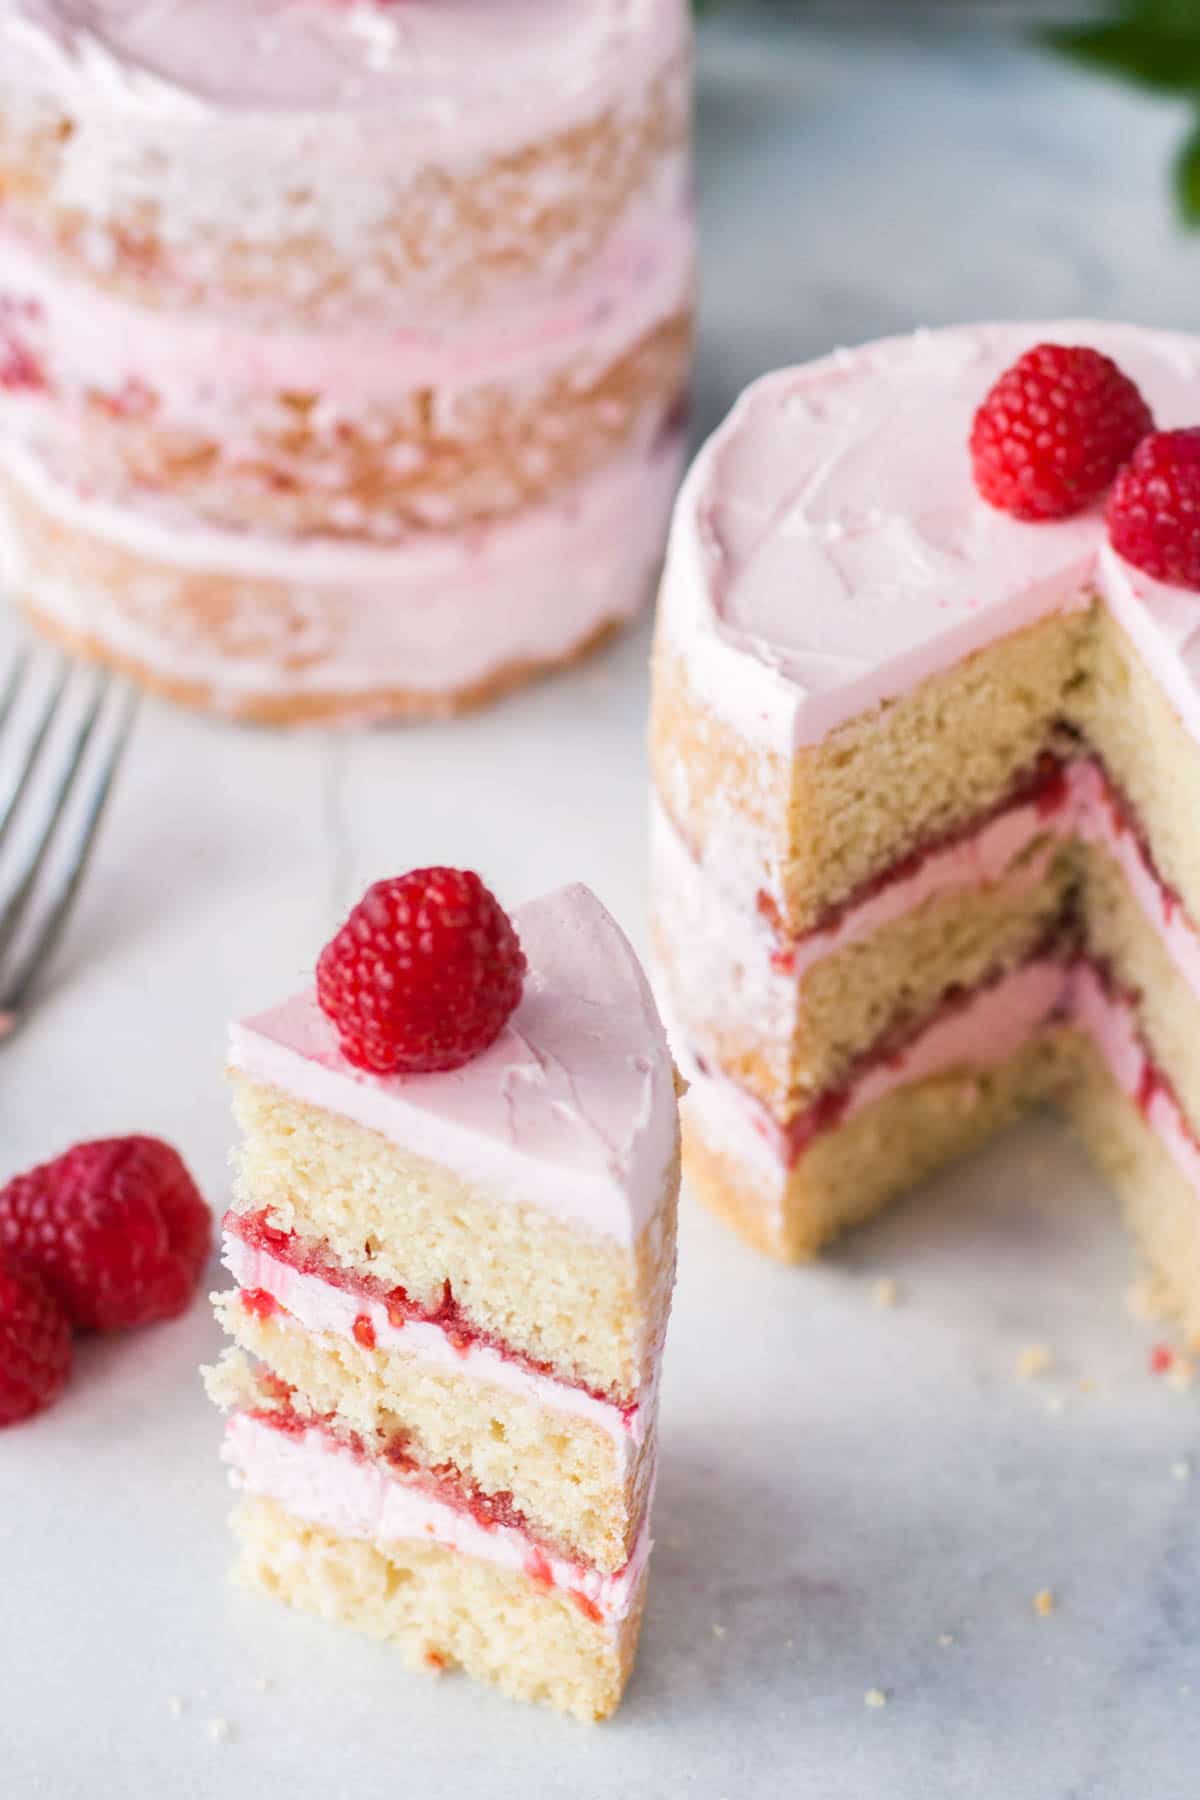
I mean just look at that cute little mini raspberry naked cake? The whole cake fits on a saucer! (That {pretty good size} piece of my heart that is a sucker for all things miniature is about to explode! Ha!)
You can make the most delectable desserts that are perfect for two people to share. It can make the most beautiful presentation for an anniversary or other special meals together at home.
Or my daughter’s first birthday is coming up so I know this would make the best smash cake for that special day.
I got mine at Joann Fabric and Craft store. The retail price was about $11, but I used a 50% off coupon so I got my package of three mini springform pans for only $5.50! Best $5.50 I’ve ever spent!
On the package there are pictures of all kinds of cute desserts including of course cheesecake, mini tarts, quiche, and a brownie ice cream sandwich. That was the first thing I had to try.
Which led me to my next question…..as I browsed recipes online specifically for mini springform pans, I didn’t see many options so I knew I would have to learn how to convert baking times for different size pans. Honestly, I couldn’t really find much useful information on this, but here is a little chart to help.

You can see that the smaller the pan gets, the less time time you bake it. The smallest round pans we have here are 6 inches, but you can tell that they decrease the time by about 5 minutes for every 2 inches you go down. So if I were using my 4 inch cake pans, according to this chart, I would bake for about 20-30 minutes. I would probably start checking on it at 15 minutes. But remember to always use your eyes to look for clues, like when the cake starts to pull away from the pan or when it springs back when you touch the center lightly.
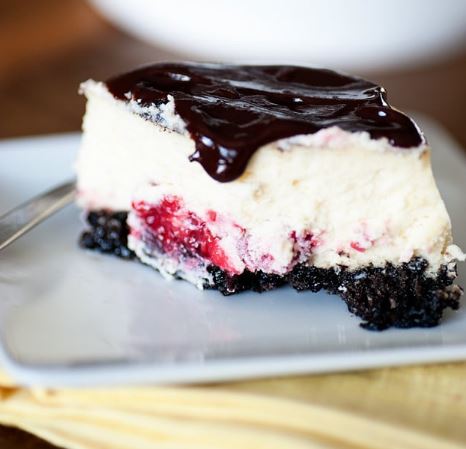
Do you have miniature cake pans? Which kind of recipes or dessert for two would you want to try first? Here is a recipe for a super easy Oreo ice cream cake.

OREO ICE CREAM CAKE
Ingredients:
4 cups oreo graham crumbs
3 tablespoons butter melted
2 L vanilla ice cream softened
1 L Cool Whip divided
300 g package of Oreo Cookie divided
1 teaspoon almond extract
1/2 cup hot fudge sauce
Instructions:
-In a large bowl combine the oreo graham crumbs and the melted butter. Mix thoroughly, and then press into mini springform pans. Tamp the crumb mixture down, the bottom of a glass works, so does the blunt end of a honey dripped. Whack it down till it packs tight. Set aside.
-In a stand mixer combine the ice cream and about 3/4 of the tub of cool whip. Whisk until combined.
-Place about 3/4 of the cookies in a ziploc bag, take a rolling pin and whack the crud out of the bag until you break the cookies into small pieces. Now toss those pieces into the mixer. -And good luck with this step, if you're like me you've inhaled about half the bag of oreos by now.
-Mix the oreo pieces and ice cream mixture till fluffy, add the almond extract and give it another whir till it's mixed in.
-Now before you pour this, right into your mouth if you're anything like me, let's go grab that hot fudge sauce. Don't even try to pretend you don't hide a jar in your fridge. We all do it. Just own it so we can move on.
-I want you to heat the sauce, but only slightly. It should be barely warm, just loose enough to spoon out. Take this mixture, while trying to resist drinking it straight from the measuring cup, and spoon it over the oreo crumb base. Do not try to smooth it, that will create the crumbs to lift back up. Just pour the hot fudge sauce over randomly. It you want it more even, just swirl the dish around a bit.
-Now pour the oreo ice cream mixture over top. Smooth the tops.
-Place in the freezer for about 4 hours, or even overnight.
-Remove from freezer and top with remaining whipped cream. Then top each one with a cookie.
-Serve with a big old "I'm so glad we had two bags of oreos in the house" kind of smile!
- www.cravingsofalunatic.com
- www.thebakerchick.com
- www.livforcake.com
 Mary Richardson
Weekly Newsletter Contributor since 2014
Email the author! mary@dvo.com