Common Mistakes Even the Pros Make (And What to DO About ‘Em)
Even folks who bake for a living make mistakes. But they learn from them, and then very often they’ll pass on their hard-earned knowledge. Such is the case with the pros at a favorite store and site, www.preparedpantry.com. Take a look at these common baking mistakes glean from their advice:
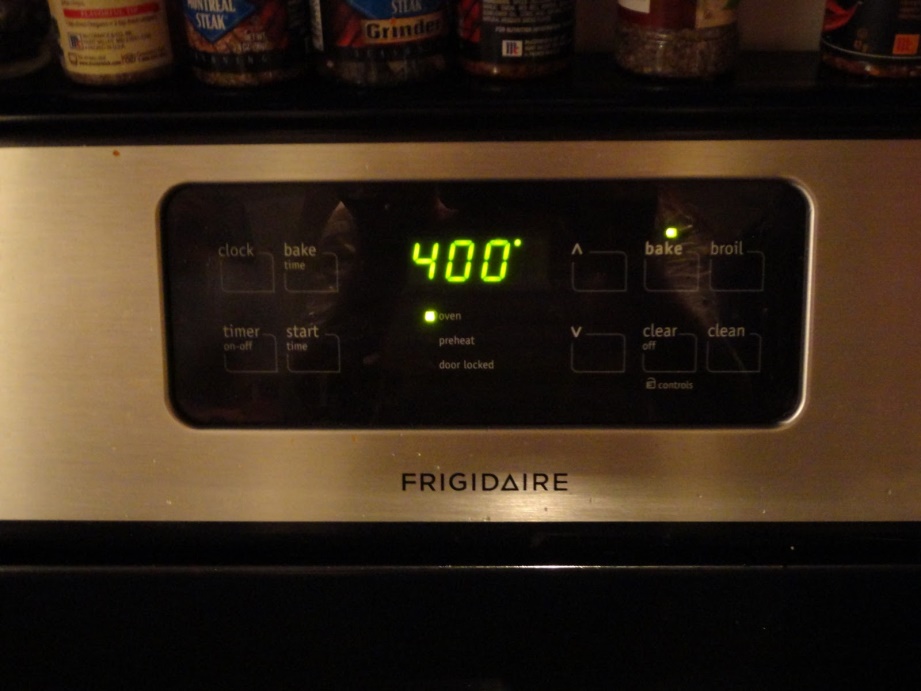
Mistake #1. Believing the digital indicator on the front of the oven.
It reads 350 degrees, so it must be 350 degrees, right? That’s a timer you’re looking at, not a thermostat. After the reading says 350 degrees, let it sit for another ten minutes. Even then, you don’t know what the temperature really is. An oven cycles on, heats up and then begins to cool. It’s a moving target and not very accurate either.
To solve that problem, put an oven thermometer in your oven. They don’t cost much and you’ll appreciate the improvement accurate temperatures make in your end results.
Mistake #2. Not paying attention to the temperature of your cookie dough ingredients.
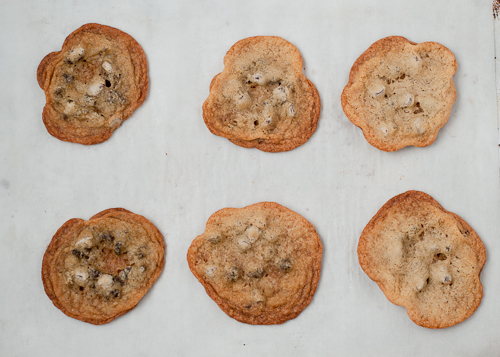
Butter, for instance. Don’t let the butter get to warm, too soft. It needs to remain a solid. If it turns to a liquid, it will saturate your cookie dough and create a mealy mess and cookies that spread t-h-i-n when baking.
If you beat your butter and sugar together too long, the friction will soften the butter and you’ll have a mealy mess and cookies that spread t-h-i-n when baking. Cream it until the butter is dispersed into the sugar (when the yellow lumps are integrated into the butter), then stop.
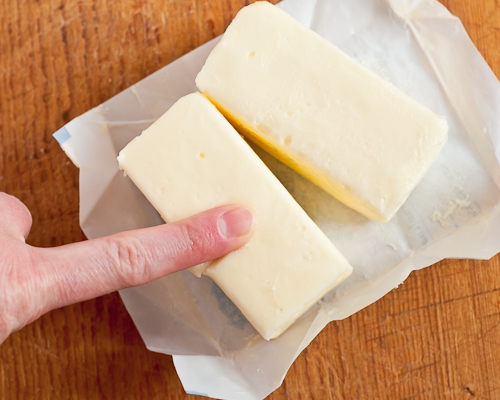
By the way, cookbooks say to cream sugar into soft butter, usually meaning room temperature butter. Watch out. Baking in summer, for instance, can mean your room temperature is warm enough to make your butter much too soft. Perfect “soft” butter is butter that dents when touched and stays dented.
Mistake #3. Relying on the “thump” to tell if bread is done.
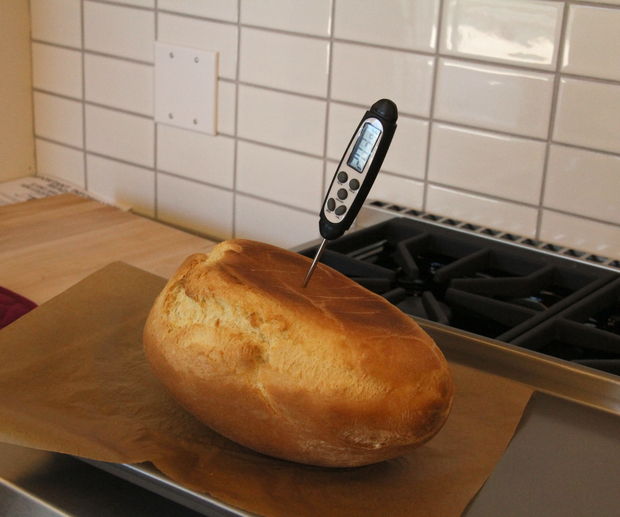
Rely on a thermometer instead. Stick the probe into the deepest part of the bread. If it doesn’t read 190 degrees, keep baking. And how brown it is doesn’t count either. As the sugars in the bread caramelize, they turn brown. This doesn’t mean the bread is done baking, though. Quit guessing and get a thermometer.
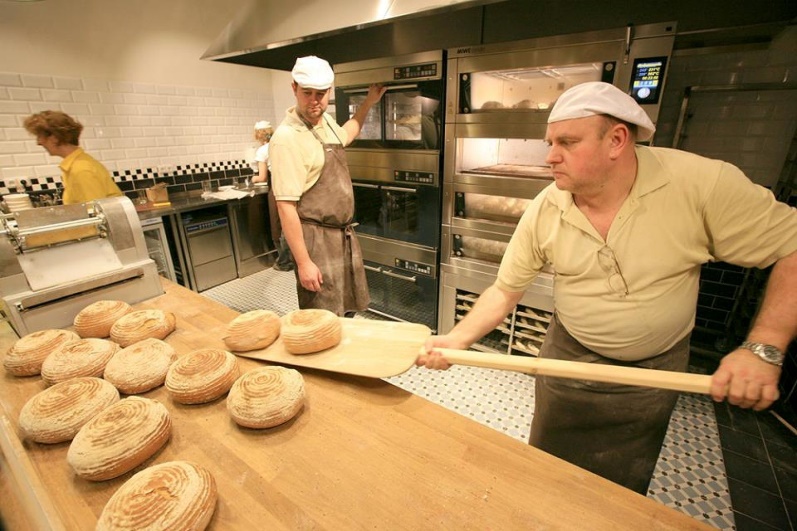
Mistake #4. Using the wrong pan.
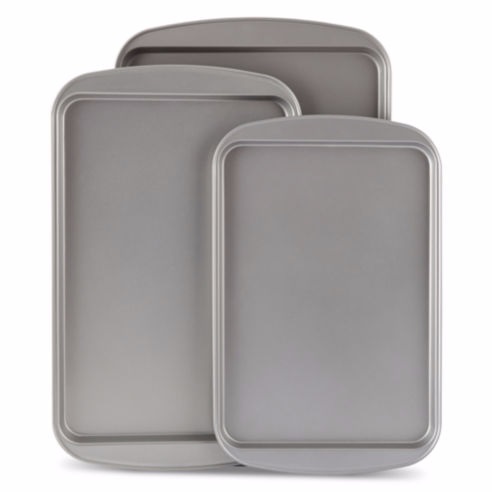
Love those heavy silver sheets? OK, but just know that they don’t turn out an end product the same as the dark, nonstick ones do. Experiments with both types show that cookies that take 8 ½ minutes on gray nonstick sheets take 11 to 12 minutes on the heavy silver sheets. This is because the gray pans absorb the heat and silver pans reflect it. And not only is there a difference in baking time, there’s a big difference in how cookies look. Cookies off the silver sheets tend to be flatter, due to the dough continuing to spread until the pan finally gets hot enough to set the eggs and flour. For perfect cookies, opt for a gray, nonstick pan instead.
Mistake #5. Believing your liquid measuring cup.
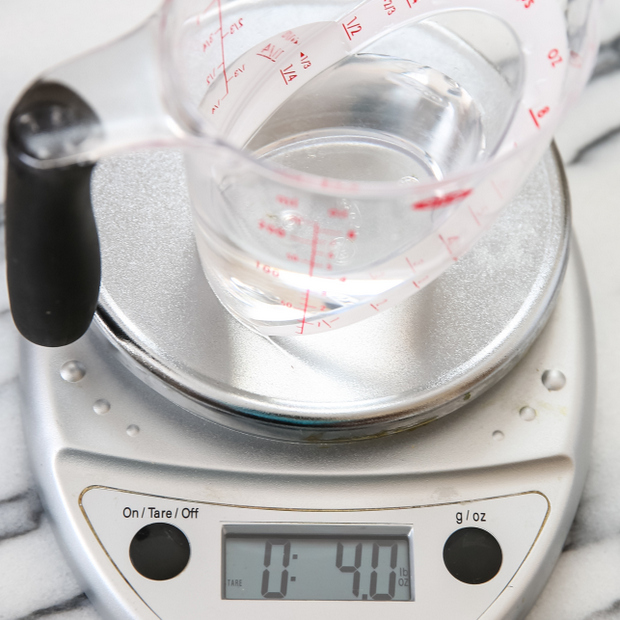
Measuring cups lie just like ovens. The folks at Prepared Pantry found this out by gathering up about a dozen liquid measures. One at a time they put each on a scale and added eight ounces of water. They were all over the board…as much as 20% off. So do yourself a favor and grab a scale and test your cups. It doesn’t take much difference in liquid measurements to make a BIG difference in your end result.
Mistake #6. Using silver pans for fruit pies.
Dennis, owner of Prepared Pantry says, “We have some pretty silver pie pans. We found out the hard way that they’re great for chilled pies but not for fruit pies. Those silver pans turn out a soggy bottom. You want fruit pie bottoms that are thoroughly baked and crispy. For that, you need a gray pan that will absorb the heat; again, silver reflects it.”
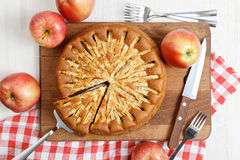
The pros prefer gray, nonstick pie pans. They like the consistent results these pans offer. And here’s a clever pie tip: After your pie cools, grab it by the crust and twist it enough to break it loose from the pan. Come serving time, slide the pie out of its pan and onto a platter or cutting board for slicing.
Mistake #7. Putting tin foil around the edges of pumpkin pies.
Everybody does it, they cover the edges of a pie with tin foil to keep that delicate crust edge from burning. This has drawbacks: Tin foil pieces will fall into the pie, some often fall onto the oven floor, and typically parts of the crust will always be too brown.
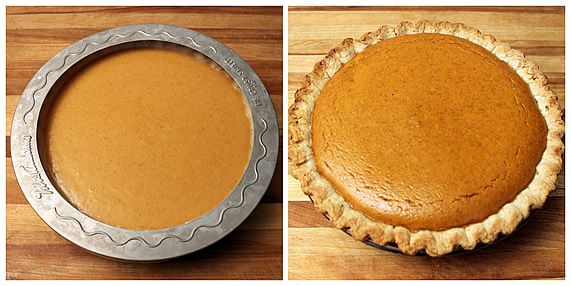
There’s an easy solution: Use a pie crust shield. This is a ring that slips over the top of the pie and protects that crust. And this time silver IS the choice—it deflects the heat better.
- www.prague-stay.com
- www.myfoodnetworklife.wordpress.com
- www.designmom.com
- www.instructables.com
- www.jcpenny.com
- www.kirbiecravings.com
- www.dreamstime.com
- www.theyummylife.com
 Alice Osborne
Weekly Newsletter Contributor since 2006
Email the author! alice@dvo.com