
How to Pack Better Lunches
Hey chefs,
Back-to-school season means we are officially entering the era of packing food at 7:00 in the morning that somehow needs to still be appealing several hours later.
And that is a surprisingly difficult culinary assignment.
A sandwich that was perfect when you made it can be soggy by lunch. Crackers mysteriously lose their crunch. Apples turn brown. Strawberries leak juice everywhere. Something that tasted wonderful straight from the refrigerator suddenly seems significantly less exciting after spending half the day inside a lunchbox.
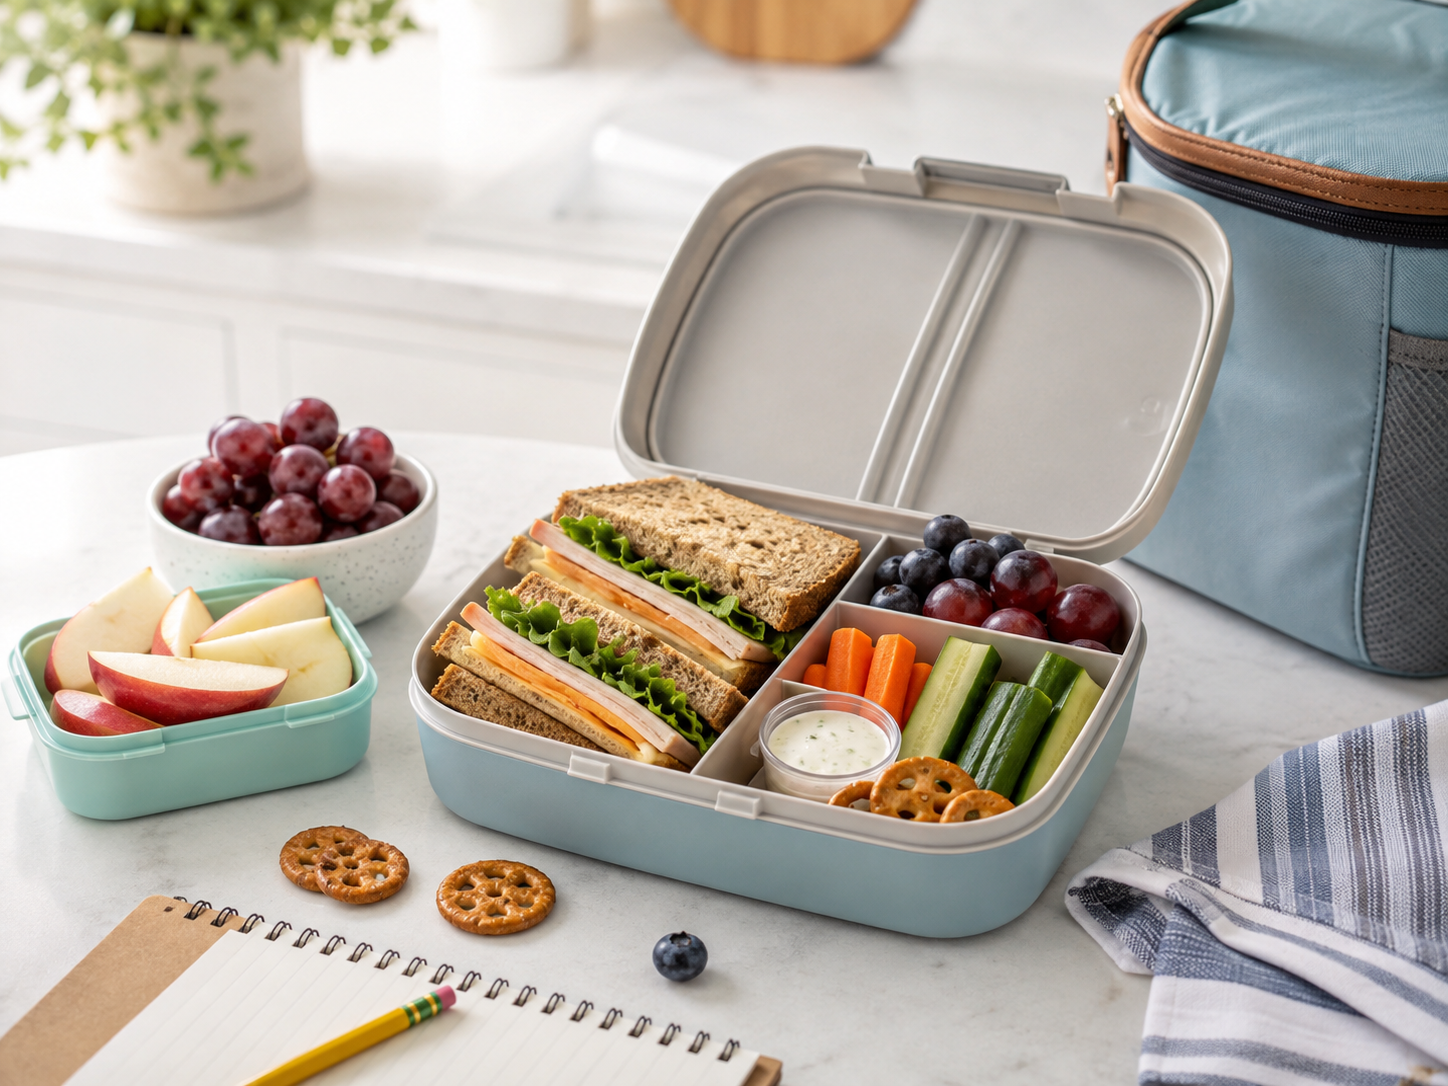
So instead of giving you a list of 50 school lunch ideas, I want to talk about something much more useful:
How to build a packed lunch well.
Once you understand why packed food gets soggy, stale, watery or sad, you can pack almost anything successfully—and you don’t have to make elaborate little lunchbox masterpieces every morning to do it.
Think in Components, Not Complete Lunches
This is the same strategy I love for busy weeknight dinners.
Instead of trying to invent a brand-new lunch every day, think in a few basic components:
Something substantial + produce + something crunchy or fun + something with flavor
For example:
Turkey and cheese sandwich + apple slices + pretzels + mustard.
Chicken pasta salad + grapes + crackers + a little cookie.
Hummus and pita + cucumbers and carrots + cheese + berries.
Cold chicken + roll + snap peas + ranch.
The individual foods can change constantly, but the structure stays the same.
That means instead of standing in front of the refrigerator every morning thinking, What am I supposed to make?, you’re simply filling the categories.
And no, every lunch does not need to contain seven colors, three homemade dips and a sandwich cut into the shape of a woodland creature.
We’re feeding people, not entering a lunchbox pageant.
The Number-One Lunchbox Enemy: Moisture
If you want a packed lunch to taste good hours later, the biggest thing to understand is moisture migration.
Foods naturally contain different amounts of water. When you put a wet ingredient directly against a dry ingredient and leave them together for several hours, moisture moves into the drier food.
Which is how this:
crisp bread + juicy tomato
becomes:
sad tomato sponge.
The trick isn’t necessarily avoiding moist ingredients. It’s controlling where the moisture goes.
How to Keep Sandwiches From Getting Soggy
Build sandwiches strategically.
Think of cheese, butter, mayonnaise, cream cheese, nut butter and similar spreads as potential moisture barriers.
Instead of putting tomato directly against bread, you might build:
Bread → cheese → turkey → tomato → lettuce → cheese → bread
The drier ingredients protect the bread from the wetter ingredients in the middle.
For particularly juicy vegetables—tomatoes, cucumbers, roasted peppers, pickles—it can be even better to pack them separately and add them at lunchtime if that’s practical.
Another tiny trick: pat wet ingredients dry before packing them.
A pickle straight from the jar brings quite a bit of brine with it. A quick blot with a paper towel lets you keep the pickle flavor without introducing nearly as much moisture.
And if you’re making sandwiches ahead, choose your ingredients accordingly. USDA guidance specifically notes that sandwiches can be frozen to help keep lunches cold, but lettuce, tomatoes and mayonnaise aren’t ideal ingredients to freeze with them because their quality suffers. (FSIS)
Keep Crunchy Things Away From Wet Things
This seems incredibly obvious until you realize how many lunch foods violate the rule.
Crackers beside sliced fruit.
Granola mixed into yogurt.
Croutons sitting on salad.
Tortilla strips on something saucy.
All of those crunchy foods are slowly absorbing moisture while they’re waiting to be eaten.
If crunch matters, pack it separately.
Put granola in a tiny container and pour it onto yogurt at lunchtime.
Keep crackers away from cheese or deli meat if either is particularly moist.
Pack croutons separately from salad.
Put dressing in its own container whenever possible.
A lunch with contrasting textures feels dramatically fresher than one where everything has become approximately the same level of softness.
Fruit Has Its Own Set of Problems
Fruit is wonderful in packed lunches, but once you start cutting it, you’ve changed the equation.
Apples and pears
When you cut an apple or pear, enzymes in the fruit react with oxygen and the surface begins to brown.
A little acid slows that reaction.
You can toss apple or pear slices with a very small amount of lemon juice—just enough to lightly coat them. Too much and you’ve turned an apple into a lemon.
Another option is simply choosing varieties that resist browning reasonably well and cutting them as close to packing time as possible.
Berries
Berries are usually happiest when they’re washed, completely dried and then packed.
The drying part matters.
Extra surface moisture speeds up that unpleasant transition from beautiful berry to damp berry situation.
If you’re prepping berries ahead, wash them and spread them out until they’re genuinely dry before refrigerating them.
Melons
Melon is extremely juicy once cut.
That isn’t necessarily a problem, but I like to give it its own compartment or container rather than putting it beside crackers, sandwiches or anything else that you’re hoping will remain dry.
Grapes
Grapes are practically designed for lunchboxes.
Wash them ahead, dry them thoroughly, refrigerate them, and portion as needed.
Very little drama.
We appreciate that in August.
Stop Trying to Prep Five Finished Lunches on Sunday
You can make five completed lunches in advance.
That doesn’t mean it’s always the best strategy.
A lunch made Sunday afternoon has a lot of time to deteriorate before Friday.
Instead, prep the things that hold well individually.
Wash the fruit.
Wash and cut sturdy vegetables.
Portion crackers.
Make a dip.
Cook chicken.
Slice or portion cheese.
Bake muffins.
Boil eggs.
Make a pasta salad.
Then assemble the actual lunches closer to when they’re going to be eaten.
This gives you most of the convenience of meal prep without asking a cucumber slice to remain enthusiastic for five days.
Make a Lunchbox Mise en Place
This is where we borrow a little professional-kitchen thinking.
In a restaurant, you don’t wait for someone to order dinner and then start figuring out where the ingredients are.
Everything has a place.
You can do the same thing at home.
Keep lunch foods together when possible.
One refrigerator bin can hold things like:
- Cheese sticks
- Yogurt
- Washed fruit
- Deli meat
- Hard-boiled eggs
- Hummus
- Cut vegetables
And one pantry basket can hold:
- Crackers
- Pretzels
- Granola bars
- Dried fruit
- Applesauce
- Nuts or seeds, where school policies allow
- Little treats
Now packing lunch isn’t a scavenger hunt through the entire kitchen.
Grab something from here, something from there, add the main component, done.
That is mise en place for real life.
Use Dinner to Make Tomorrow’s Lunch
One of the easiest lunch-prep tricks is simply cooking a little extra dinner.
Not necessarily enough to serve the identical meal again.
Just enough to steal a component.
Extra roasted chicken can become a sandwich or wrap.
Meatballs can go into a thermos with pasta.
Rice can become a cold rice salad.
Roasted vegetables can go into pasta or couscous.
A dinner roll can become tomorrow’s little sandwich.
This is especially useful because you’re completing the cooking while you’re already cooking.
You don’t need an entirely separate lunch-prep event.
Pack the Sauce Separately
If something can be dressed later, let it be dressed later.
Salads are the obvious example, but this applies to a lot more than lettuce.
Keep sauce separate from:
- Noodles
- Grain bowls
- Vegetables
- Crackers
- Chicken
- Wrap ingredients
Then add it at lunchtime.
This gives you much more control over texture.
The exception is a dish that actually benefits from sitting in its dressing—some pasta salads, bean salads and grain salads get better after a little time together.
The important thing is knowing whether the sauce is seasoning the food or slowly destroying the texture.
There is a difference.
Temperature Is Part of Good Cooking, Too
A lunch can be delicious and still need to be handled safely.
For lunches containing perishable foods, USDA recommends using an insulated lunch bag with at least two cold sources—for example, freezer packs, a frozen water bottle or a frozen juice box—to help keep the food at 40°F or below until lunchtime. (FSIS)
This applies to foods like deli meat, yogurt, cheese, eggs, cooked chicken and many other refrigerated foods.
You can even freeze a water bottle or juice box and let it serve two jobs: keeping lunch cold in the morning and becoming a drink by lunchtime.
For hot lunches, use a proper insulated food container rather than putting warm food into a regular lunchbox and hoping for the best. USDA lists insulated containers as one of the key tools for safely packing hot school lunches. (FSIS)
Food safety may not be the glamorous part of lunch packing, but it is part of being a good cook.
Don’t Pack Everything Ice-Cold Just Because You Can
Now let’s separate food safety from food quality, because they aren’t always the same thing.
Some foods taste fantastic cold.
Fruit.
Pasta salad.
Cheese.
Yogurt.
Others are less exciting straight from the refrigerator.
Bread can seem firmer.
Certain baked goods lose some of their aroma.
Some cheeses taste significantly better when they’re not refrigerator-cold.
The goal is still to keep perishable foods safely chilled, of course, but when choosing what to pack, consider whether the food is actually pleasant at the temperature at which it’s going to be eaten.
That is one reason some foods are naturally better lunchbox candidates than others.
Small Containers Are Your Friend
You don’t need an elaborate matching lunchbox system, but a few tiny reusable containers are enormously useful.
They let you separate:
wet from dry,
crunchy from soft,
sauce from salad,
fruit from sandwiches,
and dips from everything else.
Sometimes the difference between a mediocre packed lunch and a really good one isn’t the recipe.
It’s simply that the ingredients weren’t forced to live together for four hours.
Have a Few “No-Prep” Lunches
Not every morning is going to go according to plan.
Keep a few things around that can become lunch almost instantly.
A yogurt.
A cheese stick.
Whole fruit.
Crackers.
A muffin from the freezer.
Applesauce.
A simple sandwich.
Leftovers that can go straight into a thermos.
There is absolutely no prize for making every lunch from scratch at 6:45 AM.
Convenience foods are tools.
A professional cook knows when doing something from scratch improves the food—and when it’s simply creating unnecessary work.
Let Kids Help Build the Formula
If you’re packing lunches for kids old enough to participate, give them choices within the framework.
Pick:
one main
one fruit or vegetable
one crunchy thing
one extra
It gives them some ownership without opening the refrigerator and asking the terrifyingly broad question:
“What do you want for lunch tomorrow?”
That is how negotiations begin.
The Best Packed Lunch Is the One Someone Actually Wants to Eat
It can be tempting to get so focused on making a lunch nutritionally perfect, beautiful and endlessly varied that we forget its actual purpose.
Someone needs to eat it.
So pay attention to what comes home.
If the cucumbers return untouched every single day, that is information.
If the sandwich is eaten but the crusts always come back, that is information.
If the berries disappear but the orange slices don’t, that is information too.
A good lunch system gets easier over time because you start learning what actually works for the person eating it.
You don’t need 50 brilliant lunch ideas.
You need a handful of foods your family likes, a few good storage techniques, some strategic prep, and an understanding of what makes food survive several hours in a box without losing everything that made it good in the first place.
Because back-to-school lunch should be practical.
But we’re still chefs.
It should taste good, too.
 Brennah Van Wagoner
Weekly Newsletter Contributor since 2025
Email the author! brennah.oaks@gmail.com