

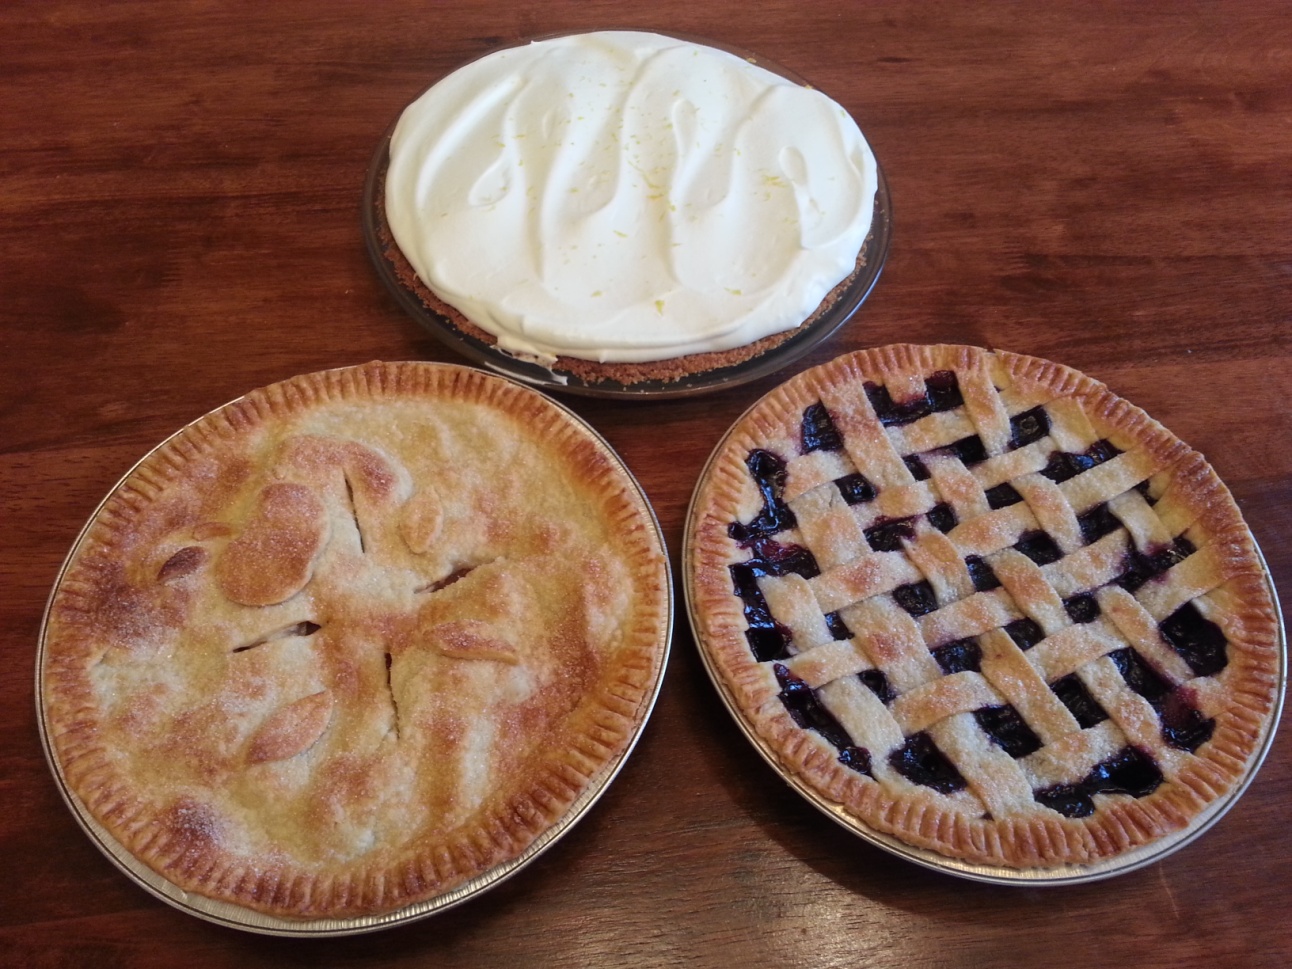
I am positive I have never met a piece of pie I did not like. You name it--apple, blackberry, peach, pumpkin, banana cream, coconut cream, chocolate silk, and even chicken pot pie. I love them all! How is it that I love something without any hesitations simply because it ends in the word pie? It may have something to do with that flaky delicious something surrounding every mouth watering bite. What would a pie be without the crust? It certainly wouldn't be as irresistible.
Throughout the years I've met people who are absolutely terrified of making their own pie crust. They resort to buying store-bought rather than experiencing the delight of fresh, flaky, homemade pie crust. The taste and texture is beyond compare. Also, by making your own pie crust you can save money and pass on all the preservatives you would consume with store-bought crust. It's a win-win.
Since I am aware this may be a fear-provoking task, I am going to walk you through this process step by step and hold your hand the entire way. It will be a lot simpler than you imagine and I am confident you will end up with a delectable pie crust you will be proud to share. Let's go!
Pastry for Double-Crust Pie
Ingredients:
2 1/4 cups all-purpose flour
1 teaspoon salt
2/3 cup shortening (I like to use butter-flavored shortening)
8 to 10 tablespoons cold water
Directions:
1. In a bowl, measure out the flour and salt. Whisk together until combined.
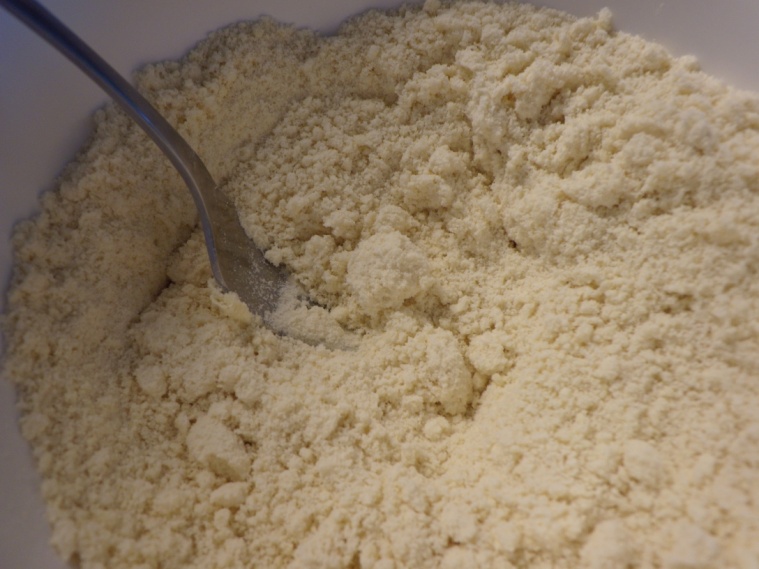
2. Add shortening to flour and salt mixture and cut in shortening with a pastry blender or a fork. It should look something like this:
3. For this next part, I like to scoot all of the flour/shortening mixture to one side of the bowl.
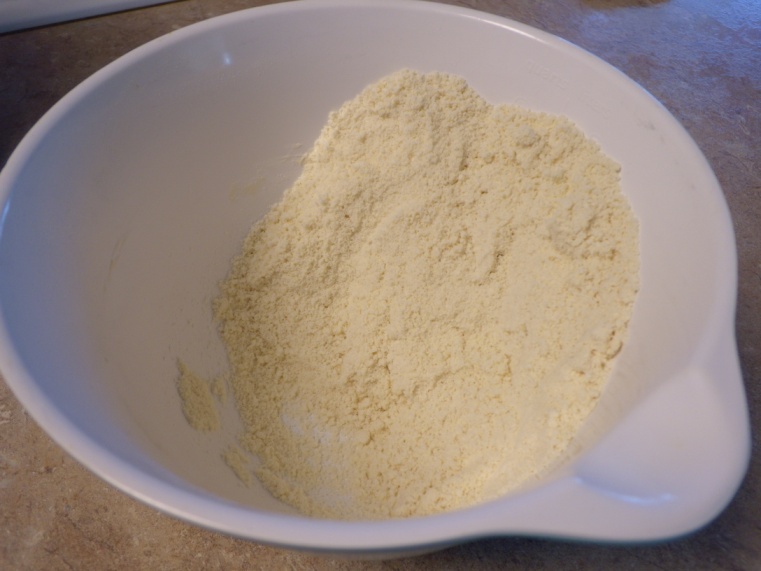
I can then proceed to add the water to this mixture.
4. This recipe calls for cold water so I like to mix about 1 cup of cold water from the tap with a few ice cubes in a small bowl and let sit for a minute.
5. Measure out 1 tablespoon of cold water from your bowl of ice water and pour onto the inner part of your flour/shortening mixture. Gently toss a portion of your flour/shortening mixture into the water and push to the opposite side of the bowl like this:
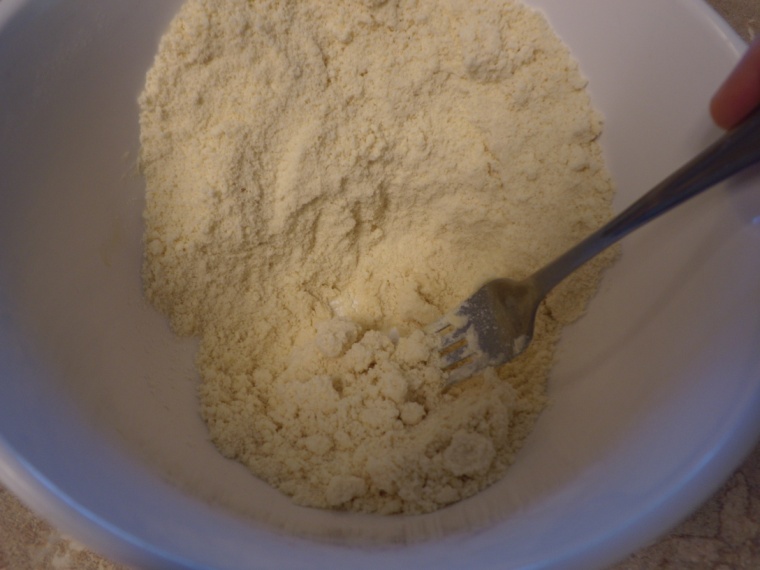
Continue to add water one tablespoon at a time (being sure to count how many tablespoons you've added) until you've moistened your entire flour/shortening mixture. I've found that it usually takes me the full 10 tablespoons before my entire mixture is moistened. Also, be sure to not over mix during this part! Simply fluff each tablespoon of water with a portion of your flour mixture for a few seconds then push aside. Being gentle is the key here. You are simply trying to moisten the mixture.
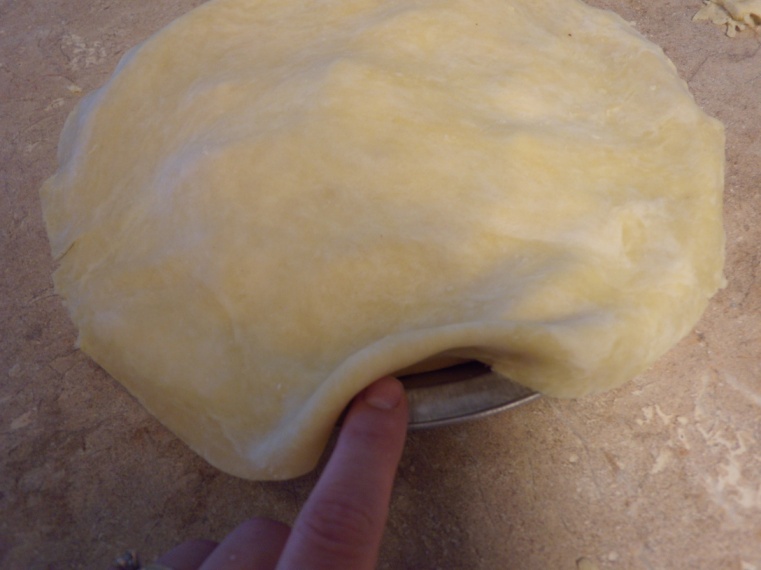
6. Now you need to divide your pastry mixture in half and form into two balls by patting and rolling gently between your hands. You should not be attempting to knead the pastry dough at all -- just bringing the dough together into a ball like this:
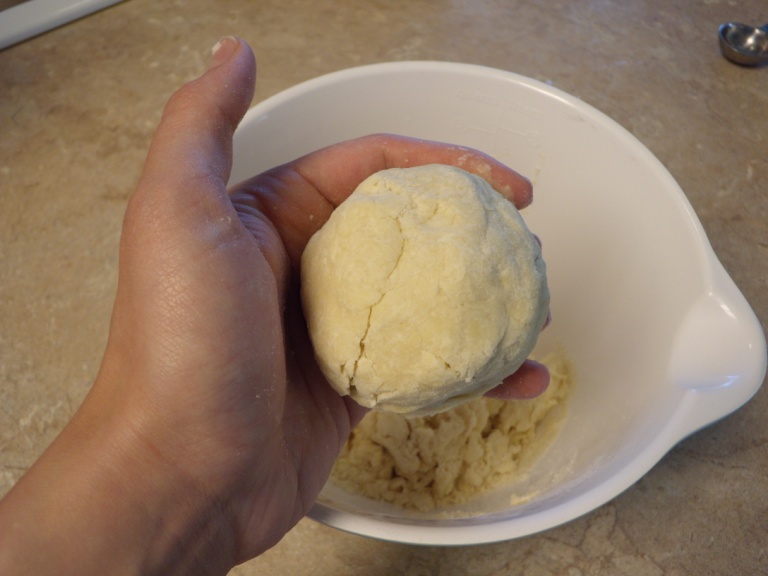
You can cover the dough and let it sit in the refrigerator until you are ready to use it.
7. When ready to roll out, place balls of dough onto a lightly floured surface. Roll out first ball of dough into a circle until it is about 12 inches in diameter.
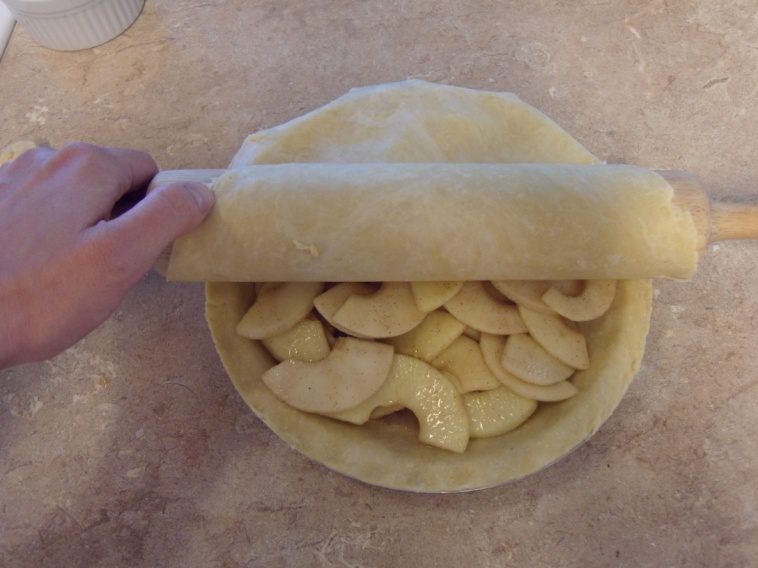
8. Next, transfer the dough into a 9-inch pie pan. The easiest way to transfer the dough into the pie pan is to gently roll the dough around the rolling pin like this:
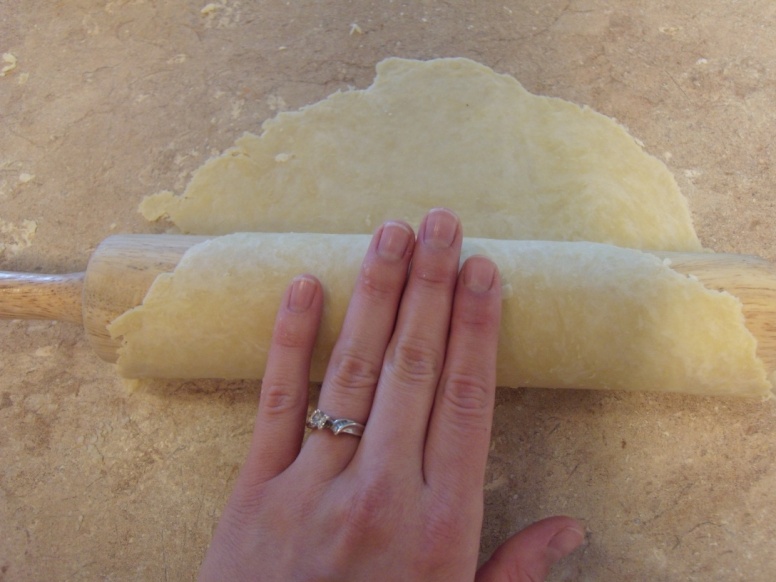
Then unroll it over top of the pie pan like this:
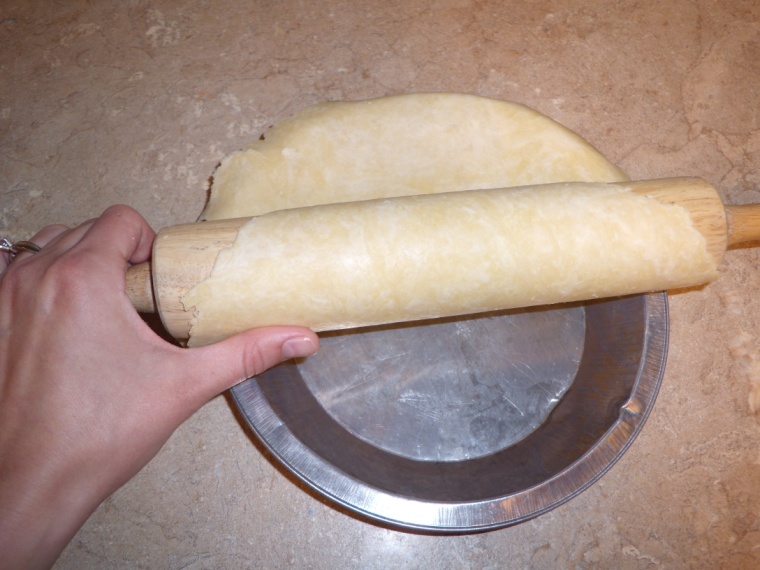
Be careful not to stretch the pastry over the pie pan as this will cause it to shrink during baking.
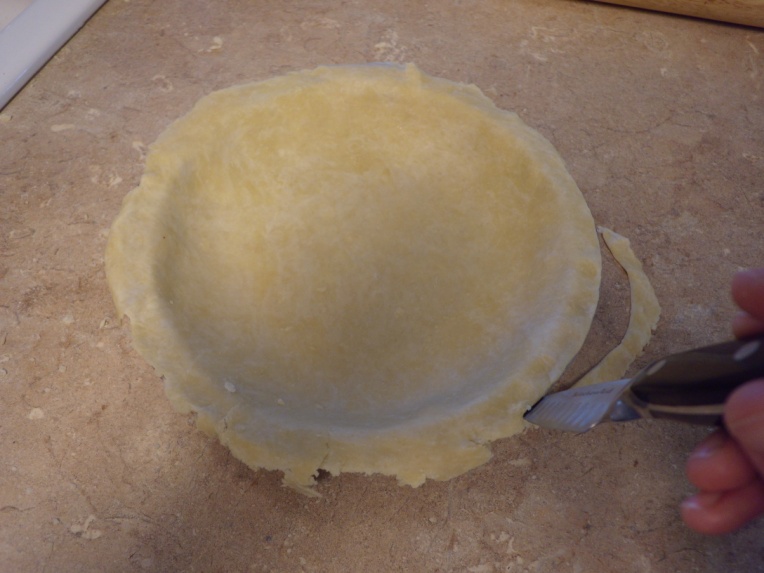
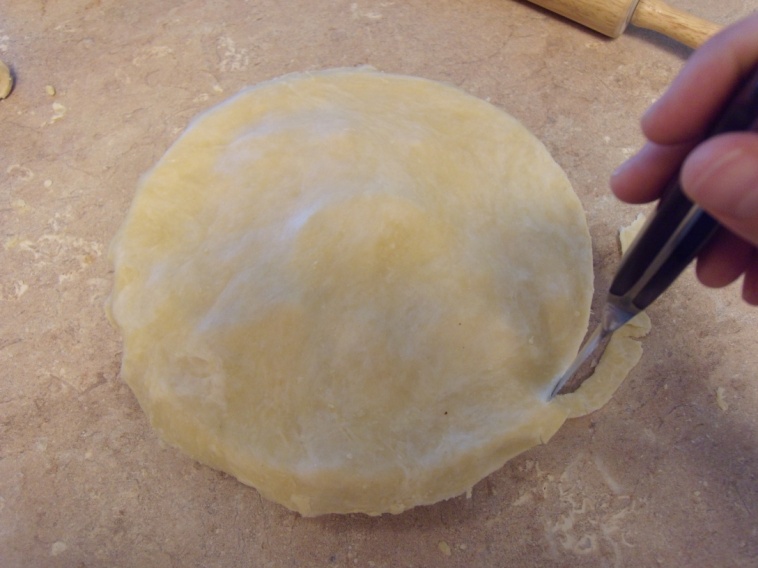
9. Next, trim the dough even with the edge of the pie pan using a knife like this:
10. At this point, you would add the filling to the pie pan.

11. To add the top layer of pie crust, follow steps 7-8 once more.
12. Technically for this part, you are supposed to lift the bottom layer and tuck the top layer under the bottom layer;
however, I usually make it easier on myself and simply trim the top layer even with the bottom layer as well.
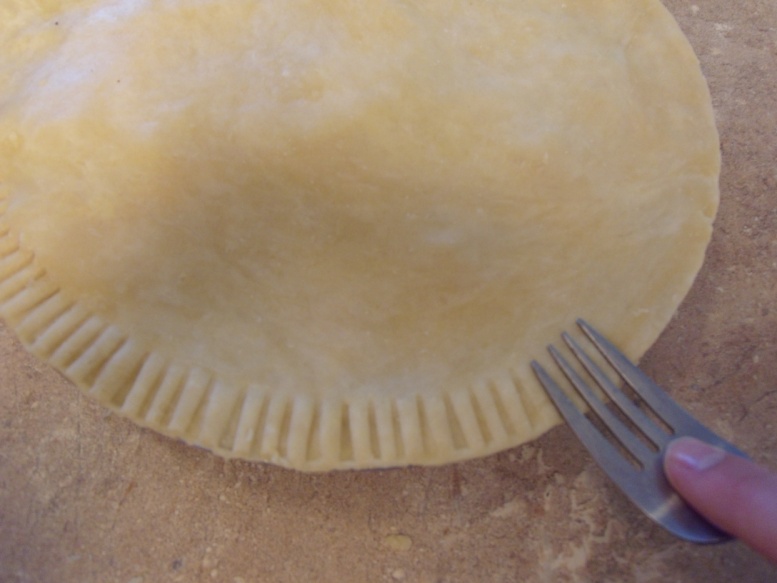
13. Now you want to make your pie look all nice and pretty by crimping the edges. The easiest way to do this is using a fork: press the edge of the fork gently around the entire edge of the pie crust like this:
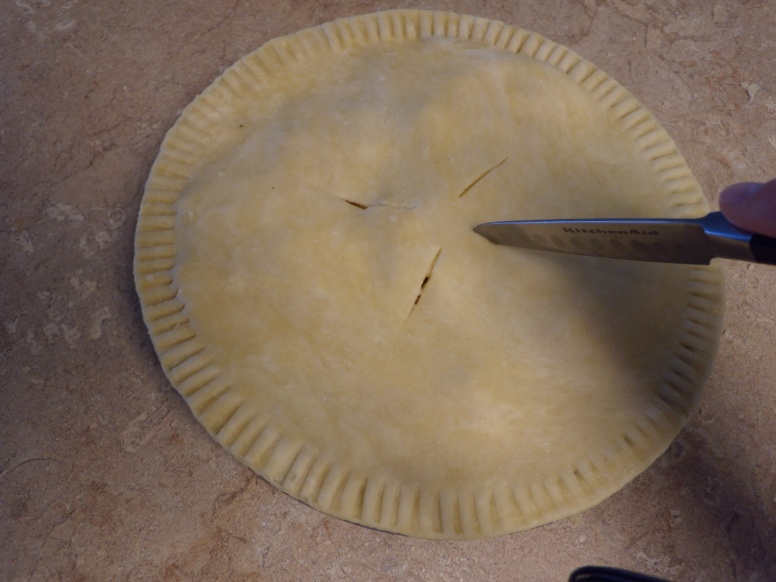
14. Now add 3-4 slits in the top layer of your dough for ventilation like this:
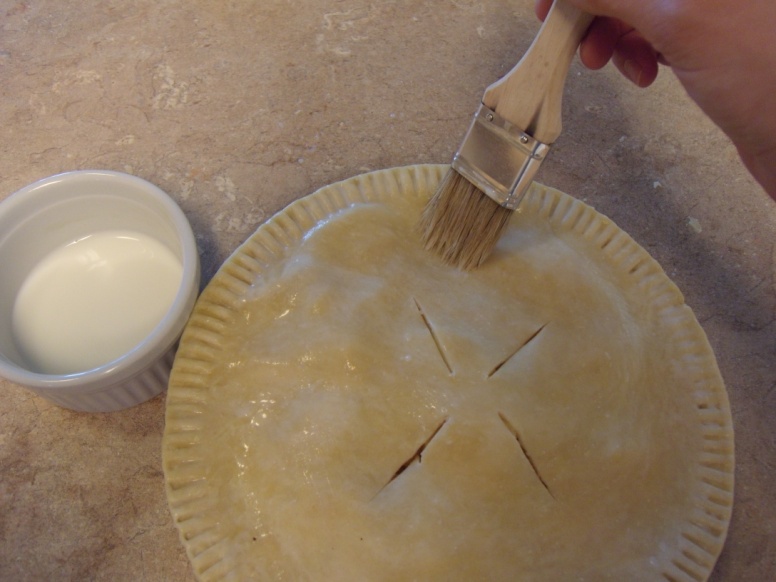
15. This next step is definitely optional, but probably one of my favorite parts. Take a pastry brush and dip it into a small cup of milk. Tap the pastry brush slightly to remove some of the excess milk. Brush the edges and top of your pie crust with a thin layer of milk like this:
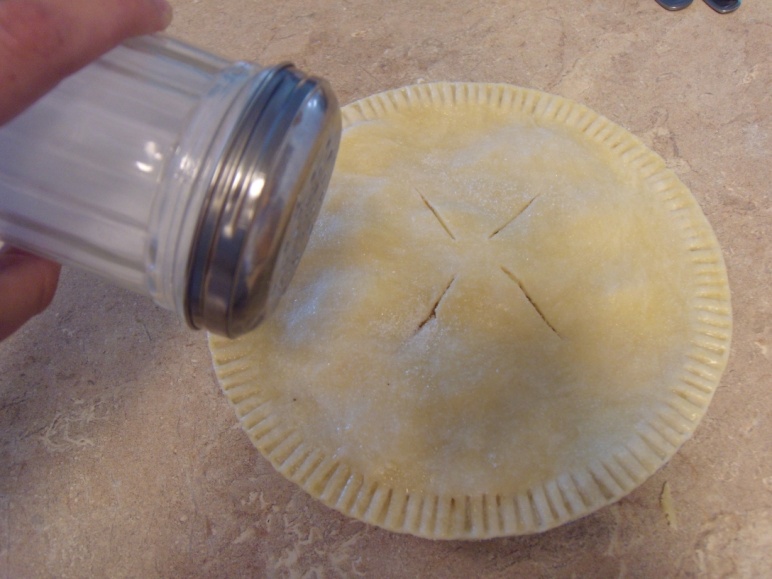
If making a dessert pie, you can sprinkle the top of the pie crust slightly with sugar.
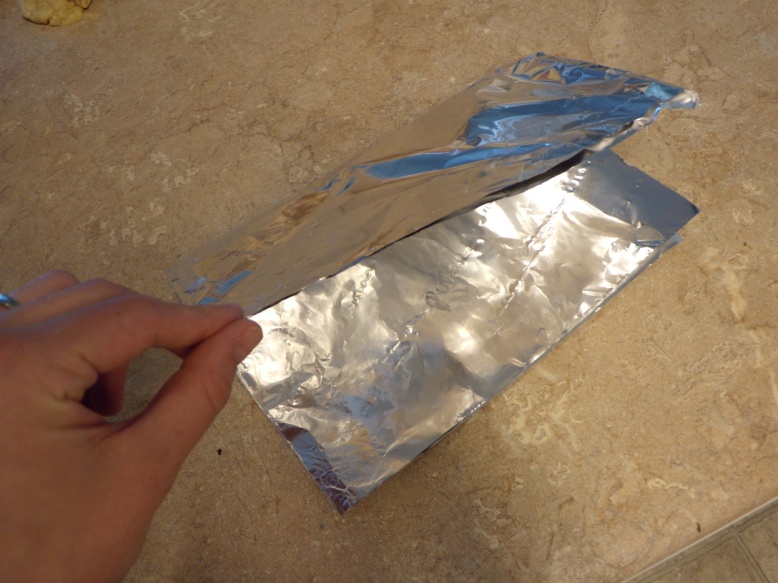
16. The final step before baking your pie is to cover the edges with aluminum foil to prevent the edges from over-browning. This is the easiest way I’ve found to make the aluminum cover:
Cut out a rectangle of aluminum foil and fold in half width-wise.
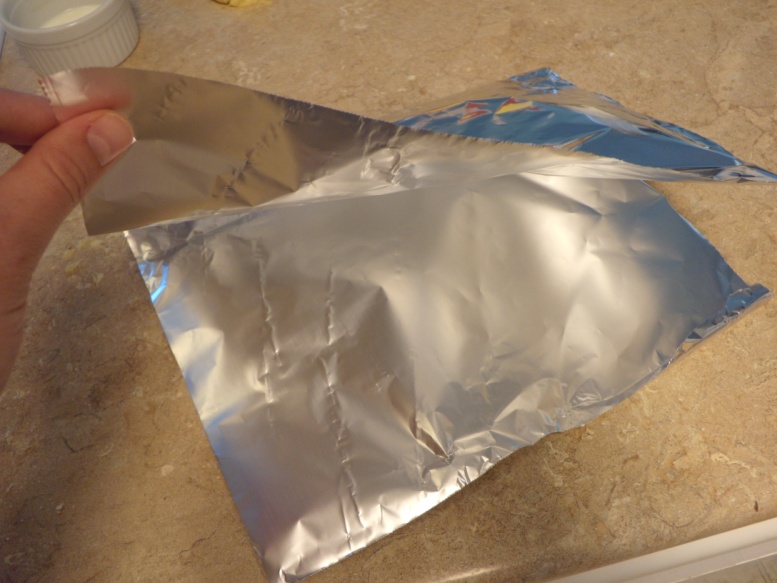
Fold aluminum foil in half once more.
Cut a half circle along the folded edge of the aluminum foil.
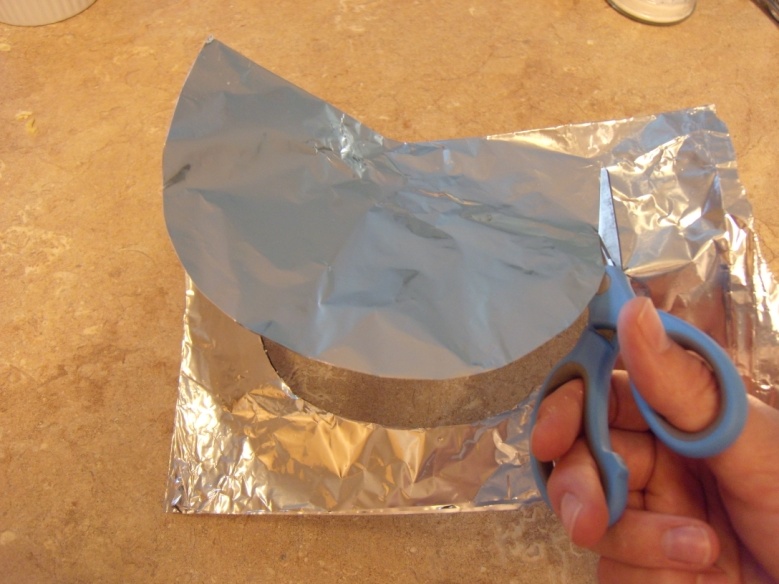
Open the foil once and you should have a double layered circle to place around the outside edge of your pie crust.

Gently place over your pie and tuck loosely under the edges of your pie crust like this:
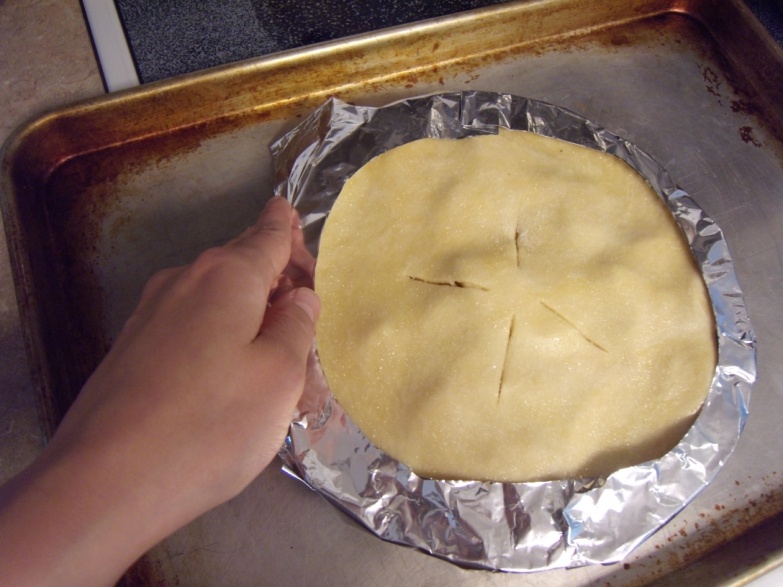
Generally you'll remove the aluminum foil from the pie halfway through baking.
*Follow baking instructions according to your pie filling recipe.
The condensed recipe with the same steps minus the pictures is formatted with the Cook'n Recipe Software from DVO Enterprises and available for download below!

Viola! You now know how to make a beautifully delicious, homemade pie crust. Good luck with all your pie-making adventures in the future. With Father's Day around the corner you may want to use your newly found skills to make the perfect pie for Dad. Enjoy!

Carrie Collette
Weekly Newsletter Contributor since 2013