Make Your Own Chicago-Style Deep Dish Pizza Because It's Worth It!
My husband recently visited Chicago on a business trip, and was able to try some famous Chicago style deep dish pizza. In his words? Life-changing;). He called to tell me how excited he was about this pizza, and insisted that we needed to learn how to make it at home! I immediately started researching different recipes and came across one that seemed like a winner.I was a little nervous honestly, considering that I made this pizza just 2 days after my husband’s trip, so the delicious taste of the real thing was still fresh in his mind. I’ve never made (or even eaten!) a deep dish pizza before, so I wasn’t sure if my version would even be able to compare.
The verdict? I’ve made my husband a very happy man :). He was DYING over the pizza, saying that while it tasted different, it definitely didn’t lack anything in quality of taste. He was THRILLED. And I felt pretty proud, to be honest ;). My absolute favorite thing to cook are the things that I know my husband loves :).
Chicago-Style Deep Dish Pizza
Delicous and hubby-approved!
Prep time:
Cook time:
Yield: Yield: 2 deep dish 9-inch pizzas
Serving size: 5
Calories per serving: 911
Ingredients:
Cook time:
Yield: Yield: 2 deep dish 9-inch pizzas
Serving size: 5
Calories per serving: 911
3 1/4 cups flour (spoon & leveled)
1/2 cup yellow cornmeal
1 1/4 teaspoons salt
1 tablespoon granulated sugar
2 1/4 teaspoons yeast (1 standard packet)
1 1/4 cups water
1/2 cup unsalted butter, divided (1/4 cup melted, 1/4 cup softened to room temperature)
olive oil for coating
2 tablespoons unsalted butter
1 small onion, grated (about 1/3 cup)*
3/4 teaspoon salt
1 teaspoon dried oregano
1/2 teaspoon crushed red pepper flakes (optional, but recommended)
3 garlic cloves, minced
1 (28-ounce) can crushed tomato
1/4 teaspoon granulated sugar
4 cups shredded mozzarella cheese
1/2 cup grated Parmesan cheese
lots of pepperoni
your favorite pizza toppings
Directions:
You will need two deep dish 9×2 inch round cake pans if you are making both pizzas at the same time. You can also use 9 inch springform pans.
For the crust: Combine the flour, cornmeal, salt, sugar, and yeast in the bowl of your stand mixer fitted with a dough hook attachment. If you do not have a stand mixer, use your hand mixer and a very very large bowl. If you do not have any mixer, you will do this all by hand. Again, use a very large bowl. Give those ingredients a quick toss with your mixer on low or with a large wooden spoon. Add the warm water and 1/4 cup of melted butter. The warm water should be around 90°F (32°C). Make sure it is not very, very hot or it will kill the yeast. Likewise, make sure the butter isn’t boiling hot. If you melt it in the microwave, let it sit for 5 minutes before adding. On low speed, beat (or stir) the dough ingredients until everything begins to be moistened. Continuing on low speed (or remove from the bowl and knead by hand if you do not own a mixer), beat the dough until it is soft and supple and gently pulls away from the sides of the bowl and falls off of the dough hook- about 4-5 minutes. If the dough is too hard (it will be textured from the cornmeal), but if it feels too tough, beat in a teaspoon of warm water. Alternatively, if it feels too soft, beat in a Tablespoon of flour.
Remove the dough from the bowl and form into a ball. Lightly grease a large mixing bowl with olive oil and place the dough inside, turning it around so that all sides of the dough are coated in the oil. Cover the bowl tightly with aluminum foil and allow to rise in a warm environment for 1-2 hours or until double in size. For this warm environment, here is what I do: Preheat oven to 250°F (121°C). Once at 250°F, turn oven off. Place bowl inside. Close the oven. The lingering heat will help your dough rise. This is especially ideal on cold winter days.
Once the dough is ready, lightly flour a large work surface. Remove dough from the bowl, set the bowl and aluminum foil aside (to use later). Gently punch down the dough to remove any air bubbles and roll the dough into a large 15×12 rectangle. Spread 1/4 cup of softened butter on top of the dough. Roll it up lengthwise per the photos below. Cut the dough log in half. Form the two pieces of dough into balls and place back into your greased bowl. Cover with aluminum foil and allow to rise in the refrigerator (not in a warm place) for 1 hour until they are puffy as you make the sauce.
For the sauce: Place butter in a medium saucepan over medium heat and allow it to melt. Once melted, add the grated onion, salt, oregano, and red pepper flakes. Once the onion has slightly browned after about 5 minutes, add the garlic, tomatoes, and sugar. Turn the heat down to low-medium and allow it to simmer until it’s hearty, fragrant, and thick- about 30 minutes. You’ll have about 2 and 1/2 cups of sauce at this point. If you have more than that, keep simmering until the amount has reduced. Remove from heat and set aside until ready to be used. You may store the sauce in a tightly covered container in the refrigerator for up to 2 days if planning to make the pizza another day. You may freeze this sauce for up to 2 months as well.
Preheat oven to 425°F (218°C).
Assemble the pizzas: After the dough balls have risen in the refrigerator, they should be puffy. Keep one ball of dough in the refrigerator as you work with the first one. Roll it out on a lightly floured work surface, working it into a 12-inch circle. Using your rolling pin as a guide (see photos below), place over a 9×2 inch deep dish cake pan. Using your fingers, press the dough into the cake pan. Make sure it is nice and tight fitting inside the pan. Trim any excess dough off the edges with a small knife. Repeat with 2nd dough. Brush the top edges of the dough with a little olive oil, which gives the crust a beautiful sheen. Fill each pizza with 1/2 of the cheese (about 2 cups per pizza), then your toppings which I’ve listed as optional in the recipe ingredients. On top of those optional toppings is the sauce. Pour about 1 and 1/4 cups of sauce on top of each. If you do not like that much sauce, you can reduce to 3/4 cup per pizza and have leftover sauce. Sprinkle each with 1/4 cup of grated parmesan cheese.
Place the cake pans on top of a large baking sheet, which will catch anything potentially spilling over the sides of the pans. (Nothing usually does.) Bake for 20-28 minutes or until the crust is golden brown. Feel free to loosely cover the pizzas with aluminum foil after the 15 minute mark to prevent any heavy browning and uneven baking. Remove the pizzas from the oven and allow to cool in the pans placed on a wire rack for 10 minutes. After 10 minutes, slice, serve, and enjoy. Place any leftover pizza in an airtight container and refrigerate for up to 5 days. Reheat leftovers in a 300°F (149°C) oven for 15-20 minutes or until hot.
Notes
Make Ahead & Freezing Instructions: Dough may be prepared through step 4. In the last part of this step, the dough needs to rise in the refrigerator for 1 hour. You may leave it in the refrigerator for up to 1 full day, making sure to punch it down to remove any air bubbles before rolling out as directed in step 7. You may freeze the pizza doughs after preparing them through step 4, and instead of allowing to rise in the refrigerator, simply freeze for up to 2 months. Then, allow the doughs to thaw overnight in the refrigerator and allow to rise at room temperature for 1 hour before continuing with step 7. Make-ahead and freezing instructions for the sauce are written in step 5.
Onion & Tomatoes: Please see notes below the recipe in the step-by-step photos for details about the grated onion and the can of crushed tomatoes.
Cheese: You may use sliced mozzarella or shredded. Whatever it is, slice or shred it yourself from a block of real mozzarella cheese. Pre-shredded mozzarella is just fine, but the taste of sliced or shredded fresh mozzarella is just unbeatable.
Source: sallysbakingaddiction.com
Recipe formatted with the Cook'n Recipe Software from DVO Enterprises.
Here’s the thing- making a deep dish pizza isn’t necessarily hard, just time-consuming. The crust is going to need a couple hours to rise, you’re making the sauce from scratch, and you’ll need a little more baking time since you’re baking a pizza pie!
Some other tips:
Once you’ve mixed the dough, roll it out in a large rectangle like you would when making cinnamon rolls- but instead of rolling it up vertically, you’ll roll it up horizontally- the opposite way you would when making cinnamon rolls. It doesn’t have to be exact when rolling it up because you’ll be rolling it back up into balls anyway, but try to get close so your butter gets evenly spread.
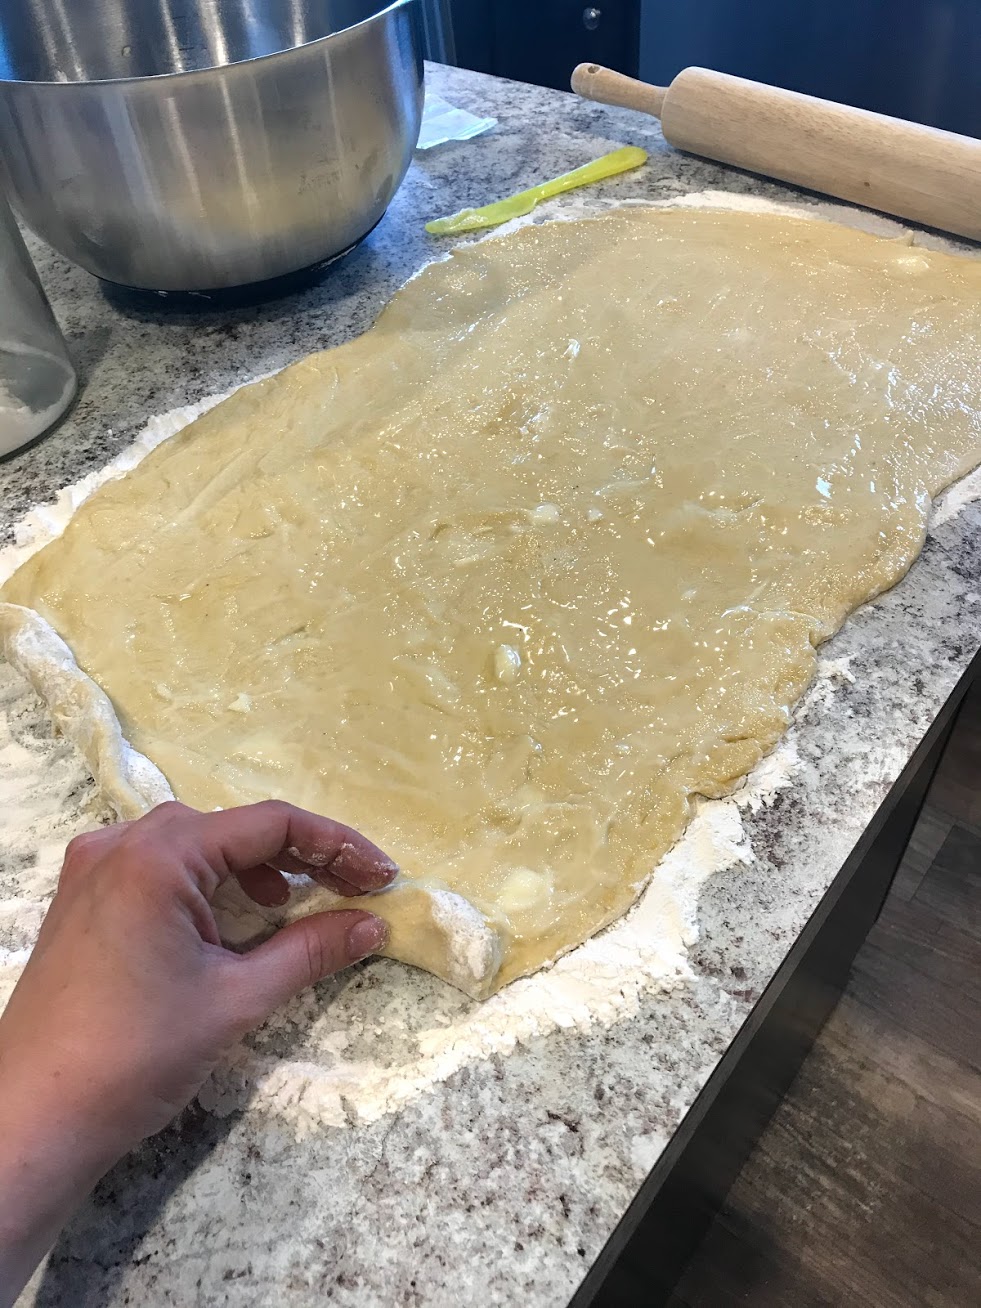
Speaking of butter, mine was really hard to spread- I don’t think it was softened enough, even though it had been sitting out for a few hours! You might even want to microwave it for a couple seconds, just to get it slightly more softened- but make sure you don’t overdo it!

To transfer your crust over to the dish, use the help of your rolling pin to help you get it over without tearing! And don’t be afraid of what dish you use- I tried it in two completely different dishes and they both turned out wonderfully! (Just make sure it’s a DEEP dish, because you’re gonna need it!)
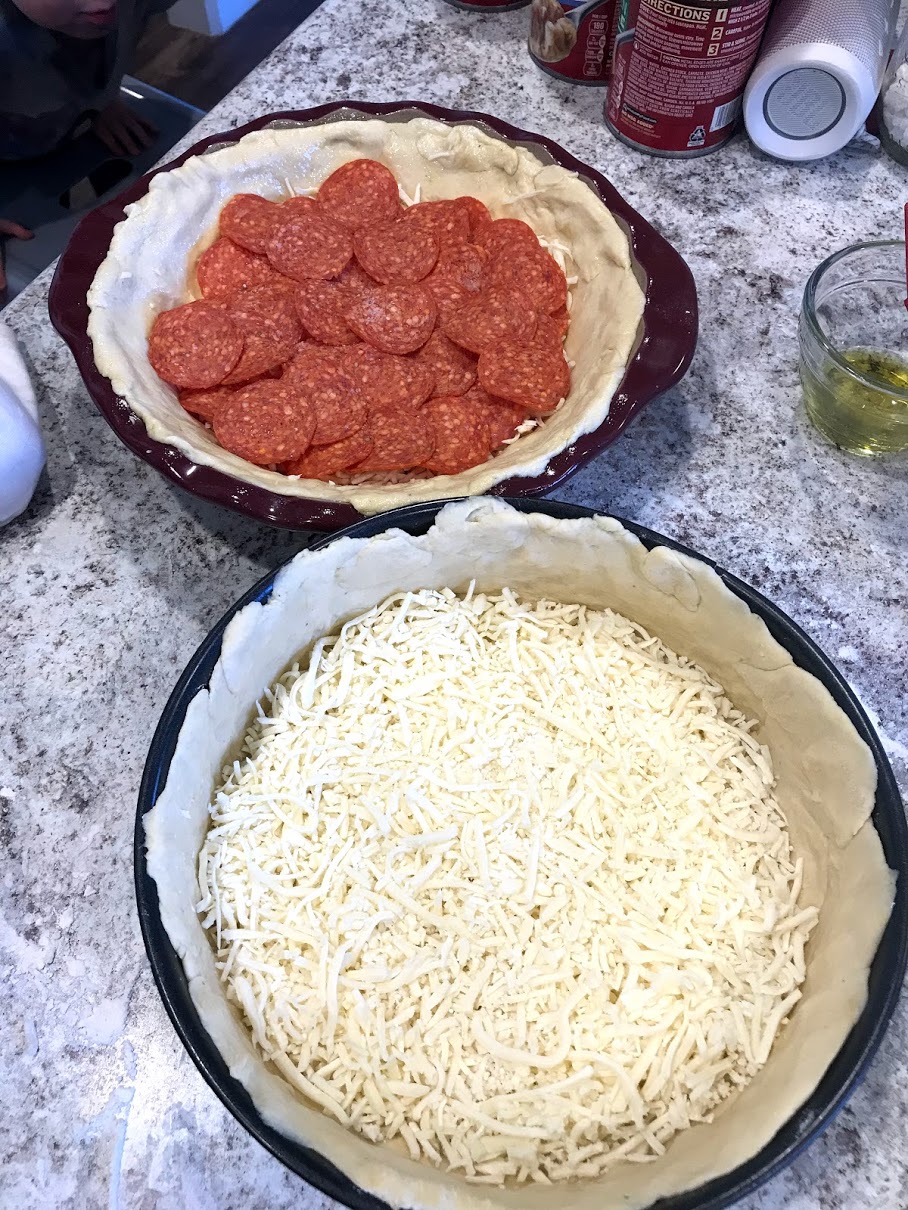
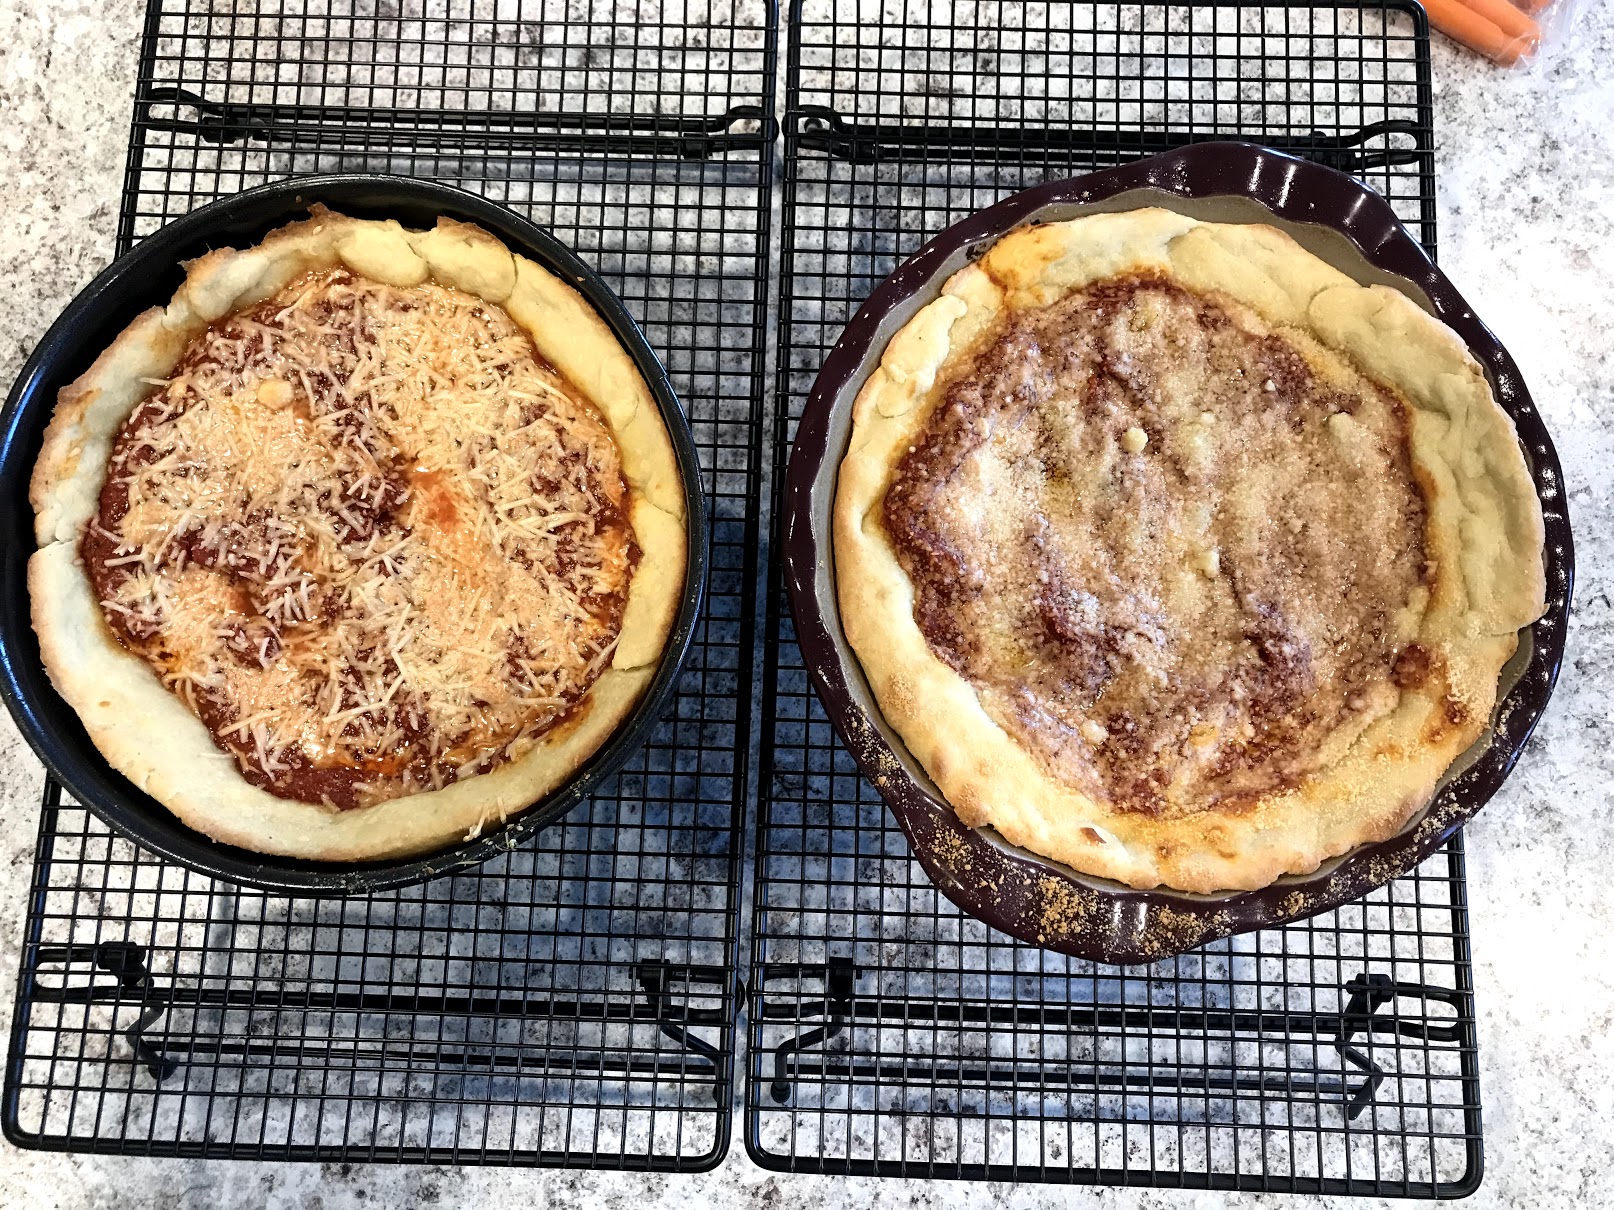
Don’t go light on the pepperoni. One layer is just not enough- I promise. I thought I really laid it on there with 2 layers (plus some!), and after sampling some I’m thinkin’ it could definitely use more- and my husband agreed. As you can see in the above picture, you’ll layer on the cheese, then the pepperoni, and then finally the sauce and parmesan as pictured below.
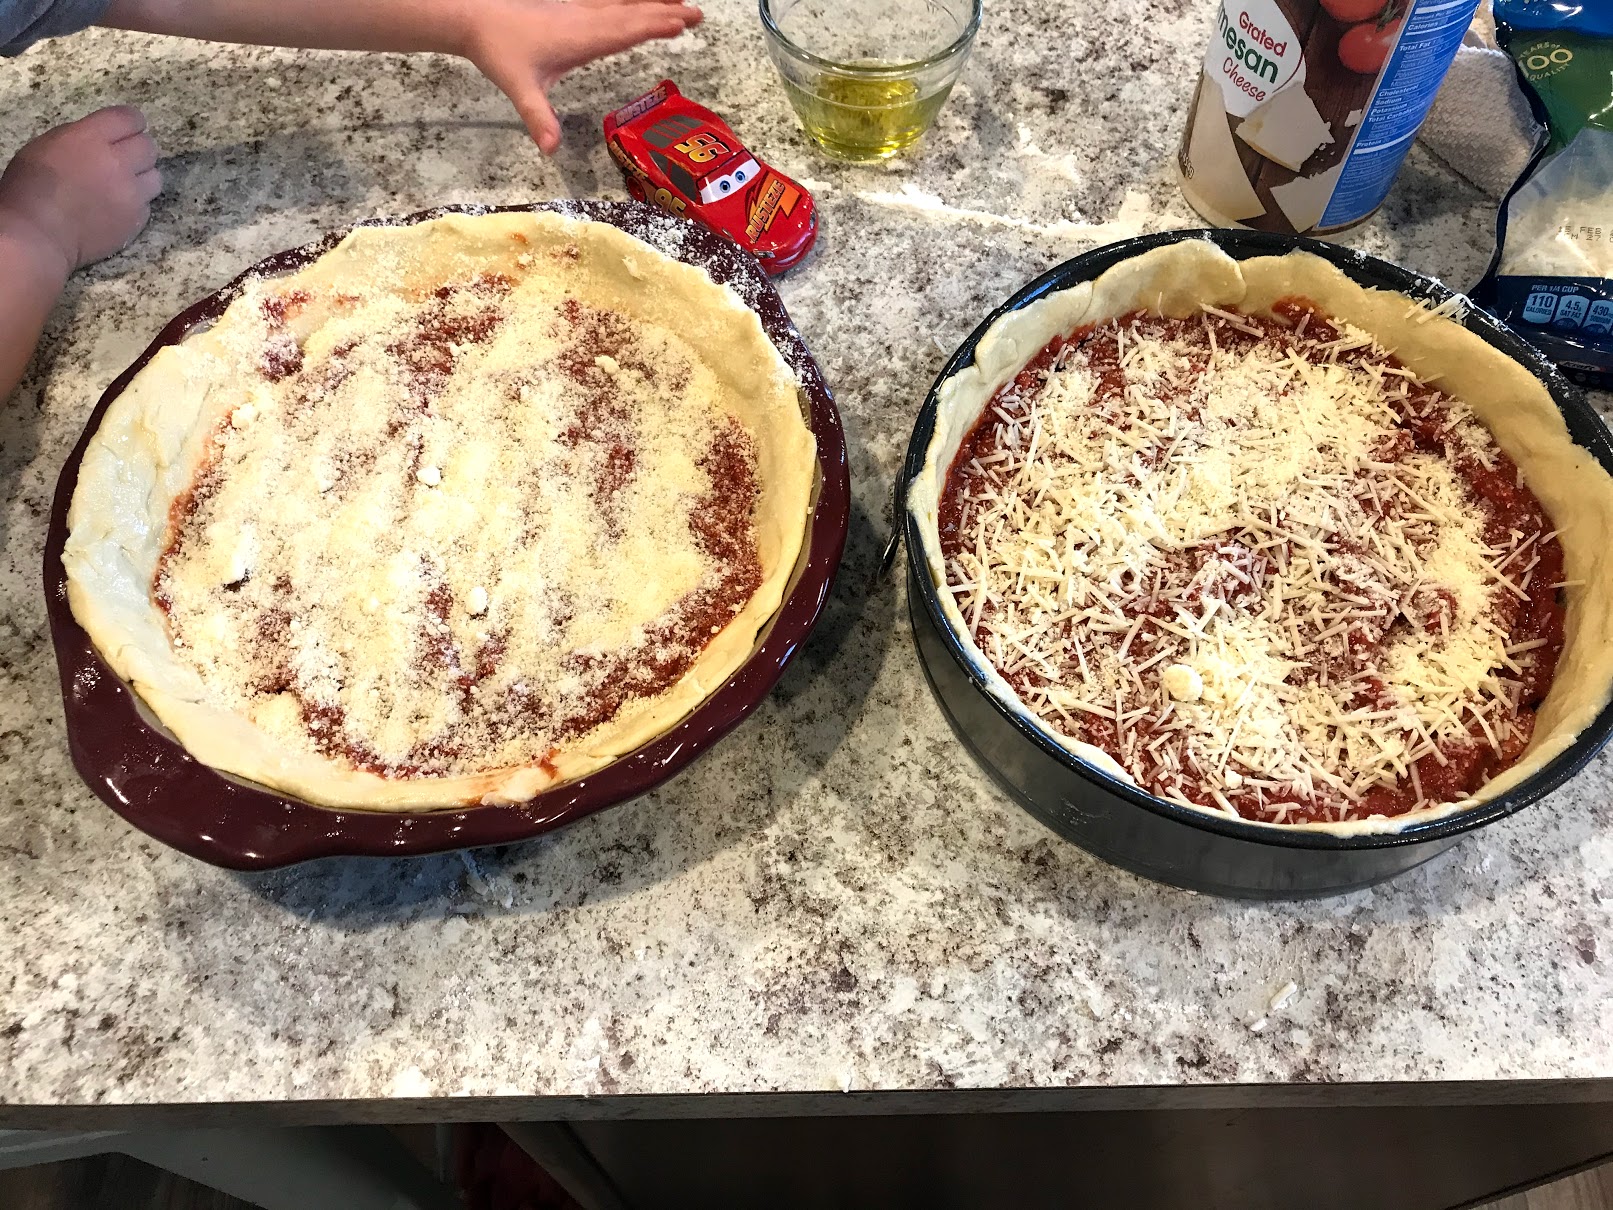
I also experimented with parmesan- while both were tasty, I would go with the finely grated Parmesan cheese. And as you can see, even Lightning McQueen approves of these pizzas ;) (or at least my 2 year old does!).
One nice thing about deep dish pizza is it is VERY filling. Normally, for my family of 7, I make 2 homemade pizzas and it’s gone in the blink of an eye- I usually have to supplement with breadsticks and salad to make sure everyone’s full. These deep dish pizzas are a very different story! We barely got through 1 and ½, and even my husband was stuffed. These will go a lot farther than your average pizza! This recipe makes 2, so if you have a smaller family, you might want to half the recipe, or freeze the extra dough for future use!
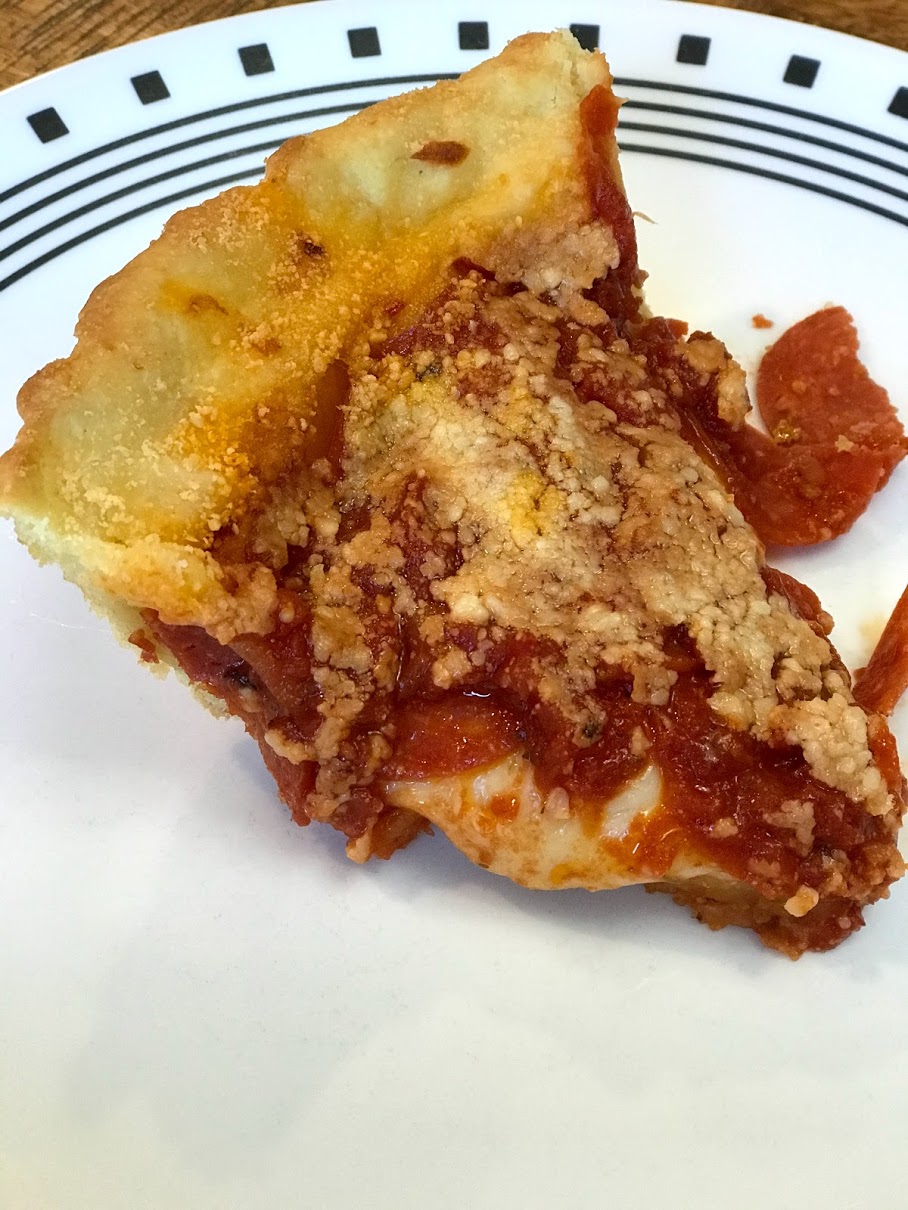
And honestly- the crust is my favorite part! It’s so chewy and dense, and the added cornmeal gives it a unique texture that’s just so tasty!
I can’t wait to experiment with these! You can add layers of whatever your favorite toppings might be- sausage, green pepper, mushrooms, olives, etc. You know what I really want to try? An ALFREDO deep dish- my mouth is watering just thinking of the possibilities! Chicken and bacon layers, mushrooms, or you could even thicken the sauce that goes on top with some green peppers and sausage- I can’t wait to try it! I’m not the biggest fan of red sauce, but I’m a huge sucker for alfredo!
If you haven’t tried a deep dish pizza, you’re missing out! Make this for your family on Friday night, and you’ll be one popular chef!
Picture Sources:
- https://sallysbakingaddiction.com/how-to-make-chicago-style-deep-dish-pizza/
 Camille Hoffmann
Weekly Newsletter Contributor since 2014
Email the author! camille@dvo.com