2 Basics that Can Take Your Baking from Ho-Hum to Holy Cow!
Doesn’t the new year inspire you to want to do things better than you did them last year? Me, too. And improving my cooking skills is always at the top of my list, every year.
So I thought in case some of you may feel the same way, this would be a good time to go over some cooking basics. Basics are always the place to start; we master them, then move on to more complicated stuff.
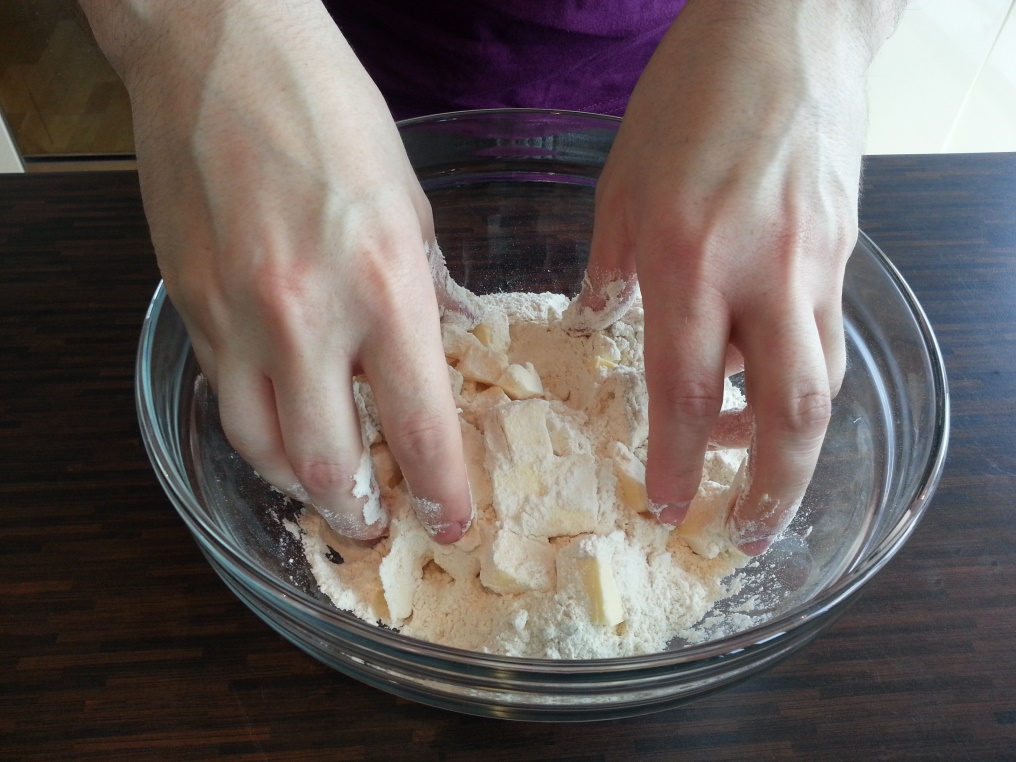
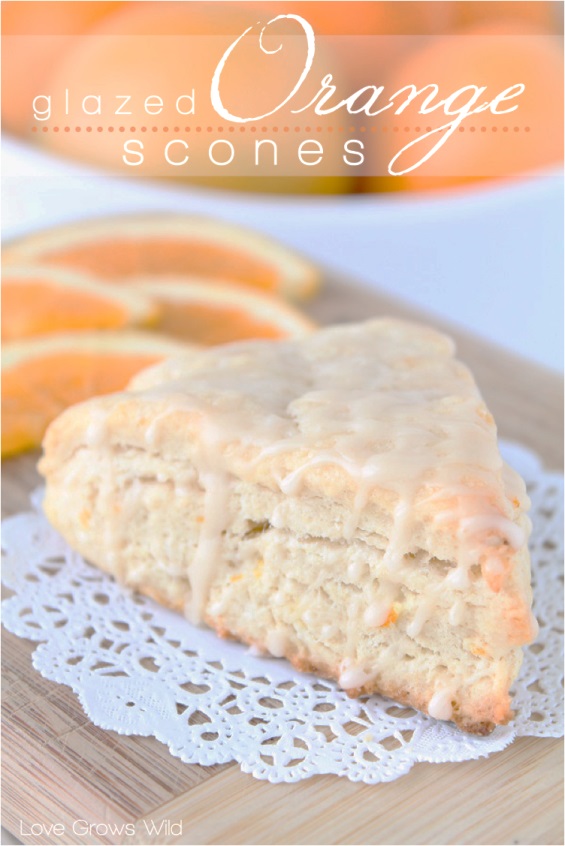
Let’s start with 2 very basic baking skills. First, rubbing flour and butter. Some find it the most satisfying part of a bake, others hate this time-consuming task. However, if you’re making short-crust pastry (pie), scones, or a crumble, you’ll need to use a technique called rubbing in. This means taking flour and fat and rubbing it with your fingertips until it looks like breadcrumbs.
Some call it cutting in. It’s a basic, basic skill behind every applause-worthy pie crust or scone. Start by removing the butter from the fridge and cutting it into cubes approximately ½-inch square-ish.
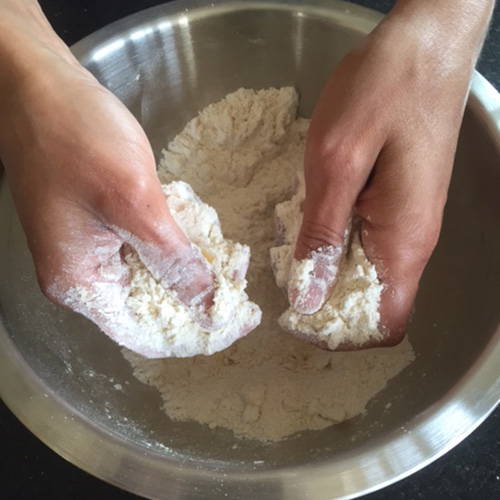
Tip the butter into the flour. Now this is where the improved technique comes into play. I’ve always cut my butter into my flour with a pastry blender. But from all I’ve read and researched, the pros prefer the fingertip approach (i.e. testers at America’s Test Kitchen, the chefs at Bon Apetit, Martha Stewart, and so on, are just a few examples). So, using your fingertips and thumbs, take small amounts of the mixture and rub them together, from little finger to first finger. And here’s an important tip: Raise your hands above the surface so they are not warming the rest of the mixture; the idea is to keep the butter cool, not allowing it to soften.
Keep rubbing in until the mixture looks like breadcrumbs. Shake the bowl gently to bring any lumps to the surface. Keep rubbing in until it’s all done. And here’s another important tip: If the butter becomes too warm, put the bowl in the fridge for 10 minutes, then resume the process.
Next, let’s move to lining a cake tin. You’re thinking, “WHAT? Everybody knows how to line a cake tin!” Or maybe you’re thinking, “WHAT? What the heck for?” First, no, not everyone knows how to do this, and second, here’s what for: It’s a foolproof method of preventing your cake from sticking.
So don't be tempted to forgo this crucial baking step. Softened butter and baking parchment are all you need to perfectly remove your baked cake from its pan, and with a little know how, you can successfully line any shape of tin.
You can go to the site goodfood to see a great how-to video on just how to line any pan (https://www.bbcgoodfood.com/videos/techniques/how-line-different-shaped-cake-tins). But meanwhile, follow these baking basics and you’ll have success with cake tin lining:
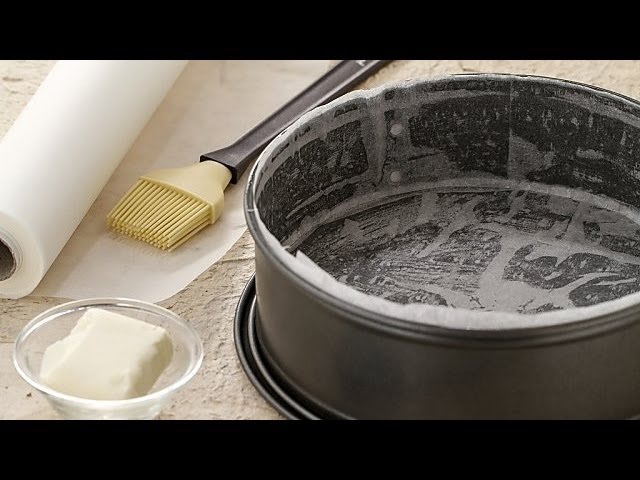
Always grease your tin so your baking parchment can stick to the pan. Most cakes will be fine with just the butter and a base-lined tin. However, if your cake needs extended baking (think fruitcake), it's best to line the sides.
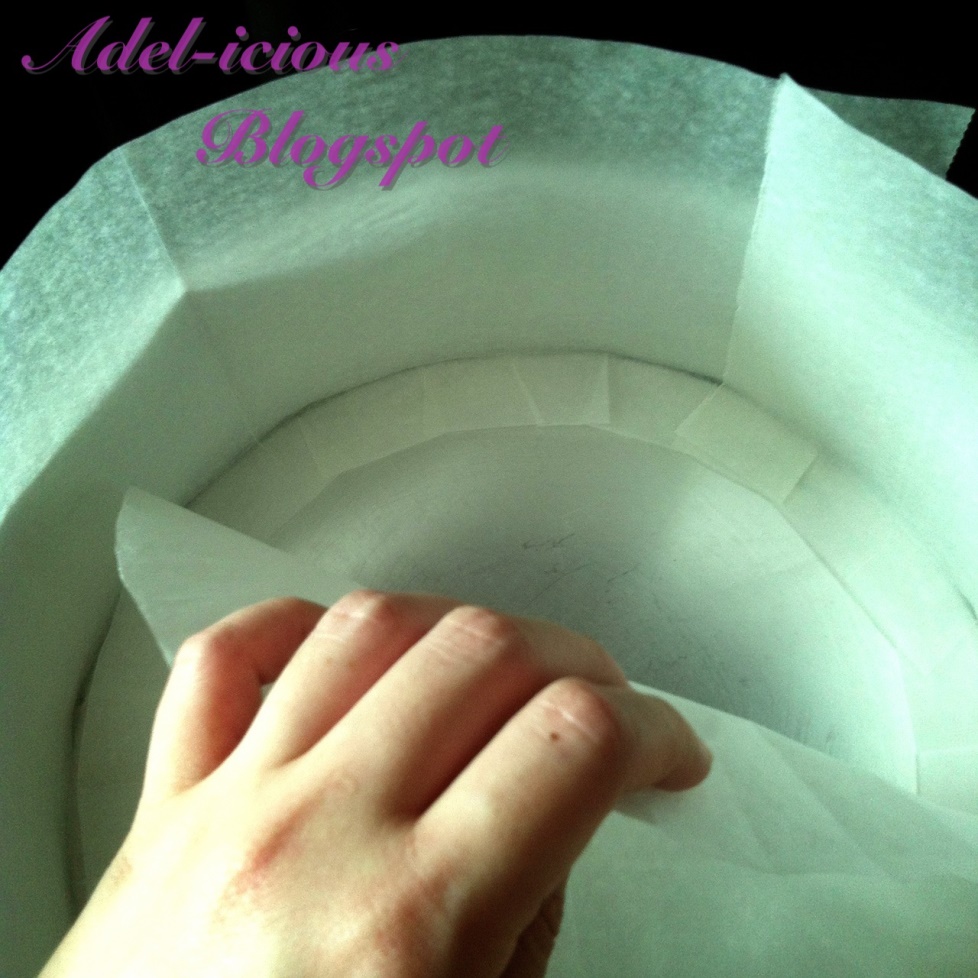
To line the sides of a round tin, take a strip of paper long enough to wrap around the tin (you can measure the right length using string). Fold up an inch at the bottom of the strip, then cut a fringe with scissors on a slight angle up to where you have folded. You can then fit this snugly into the tin, with the fringe facing inwards on the bottom of the tin.
To line the base of a round tin, take a square of paper slightly larger than the tin. Fold the paper in half, then into quarters. Continue folding in half until you have a narrow triangle. Hold the point of triangle in the center of the tin and trim the outer edge where it meets the side of the tin. Open out and fit inside your tin.
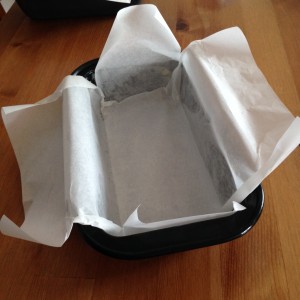
For a loaf tin, sit your tin on a piece of baking parchment and cut a long strip just slightly narrower than the tin. Fit it inside the tin, with a slight overhang at each of the narrow ends.
Square and rectangular tins can be lined in the same way. Sit your tin on a large piece of parchment and draw around it with a pencil. Fold along the lines, flip it over, then fold it again. Push the parchment into the tin; tuck into the corners.
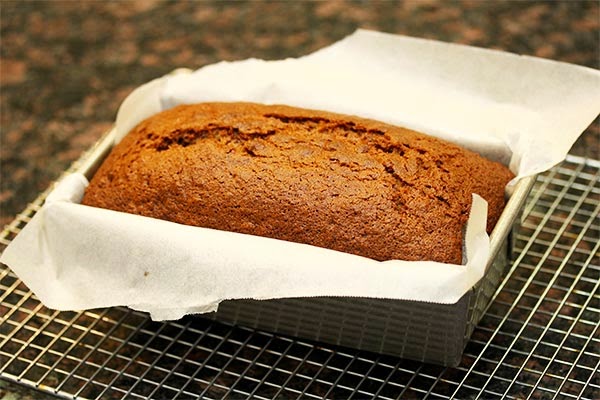
Keep an overhang of parchment on a loaf tin; this makes removal of the finished product easy.
These 2 skills are crucial to a tasty and successful end product, they’re easy to master with practice, and are the difference between ho-hum and holy cow! This new year, let’s go for the holy cow! and wow our food-loving audiences!
- www.andyskitchenblog.wordpress.com
- www.lovegrowswild.com
- www.deliciousmagazine.co.uk
- www.goodlifeeats.com
- www.youtube.com
- www.whattobaketoday.blogspot.com
- www.brixtondinnerlady.com
- www.honeyvillefarms.blogspot.com
 Alice Osborne
Weekly Newsletter Contributor since 2006
Email the author! alice@dvo.com