HOMEMADE Crackers! What the Heck, Why NOT?
I REALLY like crackers—their satisfying crunch, their pleasing taste, how they round out a soup or stew, how versatile they are, and how handy they are.
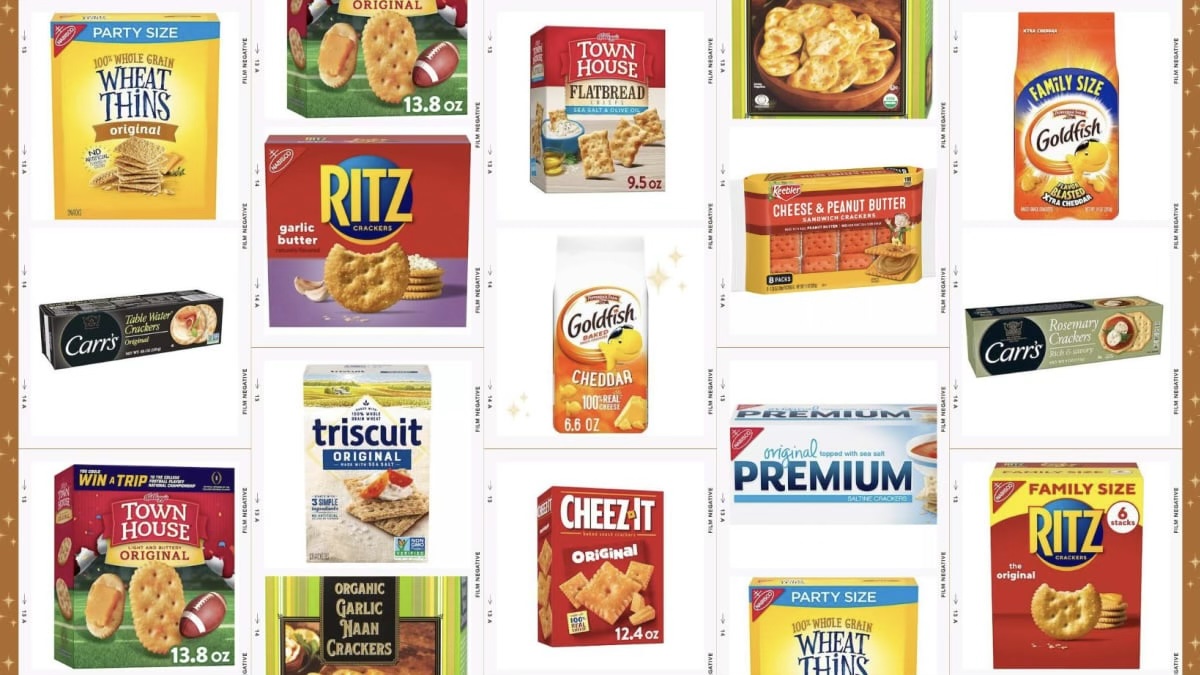
But boy they’re getting expensive. I know they’re not necessarily a meal-time MUST, and since they aren’t nutrient-dense, it’s hard to justify continuing to buy them, right? So this is where the idea of making your own makes sense. If you really like ‘em, too, then this is worth considering.
Have you ever made your own? Besides saving money, it’s a smart idea because:
the basic process is so simple. It only requires five or six ingredients you probably already have in your pantry: flour, salt, sugar, water, and some kind of fat (such as olive oil or butter) and maybe baking powder.
they’re quick and easy to make.
they can be healthier than store-bought since YOU are in control of how much salt and fat they contain.
you can use any flour you want, too.
there’s the distinct bonus of homemade anything not containing preservatives, chemicals, artificial junk, or other mystery ingredients.
I admit, the first time I made my own there was a bit of a learning curve. But over time, the process has come down to one dirty bowl, a spoon and rolling pin, about 15 minutes of work, and bam!, cracker dough into the oven. And a rough guesstimate calculation of ingredients would be around $2 for double the weight (around 400g) of a box of crackers off the shelf. That's a win, wouldn’t you say?
For those of you who like the idea and are ready to give it a try, here are a few cracker-making tips from BOB’S RED MILL. His test-kitchen chefs have it down to fine art.
DON’T TAKE CRACKER-MAKING TOO SERIOUSLY. The hardest part is rolling the dough to the right thickness, and that just takes some practice. Be patient and have fun. What’s the worst that can happen? They come out too thick? Then crumble them up and use them for topping casseroles or something. No big deal.
MIX THE DOUGH PROPERLY. You don’t need any special equipment or skill, but you do need to know when to quit. You don’t want to overmix the dough. This results in tough crackers.
So start by thoroughly mixing the dry ingredients together, then add the fats. Go for a crumble, similar to pie crust, being careful not to pulverize the fat molecules. It’s those little fat balls that will give you a crispy outcome.
Next, slowly add the liquid and mix it into the dough until all the ingredients are combined. But again, think pie crust—don’t mix too much. And if your recipe calls for kneading the dough, easy does it.
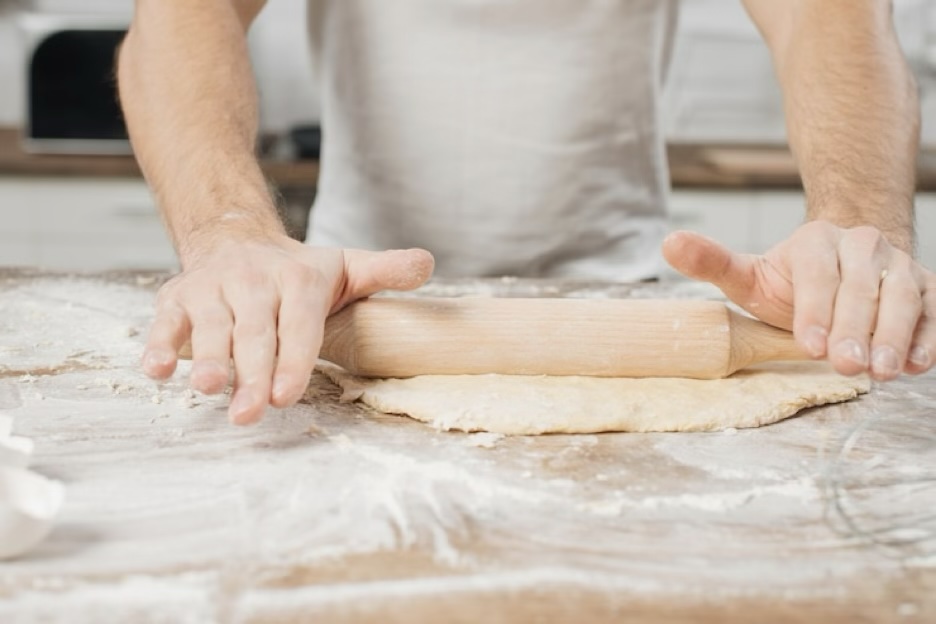
ROLL THE DOUGH RIGHT. Let your dough rest a bit for an easier roll, then spread it thin, using a rolling pin. Dust your counter with a light layer of flour, lay parchment paper on top, and then dust it with a little more flour. Parchment paper is vital when creating thin dough; it’ll prevent the dough sticking to the counter. (BTW: Another option is to getting a thin dough is a pasta roller.)

DECIDE ON SHAPE. For rustic crackers, just bake the dough on a greased baking sheet and then when cool, break the crackers into pieces. Or if you want a specific shape, use your preferred cutter—biscuit cutters or a drinking glass for rounds, or a ruler and pizza cutter for squares or rectangles.
BAKE THEM S L O W L Y. Most recipes recommend starting with a hot oven—around 400F. The oven's high temperature will help pull the moisture out of the dough and create a crispy cracker result. Once you notice that they’ve turned golden-brown in color, reduce the heat and leave the door of the oven slightly cracked until they've finished cooking. Doing so simulates a dehydrator and pulls excess moisture out, allowing them to bake thoroughly. Once out of the oven, top them with sea salt, dried herbs or any other type of seasoning to finish them off.
Does this project sound fun, or what? I’ll close with an easy and delicious recipe from Nagi, of www.recipetineats.com. She nailed it!
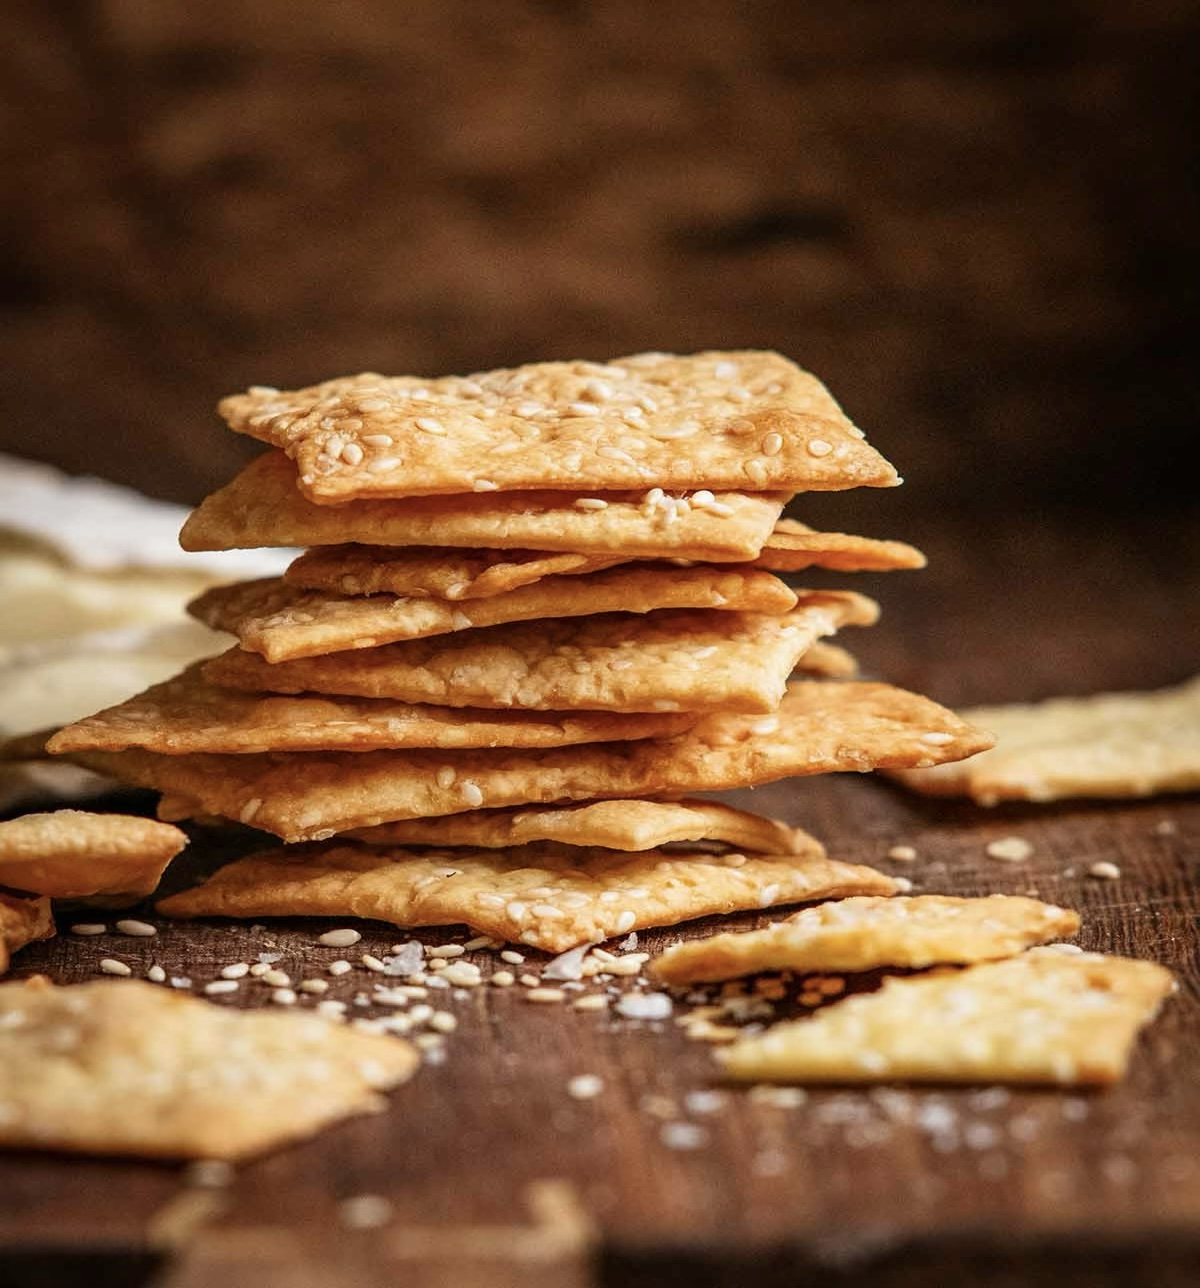
Homemade Artisan Crackers

DOUGH
1 cup all-purpose flour plus extra for rolling out
1/4 teaspoon kosher salt
1 tablespoon sesame seeds
1/3 cup water
2 tablespoons extra-virgin olive oil
SPRINKLING/SPRAYING
1 tablespoon sesame seeds
1/2 teaspoon salt flakes (see Note 1)
olive oil spray
Directions:
ABBREVIATED RECIPE
Mix dry ingredients; make well in dough and add wet ingredients; stir until combined. Divide dough in half, roll out 1/8" thick. Transfer to paper, sprinkle with sesame and flakes, roll to 1/12 inches thick. Cut dough into 2-inch pieces; transfer to greased baking sheet; spray crackers with oil. Bake at 400 ∫F, approximately 12 min, watching closely; rearrange crackers as needed so they color evenly. Bake an additional 8 to 10 min until crackers are light golden.
FULL RECIPE
Preheat the oven to 400∞F
Mix the flour, sesame seeds and salt in a bowl using a rubber spatula or wooden spoon. Make a well in the center of dough; add water and oil. Mix until the flour is incorporated.
ROLL: Sprinkle the counter lightly with flour, top with parchment paper and flour the paper. Scrape the dough out then knead a few times to bring it together into a ball. Cut ball in half; let rest 10 minutes. Roll one piece out to 1/8-inch thin oval shape. (Note 3)
SPRINKLE: Sprinkle each flattened ball with sesame seeds and salt flakes. Roll each ball out even thinner on the paper to 1/12-inch (thinner = crispier).
CUT: Using pizza cutter or knife, slice dough into 2-inch squares (Note 4). You'll have smaller pieces on the edge and corners, that's fine. Leave the pieces as is, don't try to move them (so thin, it's too hard!). Slide the paper onto a tray. Repeat with the other piece of dough.
BAKE: Spray crackers with oil. Bake both trays together for 12 minutes. Remove from the oven. Re-arrange to move the more golden pieces on the outer rim of the tray to the center (so they cook evenly). Bake for a further 8 to 10 minutes or until all the pieces are light golden (watch them CLOSELY so they donít over-bakeóget too brown).
SERVE: Remove from oven and let crackers cool on the tray (20 minutes).
NOTES
1. No salt flakes for sprinkling? Use a slightly heaped 1/4 tsp cooking/kosher salt or 1/8 tsp (levelled) table salt (for the whole recipe). Only got table salt? Use half the quantity of cooking salt listed in the ingredients.
2. No olive oil spray? Lightly brush the surface of the dough with extra virgin olive oil before cutting (faster than doing individual pieces).
3. Rolling out ñ The dough is friendly and easy to roll thinly. It doesnít matter what shape you end up with, the thinness is whatís important as this affects crispiness. I aim for oval shape but rarely succeed! Use extra flour for sprinkling as needed to prevent from sticking to the counter or rolling pin.
4. Cutting ñ If using a knife, cut up and down, donít drag the knife through the dough.
5. Baking tips ñ Smaller and thinner pieces will color faster, remove earlier if needed. Pieces on outer rim will color first so move them into the middle. Keep an eye on them for the last few minutes as they go from pale to golden quickly!
6. Storage ñ Best on day made for maximum flavor but stays crispy for 3 to 4 days in an airtight container (and always still tastier than store bought!). If they soften a bit or are a bit stale, pop the back in the oven to crisp up again.
Recipe formatted with the Cook'n Recipe Software from DVO Enterprises.
 Alice Osborne
Weekly Newsletter Contributor since 2006
Email the author! alice@dvo.com