A Clutter-Free and “Centered” Kitchen is a BEST FRIEND!
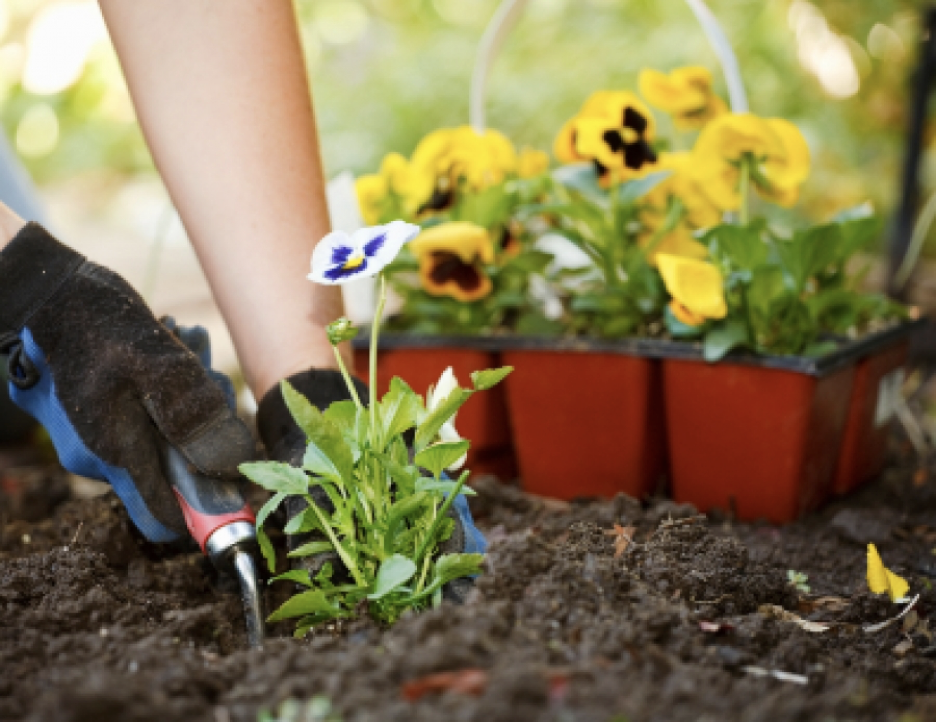
There’s going to be yard work and gardening calling our names very soon, and we all know the demands that puts on our time and energy stores. So, I want to talk (yet again) about how to get the gardening done and still have the time and energy you need to get a healthy dinner on.
The secret is working in a kitchen that’s streamlined and “centered”—there’s no clutter, so cooking is fast and easy.
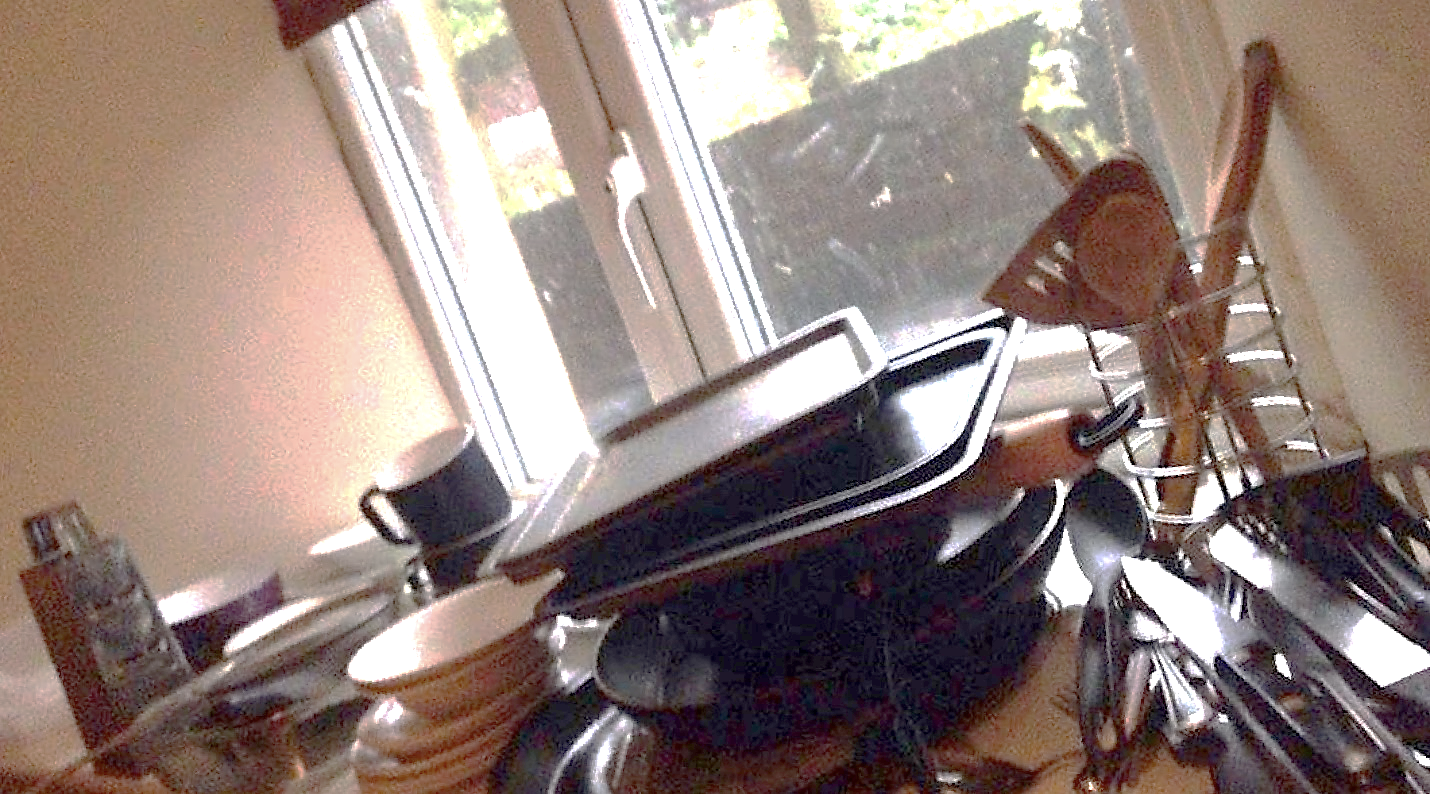
When I talk “clutter,” I’m referring to all the things YOU don’t like, use, need, want, or have room for (the definition of clutter). “You” is emphasized because it’s you who decides what to keep and what to pass on—not some snazzy organization book.
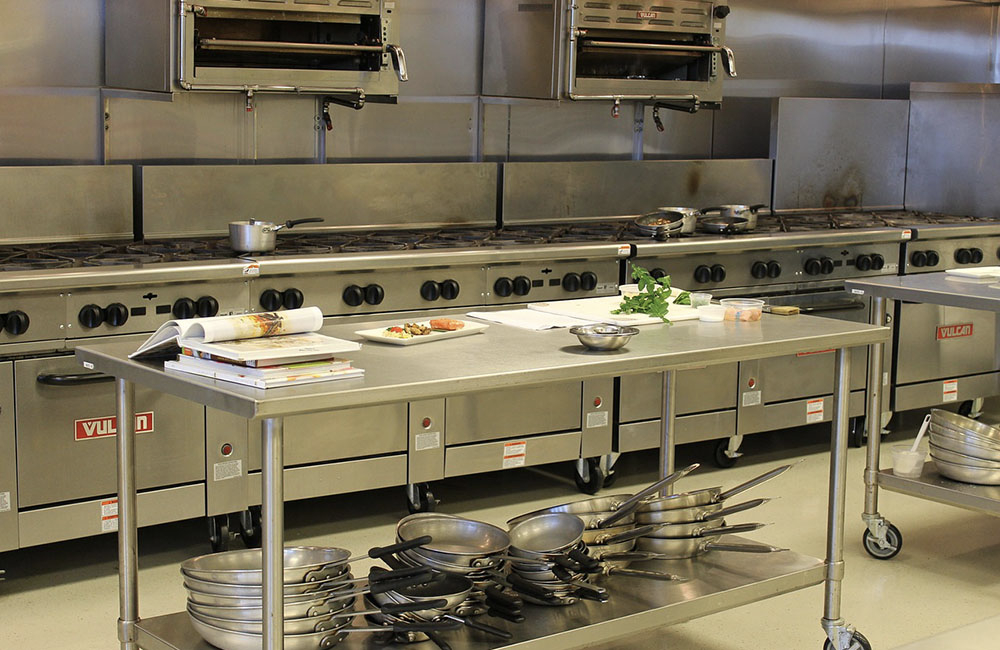
The goal is to follow a process that’s worked in professional kitchens for hundreds of years. Professional kitchens have no clutter and they’re organized according to “centers.” A “center” is simply a work station for activities that consistently happen in your kitchen. This arrangement facilitates easy and efficient work flow during and after any meal prep, no matter what size your kitchen may be.
To make it happen, follow my 6 streamlining and centering steps:
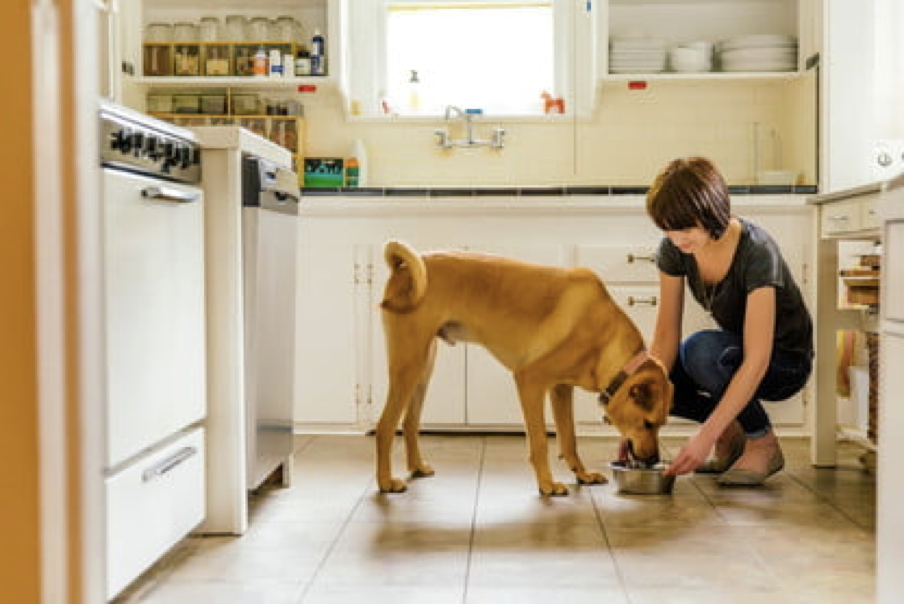
1) List your “center” choices. Think about what you like to do and need to do in your kitchen. Do you love to bake? Then you need a “baking center.” Do you and/or family take lunch to work and/or school? Then you need a “lunch center.” Do you feed your pet in or near the kitchen? Then you need a “pet center.” You get the idea.
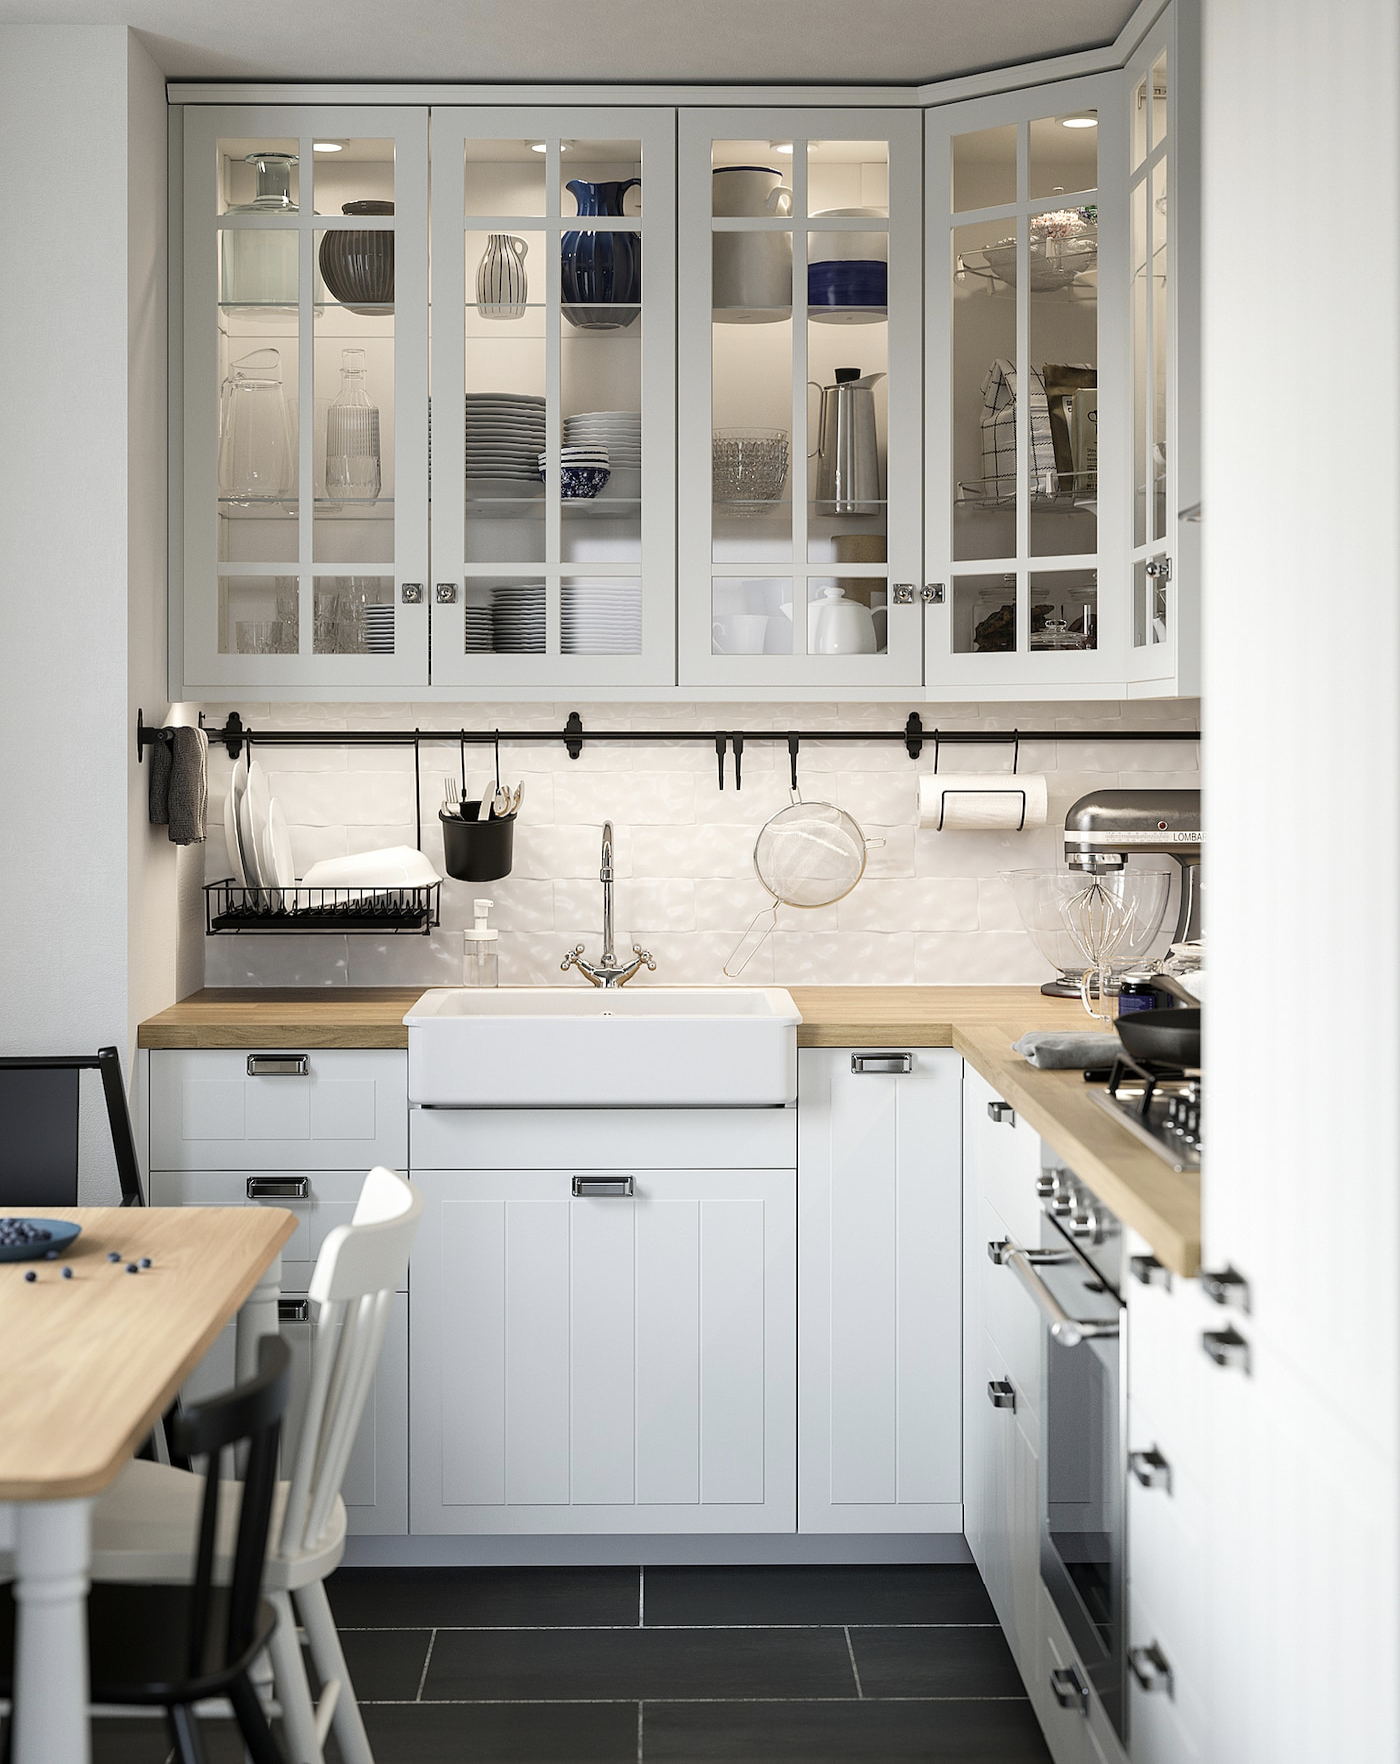
List all activities you like to do and need to do in your kitchen, and those activities become your “centers.” A list of typical kitchen centers would be: tableware, cooking, baking, cleanup, pantry, lunch, and microwave. Customize your kitchen by adding centers germane to your lifestyle, interests, and family needs.
2) Empty the entire kitchen. Yes, the ENTIRE kitchen. Chances are slim you will put things back where they came from, and you’ll definitely put back much less. Maybe have a clean sheet laid out on the floor where you can stack everything.
Clear off the top and front of the fridge, and empty out the dishwasher (even if the dishes are dirty—or wash them fast). The goal: completely empty drawers, cupboards and surfaces—you want EVERYTHING out so you can see what you’re working with. Don’t get hung up on where to put stuff or how to sit and stack it. Just empty spaces as quickly as possible.
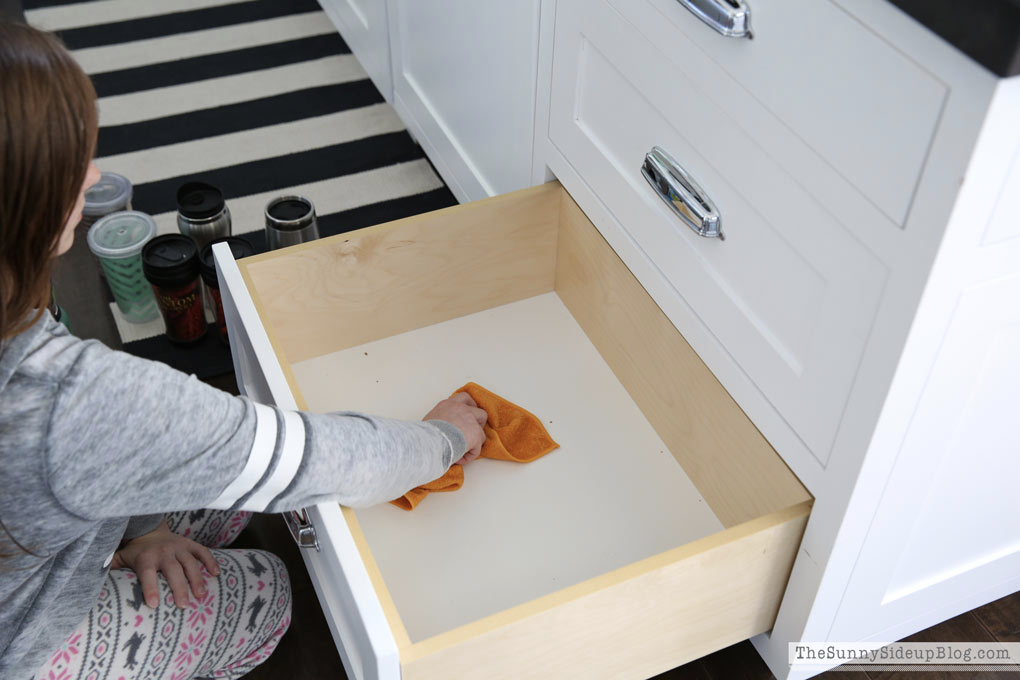
3) Wipe down the cupboards and drawers; lay new shelf/drawer paper (if using).
4) Choose “center” locations, using your list as your guide. Think “outside the box” while doing this. For instance: If you have grade-schoolers and you’d like more mealtime help from them, why not stack table settings in an under-counter cupboard closest to the table so they can get to them easily and help set the table? If there’s a toddler in the house that could wreck dish havoc, just install a kinder-lock on the cupboard door.
5) Streamline the contents. Go from stack to stack, pile to pile and touch each item and ask yourself if you still like it, use it, need it, want it, or have room for it. If you answer “no” to any of these questions, the item goes either to charity, trash, a garage sale, consignment, a women’s shelter, your 5th-wheeler, or an apartment box for the day your children leave the nest.
Also, watch for things that you do need, like, want, or use, that belong in another part of your home. They go into a “someplace else” box and will be dealt with as you streamline the rest of your home. Put this box in an out-of-the-way location.
This sorting is leading you to your keepers (only things YOU like, use, need, want, and have room for). Once found, your group them into like categories (all cookware together, all leftovers containers together, all tableware together, etc.).
6) Load centers with appropriate contents. Quality-over-quantity is the approach here. Avoid duplicates of anything and place high value on multi-purpose things. Why give precious space to a hotdog cooker, when a microwave, saucepan, or grill will do the same job? And as you refill cupboards and drawers, try to keep counter clear. It’s a bigger challenge for tiny kitchens, but it’s possible if you hang as much as possible—on the insides of cupboard doors, for instance. (See my Instagram, richalice1949, for ideas on how to deal with minimum kitchen space.)
You may need to label centers for a short while, until family gets used to where things are. And this is crucial to success: you always want everyone to put things back EXACTLY where they found them. Finally, be sure to give your new arrangement at least 21 days before you switch things around.
If you’ll take the time to de-clutter and streamline your kitchen, you’ll find how much more fun and how much easier it is to cook and work in. Truly, a clutter-free and centered kitchen is a BEST friend!
DAN'S NOTE: If you’re like a lot of folks, you need to SEE things done, and then it clicks for you. We knew that, so we made this how-to video so you could actually watch the entire process unfold before your very eyes—in my own kitchen! Order today from www.dvo.com and get your kitchen situation in shape before the outside demands come callin’ your name!]
The secret is working in a kitchen that’s streamlined and “centered”—there’s no clutter, so cooking is fast and easy.
When I talk “clutter,” I’m referring to all the things YOU don’t like, use, need, want, or have room for (the definition of clutter). “You” is emphasized because it’s you who decides what to keep and what to pass on—not some snazzy organization book.
The goal is to follow a process that’s worked in professional kitchens for hundreds of years. Professional kitchens have no clutter and they’re organized according to “centers.” A “center” is simply a work station for activities that consistently happen in your kitchen. This arrangement facilitates easy and efficient work flow during and after any meal prep, no matter what size your kitchen may be.
To make it happen, follow my 6 streamlining and centering steps:
1) List your “center” choices. Think about what you like to do and need to do in your kitchen. Do you love to bake? Then you need a “baking center.” Do you and/or family take lunch to work and/or school? Then you need a “lunch center.” Do you feed your pet in or near the kitchen? Then you need a “pet center.” You get the idea.
List all activities you like to do and need to do in your kitchen, and those activities become your “centers.” A list of typical kitchen centers would be: tableware, cooking, baking, cleanup, pantry, lunch, and microwave. Customize your kitchen by adding centers germane to your lifestyle, interests, and family needs.
2) Empty the entire kitchen. Yes, the ENTIRE kitchen. Chances are slim you will put things back where they came from, and you’ll definitely put back much less. Maybe have a clean sheet laid out on the floor where you can stack everything.
Clear off the top and front of the fridge, and empty out the dishwasher (even if the dishes are dirty—or wash them fast). The goal: completely empty drawers, cupboards and surfaces—you want EVERYTHING out so you can see what you’re working with. Don’t get hung up on where to put stuff or how to sit and stack it. Just empty spaces as quickly as possible.
3) Wipe down the cupboards and drawers; lay new shelf/drawer paper (if using).
4) Choose “center” locations, using your list as your guide. Think “outside the box” while doing this. For instance: If you have grade-schoolers and you’d like more mealtime help from them, why not stack table settings in an under-counter cupboard closest to the table so they can get to them easily and help set the table? If there’s a toddler in the house that could wreck dish havoc, just install a kinder-lock on the cupboard door.
5) Streamline the contents. Go from stack to stack, pile to pile and touch each item and ask yourself if you still like it, use it, need it, want it, or have room for it. If you answer “no” to any of these questions, the item goes either to charity, trash, a garage sale, consignment, a women’s shelter, your 5th-wheeler, or an apartment box for the day your children leave the nest.
Also, watch for things that you do need, like, want, or use, that belong in another part of your home. They go into a “someplace else” box and will be dealt with as you streamline the rest of your home. Put this box in an out-of-the-way location.
This sorting is leading you to your keepers (only things YOU like, use, need, want, and have room for). Once found, your group them into like categories (all cookware together, all leftovers containers together, all tableware together, etc.).
6) Load centers with appropriate contents. Quality-over-quantity is the approach here. Avoid duplicates of anything and place high value on multi-purpose things. Why give precious space to a hotdog cooker, when a microwave, saucepan, or grill will do the same job? And as you refill cupboards and drawers, try to keep counter clear. It’s a bigger challenge for tiny kitchens, but it’s possible if you hang as much as possible—on the insides of cupboard doors, for instance. (See my Instagram, richalice1949, for ideas on how to deal with minimum kitchen space.)
You may need to label centers for a short while, until family gets used to where things are. And this is crucial to success: you always want everyone to put things back EXACTLY where they found them. Finally, be sure to give your new arrangement at least 21 days before you switch things around.
If you’ll take the time to de-clutter and streamline your kitchen, you’ll find how much more fun and how much easier it is to cook and work in. Truly, a clutter-free and centered kitchen is a BEST friend!
DAN'S NOTE: If you’re like a lot of folks, you need to SEE things done, and then it clicks for you. We knew that, so we made this how-to video so you could actually watch the entire process unfold before your very eyes—in my own kitchen! Order today from www.dvo.com and get your kitchen situation in shape before the outside demands come callin’ your name!]
Sources:
- www.buildipedia.com
- www.mcdonaldpaper.com
- www.pawtracks.com
- www.thesunnysideupblog.com
- www.thestudentfoodproject.com
- www.ikea.com
- www.sweeten.com
 Alice Osborne
Weekly Newsletter Contributor since 2006
Email the author! alice@dvo.com