Tips (and a Killer Recipe) for Making Foolproof Fudge!
Were you aware that June 16 is National Fudge Day? It’s an easy treat to make, so good, and so versatile, that it having a day devoted to it should come as no surprise.
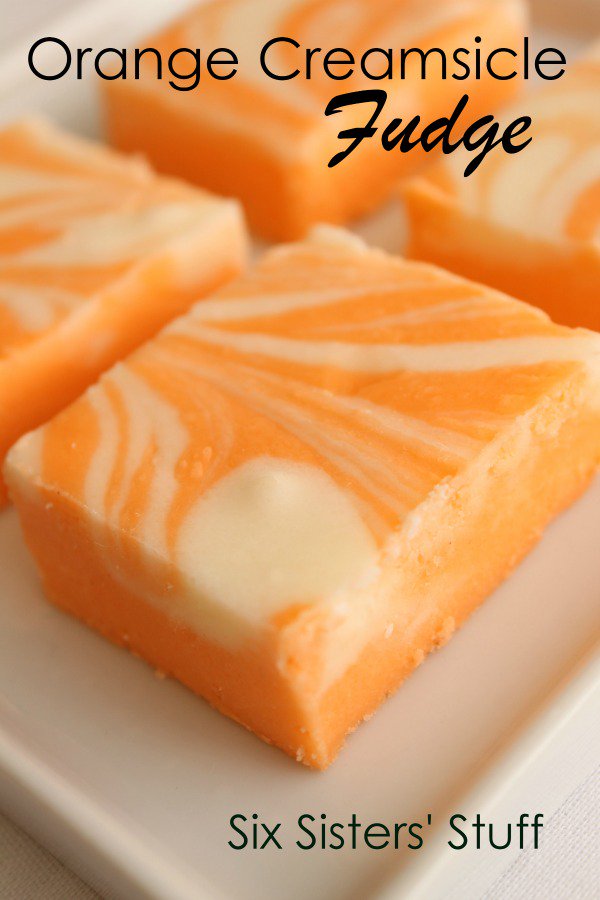
Let’s start with its versatility. This quality makes it perfect for experimentation! There’s always the proverbial favorite, classic chocolate fudge, but over the years daring fudge-makers got creative with flavors such as peanut butter, orange creamsicle, cookie dough, and key lime pie, for example. The flavor options are only limited to your imagination!
And now the making of it. Admittedly, it took me a while to master fudge. When I first started, mine turned out grainy, or it didn’t set up correctly. But then I discovered these tips from Carol, the Gardening Cook (www.thegardeningcook.com), and my fudge-making has been successful ever since. See if there might be a tip here you could use as well.
Let’s start with the tools. Pretty much every fudge recipe needs these things to have it come out correctly:
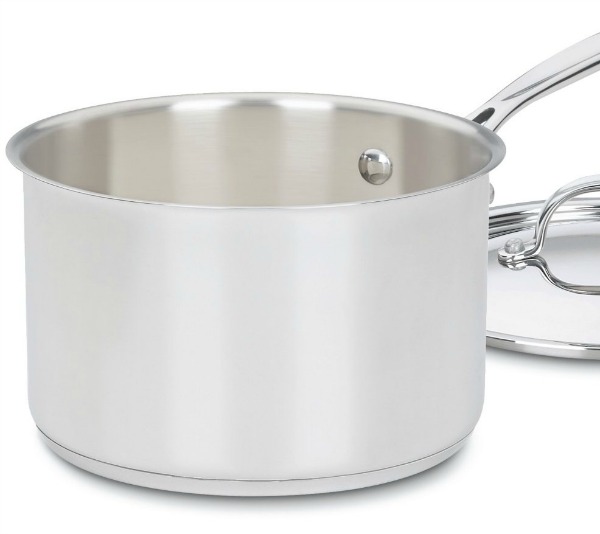
Heavy saucepan with tall sides. Many fudge recipes need to be boiled for quite a few minutes to set well. If you choose a pan that’s too small, you can count on a messy “boil over. To eliminate this, choose a pan that is at least three times the volume of your ingredients.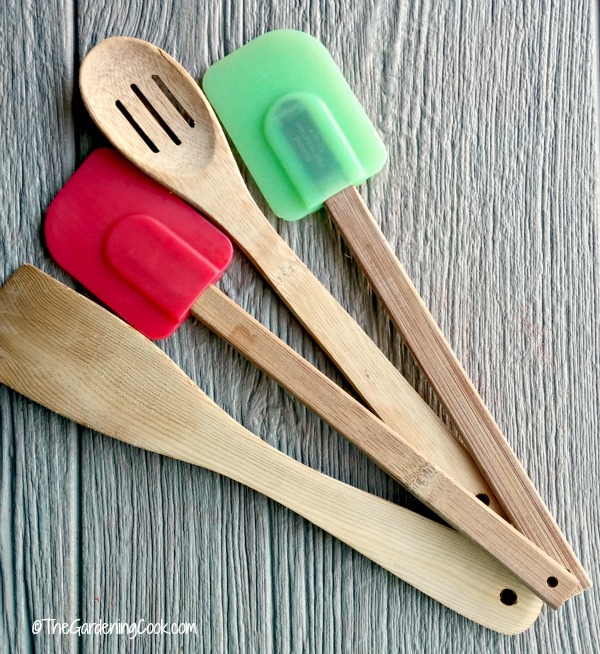
Wooden spoons or silicone spatulas. Whichever type you use, be sure that they are very sturdy. Some fudge recipes can get very thick in no time at all and a flimsy spatula just won’t do the trick.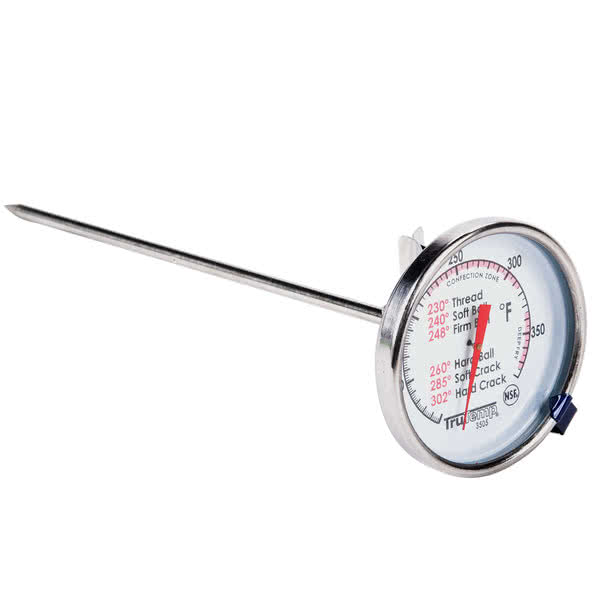
Candy thermometer. Making perfect fudge really relies on one thing: getting your mixture to the right temperature. Under-cooked fudge just doesn’t set, no matter how long you keep it in the fridge. Using a candy thermometer eliminates any guessing.But, if you don’t have a candy thermometer, you can turn to what Aunt Annie used to call the “soft ball” stage. She’d keep a clear glass of water near the pot and would drop bits of the mixture into it as she was cooking. When the mixture formed a small soft ball by rubbing it between her fingers, she knew she had cooked it enough. But even this method requires some guessing. When in doubt, use a candy thermometer!
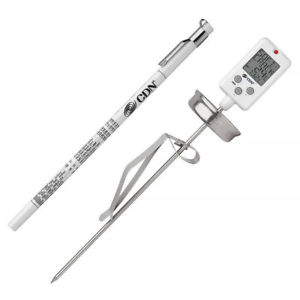
And here’s Carol’s thought on candy thermometers: “Not all candy thermometers are rated equally. Some imported glass models are very dangerous! Get one that’s proven to be safe. For instance, this digital model from CDN (available on amazon.com) is rated the highest by Best Reviews Guide (9.6 out of 10).”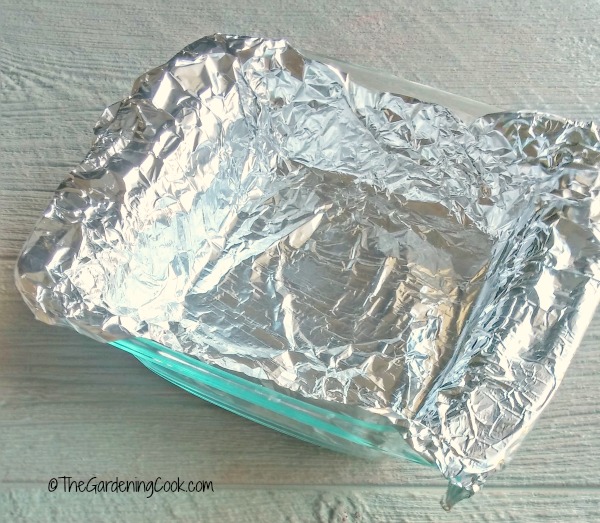
Foil-lined pan for easy release. Greasing your pan works OK, but a trick that works well is to line your pan with foil. Extend the foil up the sides of your pan so that you have “handles” to remove the set fudge. Spray the foil with a cooking spray prior to pouring your mixture into the pan. Once set, you just use the foil handles to pull the fudge out of the pan; then just peel it away from your set fudge. Easy!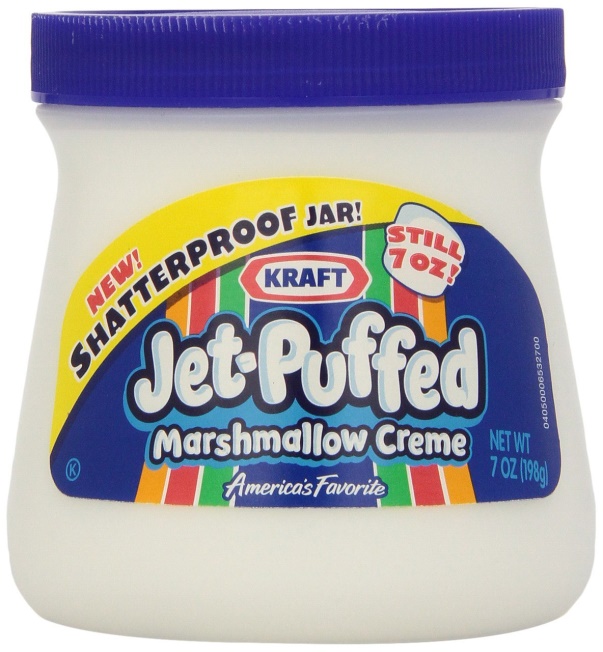
The right ingredients. If new to cooking fudge, look for recipes that contain marshmallow cream, marshmallows, or corn syrup. These ingredients help protect your fudge from crystallizing and ensure that it will set properly.
Also be sure to use good quality pure vanilla extract (not the less expensive imitation flavor) and full cream butter. Don’t substitute margarine for butter, since it contains more water and the fudge won’t set as well. Real vanilla and pure butter make a huge difference in the taste of the finished product.
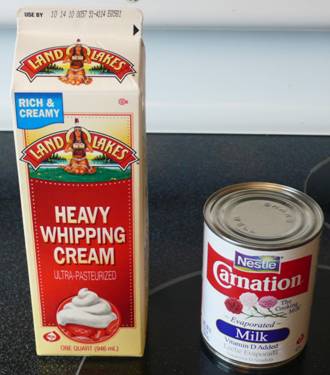
Finally, choose cream over milk. Milk has a tendency to curdle at high heat. Try to find recipes that call for evaporated milk or cream instead.
Next, master the technique.
Test your candy thermometer. Many inexpensive cooking thermometers are notoriously inaccurate. Be sure to test yours before you begin for best results. To test a thermometer, bring water to the boiling point and insert the thermometer into the water, being sure not to let it touch the bottom of the pan. Let the temperature rise. It should stop at 212º F.
Don’t scrape the pan after the cooking is done. Sugar tends to crystallize when cooked to a high temperature. Scraping pan edges allows these crystals to mix with the fudge ingredients, resulting in a grainy product.
Cool, then beat the fudge. Once you have made sure to cook the fudge to the desired temperature, remove it, allow it to cool to 110ºF and then beat it vigorously. Do this before adding other ingredients. One trick to speed cooling is to set the pan into a sink of ice cold water while beating. Beat it until the fudge begins to thicken and has lost its glossiness.
Adding other ingredients is fine BUT be careful to pay attention to their water content. If it has too much, it will affect the consistency and the fudge may not set well. Nuts, marshmallows, raisins, other dried fruit, peanut butter, M & Ms, chunks of your favorite candy bars are all safe add-ins.
Allow the fudge to set a while before placing it in the fridge. Sure, we all want a piece of that homemade fudge NOW…but cooling it too quickly can cause crystallization and a grainy fudge. Allow it to cool at room temperature for a while and then place it in the fridge to set completely.
Store fudge properly. To keep homemade fudge at its best, cover it tightly with waxed paper, foil, or clear plastic wrap and then store in an airtight container in a cool, dry place.
In honor of National Fudge Day I’ll close with one of Carol’s recipes. This killer recipe is supremely easy, doesn’t need a thermometer, and is just about foolproof. This recipe is what I used to ease myself into fudge-making. See what you think.
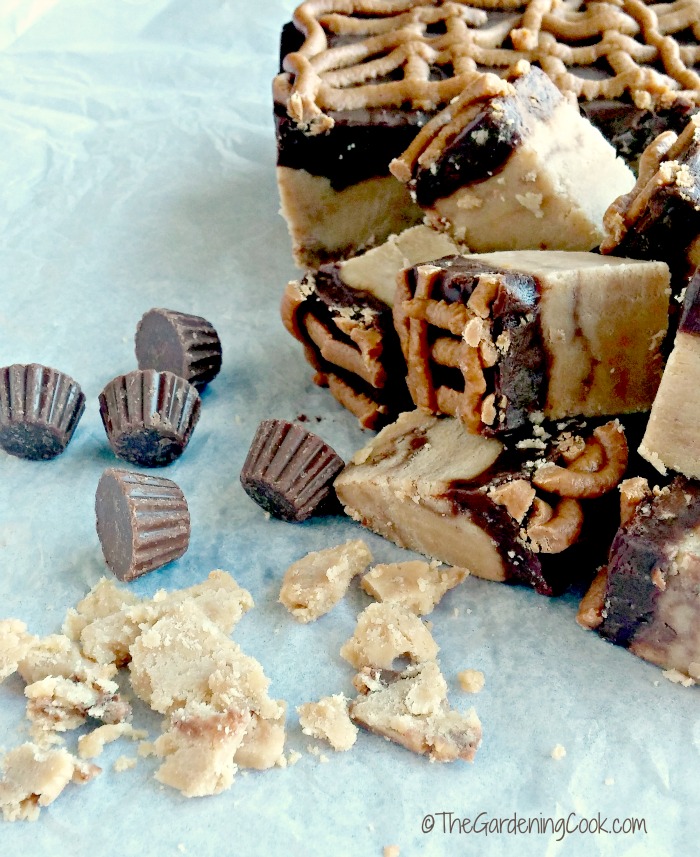
FOOLPROOF PEANUT BUTTER CUP FUDGEPEANUT BUTTER LAYER:
1 cup butter
1 cup creamy peanut butter
1 teaspoon pure vanilla extract
3½ cups confectioner's sugar
½ cup unwrapped mini peanut butter cups, quartered (Reese’s, for instance)
CHOCOLATE LAYER:
7 ounce can sweetened condensed milk
1½ cups milk chocolate chips
2 tablespoons butter
PEANUT BUTTER DRIZZLE:
⅓ cup peanut butter chips (Reese’s, for instance)
1 tablespoon sweetened condensed milk
Line a 9 x 9 inch pan with aluminum foil. (use a 9 x 13" pan if you want thinner pieces of fudge) Extend the foil up over the edge to use as handles to remove it later. Spray the foil with butter flavored Pam.
Combine peanut butter, butter and vanilla extract in the microwave. Cook for 30 seconds. Stir. Cook another 30 seconds and stir until smooth.
Cut the Reese's peanut butter cups into quarters. Add the confectioner's sugar, 1 cup at a time, into the peanut butter mixture. Combine well. Fold in the chopped peanut butter cups and spread in the pan lined with foil. Place in the fridge.
Combine the sweetened condensed milk, milk chocolate chips and 2 tablespoons butter. Cook in the microwave for 30 seconds. Stir. Cook another 30 seconds, stir till smooth. Spread over the peanut butter layer. Place in the fridge.
Place the peanut butter morsels and 1 tbsp sweetened condensed milk in the microwave. Cook for about a minute till it has melted. Stir half way through and at the end. Place the peanut butter mixture in a zip lock bag. Cut off the corner and pipe it over the fudge layers in a criss-cross fashion.
Place in the fudge about an hour till set. Cut into squares. (Refrigerates and freezes well.)
- www.sixsistersstuff.com
- www.thegardeningcook.com
- www.webstaurantstore.com
- www.ebay.com
- www.amazon.com
- www.gotta-eat.com
 Alice Osborne
Weekly Newsletter Contributor since 2006
Email the author! alice@dvo.com