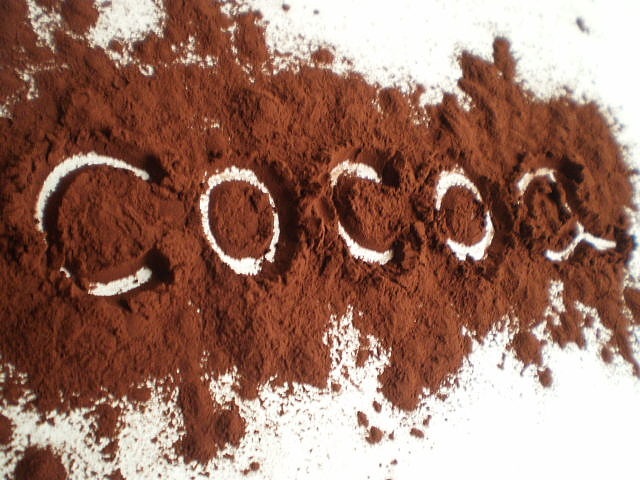
MUST-Know Cocoa Facts
Do you find yourself using lots of cocoa during this time of year? At our house hot cocoa is a favorite evening treat and then there’s all the baking we do with it.
In case you’re a cocoa fan as well, here are some MUST-know cocoa facts that will insure greater end-product success.

First, drinking it. This is in regards to homemade cocoa mixes:
Cocoa doesn’t mix well with water and tends to remain in suspension. When mixed with hot milk, though, the fat in the milk tends to facilitate the cocoa mixing easier and more thoroughly.
Dutch cocoa has a more mellow taste, due to the addition of an alkali. Dutching improves the color and flavor of the powder. Its drawback, however, is that dutching decreases flavanoid content by at least 75%.
Then there’s European cocoas. They’re less sweet than the American varieties. Less sweetness allows the true flavor of the cocoa to come through.
And there’s still another cocoa that makes a delicious drink. White hot chocolate is hot chocolate without the “chocolate liquor,” (the thing that makes real chocolate “real”); it has a smooth, creamy flavor.
To eliminate the “skin” that forms on top of your hot chocolate, just whip the drink for a few seconds until it froths. An immersion blender is perfect for this job.
A secret the pros know to improve taste and texture of hot chocolate? They add a teaspoon of cornstarch and a pinch of salt in a small amount of water to their hot chocolate pot.

But if a cocoa mix is what you keep on hand, then remember that mixes should only be used to prepare hot chocolate drinks. They contain milk or cream powder and sugar (or sugar substitute). Only pure cocoa or “real” chocolate should be used when baking recipes call for cocoa powder or chocolate.
Baking with it. Here’s what the King Arthur Flour (www.blog.kingaruthurflour.com) pros know:
The end baking result can taste good or bad. It all depends on if you use natural or Dutch-process cocoa.
Natural cocoa is solid unsweetened chocolate (baker’s chocolate) that’s had most of its fat removed before being ground into powder.
Dutch-process cocoa is natural cocoa that’s been treated with an alkalizing agent to lower its acidity, thus allowing more of its pure chocolate flavor to shine through.

IMPORTANT TO KNOW: The difference in acidity between natural and Dutch-process cocoas means that they can’t be seamlessly interchanged, one for the other, in every recipe. While natural cocoa gives baked goods a different flavor and color than Dutch-process, the main difference is one of leavening.If a recipe uses baking soda to leaven, and if there’s nothing else acidic* in the recipe, then natural cocoa is your cocoa of choice. Its acidity neutralizes baking soda’s potentially strong, “soapy” flavor; and because natural cocoa is acidic, and baking soda is a “base” (remember your chemistry?), when the two get together they produce a reaction: CO2 bubbles, which makes cake, brownies, cookies, or whatever you’re baking rise in the oven.
*And by acidic, don’t think simply buttermilk, coffee, vinegar, yogurt, sour cream, etc. Molasses, brown sugar, applesauce, pumpkin – in fact, most puréed fruits – and other potentially surprising ingredients are actually quite high in acid. So be thoughtful when studying your recipe’s ingredients.
Alternatively, if the recipe you’re making includes baking powder (or baking powder and baking soda both, with baking powder predominating), choose either natural or Dutch-process cocoa. Since baking powder is already balanced (acid/base), the cocoa is there less for its part in the leavening process, more for its flavor.
Finally, like any food, it’s good to know how long cocoa can store before its quality is compromised. The better brands (and with cocoa, you do get what you pay for), will keep their freshness and bright taste for at least a year.
In closing, here are two superb cocoa powder recipes you really want to try, one you bake, one you don’t. And you can feel comfortable using cocoa because it has lots of health benefits: fiber, stearic acid (a saturated fat), many neurotransmitters (which improve mood and alertness), and catechins (which help reduce atherosclerosis risk).
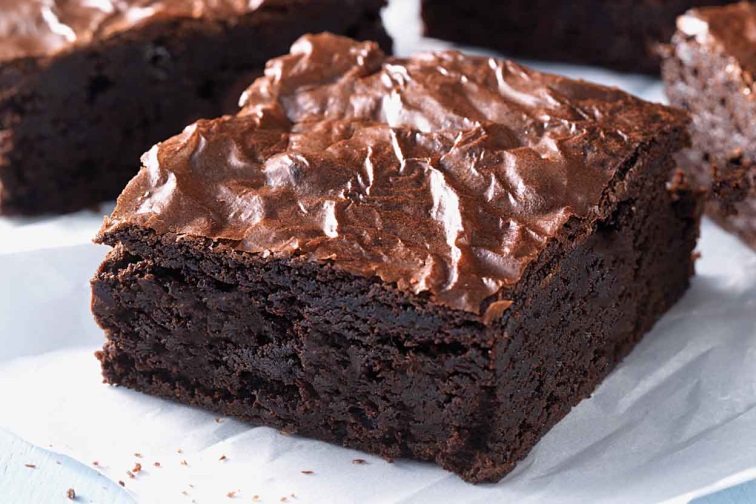
KING ARTHUR’S BEST BROWNIES
The leavening is baking powder, not baking soda, which means you should be able to use either natural or Dutch-process cocoa.
4 large eggs
1 1/3 cups Dutch cocoa
1 teaspoon salt
1 teaspoon baking powder
1 tablespoon pure vanilla extract
1 cup (2 sticks) unsalted butter
2 1/4 cups sugar
1 1/2 cups all-purpose flour
2 cups semi-sweet chocolate chips
Preheat the oven to 350°F. Lightly grease a 9" x 13" pan
Crack the 4 eggs into a bowl, and beat them at medium speed with the cocoa, salt, baking powder, espresso powder, and vanilla for about 4 minutes. You can do this while you're melting your butter (next step).
In a medium-sized microwave-safe bowl, or in a saucepan set over low heat, melt the butter, then add the sugar and stir to combine. Or simply combine the butter and sugar, and heat, stirring, until the butter is melted. Continue to heat (or microwave) briefly, just until the mixture is hot (about 110°F to 120°F), but not bubbling; it'll become shiny looking as you stir it. Heating the mixture to this point will dissolve more of the sugar, which will help produce a shiny top crust on your brownies.
Add the hot butter/sugar mixture to the egg/cocoa mixture, stirring until smooth.
Add the flour and chips, stirring until smooth. Again, adding the chips helps produce a shiny top crust.
Spoon the batter into a lightly greased 9" x 13" pan.
Bake the brownies for about 30 minutes, until a cake tester inserted into the center comes out clean, or with just a few moist crumbs clinging to it. The brownies should feel set on the edges, and the center should look very moist, but not uncooked. Remove them from the oven and cool on a rack before cutting and serving.
SUPER-EASY CHOCOLATE TRUFFLES
Thanks to Foodtrainers™ (www.foodtrainers.blogspot.com)
1/2 cup raw walnuts OR raw almonds OR raw hazelnuts
1/8 teaspoon salt
1 ½ teaspoons vanilla extract or powder (the powder yields drier truffles)
1/2 cup chopped pitted dates or raisins (dates are best; if your food processor is powerful, you don’t need to chop them)
5 tablespoons unsweetened cocoa powder or raw cacao powder
1/2 teaspoon cinnamon
A tiny pinch of red pepper flakes (optional)
Coconut (optional)
1) Grind nuts, salt, and vanilla in food processor.
2) Add dates/raisins and process again, until mixture resembles raw dough.
3) Add cocoa powder and cinnamon; process again.
4) Scoop out mixture into large bowl. Add red pepper flakes and mix into "dough" by hand.
5) Form dough into bite-size round "truffles".
6) If desired, roll balls in shredded coconut (sweetened or unsweetened)
6) Refrigerate or freeze for at least 2 hours.
- www.momsanity.com
- www.cathe.com
- www.samsclub.com
- www.blog.kingarthurflour.com
- www.trinityskitchen.com
 Alice Osborne
Weekly Newsletter Contributor since 2006
Email the author! alice@dvo.com