Cookie Butter Ice Cream and 3 Other Unique Homemade Ice Cream Flavors
We’re halfway through May and that means we’re fast approaching the warm summer months ahead! We’ve already been experiencing several warm days where I live, and you can bet we’ve been taking advantage by enjoying as much sunshine as we can!
We’ve also been able to break out the ice cream maker I bought last year…. In November. Kind of a weird time to invest in a cold treat maker, but it was at a yard sale in like-new condition- how could I refuse? ;)
I’ve wanted an ice cream maker for a long time- one, because I love ice cream, and two- because I love that you can literally create any combination you want! My sister’s family makes ice cream all the time, and they have so much fun throwing all kinds of things in their ice cream- Kit Kats, muddy buddies, gooey butter cake, Oreos- the possibilities are endless! I’ve made a few non-churn recipes, but they’re just not the same. Some are really sweet and rich, which is tasty, but just not the same as freshly churned ice cream!
With my new ice cream maker, I’ve been planning which recipes I need to try- because if I’m going to make my own ice cream, I want it to be incredible! I have to share with you what has probably become my family’s all-time favorite ice cream recipe. Now, let me preface with the fact that I LOVE ice cream. Growing up, for birthdays I always looked forward to the ice cream more than the actual cake! Ice cream is probably my favorite dessert. And THIS ice cream just might be my all-time favorite. So you know it’s gotta be good! I love it so much that I made it especially for my birthday this year- and my kids have all told me that they want to make it for their birthdays this year as well!
So what is this incredibly amazing ice cream?
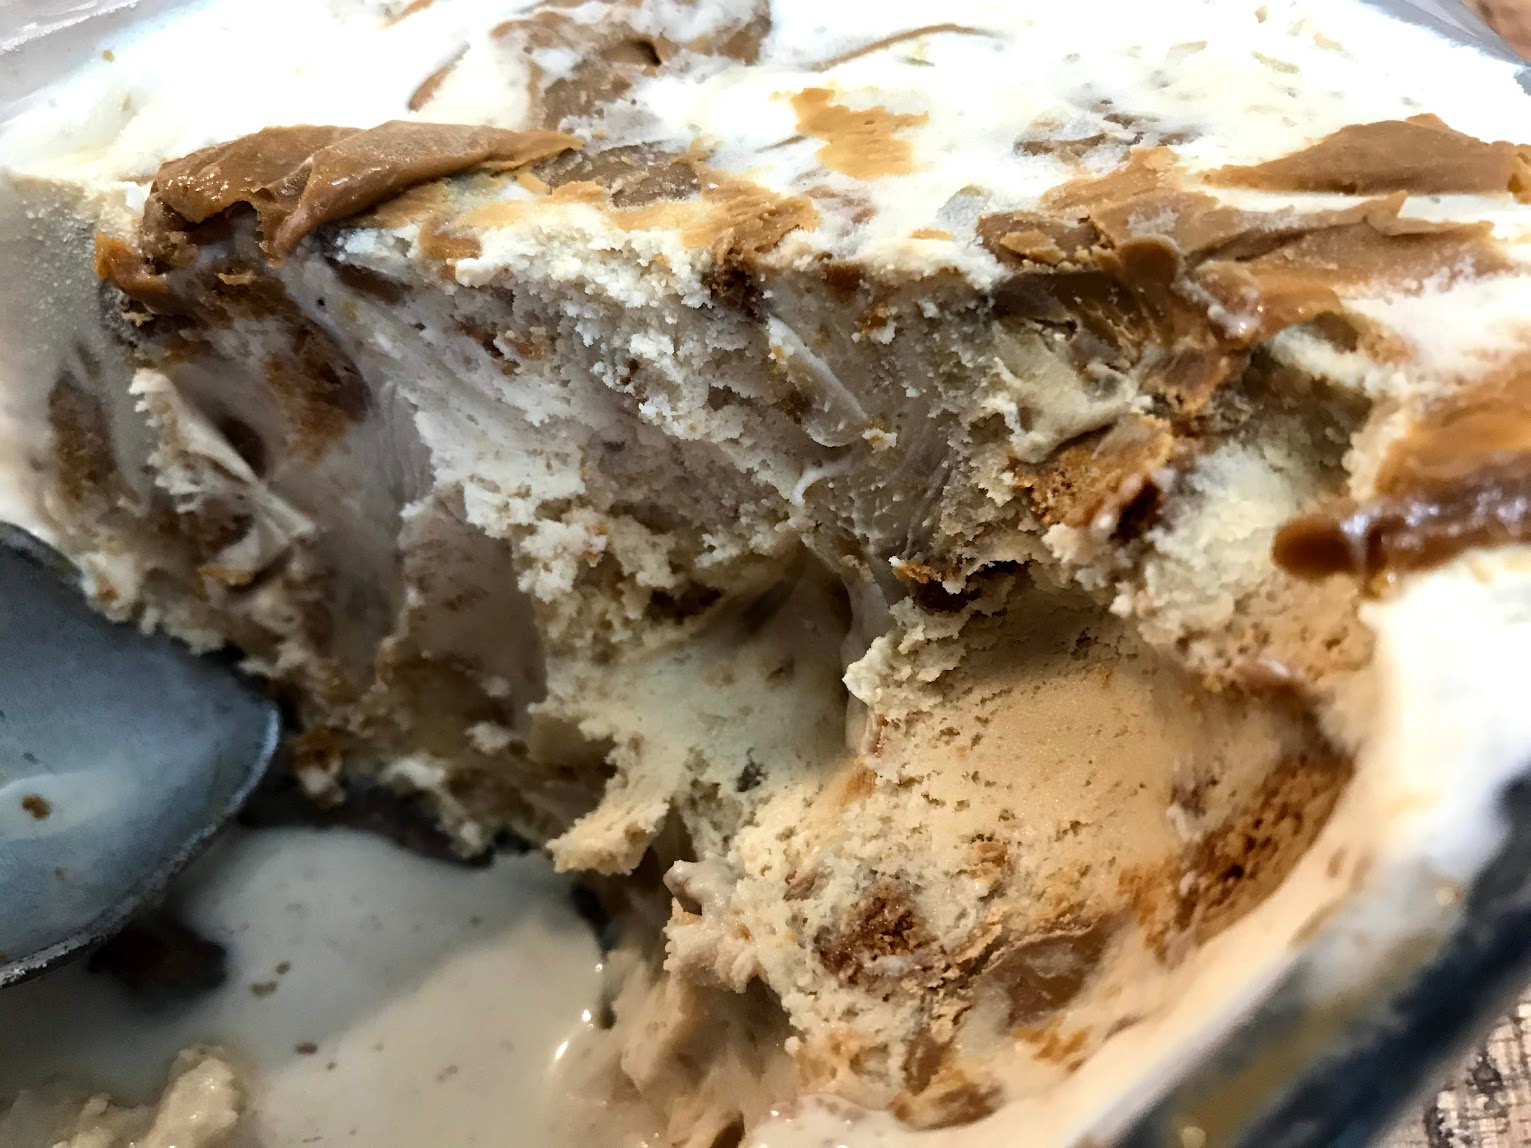
Cookie. Butter. Ice Cream. If you’ve never heard of cookie butter- we need to change that. If you think cookie butter is ok, you’ll like this recipe. If you love cookie butter- proceed with caution because this recipe is straight up ADDICTING.
It’s stuffed with cookie butter. I love that it’s not just vanilla ice cream with a swirl of cookie butter and Biscoff cookie chunks- though it does indeed have those things. You actually mix melted cookie butter into the base of the ice cream, so you are literally getting cookie butter in every bite- and it’s just heavenly! My husband pretty much told me he wanted to marry me again when he first tried it- he’s definitely a fan!
Cookie Butter Ice Cream
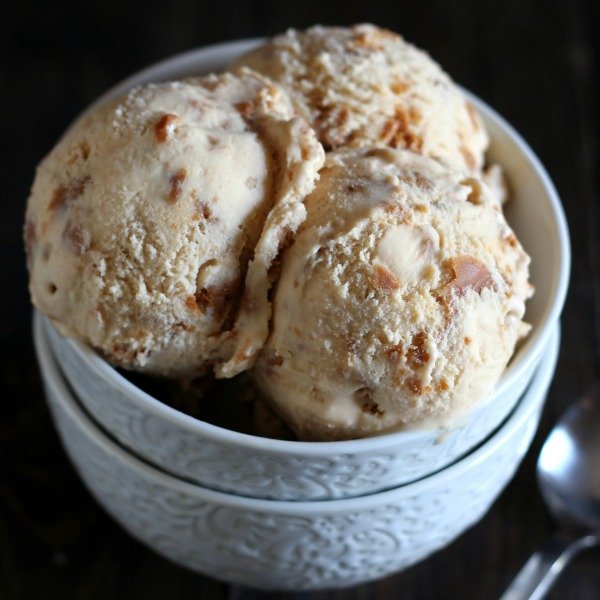
Cookie Butter Ice Cream is bound to become one of your favorite ice cream recipes! Easy no-cook ice cream loaded with cookie butter and Speculoos cookies. We LOVED this!
Serving size: 8
Calories per serving: 374
3/4 cup cookie butter spread, divided
1 1/4 cups whole milk, chilled
3/4 cup granulated sugar
2 cups heavy cream, chilled
1 tablespoon vanilla extract
1/4 teaspoon salt
12 speculoos cookies, chopped into small chunks
Directions:
In a large bowl, use an electric mixer to beat the cookie butter, milk, and sugar until the sugar is dissolved, 1 to 2 minutes. Stir in the cream, vanilla, and salt until combined. Place in the refrigerator until well chilled, at least 30 minutes or up to 1 day.
Pour the chilled mixture into an ice cream maker and freeze according to the manufacturer’s directions. In the last few moments of churning, gradually add in the Speculoos cookie chunks until and continue churning until incorporated.
Slightly melt the remaining 1/4 cup cookie butter spread. Transfer the ice cream to an airtight container in batches, spooning the Speculoos spread in between layers of ice cream in a swirled pattern. Cover the ice cream surface with plastic wrap and freeze until the ice cream is firm and flavor is ripened, at least 2 hours.
Source: handletheheat.com
Recipe formatted with the Cook'n Recipe Software from DVO Enterprises.
If cookie butter isn’t your thing, there are SO many unique options out there besides your basic vanilla and cookies n’ cream (not that those are bad flavors!). Here are a few other unique options I definitely want to give a try!
Brown Butter Banana Ice Cream - A Beautiful Plate
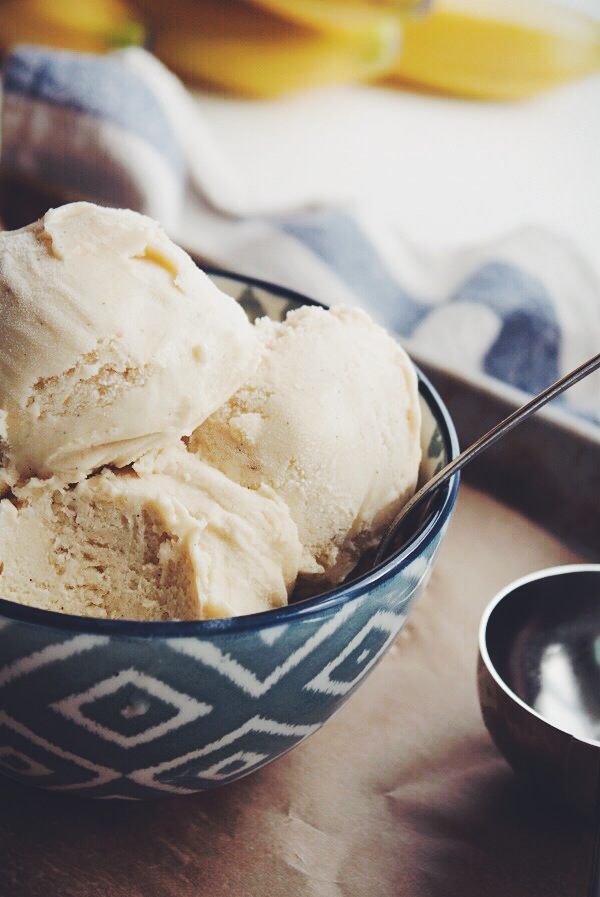
Creamy and rich brown butter banana ice cream flecked with vanilla bean seeds.
Serving size: 5
Calories per serving: 300
4 ounces (1 stick) unsalted butter
1/2 cup heavy cream
1 1/2 cups milk
1/2 cup sugar
4 large eggs yolks
1/2 vanilla bean, scraped
1/4 teaspoon salt
2 ripe bananas, mashed
Directions:
Place mixture in a large container, cover, and refrigerate and allow browned butter to infuse in the cream overnight.
In a large bowl, whisk together the egg yolks and 1/4 cup of sugar vigorously with a stiff whisk until pale yellow in color–otherwise known as the ribbon stage.
Stir the chilled milk mixture with a spoon, scraping the bottom and sides of the pan to remove any large chilled butter pieces. Strain the mixture through a fine-meshed sieve into a medium saucepan–discard the solid butter pieces (or alternatively, use for another baked good recipe). Add the remaining 1/4 cup of sugar and the scraped vanilla bean seeds. Place the mixture over medium-high heat and bring to a full boil–remove from the heat immmediately.
Temper the egg yolk mixture with the hot milk, whisking until combined. Add the salt and mix well.
Place the custard in a clean container and allow it to chill completely in the fridge. Once chilled, stir in the mashed bananas and refrigerate overnight, or minimum 6-8 hours.
Freeze the ice cream mixture in an ice cream maker, according to the manufacturer’s instructions. Serve immediately (if you prefer a softer, froyo texture, or place in an airtight container and freeze for at least 2-3 additional hours to firm the ice cream. Cover the surface of the ice cream with plastic wrap to prevent ice crystals from forming.
Source: abeautifulplate.com
Recipe formatted with the Cook'n Recipe Software from DVO Enterprises.
Toasted Coconut Ice Cream w/Cajeta Drizzle

Cook time:
Serving size: 5
Calories per serving: 479
2 cups light cream
1 1/2 cups skim milk
1 tablespoon Coconut Oil
1 vanilla bean, split (or 1 teaspoon pure vanilla extract)
2/3 cup sugar
1/4 teaspoon salt
3 egg yolk
1/2 cup unsweetened coconut
Directions:
In a medium saucepan, combine cream, milk, coconut oil, sugar. Split vanilla bean, scraping the seeds and add to the pan. Heat the mixture until the sugar has dissolved, but do not simmer. Remove from heat. Add toasted coconut, transfer to a bowl, cover and let sit for one hour, undisturbed.
Place a strainer over the same medium saucepan used for heating the milk mixture. Strain the coconut milk mixture into the pan, pushing down on the coconut to extract the as much flavor and liquid as possible. Remove the strainer and discard the coconut. Heat the milk mixture until warm. Remove from heat.
In a medium bowl, whisk the egg yolks. Slowly stream the warm milk mixture into the yolks, whisking constantly to prevent the yolks from scrambling. Pour mixture back into the saucepan. Heat over medium flame, stirring constantly until mixture is thick enough to coat the back of a spoon. Turn off heat.
Strain mixture into a bowl set over an ice bath. Once mixture has cooled, refrigerate for a few hours until the mixture has sufficiently chilled. Pour into ice cream maker and freeze according to your ice cream machine's directions.
Top with toasted coconut (or, cajeta, if you are so lucky as to have some on hand!)
Source: kellybakes.com
Recipe formatted with the Cook'n Recipe Software from DVO Enterprises.
Corn Ice Cream
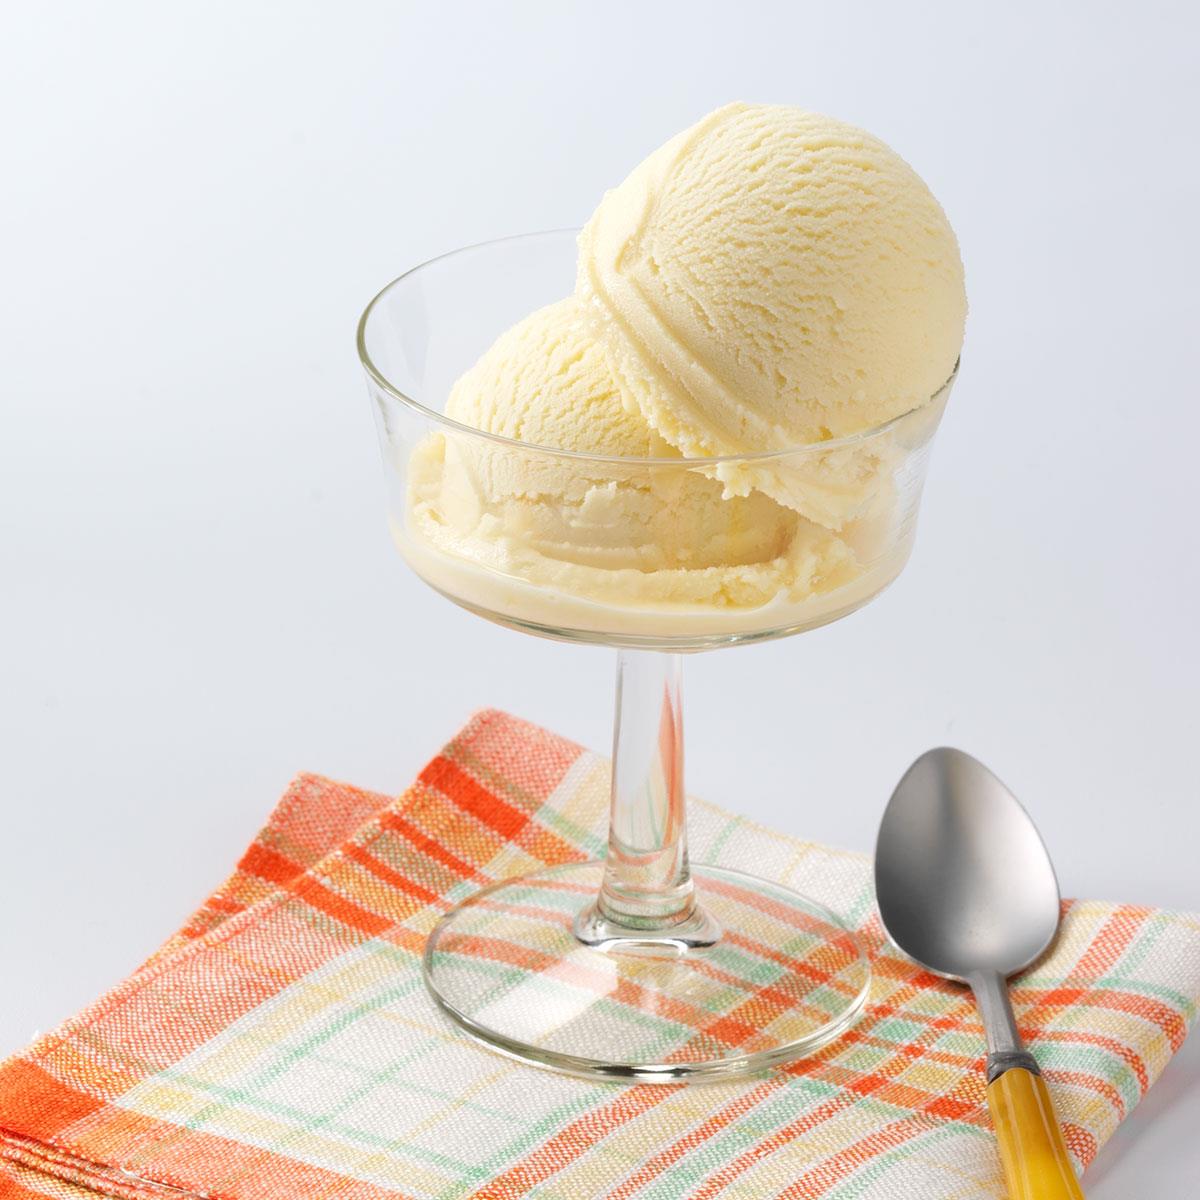
You have to give this novel ice cream a try. It’s actually made with corn, sweetly flavored by vanilla extract and maple syrup. I plan to make this surprising treat every summer.—Diana Burrink, Crete, Illinois
Yield: 4 cups
Serving size: 4
Calories per serving: 370
2 cups 2% milk
3/4 cup sugar
1/2 cup maple syrup
4 large eggs yolks, lightly beaten
1 can (14-3/4 ounces) cream-style corn
1 teaspoon vanilla extract
Directions:
Cook and stir over low heat until mixture reaches 160°. Quickly transfer to a bowl; place in ice water and stir for 2 minutes. Stir in corn and vanilla. Press waxed paper onto surface of custard. Refrigerate for several hours or overnight.
Strain custard, discarding corn. Fill cylinder of ice cream freezer two-thirds full; freeze according to the manufacturer’s directions. When ice cream is frozen, transfer to a freezer container; freeze for 2-4 hours before serving.
Source: tasteofhome.com
Recipe formatted with the Cook'n Recipe Software from DVO Enterprises.
Here’s to lots of delicious homemade ice cream this summer!
- https://www.handletheheat.com/cookie-butter-ice-cream/#wprm-recipe-container-25494
- https://www.tasteofhome.com/recipes/corn-ice-cream/
- https://www.abeautifulplate.com/brown-butter-banana-ice-cream/
- https://kellybakes.com/kelly-bakes/2013/01/23/the-time-is-now-toasted-coconut-ice-cream
 Camille Hoffmann
Weekly Newsletter Contributor since 2014
Email the author! camille@dvo.com