Making Perfect Bread: Tips and Tricks
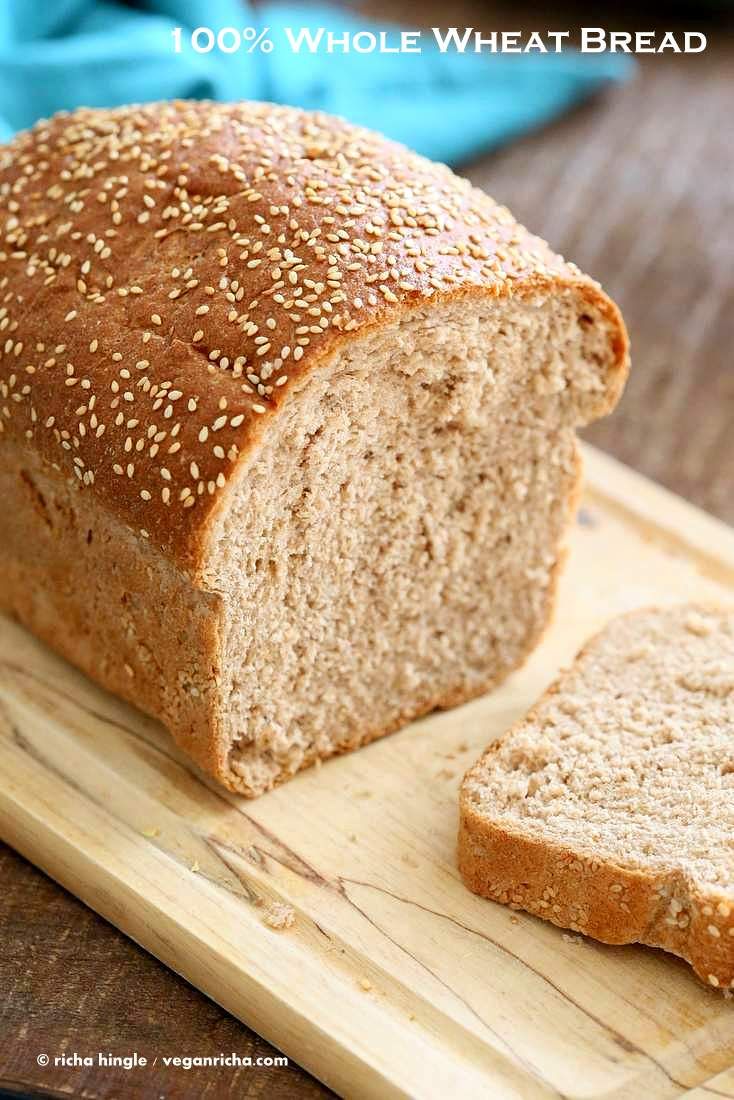
Homemade sandwich bread beats the flavor of bread off the grocery store shelf hands down, but home bakers can get discouraged if it turns out heavy, crumbly and dry. I know all about this. In the beginning of my bread-making attempts, we called my homemade bread “doorstop bread.” But because there are SO many good reasons for making bread, I felt it was worth the stress and effort to learn how to turn out a tasty, perfect loaf. So I stuck with it.
If you’re not already making your own bread, and you’ve been thinking about trying, then let’s start with the perfect recipe. This comes from the site, The Self Reliant School, and its owner/author, Jennifer, shares this recipe because it consistently turns out just the way her family wants their bread to taste. That’s key: Since transitioning your family to whole wheat bread can come with complaints and fuss, having the right recipe is absolutely crucial.

You’ll note that this recipe blends white and whole grain bread flours. This is a good combination to start with. As you get more proficient, you can gradually phase out the white flour and add more and more whole grain flour. And if you’re a beginner, you may want to cut this recipe in half.
SOFT SANDWICH BREAD
Place ingredients in a large kitchen mixer equipped with a dough hook in this sequence:
2/3 cup sugar
1/2 cup melted butter
3/4 cup expeller pressed sunflower oil
2/3 cup dry powdered milk (optional-see note below)
4 tablespoons dough enhancer (optional-see note below)
4 teaspoons sea salt
5 cups very warm water (110-120 degrees)
5 cups whole wheat flour
4 heaping tablespoons dry instant yeast (this doesn’t need proofing; SAF is a good brand)
Mix on a medium speed just until combined. Let mixture stand for 5 minutes until bubbles form on the surface indicating yeast is activated.
[Note: Dry milk powder is optional but is one of the ingredients that adds softness to the texture of this bread and richness to the flavor. This recipe can be made without it and still be very nice or very warm milk can be substituted for the 5 cups of very warm water. Dough enhancer is also optional but recommended for adding softness and naturally preserving the loaves freshness.]
ADD TO THE BOWL THE FOLLOWING:
6-7 cups unbleached bread flour (King Arthur Brand is a good brand)
Add in the unbleached flour, 1 cup at a time, until the dough begins to clean from the sides of the mixer bowl. Watch closely to get just enough flour for a soft workable dough. Too much flour will result in a heavy tough dough. You may not need to use all 7 cups of flour, or you may need a bit more.
Allow the mixer to knead the dough for 5 minutes on medium speed. The dough should be soft but stretchy and elastic. Turn off the mixer after about 5 minutes and cover the mixer bowl. Allow the dough to rest in the mixer bowl for up to 25 minutes and no longer than 45 minutes. It will puff up during this rest time. Deflate dough at the end of the resting time by turning on the mixer briefly.
Spread a coating of butter onto a clean counter top. Rub around into a small area and use buttered hands to turn the dough out from the mixer bowl onto the clean surface. At this point, you do not want to add more flour into your dough so using butter allows you to work the dough to form the loaves and keeps it from sticking to the counter. Gently gather into a ball. You should have a large soft silky smooth ball of dough. There is no need to overwork it and knead it longer by hand. The mixer did the job for you!
Divide dough into 5 equal portions. You can use your hands or a bench cutter. Gather each portion into a loaf shape, using both hands. Fold under the wrinkles, leaving you a soft smooth loaf with all the “wrinkles” on the bottom.
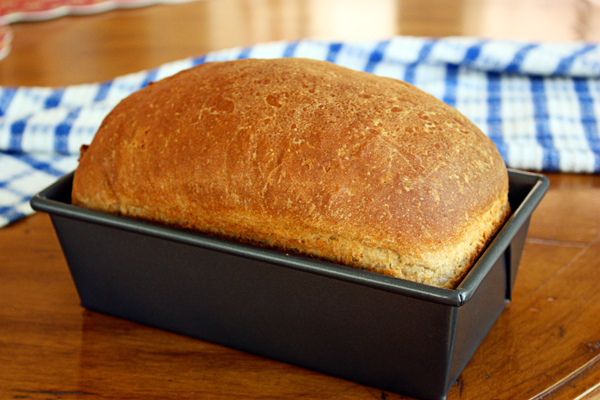
Place shaped loaves in well-buttered pans. This recipe makes 5 loaves using 8″ size loaf pans. Pat down the tops of the loaves and set aside in a warm place to rise.
If your kitchen is drafty or chilly, simply place the pans in your oven to rise. Be sure the oven is OFF while the loaves rise. Allow them to rise, undisturbed for up to 45 minutes.
The loaves are ready to bake when they are nicely rounded up over the top of the loaf pan. If you forget your loaves and allow them to rise over an hour, they will most likely deflate once the heat of the oven begins to bake them. Ugh! A kitchen timer is a home baker’s best friend.
Bake the risen loaves in a 350-degree oven for 35 minutes on the lower middle shelf. It is best to arrange the loaves evenly spaced on the oven shelf to allow for even browning. If necessary rearrange loaves the last 10 minutes of baking time for an even bake. Loaves should be a deep golden brown at the end of the baking time.
Allow loaves to stand undisturbed in pans, after removing from the oven for 5-10 minutes. Carefully remove from the pans and let them cool on wire racks covered with a light clean cloth. You might want to butter the tops after removing from the oven. Remember to cool completely before slicing.
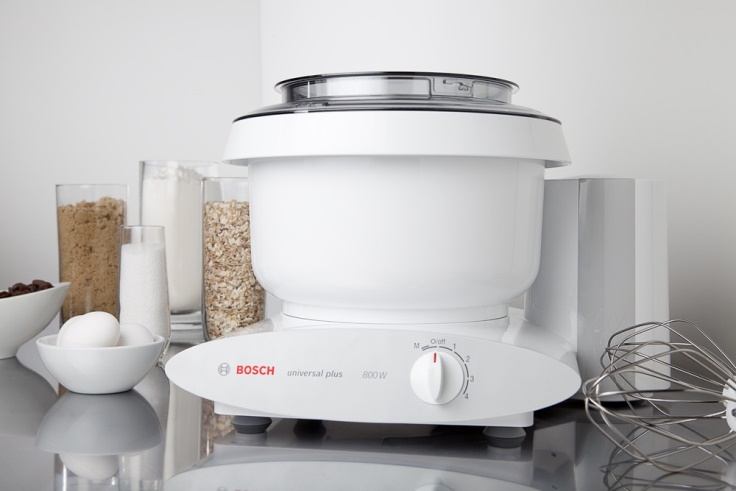
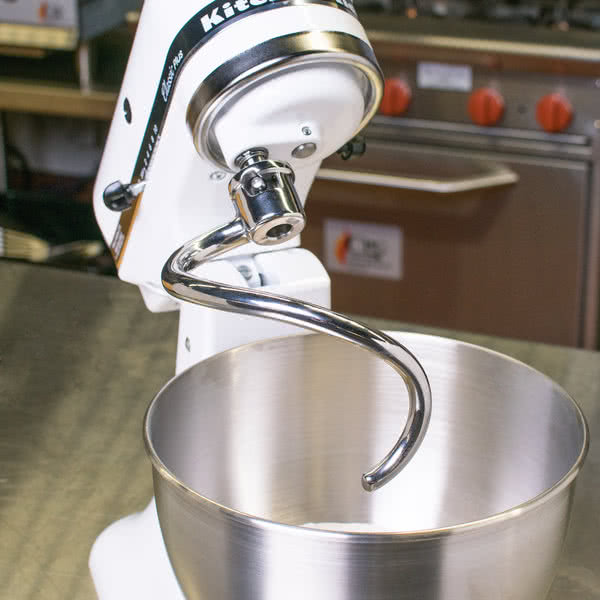
Besides a reliable recipe, it’s helpful to have a sturdy mixer with a dough hook (such as a BOSCH® or KitchenAid®, for example). Bread dough requires rigorous kneading for at least 10 minutes to ensure the gluten fibers are worked well, and hand kneading doesn’t always fill the bill.

Another good tool to have is a grain mill. Nutrimill, Blendtec Grain Mill, Schnitzer, Wondermill, and the KoMo are a few great electric brands. You can also get a grain grinder attachment for your KitchenAid if you don’t want to bother with another sizeable appliance.

And then there’s the hand grinder option. Because I grind my own flour every week, I like having an electric mill (mine is the Nutrimill). But I also have a hand grinder in my emergency storage. I always want to be able to grind my own grains.
Of course, you can always purchase whole wheat flour if you don’t have access to a grain mill. If you opt to buy your flour, just be sure to store it in an airtight container in your refrigerator or freezer as soon as you get it home. We live close to a couple local granaries and mills (Lehi Roller Mills and Honeyville Farms), so if I ever do buy flour, I get it from these folks. If you don’t have a local mill, then Bob’s Red Mill flours are super, and found in just about every national grocery chain now.
And here’s one last tip: Most sandwich bread does best when the ratio of flour to water is 2:1. So, for every 4.4 oz bread flour, you’ll need 2.2 oz water by weight. One half the weight of the flour is the amount of water you’ll need.

So be cautious: Even if you think the dough seems too sticky, if your ratio is correct, your bread will be just fine. Resist adding extra flour. While adding more flour does make dough less sticky, it invariably leads to a dense loaf that does not rise as much as it should.
Finally, be patient and keep trying. Bread making is a skill, even an art. And as with all skills and arts, it just takes practice, but the end result is so worth it!
- www.pinterest.com
- www.sophieshealthykitchen.com
- www.jennycancook.com
- www.lynnsbread.com
- www.webstaruantstore.com
- www.kingarthurflour.com
- www.grainmillguide.com
- www.melskitchencafe.com
 Alice Osborne
Weekly Newsletter Contributor since 2006
Email the author! alice@dvo.com