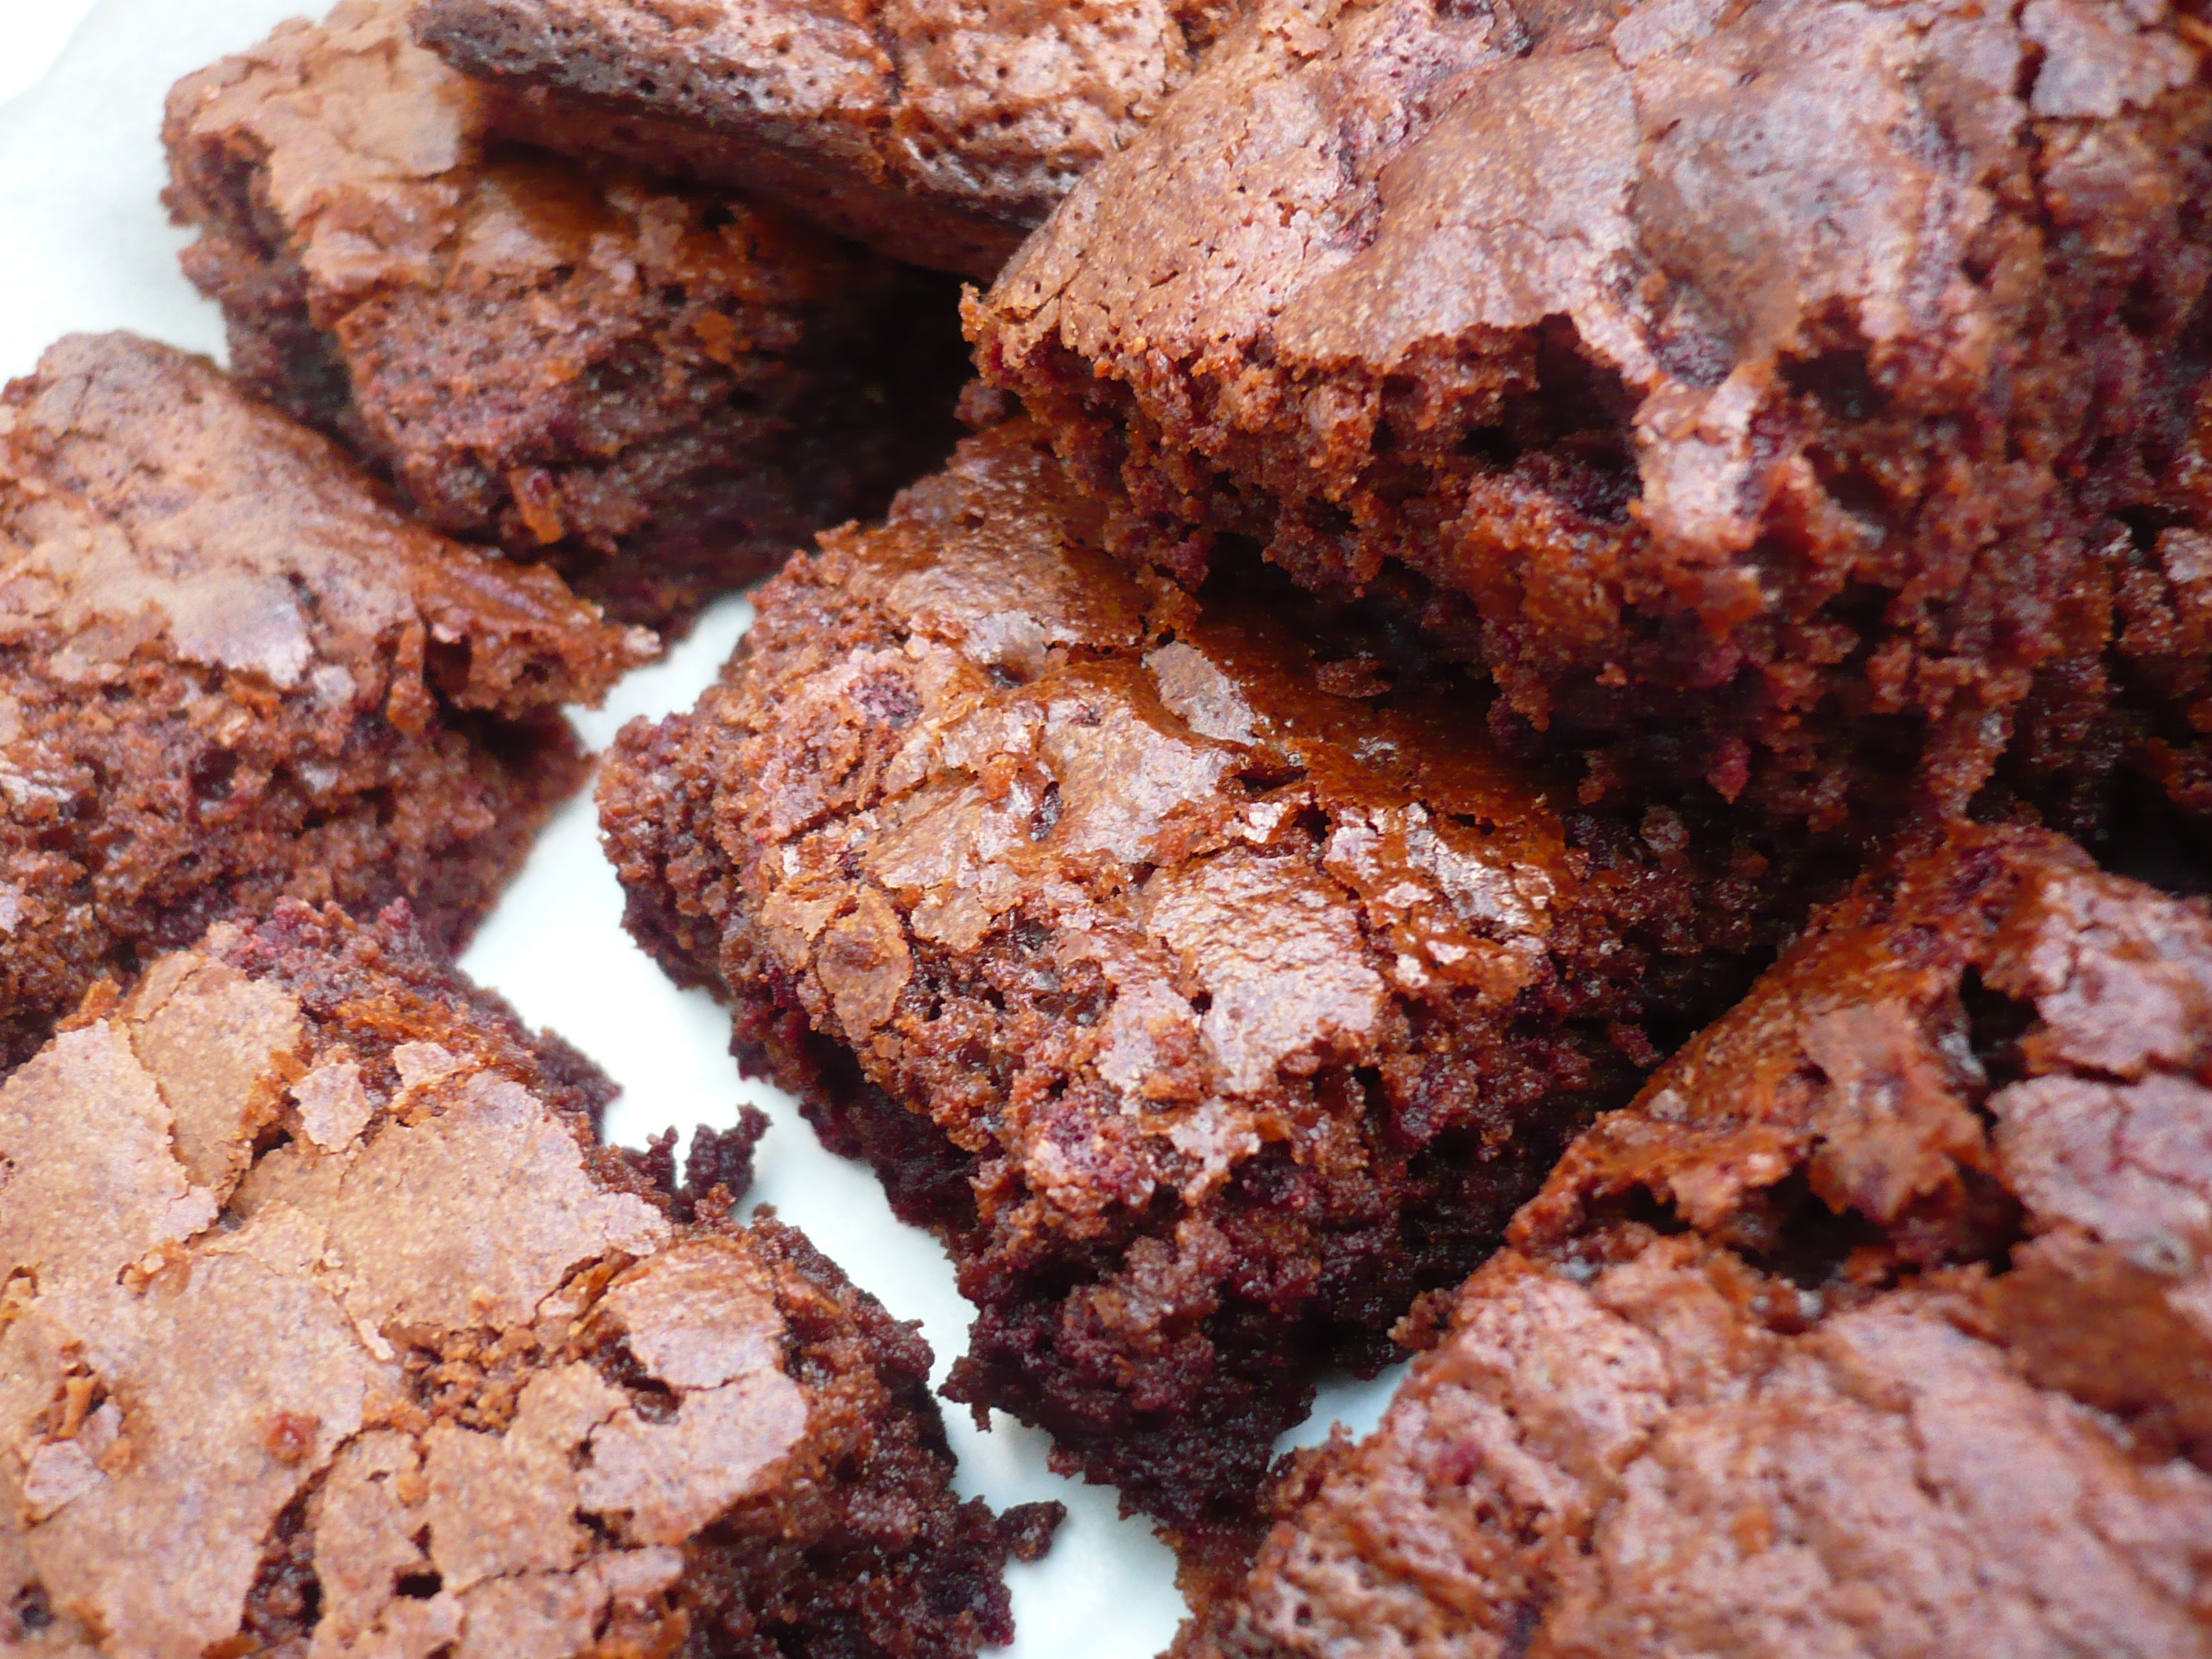
Secrets to the World’s Best Made-From-Scratch Brownies
If you ask every member of my little family what their favorite dessert is they will excitedly answer: BROWNIES! I always thought that it was enough for me just to get out a simple brownie mix from the pantry to whip up and hit the spot. Heck, I really thought I was earning brownie points (ha!) by going the extra mile and making my daughter’s egg free version from scratch. That is, up until the moment I read this beautiful article from Stella Parks from Serious Eats.
Stella taught me more in 10 minutes of reading in her article than I had ever learned my whole life about brownies. My life will never be the same. Happiness in the home has increased with the world’s best brownie recipe up my sleeve. And I’m working to erase the guilt I feel for thinking that boxed brownies were good enough for all those years.
I love when somebody’s passion about what they do in life just comes alive. It is contagious. Stella’s words just flew off the page like colorful butterflies. I never knew someone could have such passion about brownies. It was a really fun read because she really breaks things down and gets into a lot of really nerdy, scientific things about why her methods yield the results they do.
There are a few key differences between Stella’s recipe and your run-of-the-mill fudge brownie recipe that I wanted to go over, and those are:
-browned butter
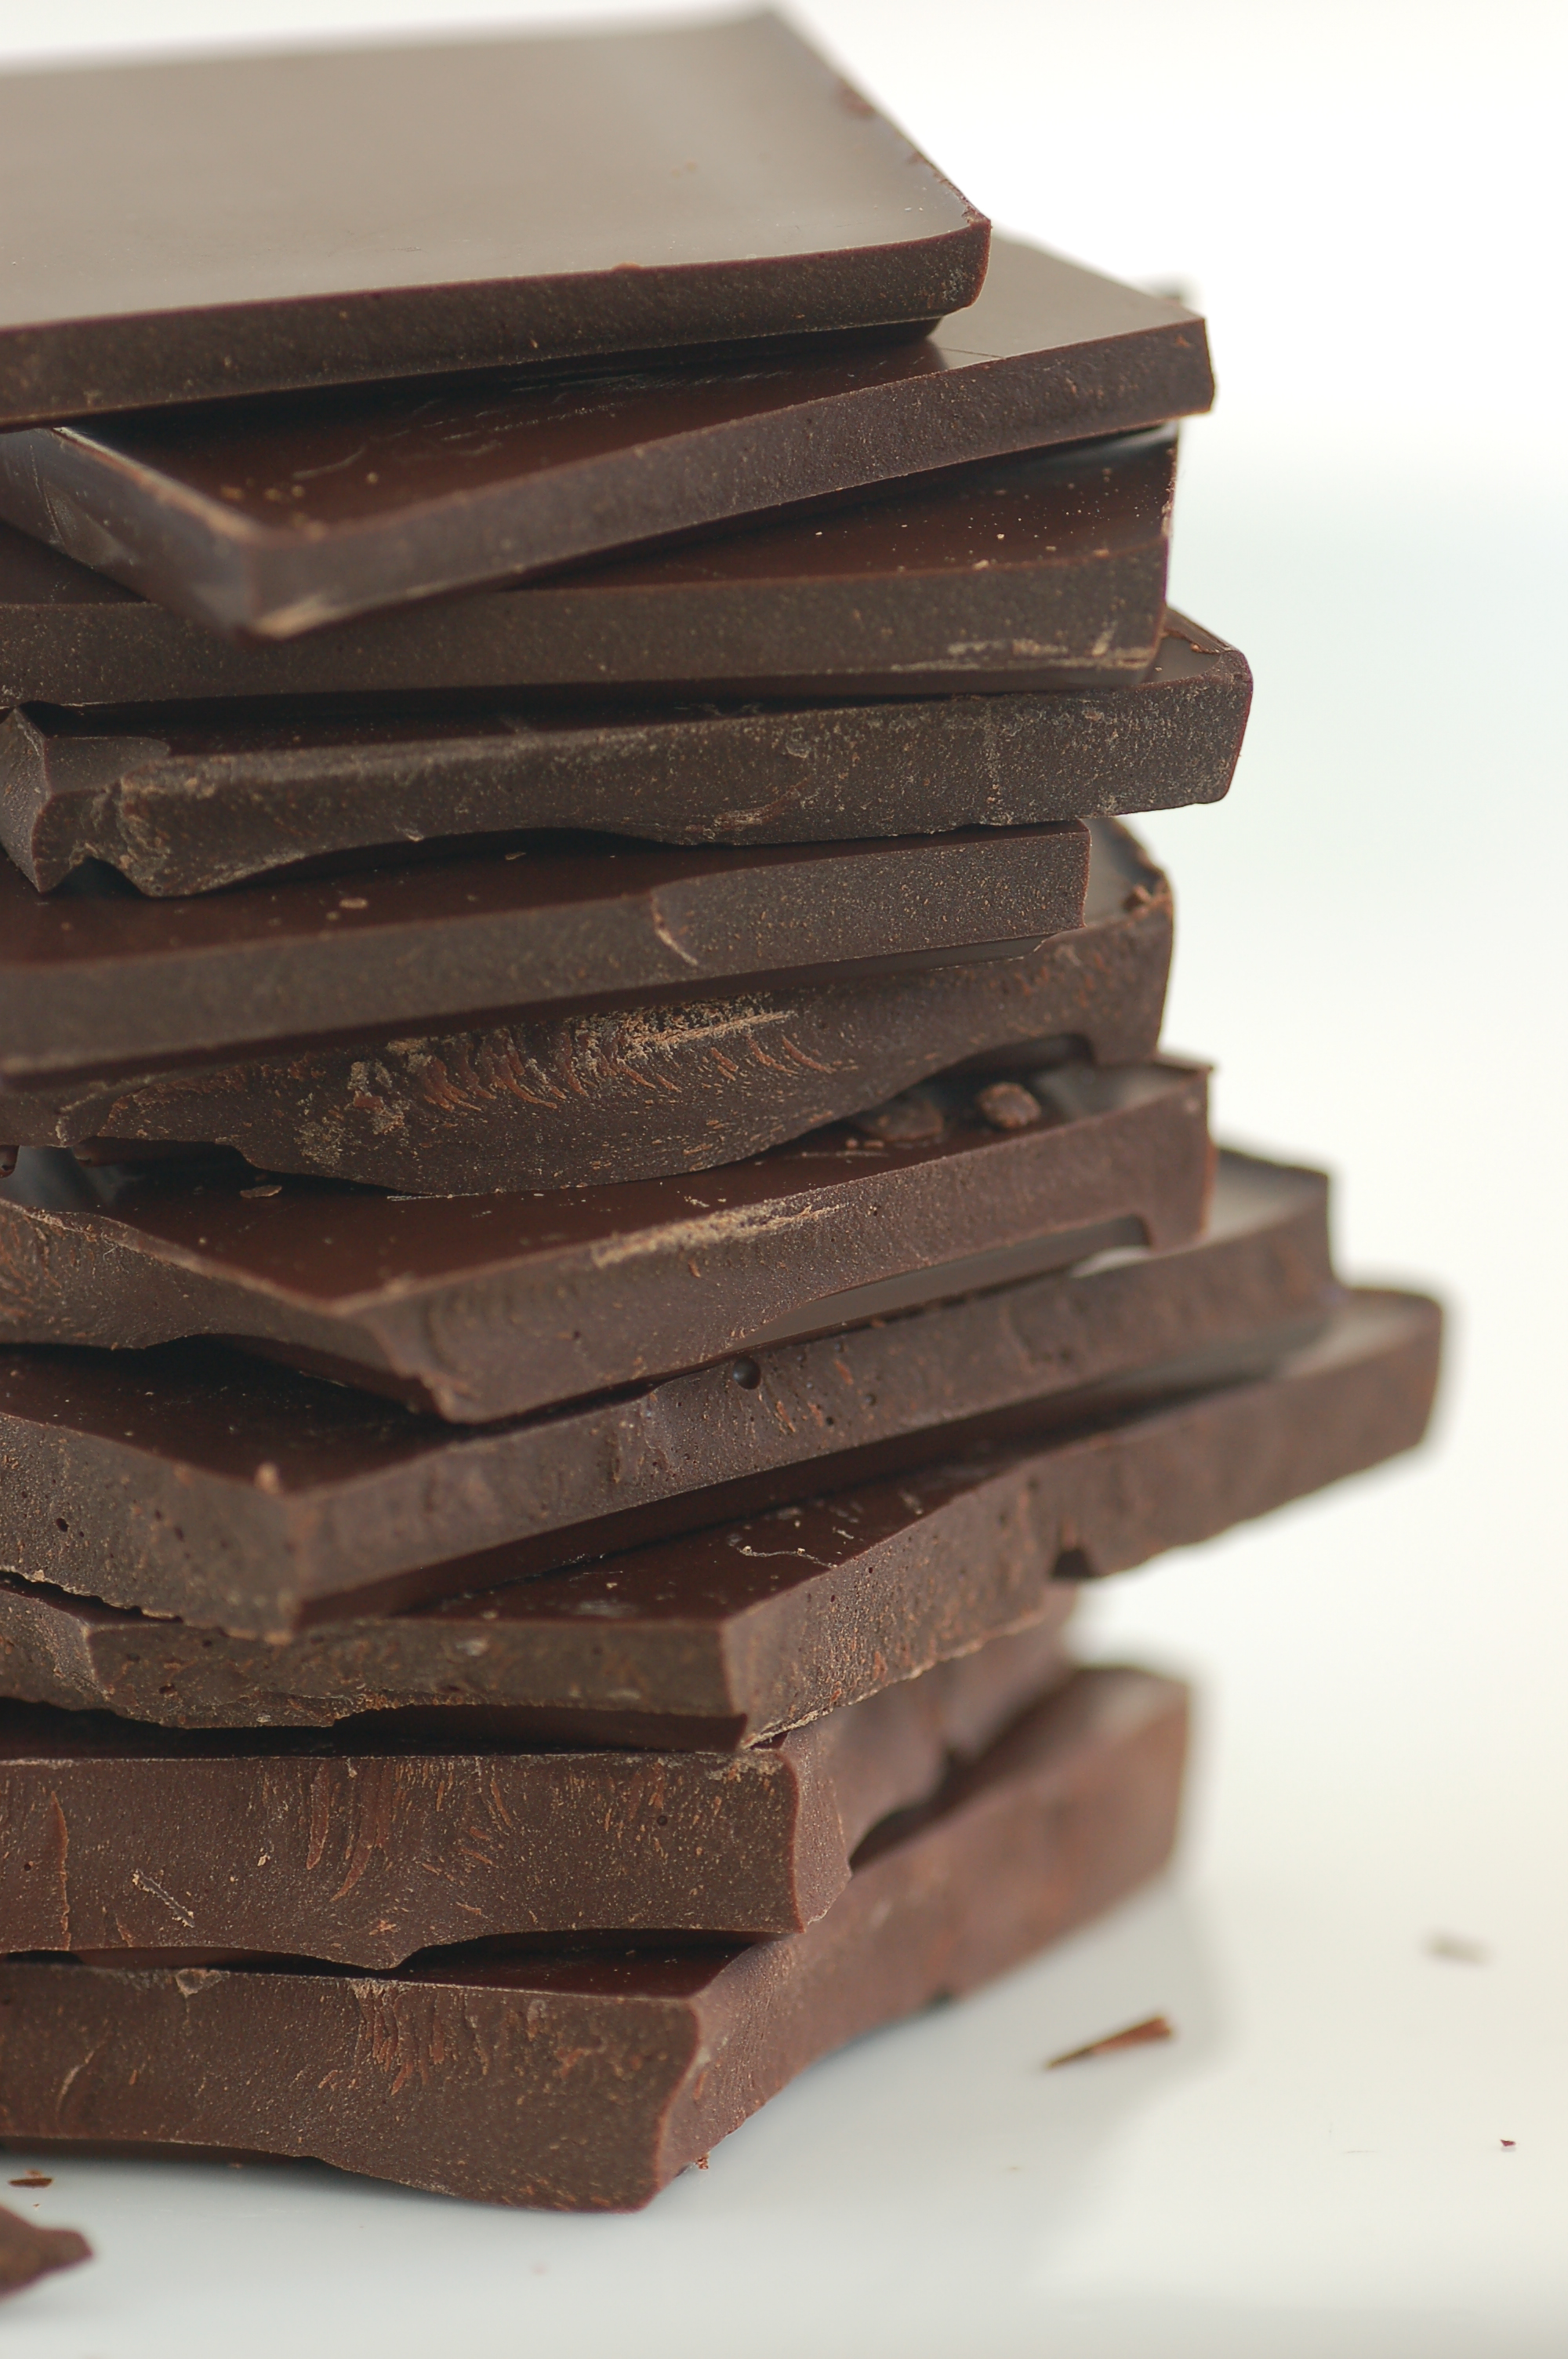
-two types of chocolate
-whipped eggs
-aluminum pan
Here is a little bit of a breakdown of why these things are crucial and important.
Brown Butter Makes Better Brownies
Using brown butter adds a nutty richness that deepens the chocolate flavor.
If you happen to have a vanilla bean on hand, toss that in while you are browning the butter for a great way to infuse more vanilla flavor into your brownie base.
The Most Crucial Step--Foaming the Eggs
Thickly foamed eggs lighten the batter, for brownies that are fudgy but not overly dense.
Two Kinds of Cocoa for the Win!
Using cocoa powder reduces the need for flour, making the brownies especially flavorful and tender. (Use Dutch processed. It is far superior and has more depth than regular cocoa powder.)
The cocoa butter in dark chocolate gives the brownies in a lingering richness.
The Correct Pan is CRUCIAL!
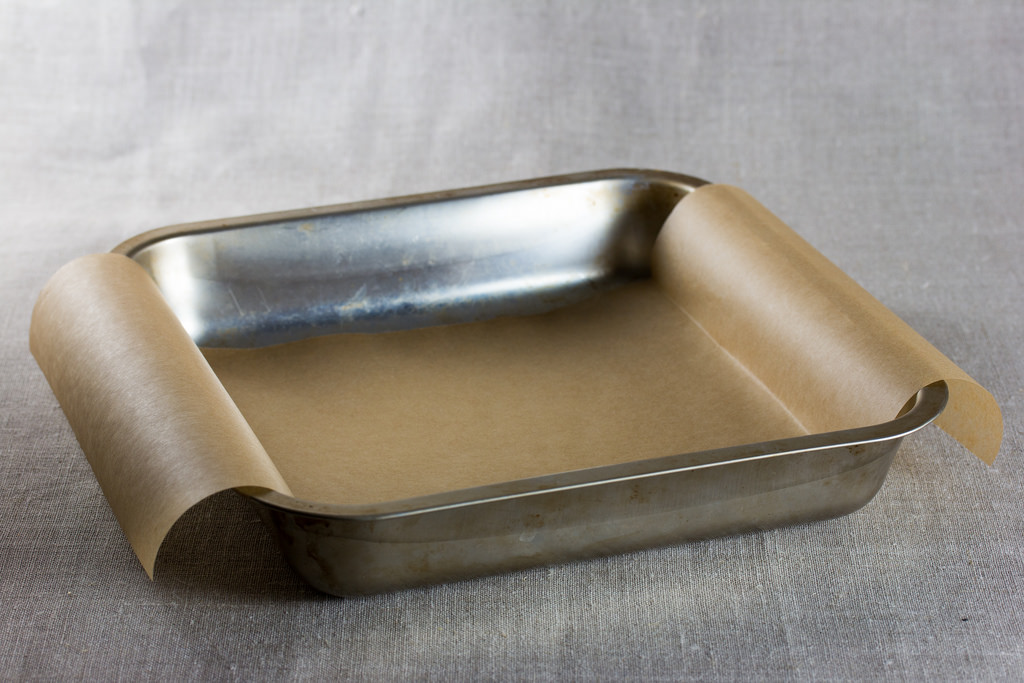
An aluminum pan helps the brownies bake quickly and evenly without the extended timeline associated with baking in glass, or the risks of overbaking in a nonstick pan.
Wait to Dig In
Lastly, this is just mean, but you must wait 30 minutes before digging in. With other brownie recipes, they are usually fudgy and moist fresh out of the oven, but may dry out or seem too dense after they settle. With this recipe, they come out almost cake-like while puffed and warm, but their fudginess will develop as they settle and cool.
You have to give these brownies a try. This recipe will be your new go-to. They take quite a bit more effort than a standard brownie recipe, but that that is what makes them really shine (literally!) and stand out.
Glossy Fudge Brownies
12 ounces unsalted butter (about 3 sticks; 34 g)
6 ounces finely chopped dark chocolate (about 1 cup; 170g), about 72%
16 ounces white sugar (about 2 ¼ cups; 450g)
2 ounces light brown sugar (about ¼ cup, packed; 55g)
1 ¾ teaspoons (4g) Diamond Crystal kosher salt; for table salt, use about half as much by volume or the same weight
6 large eggs, straight from the fridge (about 10 ½ ounces; 295g)
½ ounce vanilla extract (about 1 tablespoon; 15g)
1 teaspoon instant espresso powder (optional)
4 ½ ounces all-purpose flour (about 1 cup, spooned; 125g)
4 ounces Dutch process cocoa powder (about 1 ⅓ cups, spooned; 115g)
Directions:
Getting Ready: Adjust oven rack to the middle position and preheat to 350 degrees F. Line a 9-by-13 by 2-inch anodized aluminum baking pan with foil to cover the bottom and long sides of the pan (it’s all right to leave the short sides exposed). If you like, grease lightly with pan spray.
In a 3-quart stainless steel saucier, melt the butter over medium-low heat. When completely melted, increase to medium and simmer, stirring with a heat resistant spatula while the butter hisses and pops. Continue cooking and stirring, scraping up any brown bits that form along the pan, until the butter is golden yellow and perfectly silent. Remove from heat and stir in the chocolate; it will seem quite thin.
Making the batter: Combine white sugar, brown sugar, salt, eggs, vanilla, and instant espresso (if using) in the bowl of a stand mixer fitted with the whisk attachment. Whip on medium-high until extremely thick and fluffy, about 8 minutes. (The whipping time can vary significantly depending on bowl size, batter temperature, and mixer wattage, so use the visual cues as your primary guide.)
Meanwhile, sift together the flour and cocoa powder. When the foamed eggs are fluffy and thick, reduce speed to low and pour in the warm chocolate-butter. Once incorporated, add the cocoa-flour all at onces and continue mixing until roughly combined. Finish with a flexible spatula, scraping and folding to ensure the batter is well mixed from the bottom up.
Pour into the prepared pan and bake until the brownies are glossy and just barely firm, about 30 minutes or to an internal temperature of 205 degrees F (take care that the probe is inserted at a sharp angle to avoid touching the bottom of the pan). The timing of this recipe is based on anodized aluminum, and will vary significantly with glass, ceramic, or non-stick pans, materials that will also affect the brownie’s consistency.
Cool the brownies to room temperature to allow their crumb to set before slicing. Slide a butter knife between the brownies and the short ends of the pan; gently tug on the foil, then lift to remove the brownies from the pan. Cut into twenty four 2 ½ inch squares, and store in an airtight container with a sheet of wax paper between each layer, about 1 weekat room temperature.
 Mary Richardson
Weekly Newsletter Contributor since 2014
Email the author! mary@dvo.com