Keep the House Cool and Improve Health with a Dutch Oven Meal!
Besides the facts that cast-iron conducts heat beautifully, goes from stovetop to oven with no problem and lasts for decades, there are 3 good health reasons why it’s smart to cook with cast iron.
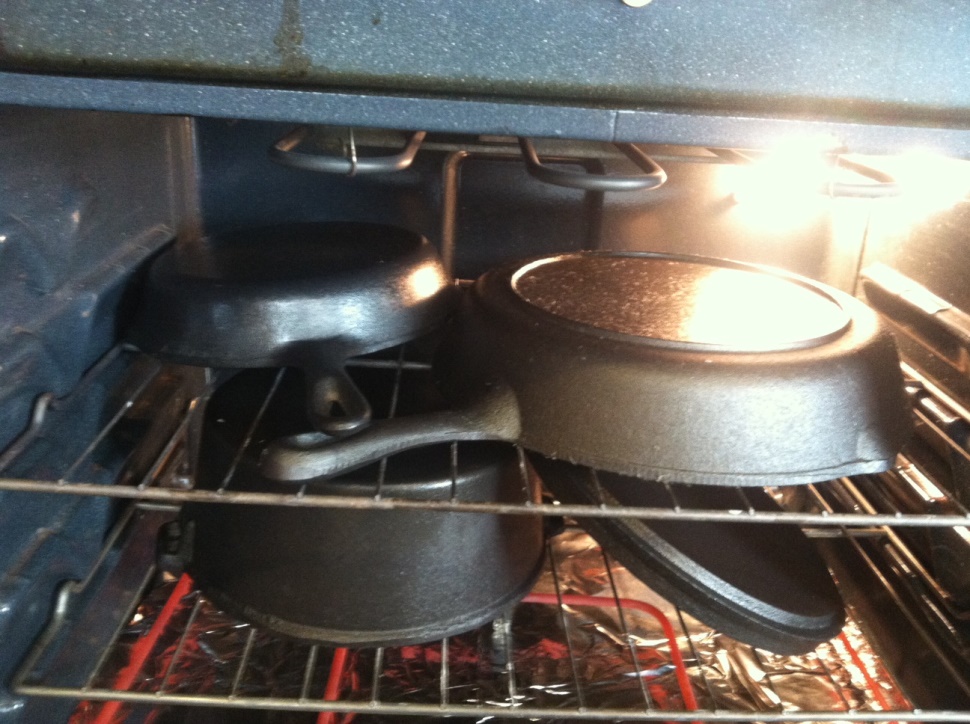
First, if your pan is well-seasoned, you can use far less oil. It’s like having an easy-to-use non-stick pan. To season your cast-iron, cover the bottom of the pan with a thick layer of kosher salt and a half inch of cooking oil, then heat until the oil starts to smoke. Carefully pour the salt and oil into a bowl, then rub the inside of the pan with a wad of paper towels until the surface is smoothly coated. Then set the oil layer by baking your pan (upside down) in a 200°F oven for several hours. To clean cast iron, never use soap. Simply scrub your skillet with a stiff brush and hot water and dry it completely.
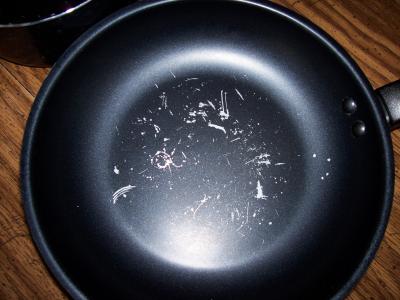
Second (still on the non-stick pan theme), cast iron is a chemical-free alternative to nonstick pans. That non-stick coating contains PFCs (perfluorocarbons), a chemical that’s linked to liver damage, cancer, developmental problems and, according to the Journal of Clinical Endocrinology & Metabolism, early menopause. PFCs get released—and inhaled—from nonstick pans in the form of fumes when pans are heated on high heat. You also ingest them when the surface of the pan gets scratched. Both regular and ceramic-coated cast-iron pans are great alternatives to nonstick pans for this reason.
Third, cooking with cast iron fortifies food with iron. While cast iron doesn’t leach chemicals, it can leach some iron into your food. Iron deficiency is fairly common worldwide, especially among women (10% of American women are iron-deficient). Cooking food, especially something acidic like tomato sauce in a cast-iron skillet can increase iron content, by as much as 20 times.
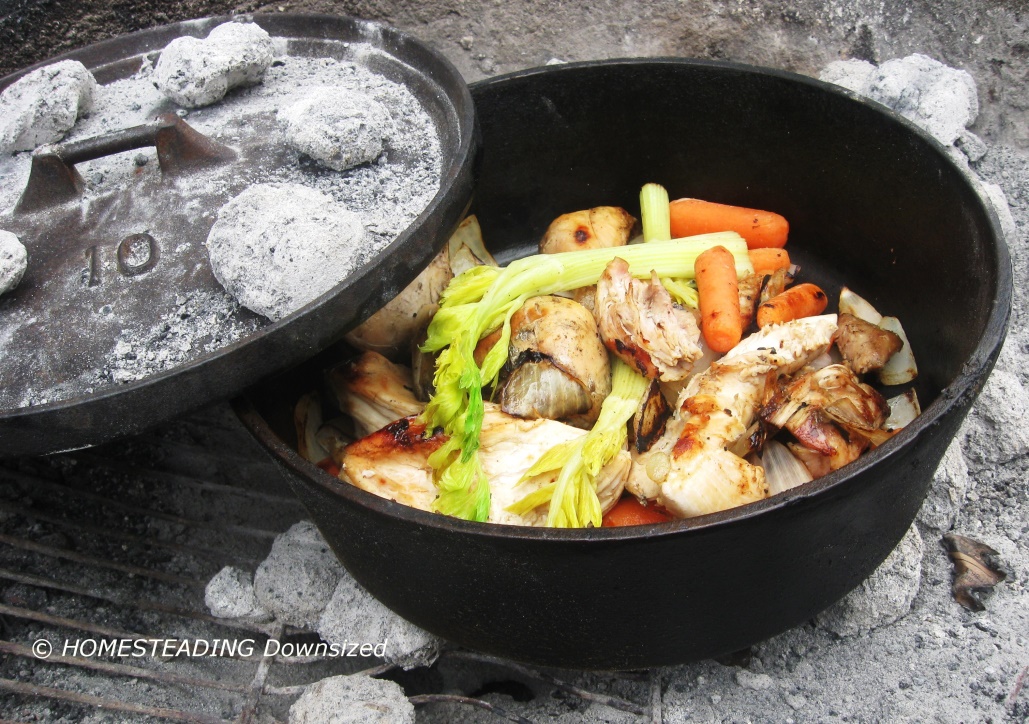
So all this said, let’s look at Dutch oven cooking. What a great way to turn out some one-pan meals without heating up the kitchen (and the house)! There are four different methods of outdoor cooking with a Dutch oven, each achieved by altering the source of heat.
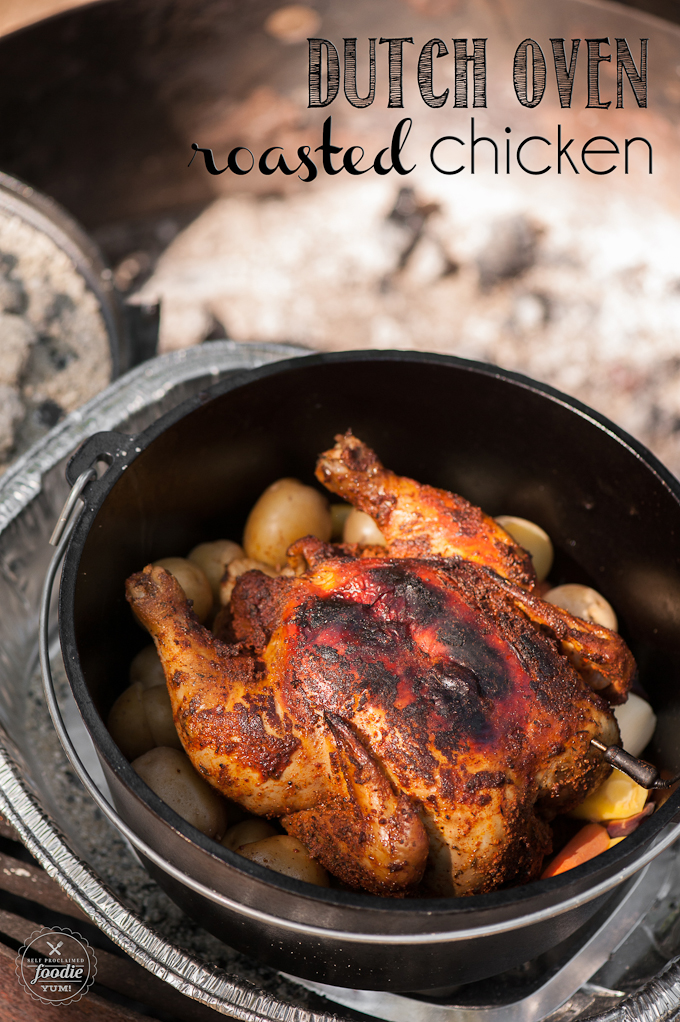
Roasting: With this method, the heat from your coals should come from the top and bottom evenly. Place the same amount of coals on the lid as under the pan. Roasting is best achieved at high temperatures and short cooking times. This seals in the juices of your poultry or meats.
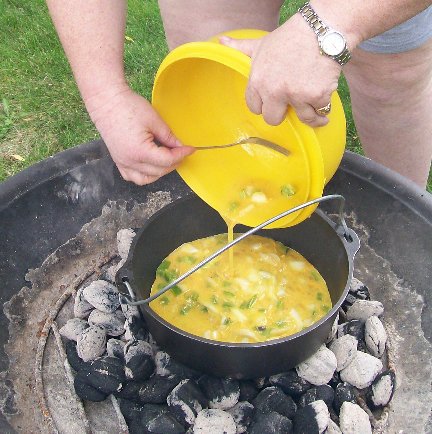
Frying and Boiling: Here, all the heat should come from underneath the pan. The temperature should be high and kept even during the cooking processes.

Simmering and Stewing: This is similar to frying and boiling. Most of the heat should be from the bottom of the pan. The coals should be placed on the lid and underneath the pan in a four to one ratio, with the bulk of the coals underneath the oven. Regulate the heat in stewing and simmering by moving hot coals underneath the pan.
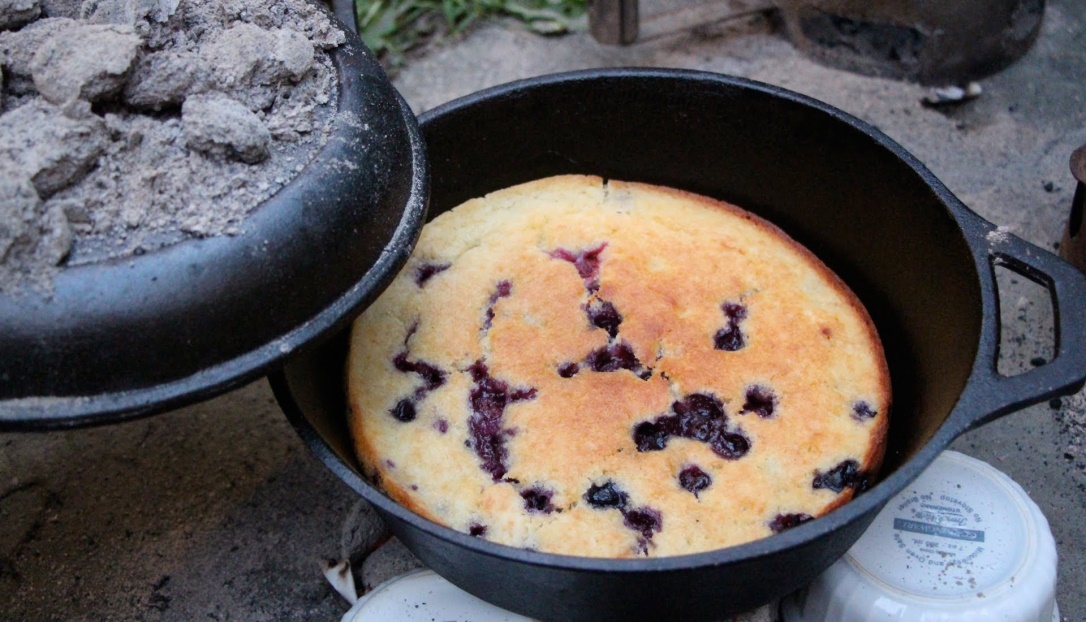
Baking: This technique requires cooking mostly from the top. You should place the coals on the lid and underneath the pan at a three to one ratio, with most of the coals on the lid. You will want to watch baking foods very carefully.
In general, remember not to rush the cooking process. If you allow adequate time for the oven to heat up before adding the food, and keep the coals manipulated to maintain the temperature, you will have great results.
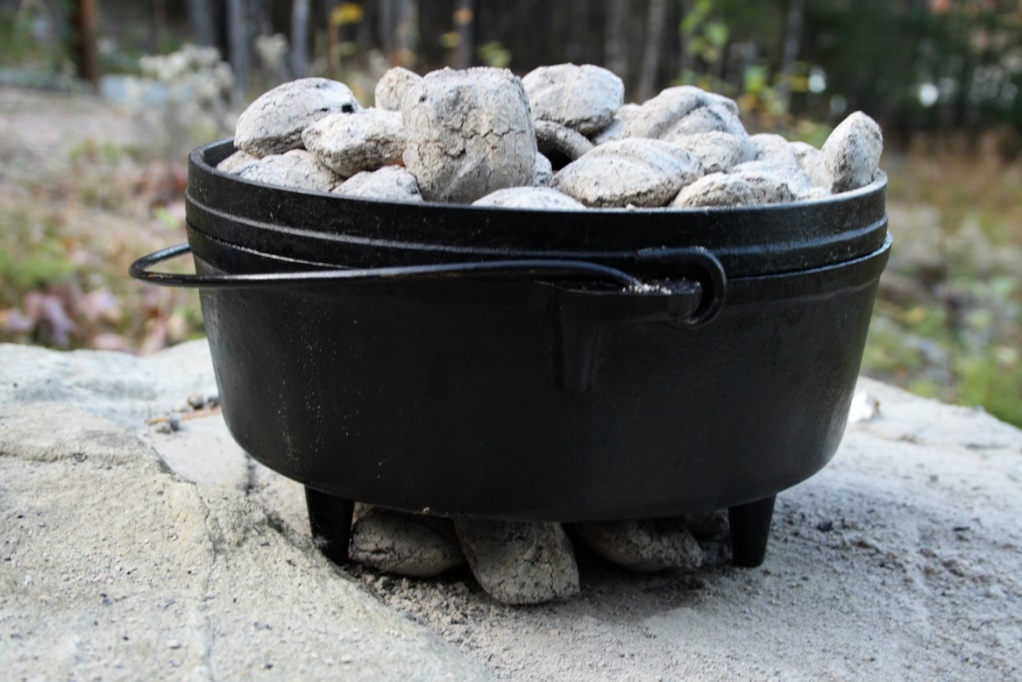
Because most Dutch oven cooking calls for coals to be placed on top of the oven, you want one with a rimmed lid. Your rim keeps all coals securely in place.
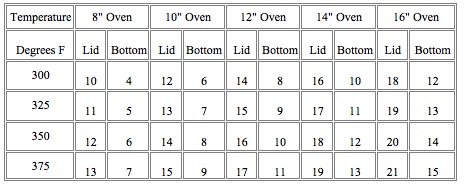
Finally, use only quality charcoal briquettes for consistent temperature control. The chart below shows how many coals to use for a desired temperature. NOTE: Adding one coal to the top and bottom will raise the Dutch oven temperature approximately 25°F. Conversely, removing one from the top and bottom will lower the temperature by 25°F.
In closing, here’s one of the best Dutch oven desserts we’ve ever had. A peach cobbler made easy using a white or yellow cake mix:
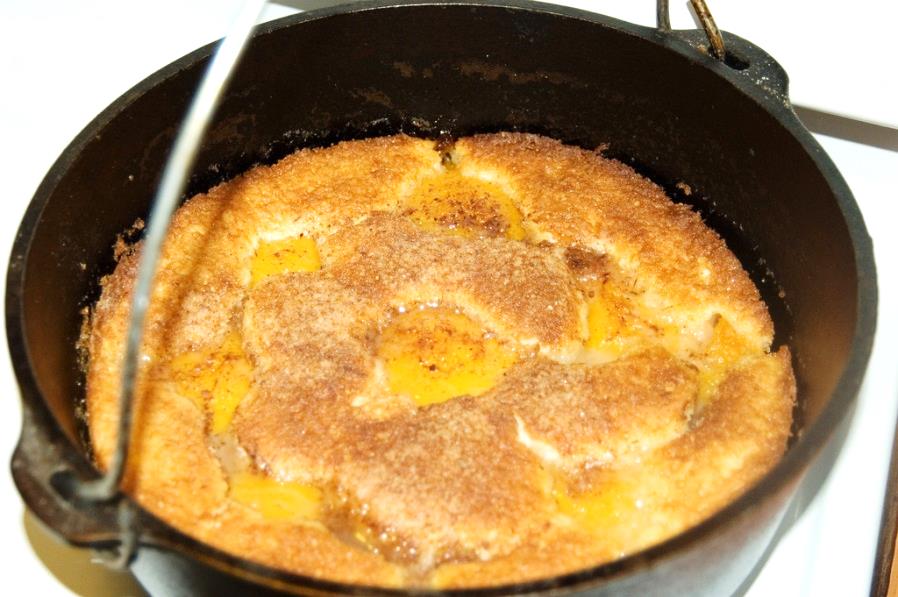
EASY DUTCH OVEN PEACH COBBLER (serves 4 – 6)
2 cans of peaches – homemade canned peaches are even better
½ cup butter
1 vanilla cake mix
Cinnamon to taste
Brown sugar to taste
Vegetable oil
1. Lightly coat the inside of a 12-inch Dutch oven with cooking oil.(Some people use tinfoil to line the Dutch oven to make cleaning easier).
2. Pour entire contents of the 2 cans/bottles of peaches into the Dutch oven
3. Sprinkle the dry vanilla cake mix on top of the peaches
4. Add several pats (thin slices) of butter evenly spaced on the dry cake mix – about 5-6 total
5. Lightly dust the top of the dry cake mix with the cinnamon and brown sugar
Place 8-10 hot briquettes on the bottom of the Dutch oven and 18-20 briquettes on top of the oven. This will create an oven-like cooking environment within the Dutch oven.
Bake cobbler for 38 minutes; check for doneness. If not done, replace lid and recheck again in 7 to 10 minutes. NOTE: Be extra careful that you don’t spill the ashes from the top of the oven when you are checking to see if the cake is done. There is nothing worse than having to dig out ashes from the top of a steaming peach cobbler.
Serve it up with vanilla ice cream or whipping cream. Careful – it will be burning hot!
- www.americanpreppersnetwork.com
- www.walmart.com
- www.homesteadingdownsized.com
- www.offthegridnews.com
- www.selfproclaimedfoodie.com
- www.whatscookingamerican.com
- www.seriouseats.com
- www.youtube.com
- www.meridianmagazine.com
- www.barbequelovers.com
 Alice Osborne
Weekly Newsletter Contributor since 2006
Email the author! alice@dvo.com