NO MORE Sunken Quick Breads!
My hometown paper, the Spokesman Review (Spokane, WA), ran an article back in 2009 on what to do to keep our quick breads from sinking. I saved that timely piece of information because this is a problem I’ve had ever since I started baking.
Can you relate? This is so frustrating, especially if you’re making this bread to give away. Who’s going to give a loaf of sunken bread to someone? We know it still tastes great, but the presentation is less than pretty.
Anyway, I mention this because I need to bring a couple loaves of quick bread to a gathering this Sunday. And to be honest, I’m real nervous about it. So I hauled out my saved newspaper clipping for a refresher course. This is good stuff, so I thought I’d share the article contents with you.
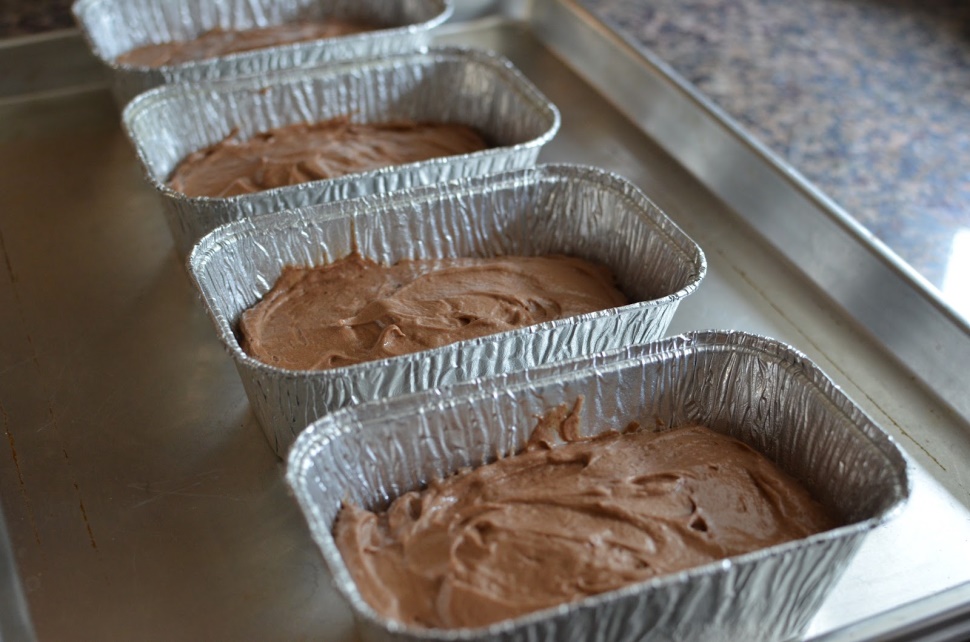
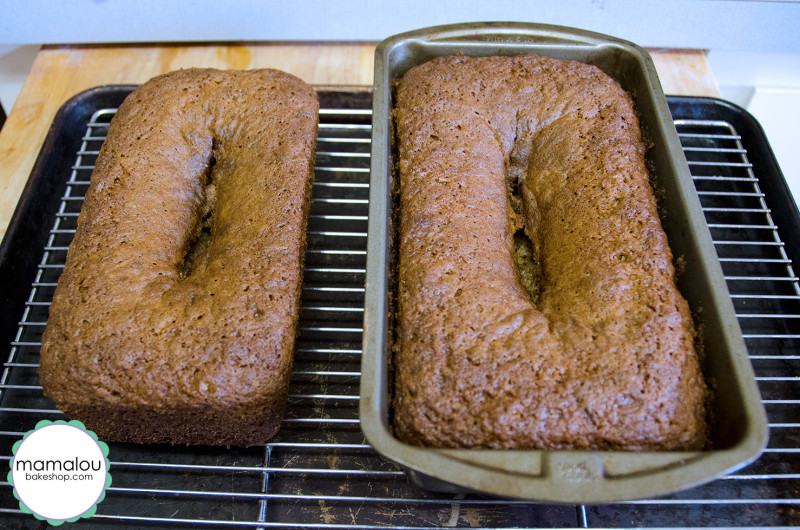
First of all, one of the most common reasons quick breads (and layer cakes as well) sink is that the pan is overfilled. If the batter reaches the top of the pan and still needs to rise, it will collapse. This heavy batter simply needs structure (aka pan sides) so it can keep climbing. The recommendation is to fill your loaf pan only about 2/3 full at most.
It’s also important to check to make sure the leavening (baking soda or baking powder) isn’t stale. Baking soda can be kept for six months and baking powder for one year. Discard after the date printed on the package. I’ve used leavenings that were older than that, but I’m not sure it’s worth the risk—we want not just a tasty, but a lovely finished product, right?
Besides filling your pans correctly and being sure your leavenings are fresh, here are some other crucial TO DOs for perfect quick breads:
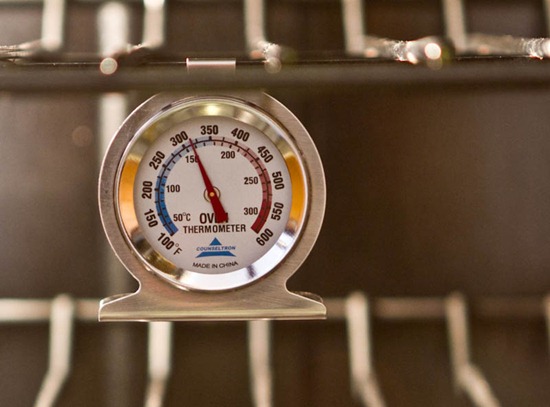
Check oven temperature. You may need to use an oven thermometer to confirm that the actual temperature is close to the recommended temperature. I did this and found my oven off (too hot) by 15°.
Reduce the oven temperature by 25 degrees when using glass pans. Professional bakers all agree on this.
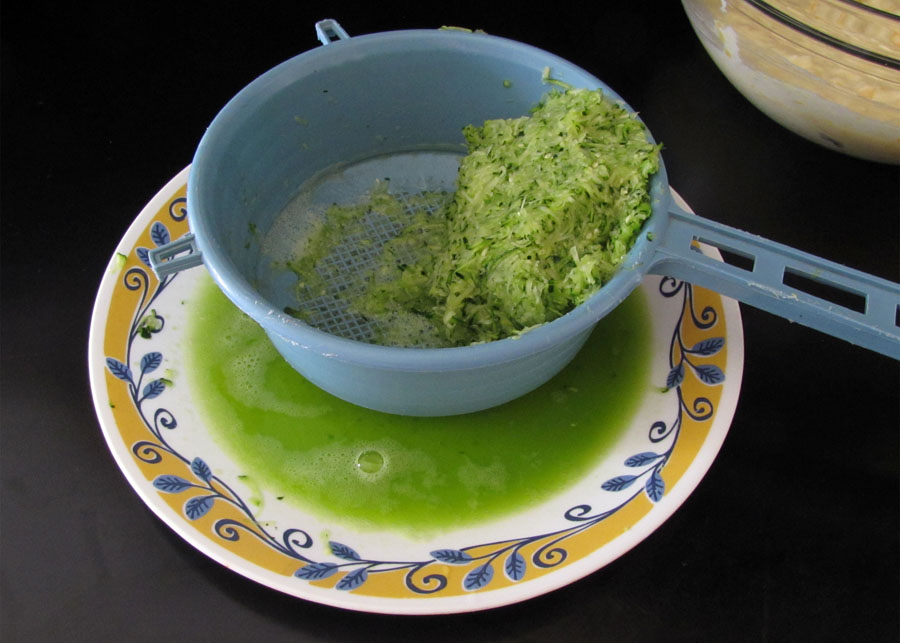
Be sure there isn’t too much liquid in your ingredients. Squeeze excess water from zucchini in several changes of paper towels or allow it to drain in a sieve. Carefully measure rhubarb or bananas to be sure the ratio of wet to dry ingredients is correct.
Then there’s the issue of prepping your pans. The pros say to grease only the bottom of the pans. This will allow the batter to cling to the sides of the pan while rising and form a rounded top.
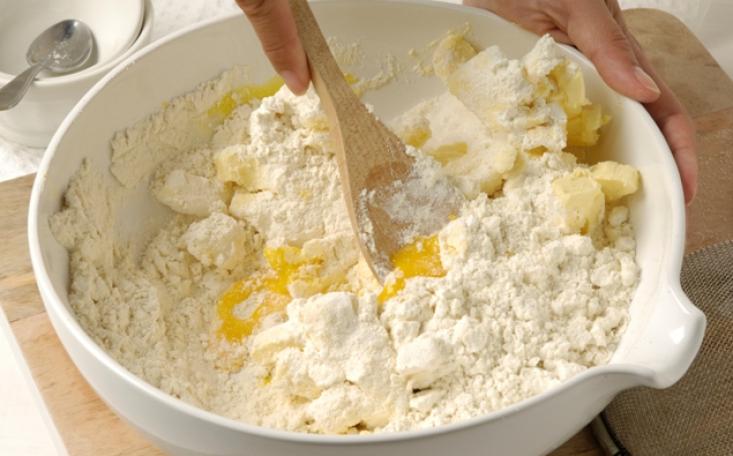
Don’t over-mix the batter. Try mixing quick breads together by hand; most recipes have no need for an electric mixer. Then fold in nuts, dried fruits or other add-ins.
Bake quick breads as soon as the ingredients are assembled and place the loaf pans in the center of the oven for best results.
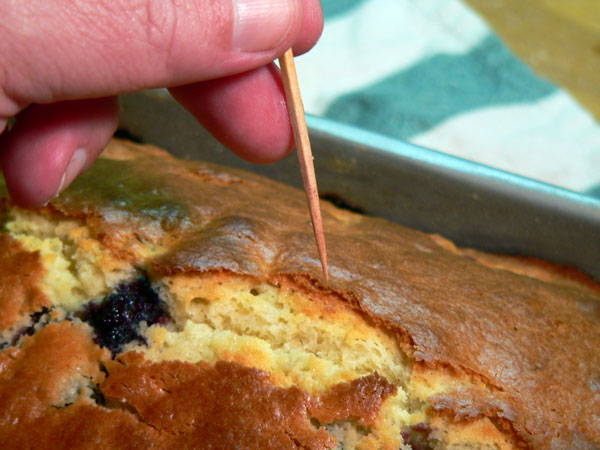
Test breads with a toothpick or skewer. It should come out clean; if it doesn’t or if there appears to be some wet dough at the top of the loaf, continue baking for five to 10 minutes until done.
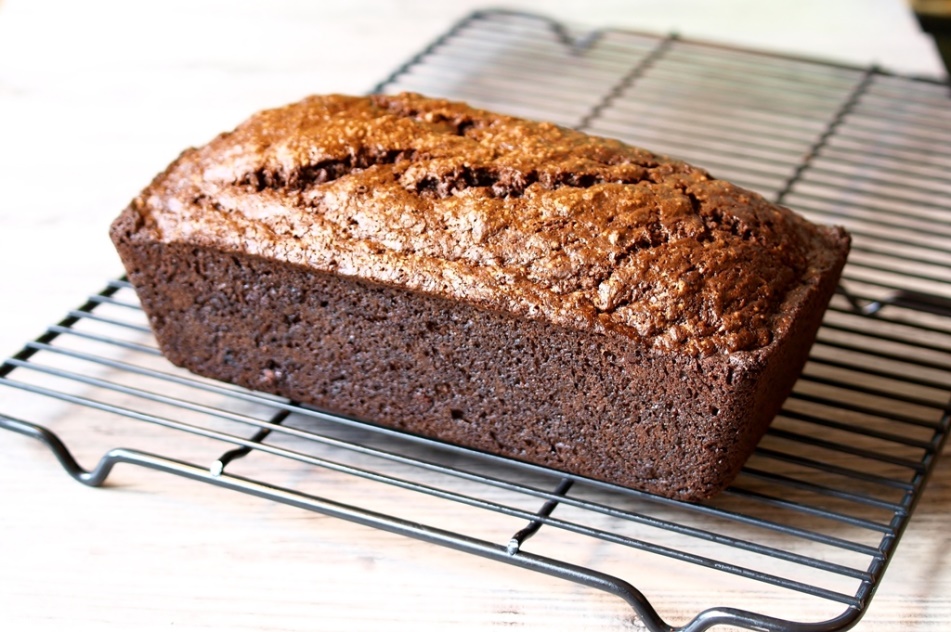
Allow quick breads to cool in the pan for 10 minutes, then remove and cool on a wire rack.
Finally, you know that crack down the center of a rounded bread top? That’s a good thing. A crack down the center is the sign of a good loaf and is caused by steam escaping during baking.
- www.mamaloubakeshop.com
- www.playingwithflour.com
- www.ohsheglows.com
- www.smellslikefoodinhere.blogspot.com
- www.bakewithstork.com
- www.feralkitchen.com
 Alice Osborne
Weekly Newsletter Contributor since 2006
Email the author! alice@dvo.com