How to Cook the Perfect Steak EVERY Time!
Dennis Weaver, Prepared Pantry owner and chief chef (www.preparedpantry.com) was saying the other day that he’d gone to the grocery store in starvation mode and ended up buying lots of sirloin steaks that were on sale for $2 each. He knew they weren’t the best cuts and that they’d be tough, but his hunger drove him to buying them anyway (with the hope that a good steak tenderizer could help).

Just goes to show you how hunger at the grocery store can blot out all common sense. Dennis has always lived by the maxim that “you can’t make a perfect steak with a poor cut of meat.” Anyway, the damage was done. But he thought since he was dealing with meat, he might as well share his tested knowledge on how to cook the perfect steak EVERY time. Here are his 6 steps:
Step 1: (no surprises here): BUY A GOOD CUT OF MEAT! Do you know what a good cut of meat looks like? It has good color, it’s shiny, it has a uniform thickness (for even cooking), and has minimal sinew but with marbling. Dennis suggests you also ask your meat manager about this—he’ll verify and even help pick out what he thinks is the best of the day’s choices.
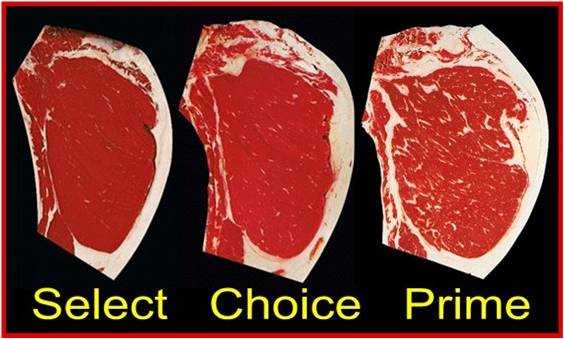
There are eight grades of meat based primarily on marbling and the age of the animal: Prime, choice, select, standard, commercial, utility, cutter, and canner. If you want a good steak, ose one of the first three. Prime is what is used in the rurant trade. You may need to go to a butcher shop to find a prime steak.
Dennis had to admit his $2 cuts didn’t stand a chance, and they’re in the freezer now. They’ll make good stew meat.
Step 2: CHOOSE AND PREPARE THE PAN. One that is large enough just to accommodate the meat without the pieces overlapping. It should be a heavy metal pan that will distribute heat evenly. (Triclad pans distribute heat better than nonstick pans but a nonstick pan will require less fat to keep the steaks from sticking; and pre-seasoned cast iron is great also.) Add enough fat to lightly coat the pan. (Dennis prefers oil because it won’t burn and contribute a distinct taste the way butter does.) If there is enough marbling, it may require no more fat than already exists in the meat.
Step 3: SEASON THE MEAT PROPERLY, before you start cooking. Season with salt and pepper and any spice blends or rubs you enjoy. Doing this before cooking will cause the meat to absorb the flavors more efficiently than seasoning it while it’s cooking.
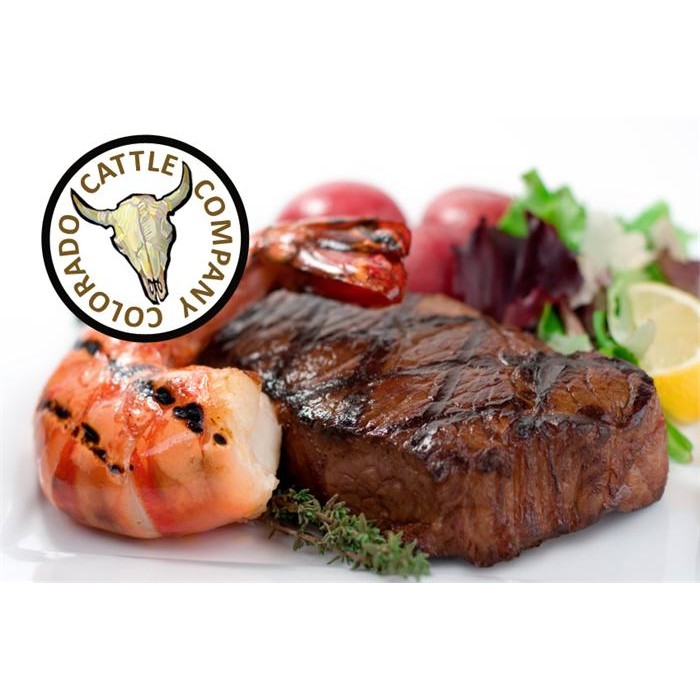
Dennis obviously recommends and uses the spice blends he sells in his store (Gresham & Meyers, Teeny Tiny Spice Company, and Colorado Cattle Company), but he admits though he loves them all, he’s inclined to go with the Colorado Cattle Company blend.
Step 4: PREHEAT THE PAN. Add the meat only after the pan is thoroughly heated. For Dennis, that’s medium high. If you have oil in the pan, heat the oil until the surface ripples and looks hazy. This is a more intense heat than is required for white meats and fish. And don’t let the oil burn.
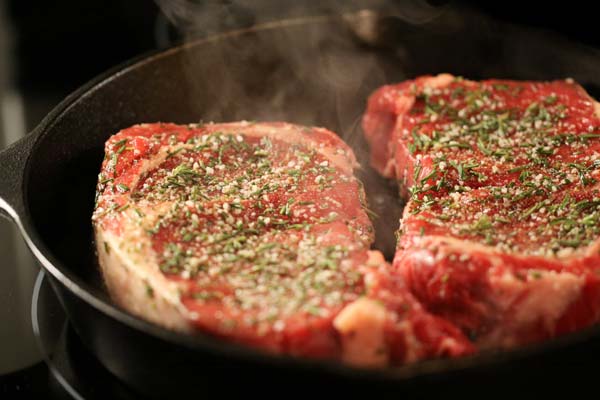
Step 5: COOK THE MEAT PROPERLY. It’s essential to keep the pan hot through the cooking process. A hot pan sears the meat and seals in juices. Cook the meat on one side and then turn the meat to cook the other. Meats should be turned only once. Additional turns cause loss of juice and cause the pan and the meat to lose heat. Because meat will continue cooking after it is removed from the heat, factor in “carryover” time in determining how long the meat should cook.
Step 6: LEARN TO DETERMINE HOW “DONE” A STEAK IS. Professional fry chefs do this with a poke of their finger—they’re cooking hundreds of steaks and they’re in a huge hurry to get meals plated so customers can get their food as quickly as possible. They don’t have the time to stick a meat thermometer into each and every piece of meat they’re cooking. Their rule of thumb: As the meat cooks, it becomes firmer.
But since most of us aren’t cooking for hundreds, we have the time to use a more accurate method. This is with an insta-read thermometer. A medium rare steak shows 130°F to 135°F and should be warm through the middle with a hint of red. And by the way, an insta-read thermometer that you use for baking works just fine for meats.
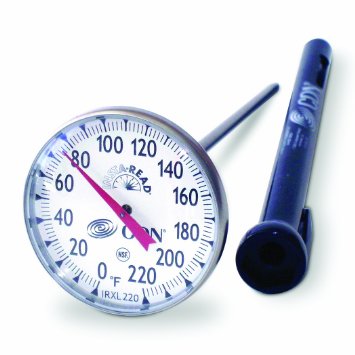
So now that we have the steps to cooking the perfect steak EVERY time, I’ll close with a little information on the perfect thermometer. Dennis and staff spend a lot of time testing them all to be sure they’re selling only the best. His recommendation? The CDN Thermometer ($8.75 on amazon.com). Here’s why:
It’s consistently reliable.It’s calibrated for precision.
It’s accurate within two degrees.
It’s guaranteed for five years.
It can be used for bread, poultry, and meats.
It comes with an advanced owner’s manual.
- www.1fitdad.blogspot.com
- www.beefambassador.com
- www.preparedpantry.com
- www.recipeshubs.com
- www.amazon.com
 Alice Osborne
Weekly Newsletter Contributor since 2006
Email the author! alice@dvo.com