Scanning in Cook’n and a Giveaway!
I can honestly say that I love my Cook’n program, and I’m sure you do too! I also feel like I have barely scratched the surface of everything my Cook’n program can do for me. I’m slowly working on changing that! There are a few features, such as the Snip-it Tool and Search feature that I use all the time, whereas other features I have never even tried!
A perfect example of this is the incredible scanning feature- I have known about this feature since I first installed the program, but I have never used it! I decided it’s time to finally start scanning all my recipes in from the various cookbooks I have acquired. I love searching for recipes on Pinterest, but sometimes it’s nice to stick with a good ol’ tried and true cookbook! And I have so many recipes I’ve collected over the years from church activities, home magazines, etc. They take up so much space and are really not very easy to look through- but that will change once I get them all in Cook’n;).
To start, scan your recipe or take a picture, and save it in a file on your computer. Click on the handy Snip-it tool (the pair of scissors on the toolbar). I usually import recipes from a web page, but this time you are going to import a scanned recipe. Click on the corresponding button (the farthest on the left), and a window will pop up that will allow you to search for your recipe file on your computer. Find the file and click open. Cook’n will then begin importing your recipe. It can take a couple minutes ;).
Once it’s finished, you will see one of two things. Your recipe image on the bottom with a beautiful, easy to snip recipe on top, or your image on the bottom with a whole bunch of jibberish on the top ;). In some cases, this is simply due to the nature of the recipe. If it’s formatted strangely, Cook’n may not be able to import it correctly. You might get a couple sentences that you can copy and paste, but you’ll have to do the rest by hand. However, before you do this, take a look at your image. If it’s sideways or upside down, that could be the problem! To remedy, simply click the Edit Image button underneath all your snip-it tools, and rotate the image so it’s facing the right direction. Save it, and Cook’n will being importing it again. If the recipe is formatted correctly, it should look lot more like English the second time around ;). If not, you can just utilize Cook’n’s awesome auto-fill feature to save you a little time as you put in the recipe by hand;).
So here are the two recipes I tried inporting:

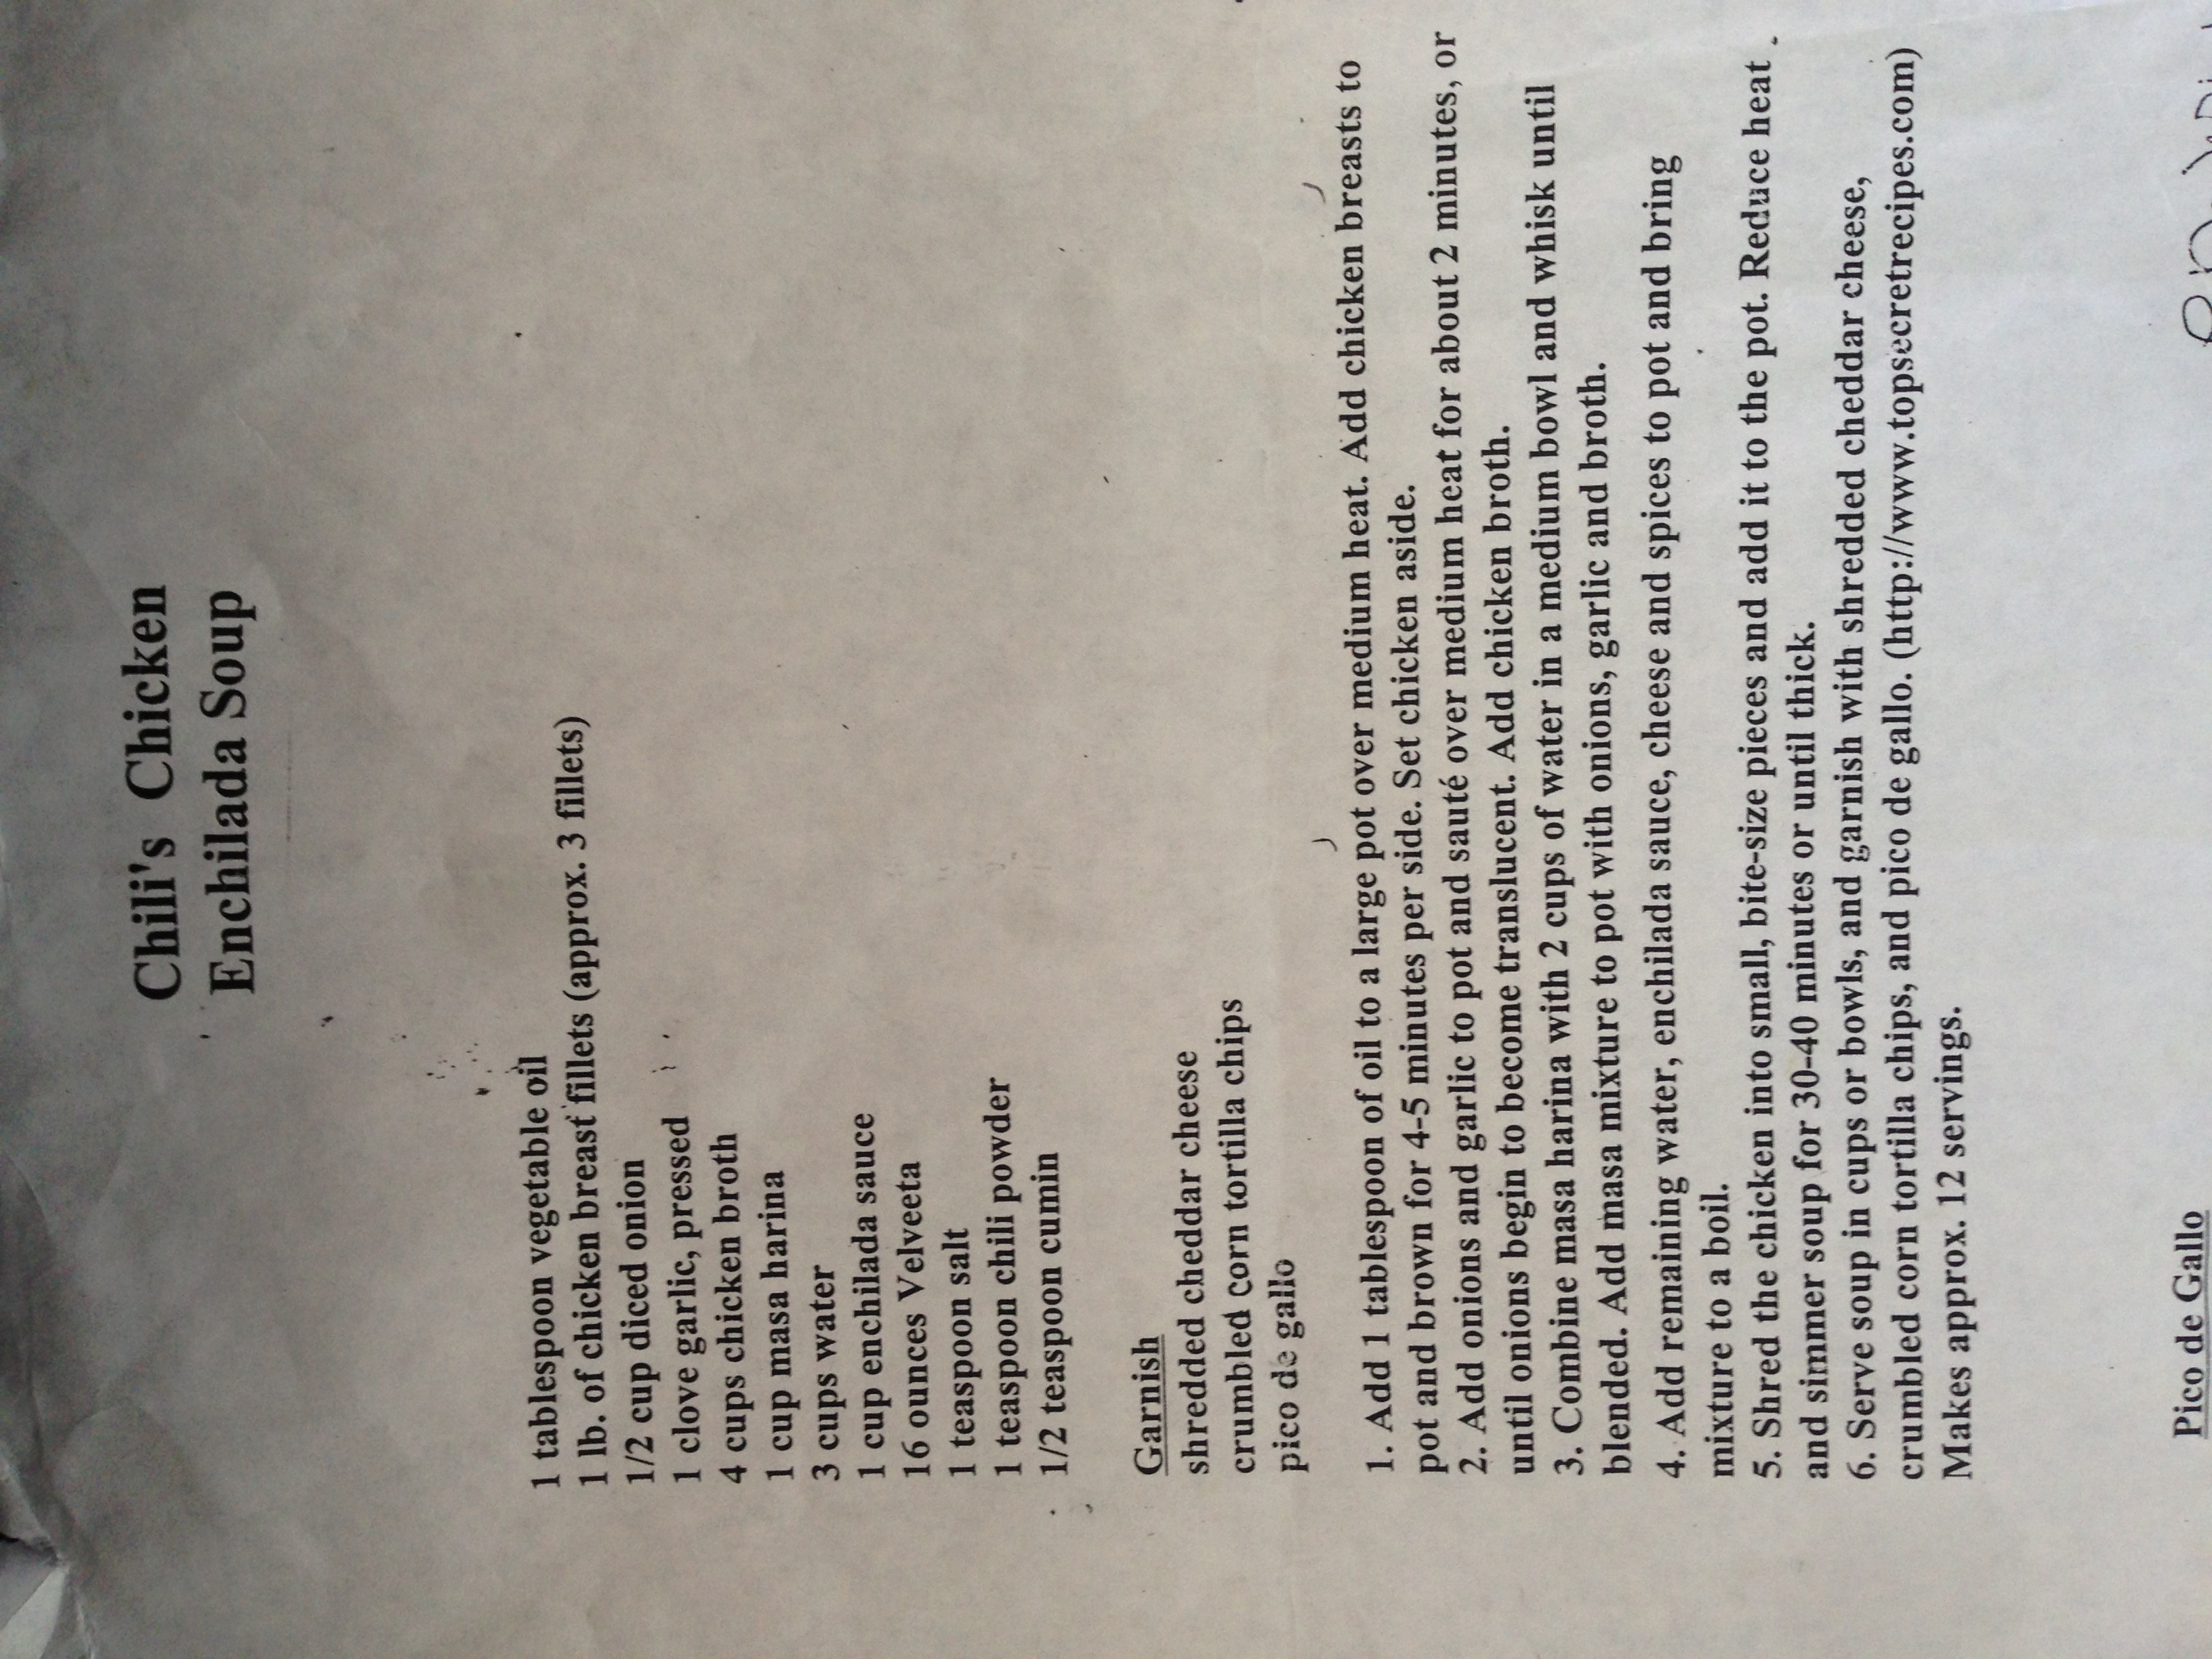
This first image shows a yummy Grilled Taco Chicken recipe (included in my other article!) that I tried to import. However, something about the format just didn’t mesh with Cook’n, so all I could pull up was jibberish! However, the second image shows a delicious copycat recipe of Chili’s Chicken Enchilada Soup, and that imported almost perfectly! (There were a couple of words I had to edit, but that’s pretty typical ;) ). I think Cook’n struggles with columns ;). But there’s no harm in trying your recipes, if they don’t work, it doesn’t take too long to put it in by hand, and if it does work- well, you just saved a whole bunch of time!
If you’re still not comfortable with trying it, or if you are more visual and need a demonstration, check out the link below! Dan has a great tutorial- he talks all about the scanning feature starting at about 6:30.
I really want to hear from you guys. And since my birthday is coming up, I thought we should do a giveaway! Because who doesn’t like presents ;). To enter the giveaway for a FREE cookbook, simply leave a comment below and tell me 2 things: First, what is your favorite feature of Cook’n? And second, what is one feature you don’t understand and want to learn more about, or what is a feature you wish Cook’n had? I’d love to hear your feedback!
 Camille Hoffmann
Weekly Newsletter Contributor since 2014
Email the author! camille@dvo.com