The 10 Secrets to Perfect Homemade Doughnuts
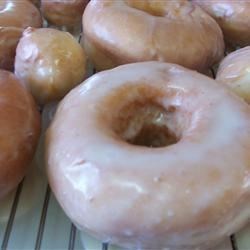
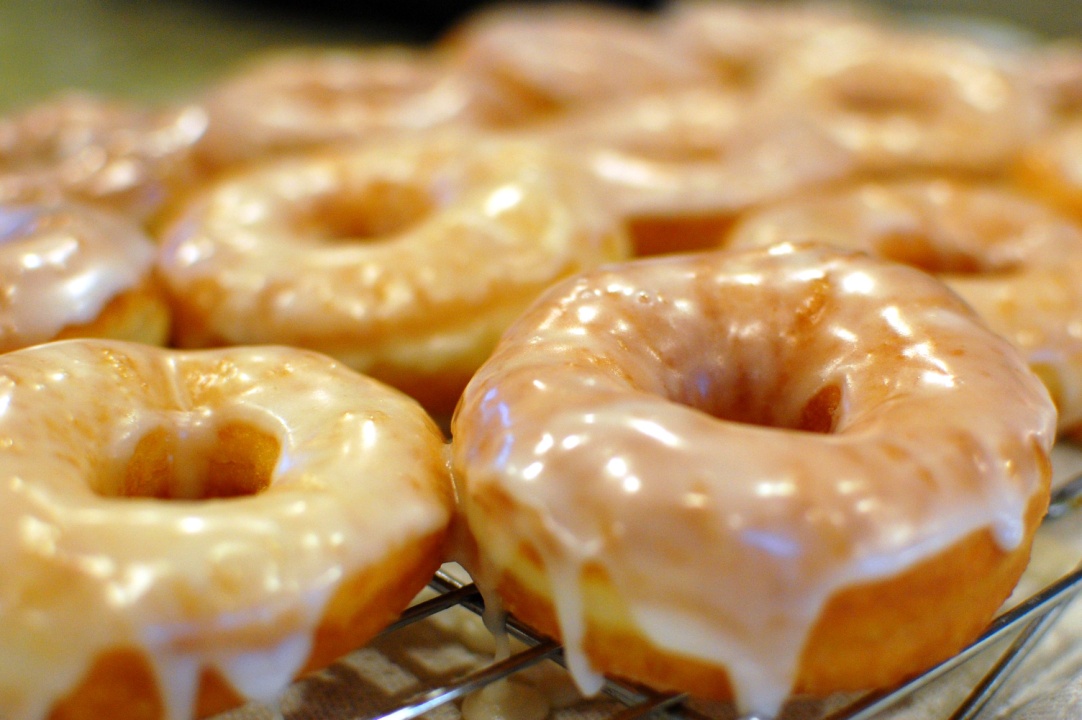
At our house, fall means homemade doughnuts. Just the thought of them, with their slightly crisp outer layers and delicately soft insides, makes the mouth water in anticipation of that chewy, sweet goodness.
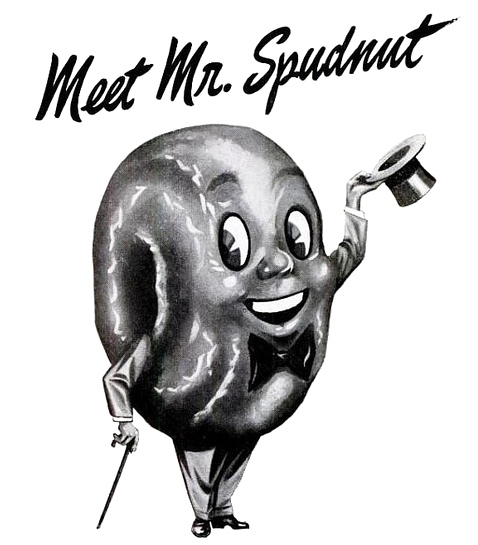
I was raised on them and with them. My mother and father owned and operated a Spudnut Shop in Ellensburg, Washington, and we lived in the apartment behind the shop. Thanks to this superb upbringing, I am definitely a doughnut connoisseur. But I have to admit, turning out an excellent homemade doughnut isn’t as easy as my folks made it look.
In fact, the whole thing can be intimidating. But with these 8 secrets to making the perfect homemade doughnut, fear can turn to confidence. Here’s what to do or not to do:
Tip #1 – Use Mashed Potatoes. Using just a small amount of mashed potatoes, about 1/3 cup of potatoes completely mashed, can give you a fluffier texture to the inside of your doughnuts. (Hence the name SPUDnuts.)
Tip #2 - Use Proper Dough Development and Proofing Techniques. Make sure that your procedures include the following:
Stir active dry yeast into warm water to dissolve and activate. Yeast should show some bubbling after 5 minutes. Combine wet and dry ingredients in mixer bowl. Mix dough with a kneading hook for approximately 10-15 minutes at LOW speed. The final dough should be soft, smooth and elastic. If the dough is too tough, increase mix time and add small amounts of water. Allow dough to rise, covered, until doubled or tripled in size, approximately 1 ½ hours – 2 hours.
When lightly touched, a properly proofed dough retains an impression formed by the finger but does not collapse. A young or under-proofed dough is tough, elastic and springy, and retains no impression when touched. An old or over-proofed dough retains the impression of the finger and may even collapse.
Roll dough out onto a lightly floured surface, and cut into donut shapes. Let donuts rise, covered loosely, until doubled in size. Carefully fry a few donuts at a time in hot oil, (365-375°F) turning over when underside is light brown. Remove and cool slightly before glazing or icing.
Tip #3 – Don’t Over Mix. If making cake doughnut, there should be significantly less mixing than with yeast doughnuts. Cake doughnuts only need to be mixed until the ingredients are consistently combined. Yeast doughnut recipes often call for mixing the combined dough for five full minutes. Be sure you know which kind of doughnut you’re making so you mix for the right amount of time.
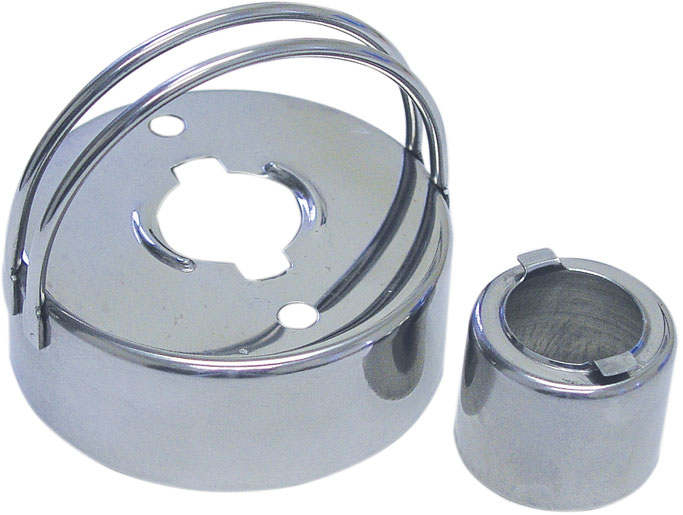
Tip #4 – Use the Right Cutters. Cutting this dough can be tricky, but using the right utensil can help you get perfectly cut doughnuts every time. Simple round cutters offer the easiest option for cutting your doughnuts.
You’ll want to use two different sizes: a 2½-inch round cutter for the main cut and then a 1-inch cutter for the holes. To prevent the dough from sticking to the cutter, dip the cutter in flour after every couple of cuts.
Tip #5 – Use Fresh Oil. There’s not much that tastes nastier than a doughnut fried in old or rancid oil. This is not the place to go cheap. I know it takes a lot of oil to fry doughnuts, and I know it’s expensive. But please don’t keep re-using the same oil (even though you strain it before storing). Two homemade doughnut-making adventures is about max for a batch of oil (unless you’re making them every other day or so).
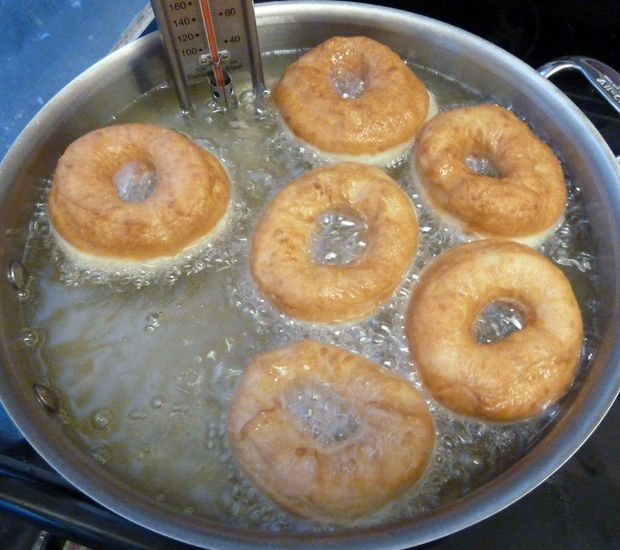
Tip #6 – Maintain the Right Frying Temperature. This is crucial, and is where doughnuts go wrong for most folks. Doughnuts are often added to the oil when it’s too hot, resulting in overdone doughnuts, or when it’s too cool, and then you get oily doughnuts. Your thermometer may be your most valuable tool when making your doughnuts.
The ideal temperature for frying is 360°F. When your oil reaches this temperature, you’re ready to fry. It’s also crucial to let your oil reach the same temperature after each batch, as adding the doughnuts will bring the temperature down.
Tip #7 – Keep Pre-fried Dough Cool. Don’t let your uncooked doughnuts get too warm. It’s best to keep them away from the oven and away from the fryer. Heat can ruin the dough before you even get a chance to fry it.
Tip #8 – Use Chopsticks. Chopsticks make the ultimate tool for flipping doughnuts in hot oil. You get to keep your hands far enough away from the hot oil to avoid getting burns and they make it easy to flip them.
Tip #9 – Use a Wire Strainer. Doughnuts fried at the right temperature for the right amount of time don’t actually absorb a large amount of oil and you want to keep them from absorbing oil after they’re cooked. Use a wire strainer to pull them out of the oil and let them drain off excess oil for a few seconds before transferring to a paper towel-lined cooling rack.
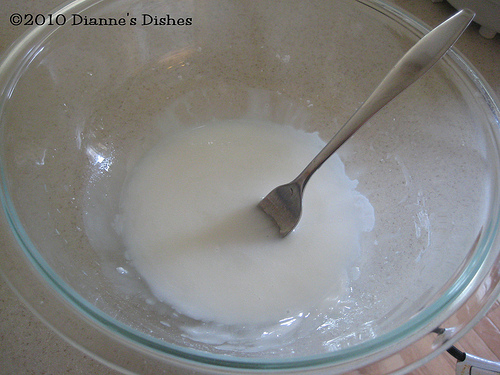
Tip #10 – Glaze and Ice Correctly. Glazing correctly is as important to the success of your doughnuts as the other factors. When making glaze or icing, add your liquid to the powered sugar in very small amounts to avoid making a glaze that’s too runny.
The perfect glaze or icing dimples and slightly cracks when touched. To get this, add just a pinch of powdered egg whites and cornstarch to your glaze. You’ll get that beautiful glossy glow of those tempting doughnuts sitting in the doughnut shop display window.
For sugared doughnuts, you’ve got to work FAST. Roll them in your sugar quickly after they’re fried, otherwise the sugar won’t adhere as well.
I’ve made wonderful doughnuts by myself, but it’s much easier and more fun when you have a buddy to help. One person frying and one person glazing/icing/sugaring is perfect. And if you can bring in a 3rd person to move the finished product to your cooling racks, that’s even better.
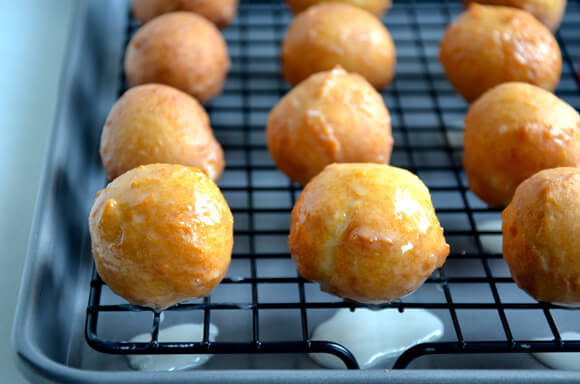
Finally, two things: 1) Don’t forget the doughnut holes! And 2), stay with it. If your doughnuts don’t turn out just right the first time, practice, practice, and practice some more. You’ll start to understand how to get them just right as you get used to making them more frequently. This is one treat that’s worth the time and effort to perfect!
BEST HOMEMADE DOUGHNUTS
½ cup warm water (100-110°F)
2 (.25 ounce) packages active dry yeast
1 teaspoon sugar
¾ cup milk, lukewarm
½ cup melted butter
¼ cup sugar
1 teaspoon salt
2 eggs
4 cups sifted all-purpose flour
2 quarts canola oil for frying
GLAZE
1 tablespoon warm water
¾ teaspoon vanilla extract
1 cup powdered sugar, sifted
Pour 1/2 cup of warm water into a small bowl, and stir in the yeast and 1 teaspoon of sugar. Allow the yeast mixture to stand until it forms a creamy foam layer on top, 5 to 10 minutes.
Place milk and vegetable shortening into a small saucepan over medium-low heat and cook until the shortening has melted and the milk has tiny bubbles around the edge. Remove from heat.
Place 1/4 cup of sugar and the salt into the work bowl of a large stand mixer and pour the milk and shortening into the bowl. Mix on low speed just to dissolve sugar; and allow mixture to stand until warm.
Beat in the yeast mixture, eggs, and 1 cup of flour on low speed until smooth. Gradually beat in remaining flour to make a soft dough.
Continue beating the dough on low speed until dough leaves the sides of the bowl, 2 to 3 minutes.
Turn the dough out onto a well-floured work surface and knead until smooth and elastic, 2 or 3 more minutes.
Form the dough into a ball and place into a large greased bowl. Grease the top of the dough, and cover the bowl with waxed paper. Set the bowl into a warm place; let the dough rise until doubled in size, 1 to 1 1/2 hours.
Punch down the dough and roll out on a floured work surface to 1/2 inch thick. Cut doughnuts out of the dough with a 3 1/2-inch round doughnut cutter with a 1-inch smaller cutter in the center. Let the doughnuts rise on the work surface until very light and fluffy, 40 minutes to 1 hour.
Heat oil in a deep-fryer or large saucepan to 350 degrees F (175 degrees C).
Gently pick up and drop the doughnuts into the hot oil, working in small batches of 2 or 3 at a time, and cook until the doughnuts are light golden brown, turning once, about 2 minutes.
Drain the doughnuts on paper towels to absorb oil.
Glaze
In a bowl, mix 1 tablespoon of warm water and vanilla extract, and stir in the confectioners' sugar. Dip each warm doughnut in glaze.
- www.allrecipes.com
- www.danielebrady.blogspot.com
- www.instructables.com
- www.cookiecutter.com
- www.diannesdishes.com
- www.justataste.com
- www.brit.co
 Alice Osborne
Weekly Newsletter Contributor since 2006
Email the author! alice@dvo.com