Drying Home-Grown Herbs Means Superior Flavor!
It’s fun and smart to grow your own herbs. And if you’ve been engaged in this delightful activity, you’ve probably had an abundance, as August is typically the time of year that they reach their peak.

And now as garden season will start to decline in a few weeks, (or if you’ve become attached to a seasonal herb you’d like to have all year round), you may want to consider drying them.
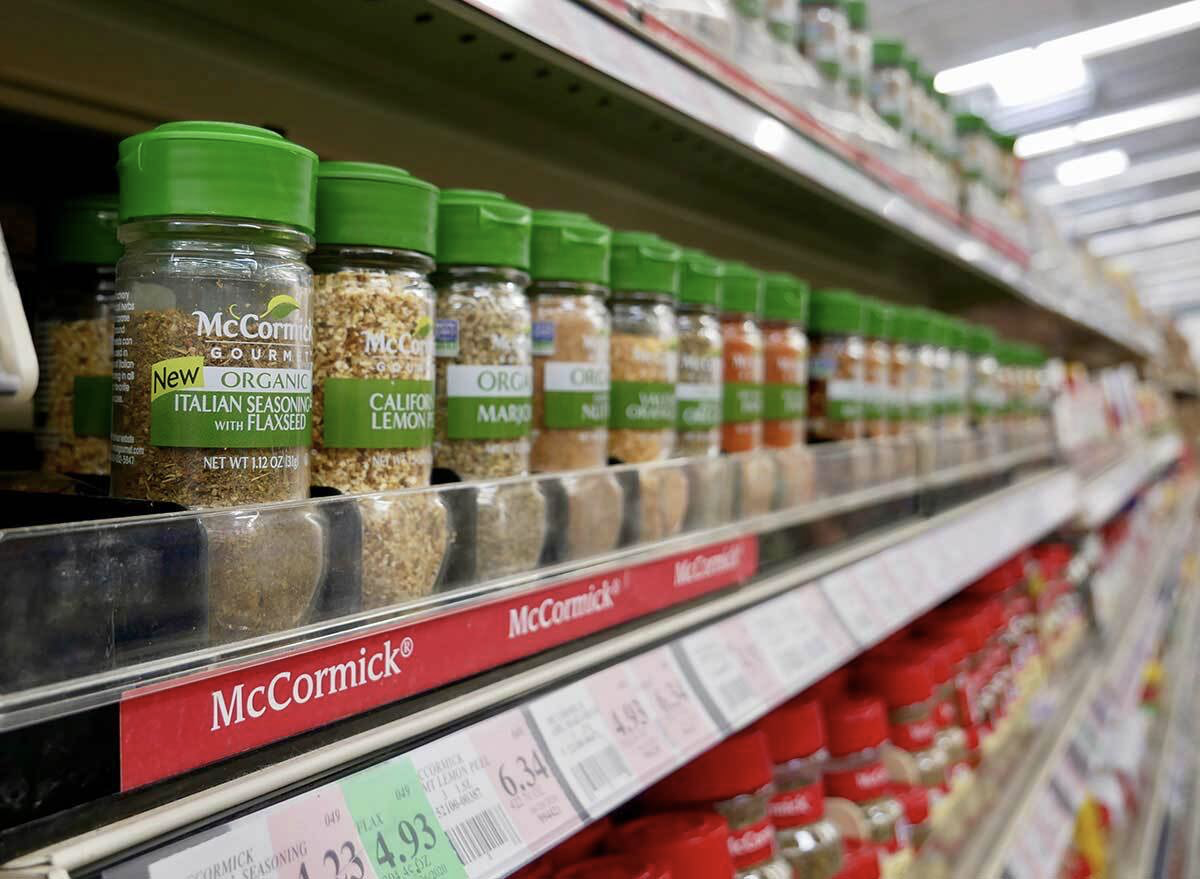
While drying does change the flavor, it’s not necessarily for the worse. And remember, flavor-change or not, you can count on your own air-dried herbs always being superior to the dried herbs you get in the store.
So, if you’re interested in preserving what you’ve been growing, here are 4 tried-and-true tips to air-drying your herbal crop:
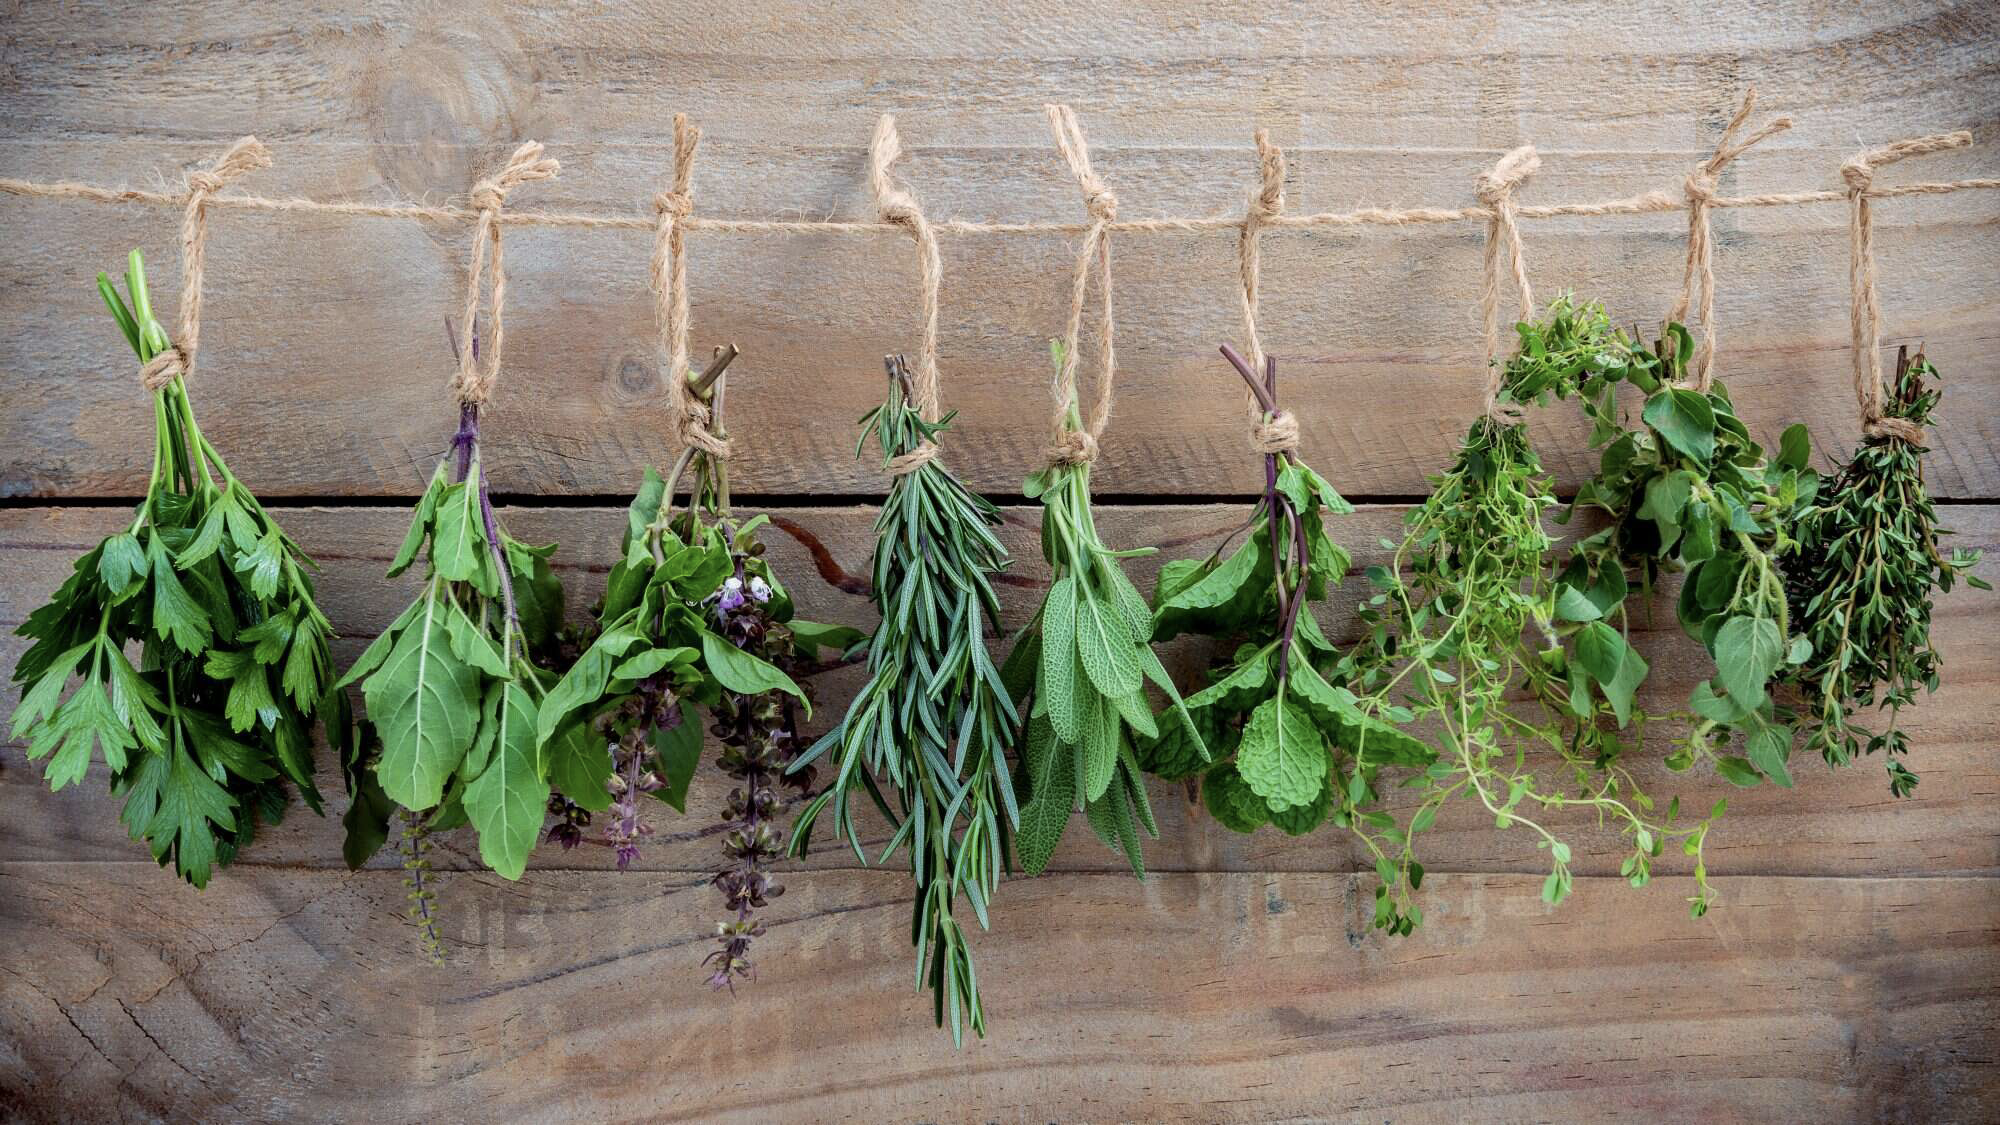
First, you may need to remove any leaves at the bottom of the stems, then use a twist-tie or rubber band to bundle your stalks together. There’s a rule-of-thumb here: You don’t want to bundle more than five or 10 stems (depending on how dense the leaves at the top are) to ensure they dry properly.
Second, hang them upside-down in a dark, dry, warm (well-ventilated, not humid) location. It's best to keep them in a place that's out of the way of foot traffic (hung up high if possible) to ensure they aren't disturbed or destroyed while they're drying.
If you don't have a place in your home that's dark enough, you can place each bundle upside down in a brown paper bag, piercing them with holes so air can get to the herbs. This is actually a smart thing to do, as bagging them also keeps them dust free.
Third, allow them to dry for one to three weeks or until they crumble easily between your fingers.
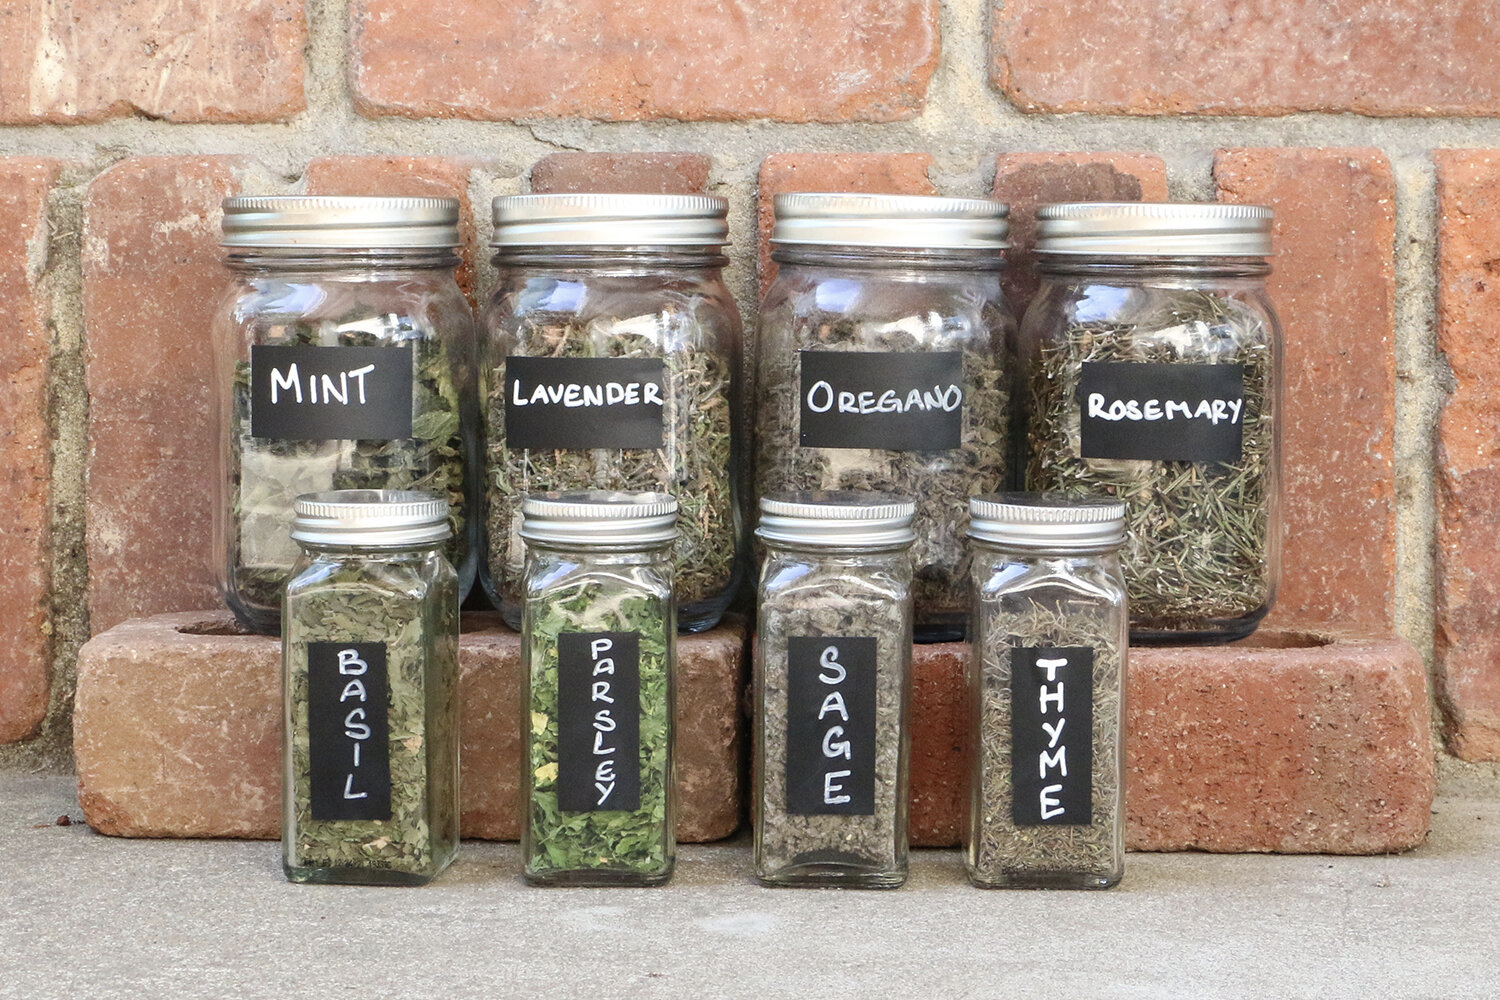
Finally, fourth, once they're fully dried, it’s time to store them. If desired, crumble or crush them. You can place them in air-tight jars, but my favorite storage method is to use vacuum-sealed bags, which really locks in the flavor and protects what delicate oils are still intact.
Dried herbs will keep for around six months, depending on the herb. But that's about as long as you should keep most store-bought herbs, so no difference there, EXCEPT for superior flavor!
I’ll close this little tutorial with the answer to a question I’ve had: Can pesto be made from DRIED basil? Now I know fresh basil is the very best for pesto, but what if you don’t have access to it? After lots of research on the subject, here’s the overall consensus from several sites: YES, you sure can make it from dried basil. Some pros call it “pantry pesto.”
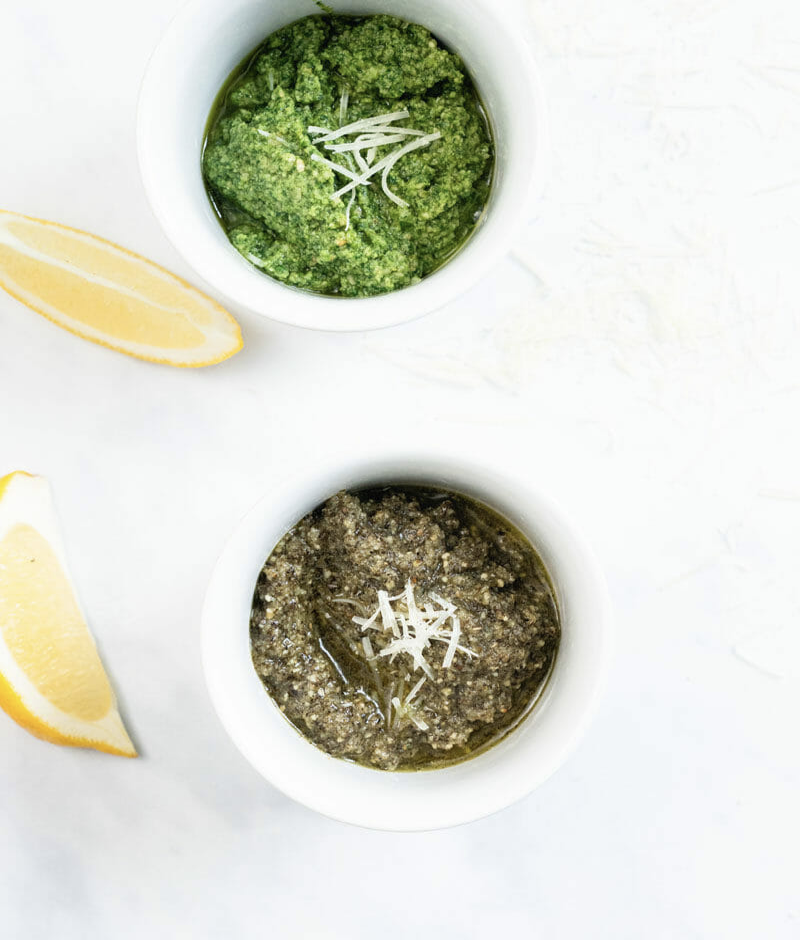
While the color isn’t the same, and the flavor isn’t quite as bright as it would be with fresh basil, it’s still very good. So don’t hesitate to try this recipe if a time comes that fresh isn’t in your reach. The secret, however, is to be sure you can find as fresh a bottle of dried basil as you can. This isn’t going to work with basil that’s been lingering in the back of your cupboard for two years.
This recipe is from Sonja and Alex Overhiser of www.acouplecooks.com. We thank them for sharing!
1/4 cup raw, unsalted cashew nuts or pine nuts, or walnuts
1/4 cup shredded Parmesan cheese
1 clove medium garlic peeled
3 tablespoons dried basil
1 tablespoon fresh lemon juice
1/8 teaspoon kosher salt
6 tablespoons extra virgin olive oil
Directions:
Add Recipe to Cook'n
And now as garden season will start to decline in a few weeks, (or if you’ve become attached to a seasonal herb you’d like to have all year round), you may want to consider drying them.
While drying does change the flavor, it’s not necessarily for the worse. And remember, flavor-change or not, you can count on your own air-dried herbs always being superior to the dried herbs you get in the store.
So, if you’re interested in preserving what you’ve been growing, here are 4 tried-and-true tips to air-drying your herbal crop:
First, you may need to remove any leaves at the bottom of the stems, then use a twist-tie or rubber band to bundle your stalks together. There’s a rule-of-thumb here: You don’t want to bundle more than five or 10 stems (depending on how dense the leaves at the top are) to ensure they dry properly.
Second, hang them upside-down in a dark, dry, warm (well-ventilated, not humid) location. It's best to keep them in a place that's out of the way of foot traffic (hung up high if possible) to ensure they aren't disturbed or destroyed while they're drying.
If you don't have a place in your home that's dark enough, you can place each bundle upside down in a brown paper bag, piercing them with holes so air can get to the herbs. This is actually a smart thing to do, as bagging them also keeps them dust free.
Third, allow them to dry for one to three weeks or until they crumble easily between your fingers.
Finally, fourth, once they're fully dried, it’s time to store them. If desired, crumble or crush them. You can place them in air-tight jars, but my favorite storage method is to use vacuum-sealed bags, which really locks in the flavor and protects what delicate oils are still intact.
Dried herbs will keep for around six months, depending on the herb. But that's about as long as you should keep most store-bought herbs, so no difference there, EXCEPT for superior flavor!
I’ll close this little tutorial with the answer to a question I’ve had: Can pesto be made from DRIED basil? Now I know fresh basil is the very best for pesto, but what if you don’t have access to it? After lots of research on the subject, here’s the overall consensus from several sites: YES, you sure can make it from dried basil. Some pros call it “pantry pesto.”
While the color isn’t the same, and the flavor isn’t quite as bright as it would be with fresh basil, it’s still very good. So don’t hesitate to try this recipe if a time comes that fresh isn’t in your reach. The secret, however, is to be sure you can find as fresh a bottle of dried basil as you can. This isn’t going to work with basil that’s been lingering in the back of your cupboard for two years.
This recipe is from Sonja and Alex Overhiser of www.acouplecooks.com. We thank them for sharing!
Best Dried Basil Pesto
Ingredients:
1/4 cup raw, unsalted cashew nuts or pine nuts, or walnuts
1/4 cup shredded Parmesan cheese
1 clove medium garlic peeled
3 tablespoons dried basil
1 tablespoon fresh lemon juice
1/8 teaspoon kosher salt
6 tablespoons extra virgin olive oil
Directions:
1. In a food processor, place all ingredients but the olive oil. Blend for a few seconds until fully combined.
2. With the food processor on, add the olive oil in a steady stream. Continue to blend until combined and a thick sauce forms. Store 1 week in the refrigerator or several months frozen.
2. With the food processor on, add the olive oil in a steady stream. Continue to blend until combined and a thick sauce forms. Store 1 week in the refrigerator or several months frozen.
Recipe formatted with the Cook'n Recipe Software from DVO Enterprises.
 Alice Osborne
Weekly Newsletter Contributor since 2006
Email the author! alice@dvo.com