How to Make the Very Best Buttered Popcorn
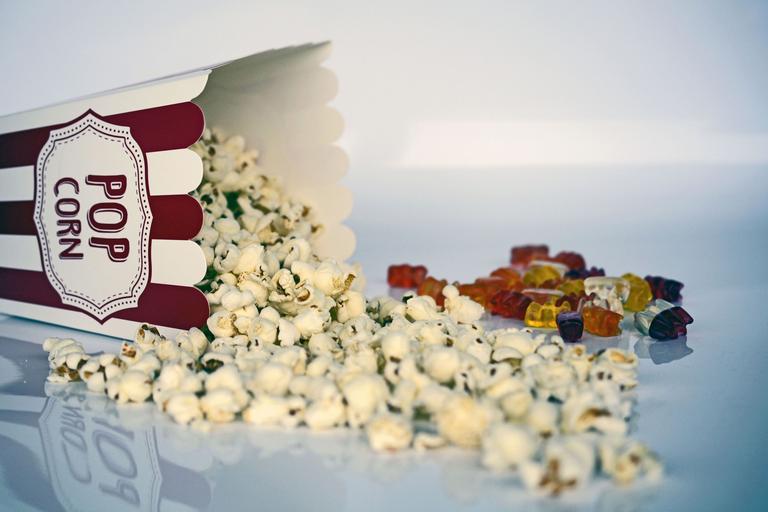
We are a popcorn obsessed family! One thing we did staying home so much together this year was watching all the Marvel movies in order. As much as the kids loved the action movies, I think they were most excited about the popcorn and whatever mix-ins they would be adding that time.
I gave up microwave popcorn years ago, and switched to making it with a bit of oil and salt on the stove in a big pot. That was very delicious, but sometimes I found it quite time consuming and switched to an air popper. We have loved using that the last couple years and had no complaints. I didn’t think I could possibly love popcorn more, but then we recently got the Whirley pop.
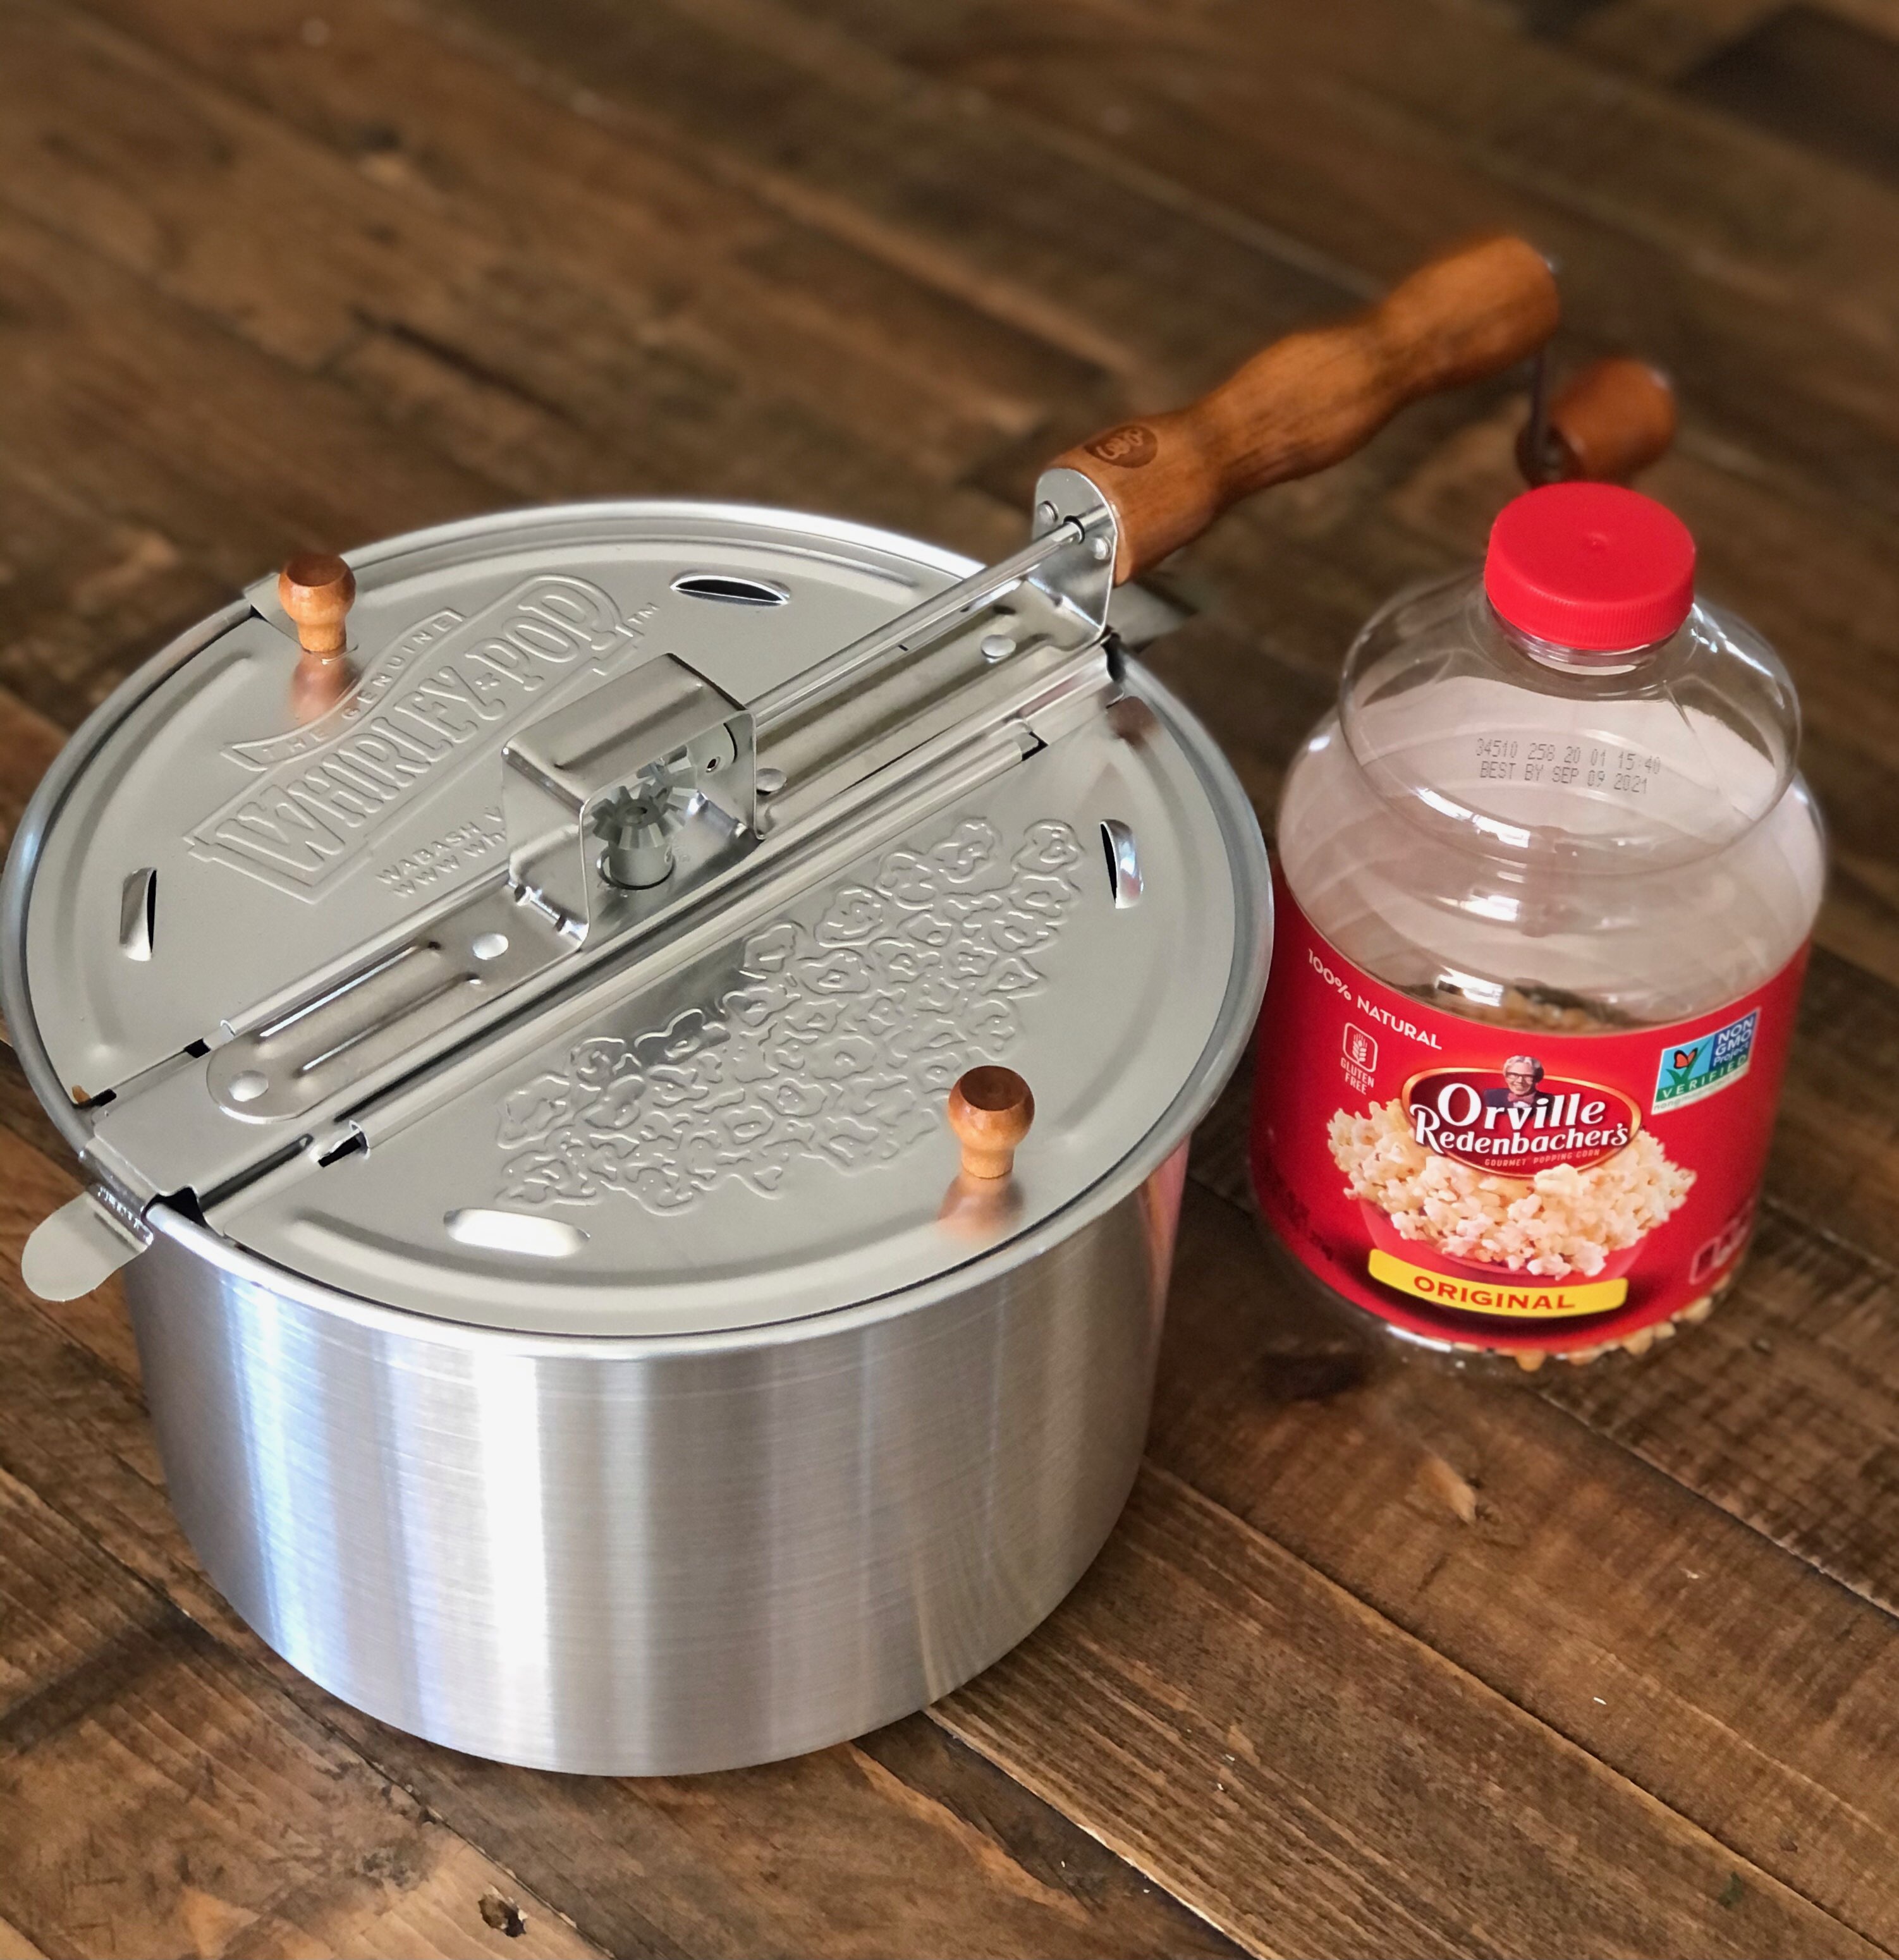
It is just a simple, thin aluminum pot that has a lid that opens up on both sides, vents on top for the steam to escape, and a wooden crank handle to keep the kernels moving the whole time. You just add a bit of oil and your popcorn kernels, turn the heat on and keep cranking the handle until the popping stops. It only takes about 3 minutes from start to finish to have a big bowl of delicious, crispy popcorn.
I do feel that the Whirley pop keeps the kernels crispier than the air popper--I can tell since I was using the same exact popcorn kernels and brand between the two batches. They highly recommend you let the popcorn sit for at least one minute before you add anything to season it so it really dries out and retains its crispiness.
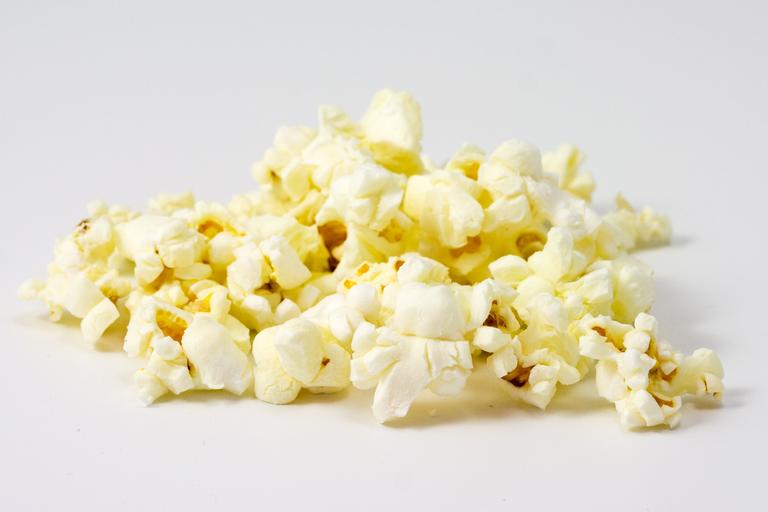
After making so much popcorn in the last few months, I really wanted to find out how to make the very best buttered popcorn, without it getting soggy. I used to just melt the butter in the microwave and pour it over it with no qualms. I have since learned the secret to how you can completely eliminate the sogginess when making your own buttered popcorn by taking an extra step when melting the butter.
Make Clarified Butter For Your Popcorn.
To make a big batch of popcorn that’s enough for 4 to 6 people, add two sticks of butter in a small saucepan and bring them to a boil over medium heat. Once the butter starts to boil, it will start to foam. With a large spoon, start skimming the foam off the butter and set aside. It helps to tip your pot forward ever so slightly. This pushes all the foam to the top and makes it extra easy to skim. After the foam is removed, you are left with the pure yellow, clarified butter. Since the milk fats are removed, you can actually now cook with it without worrying that it will burn. Clarified butter has a much higher smoking point at 400 degrees F, so you can use it for all sorts of things.
If you want to pop your popcorn in a big pot over the stove like I used to, you can actually use this clarified butter for your cooking oil and you’ll have the butter flavor popped right into each kernel.
Alternatively, you can make your popcorn with an air popper or Whirley pop and use this clarified butter to drizzle over the popcorn . Another key item that makes the very best popcorn is actually using popcorn salt. This is extra fine salt and so it gets evenly distributed to each kernel, rather than having a bunch of salt grains at the bottom of your bowl.
I don’t like the idea of these milk fats going to waste, so here are a couple ideas I have learned from reader comments on how to use these extra milk fats from making ghee or clarified butter:
I gave up microwave popcorn years ago, and switched to making it with a bit of oil and salt on the stove in a big pot. That was very delicious, but sometimes I found it quite time consuming and switched to an air popper. We have loved using that the last couple years and had no complaints. I didn’t think I could possibly love popcorn more, but then we recently got the Whirley pop.
It is just a simple, thin aluminum pot that has a lid that opens up on both sides, vents on top for the steam to escape, and a wooden crank handle to keep the kernels moving the whole time. You just add a bit of oil and your popcorn kernels, turn the heat on and keep cranking the handle until the popping stops. It only takes about 3 minutes from start to finish to have a big bowl of delicious, crispy popcorn.
I do feel that the Whirley pop keeps the kernels crispier than the air popper--I can tell since I was using the same exact popcorn kernels and brand between the two batches. They highly recommend you let the popcorn sit for at least one minute before you add anything to season it so it really dries out and retains its crispiness.
After making so much popcorn in the last few months, I really wanted to find out how to make the very best buttered popcorn, without it getting soggy. I used to just melt the butter in the microwave and pour it over it with no qualms. I have since learned the secret to how you can completely eliminate the sogginess when making your own buttered popcorn by taking an extra step when melting the butter.
Make Clarified Butter For Your Popcorn.
To make a big batch of popcorn that’s enough for 4 to 6 people, add two sticks of butter in a small saucepan and bring them to a boil over medium heat. Once the butter starts to boil, it will start to foam. With a large spoon, start skimming the foam off the butter and set aside. It helps to tip your pot forward ever so slightly. This pushes all the foam to the top and makes it extra easy to skim. After the foam is removed, you are left with the pure yellow, clarified butter. Since the milk fats are removed, you can actually now cook with it without worrying that it will burn. Clarified butter has a much higher smoking point at 400 degrees F, so you can use it for all sorts of things.
If you want to pop your popcorn in a big pot over the stove like I used to, you can actually use this clarified butter for your cooking oil and you’ll have the butter flavor popped right into each kernel.
Alternatively, you can make your popcorn with an air popper or Whirley pop and use this clarified butter to drizzle over the popcorn . Another key item that makes the very best popcorn is actually using popcorn salt. This is extra fine salt and so it gets evenly distributed to each kernel, rather than having a bunch of salt grains at the bottom of your bowl.
I don’t like the idea of these milk fats going to waste, so here are a couple ideas I have learned from reader comments on how to use these extra milk fats from making ghee or clarified butter:
- Let them brown up a bit in the bottom of the pan and use them on top of grilled or steamed vegetables.
- Drizzle on soup just before serving.
- Spread them on top of freshly baked bread.
- Add to mashed potatoes.
Sources:
blog comments powered by Disqus
- www.snappygoat.com
- www.tablespoon.com
 Mary Richardson
Weekly Newsletter Contributor since 2014
Email the author! mary@dvo.com