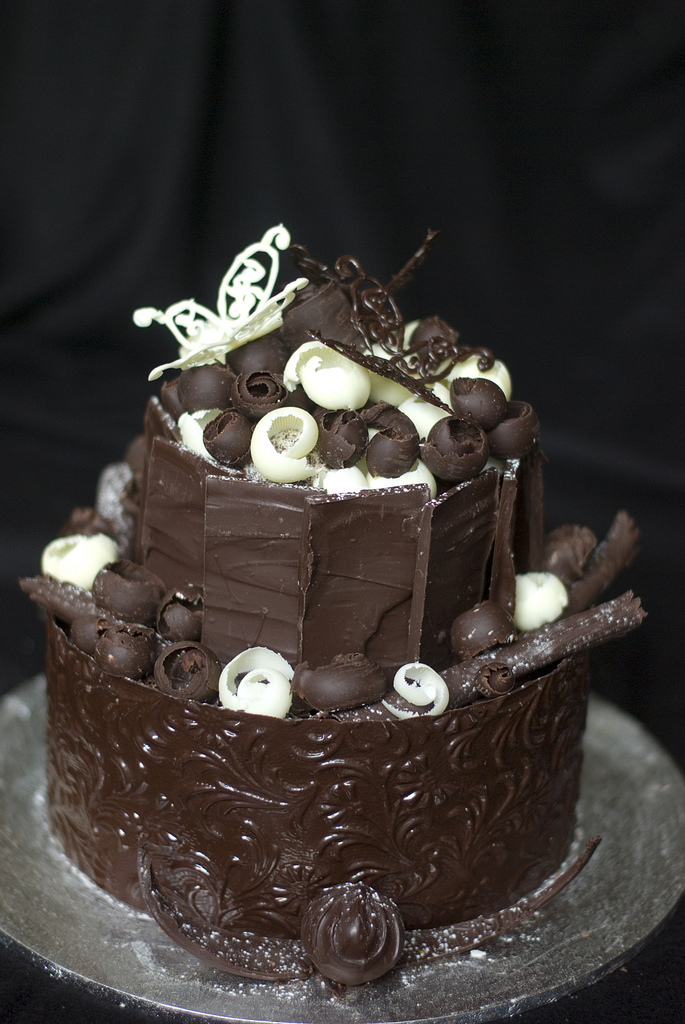
These Chocolate Butterflies Will Take Any Dessert From Boring to Beautiful!
We just celebrated my daughter’s 5th birthday, and if you haven’t been around any little 5 year old girls lately- basically they love all things glittery and sparkly and pink and purple and beautiful and girly- like butterflies! Originally I was planning on making a butterfly-shaped cake for my daughter’s birthday, but we saw these adorable chocolate butterflies on Pinterest and my daughter immediately fell in love, so I thought we’d give it a shot- and they were SO FUN to make!
These are definitely a little intense- especially if you don’t love detail work! But if you can get past that- these are fun and SO CUTE! Plus, everyone will be super impressed with your mad chocolate designing skills and you’ll get a billion compliments ;).
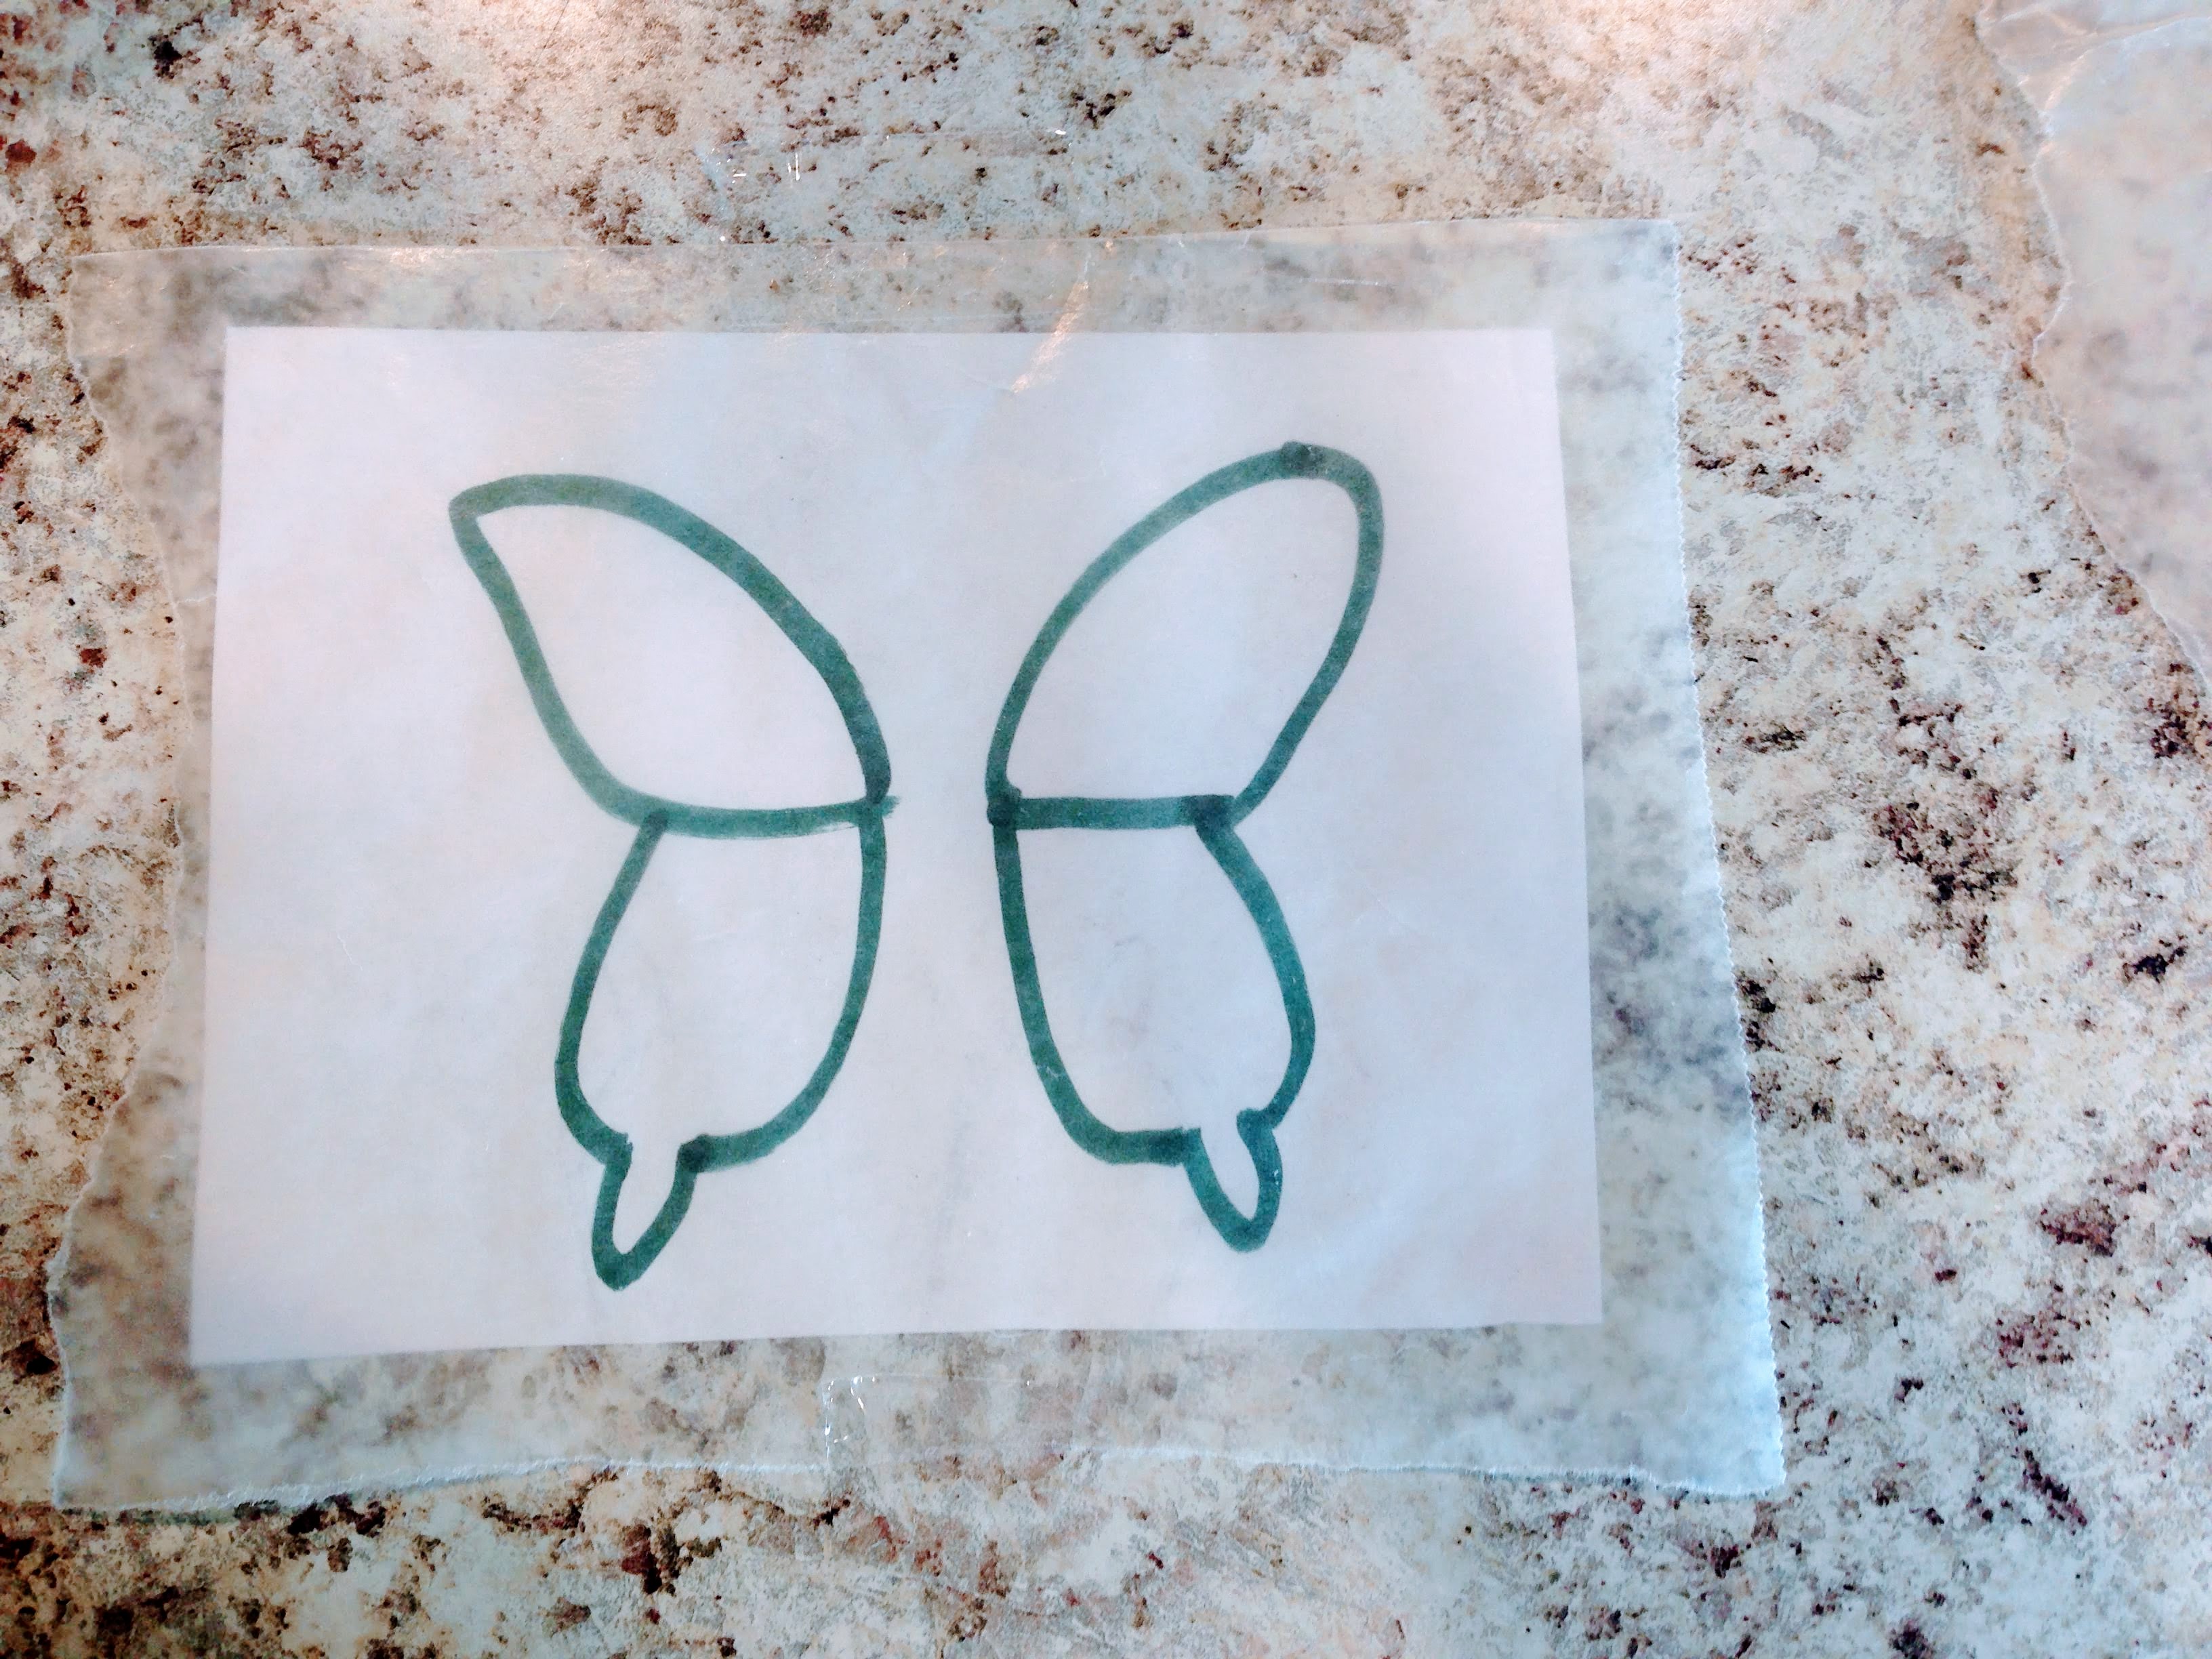
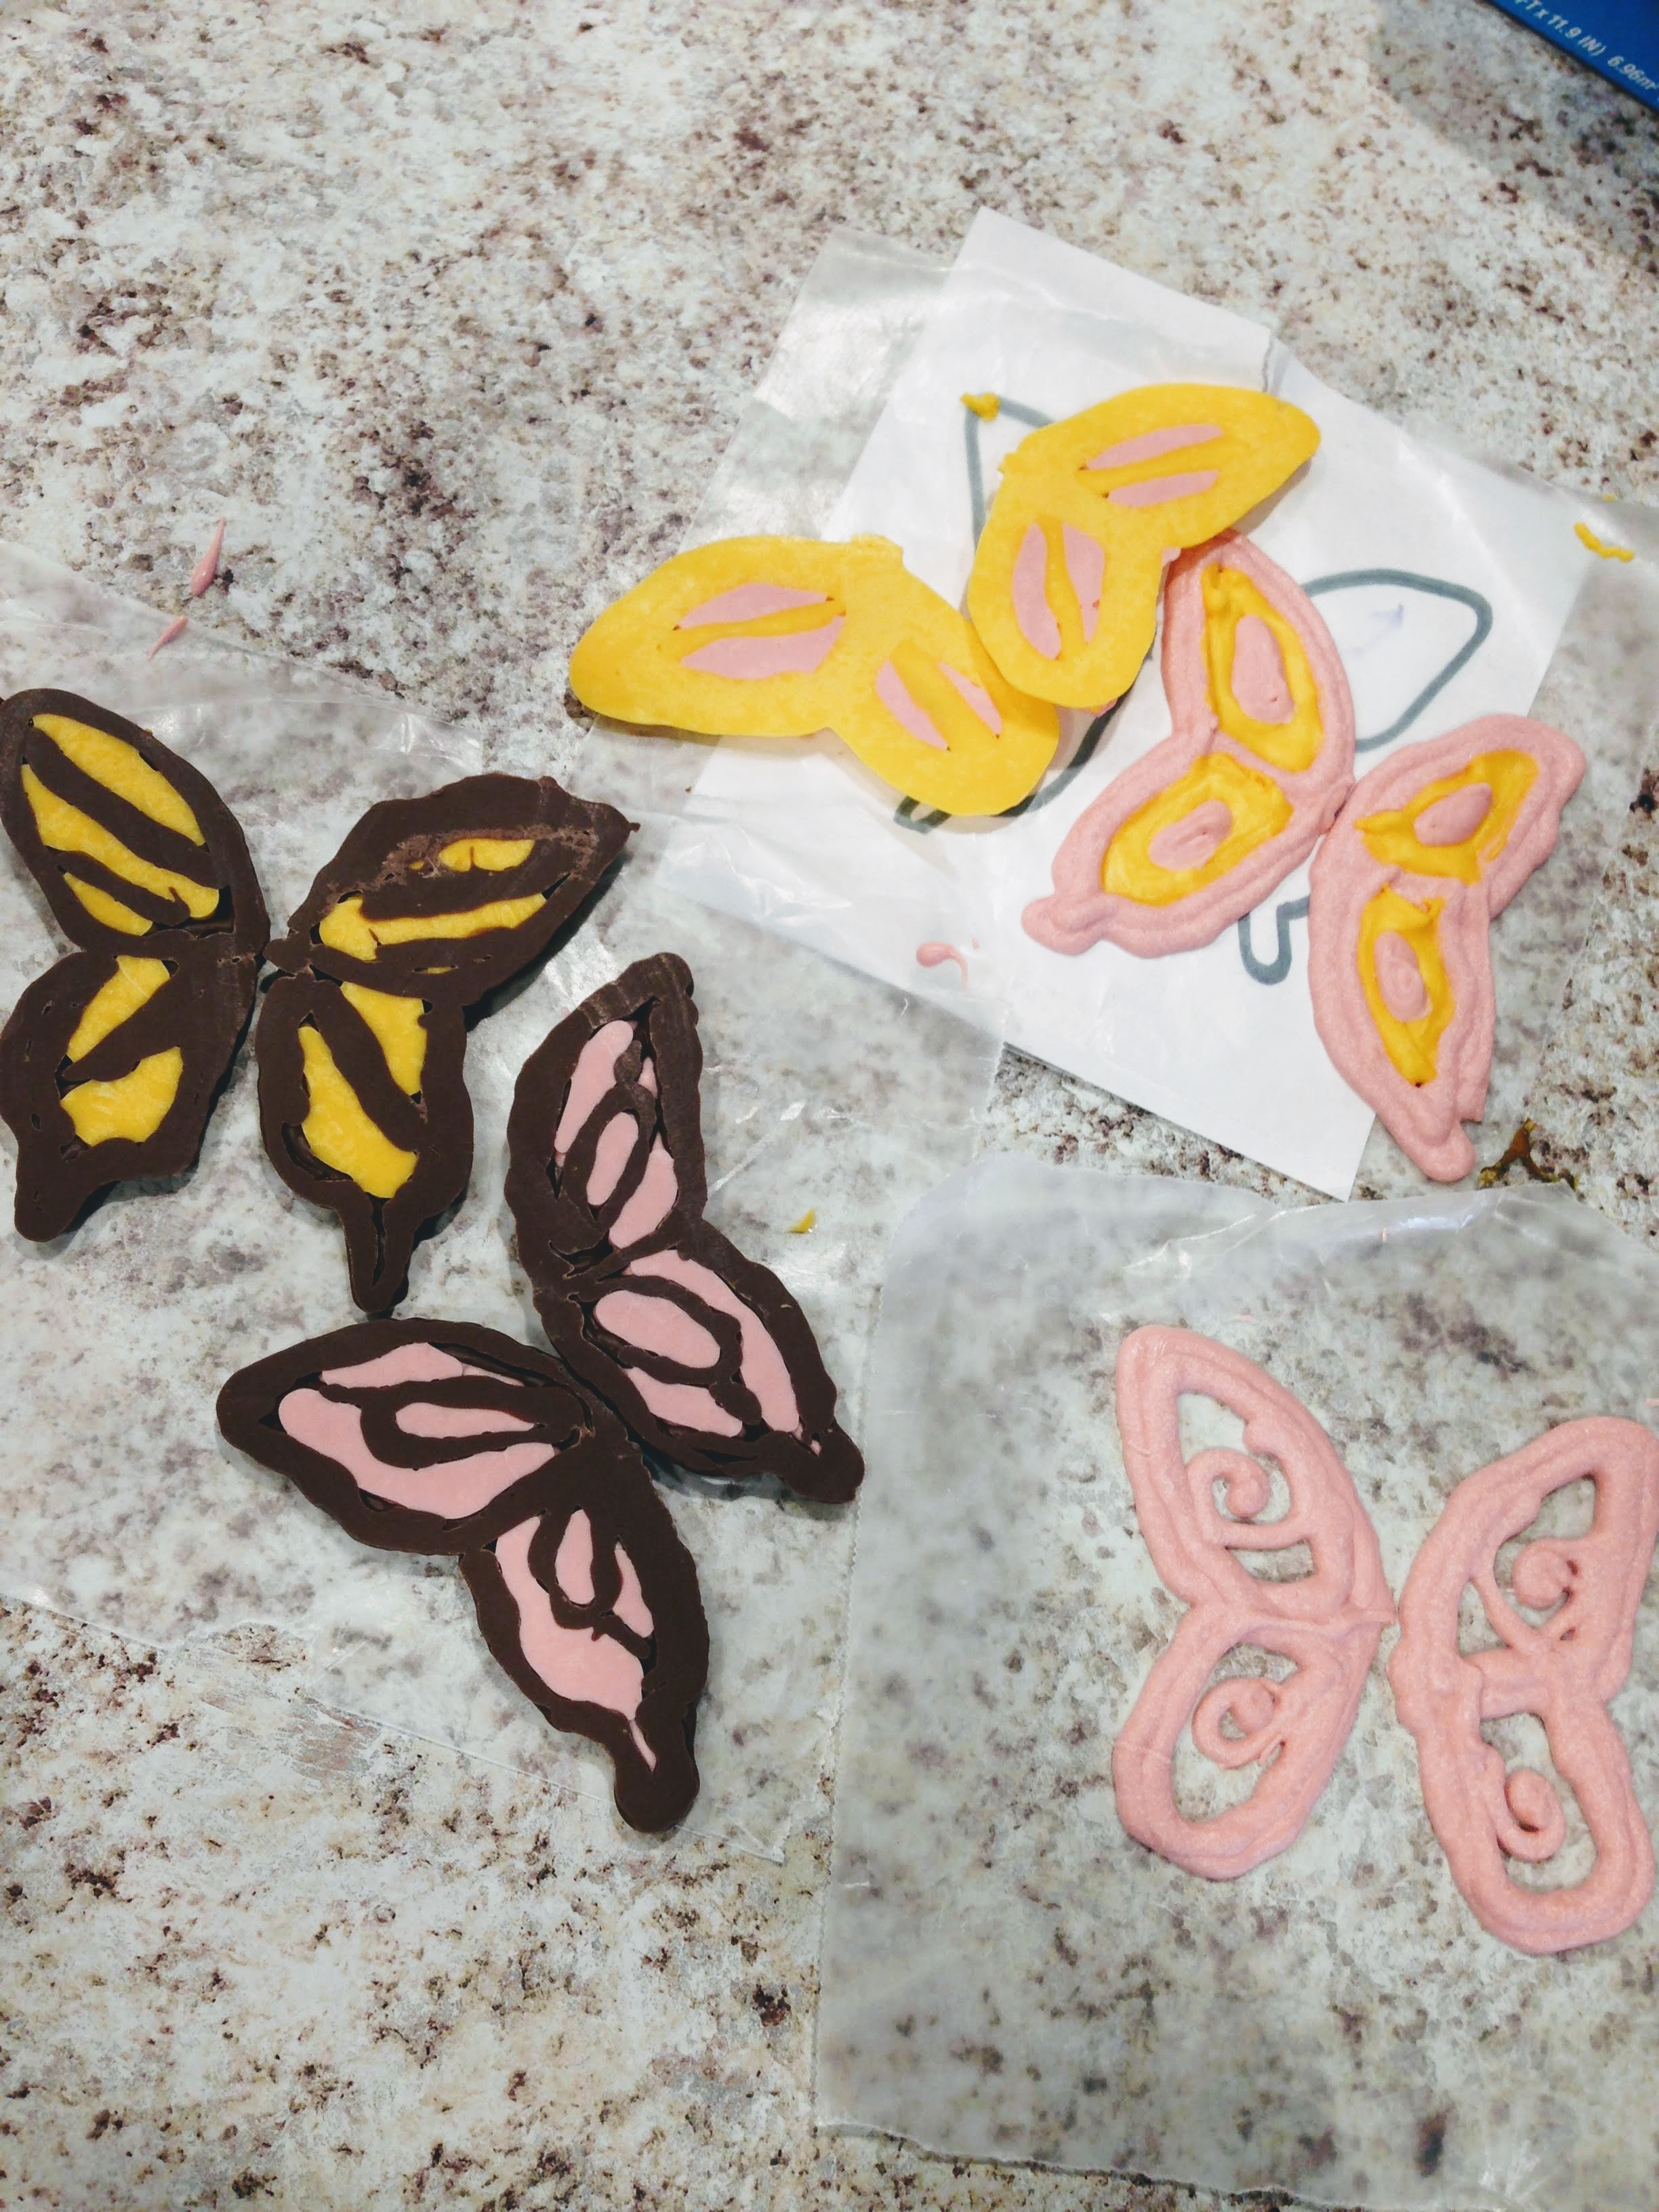
You’ll need to start with a butterfly template of some kind. You can print one off the internet, or draw a very basic butterfly shape if you don’t have access to a printer. Tape a piece of wax paper over your butterfly template to hold everything in place. M ‘ake sure your butterfly drawing is dark enough to see through the wax paper!
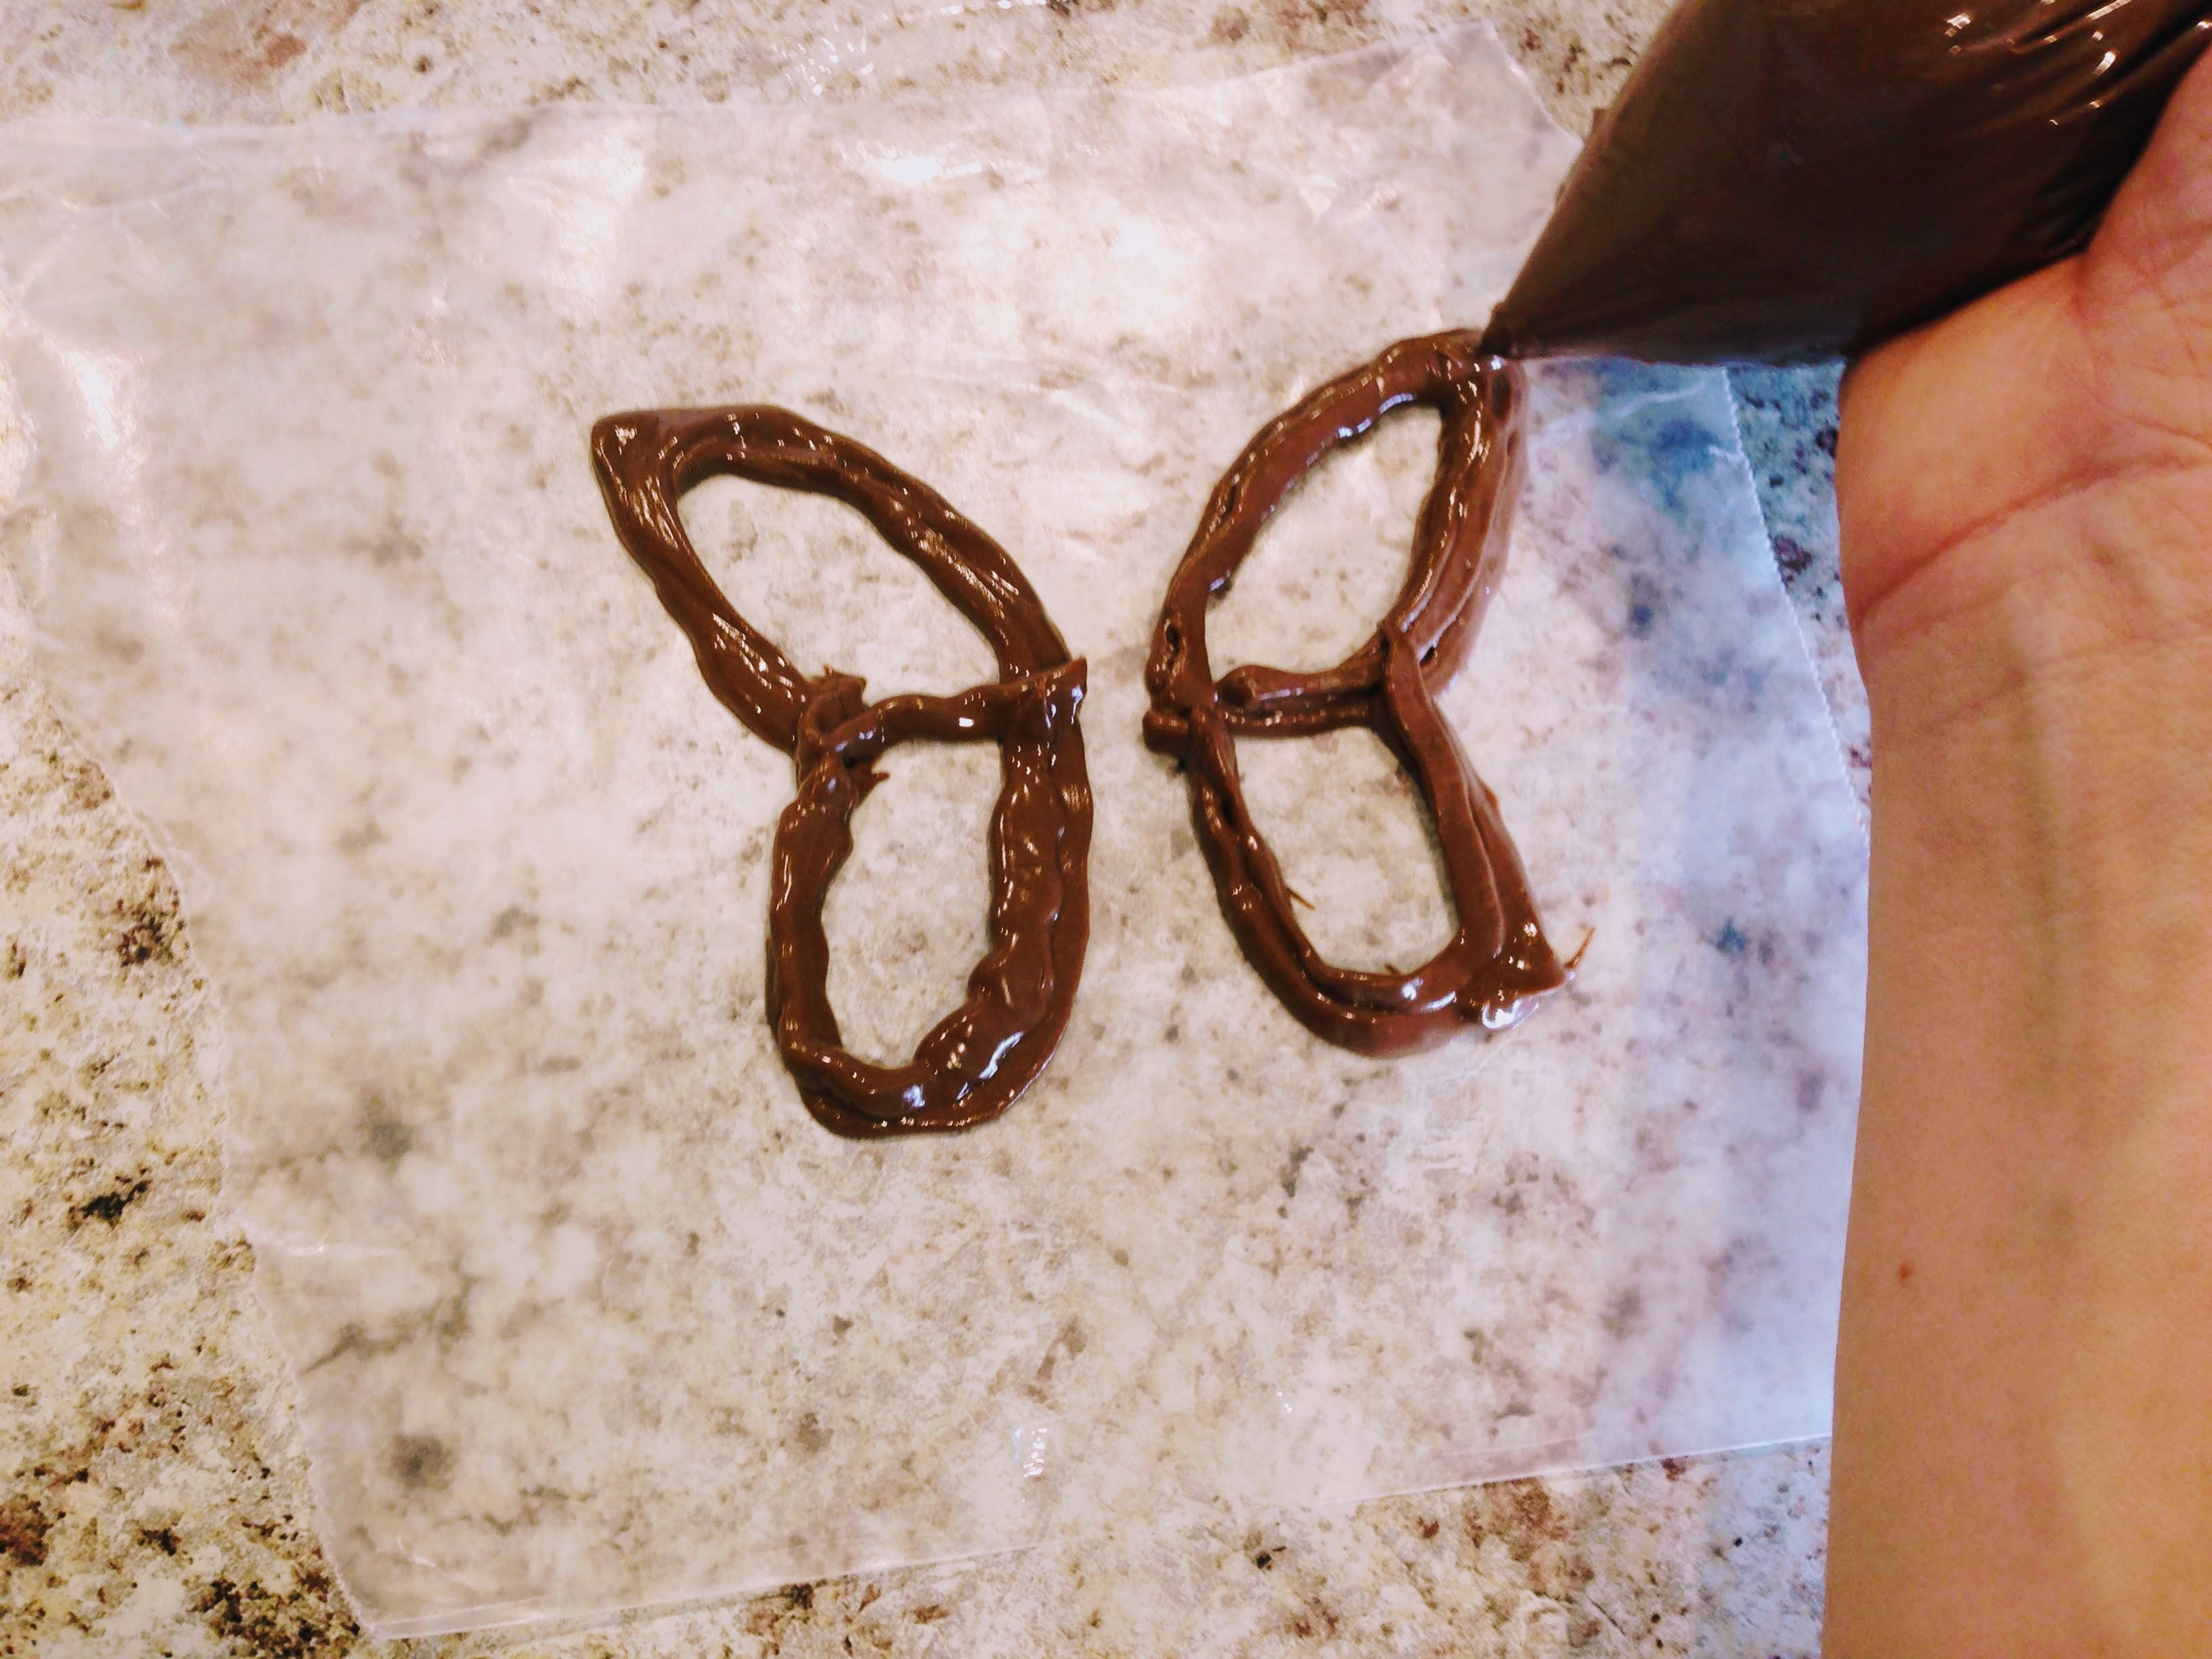
Melt your variety of color melts- I used Wilton’s light cocoa, yellow, and strawberry (which tastes REALLY good, by the way). Using a small piping bag (or a Ziploc sandwich bag with a tiny hole cut at the corner) trace your butterfly outline and add any embellishments and decorations you want! If you want to use more than one color on a butterfly, you’ll need to wait for the first color to dry a little before adding another color.

Another little tip- usually when using candy melts you want to melt them until you can get a nice drizzle; but I found this case to be a little different. When the candy melts were still really warm and drizzly, it was really hard to get straight lines and get the look I wanted. However, when I let the chocolate cool a little or didn’t let it get too hot, it was much easier to work with (but be really careful not to let it cool down TOO much, or you’ll just have a bag of chunky chocolate and no pretty butterflies!).
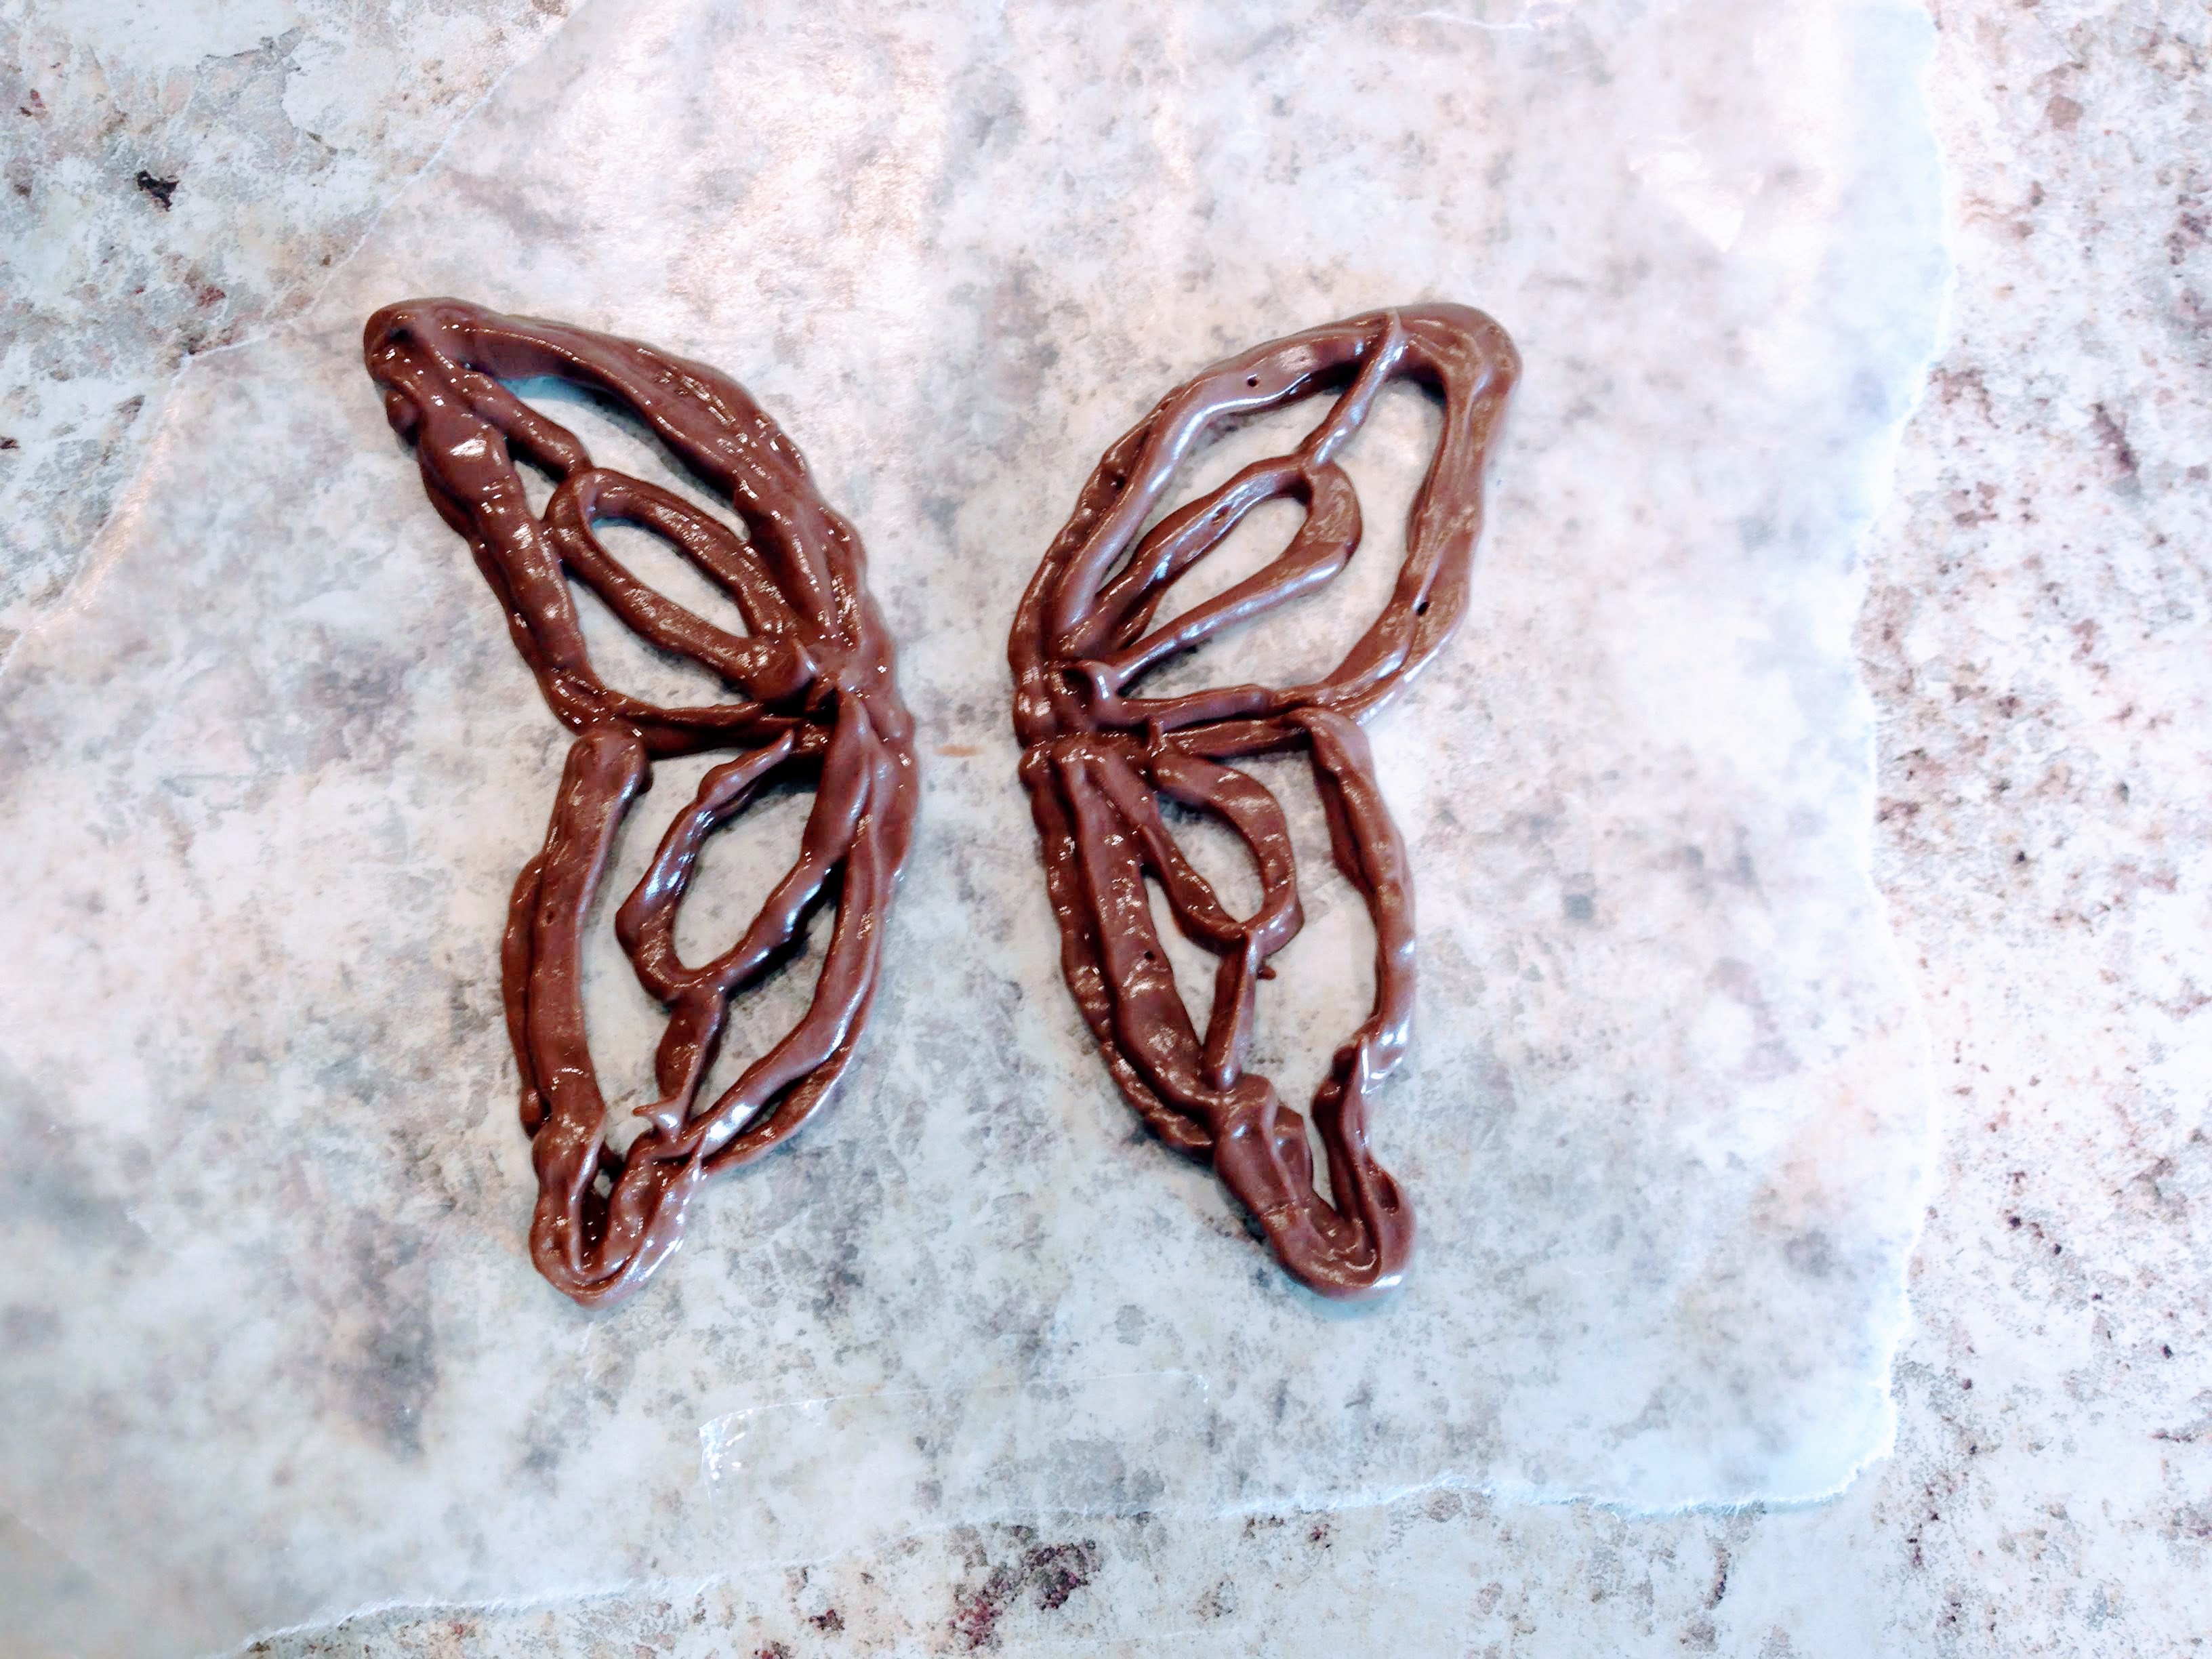
Once you have finished making your butterflies, wait at least one hour before removing them- you want them completely dry. Once your butterflies are dry, GENTLY remove them from the wax paper. To put them together, you’ll want to fold a piece of cardstock paper in 4ths (see the picture) to create a holding place for your butterfly.
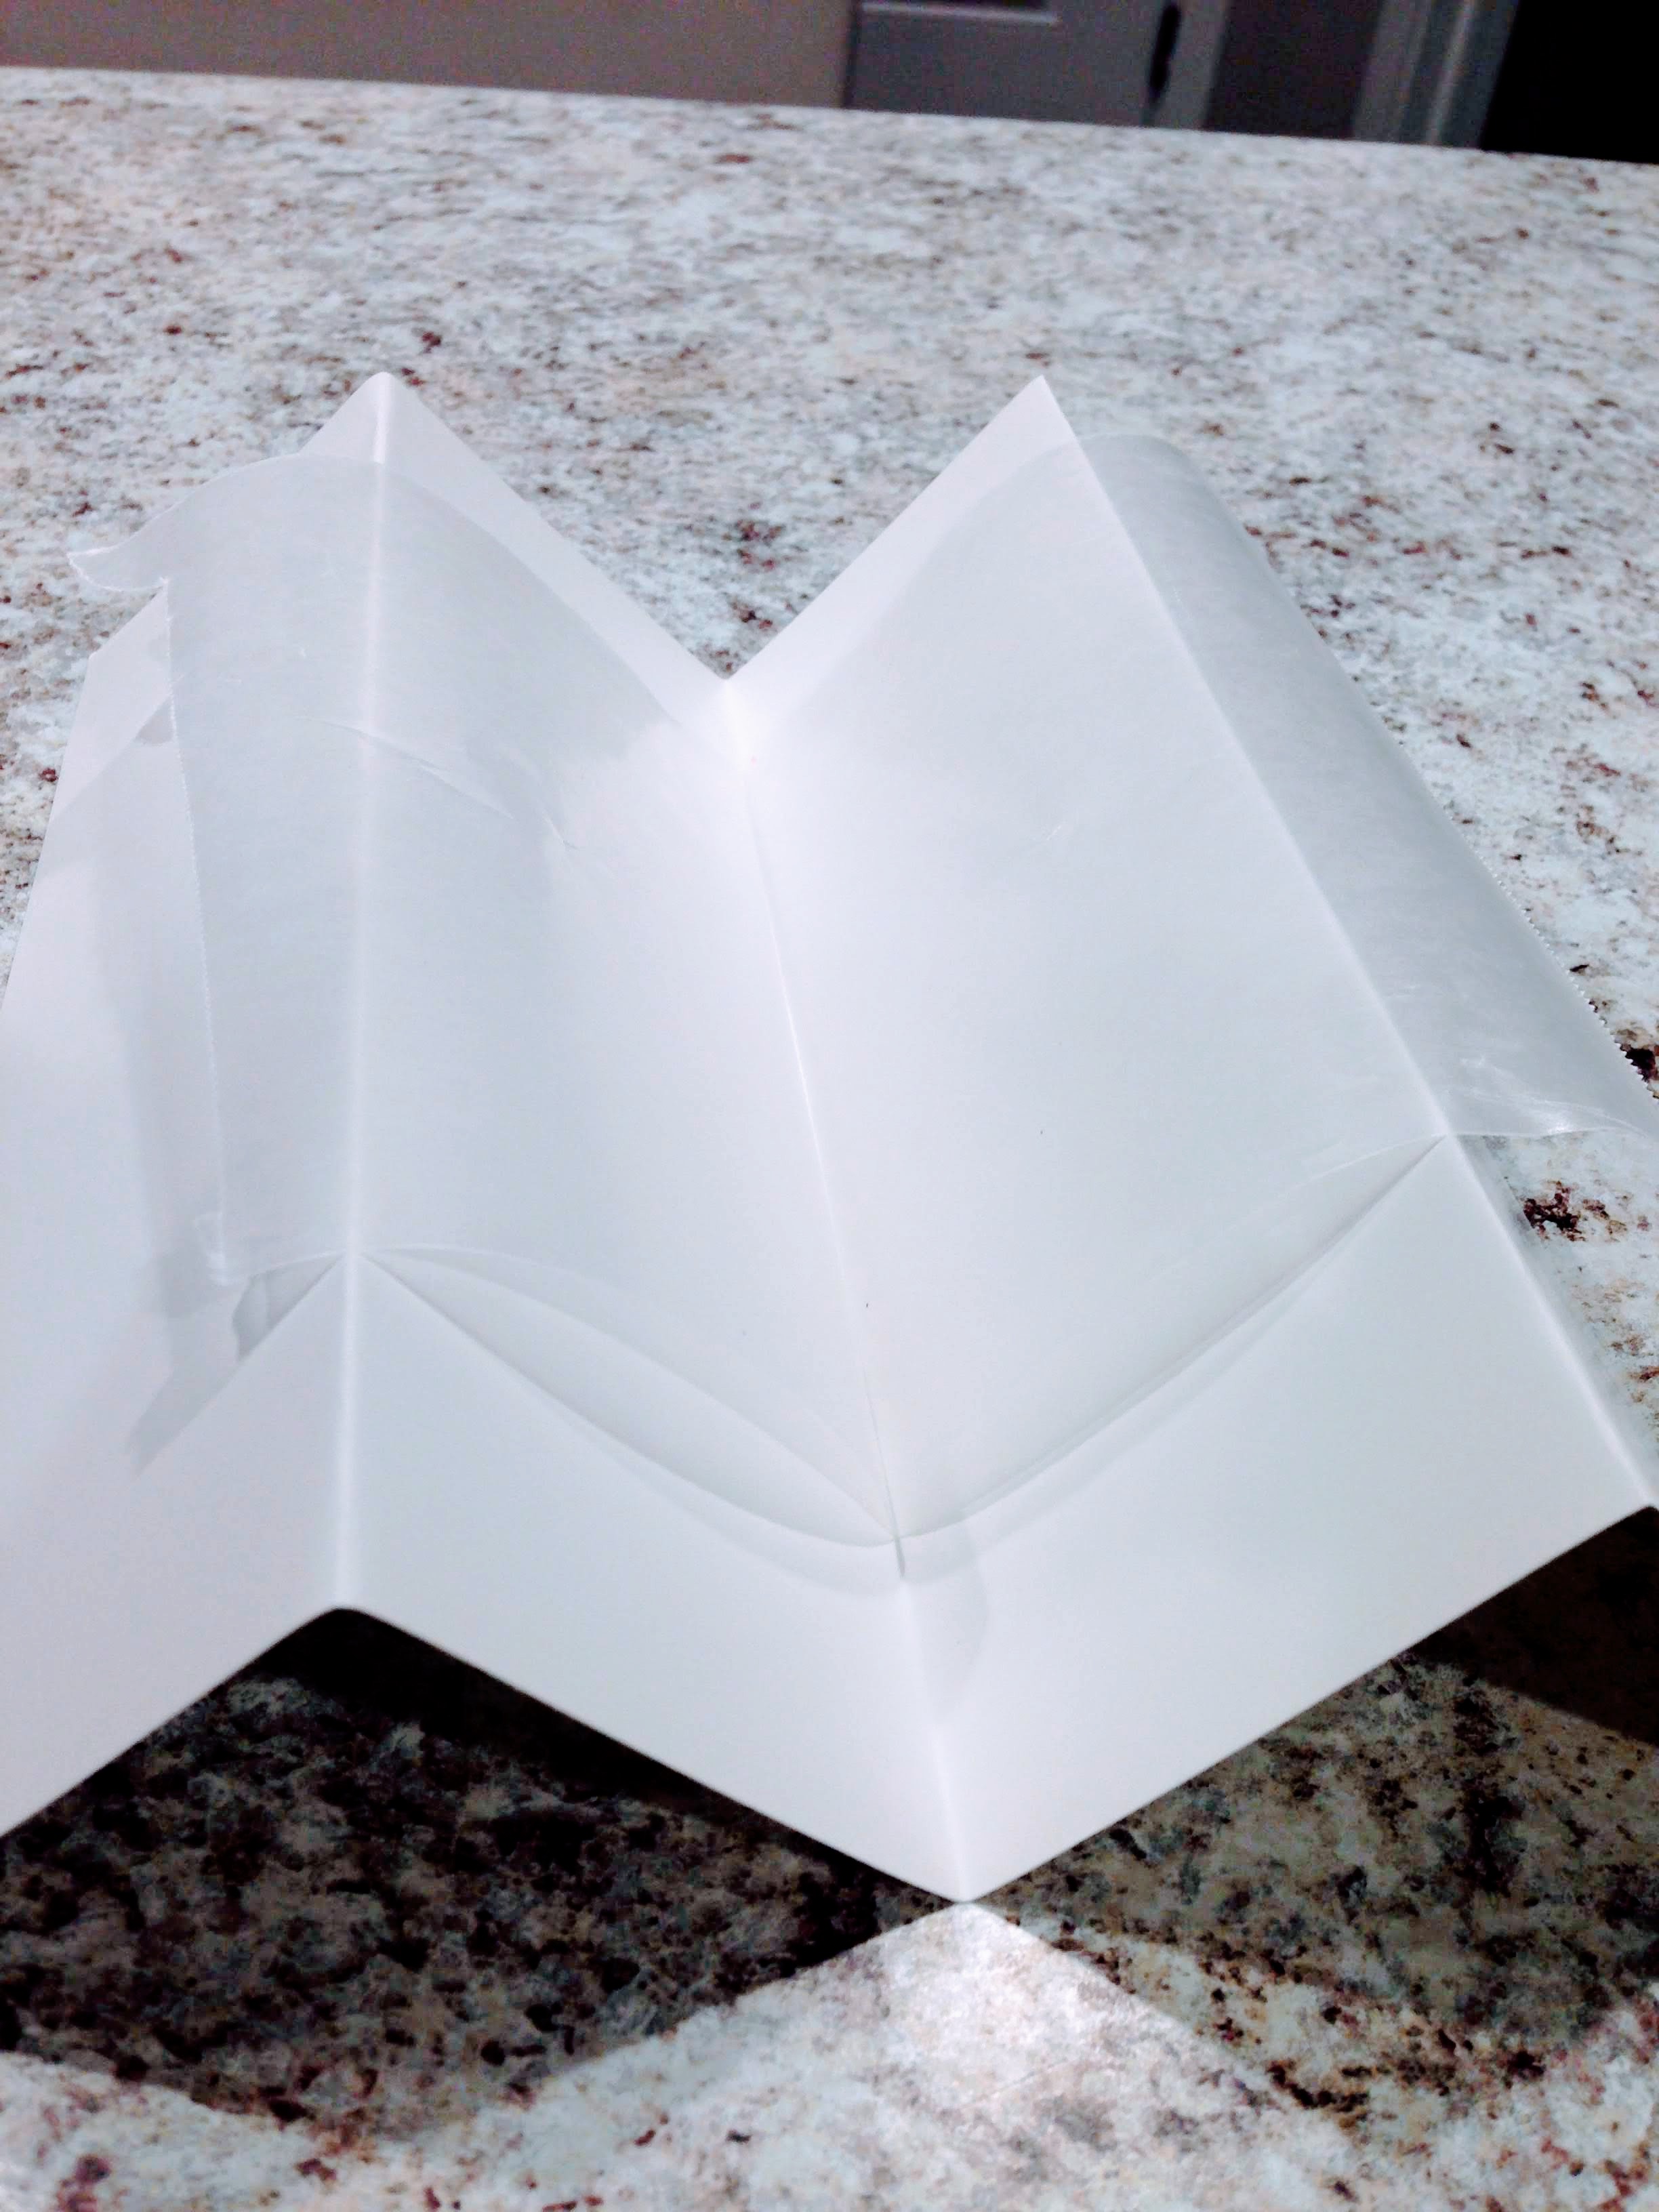
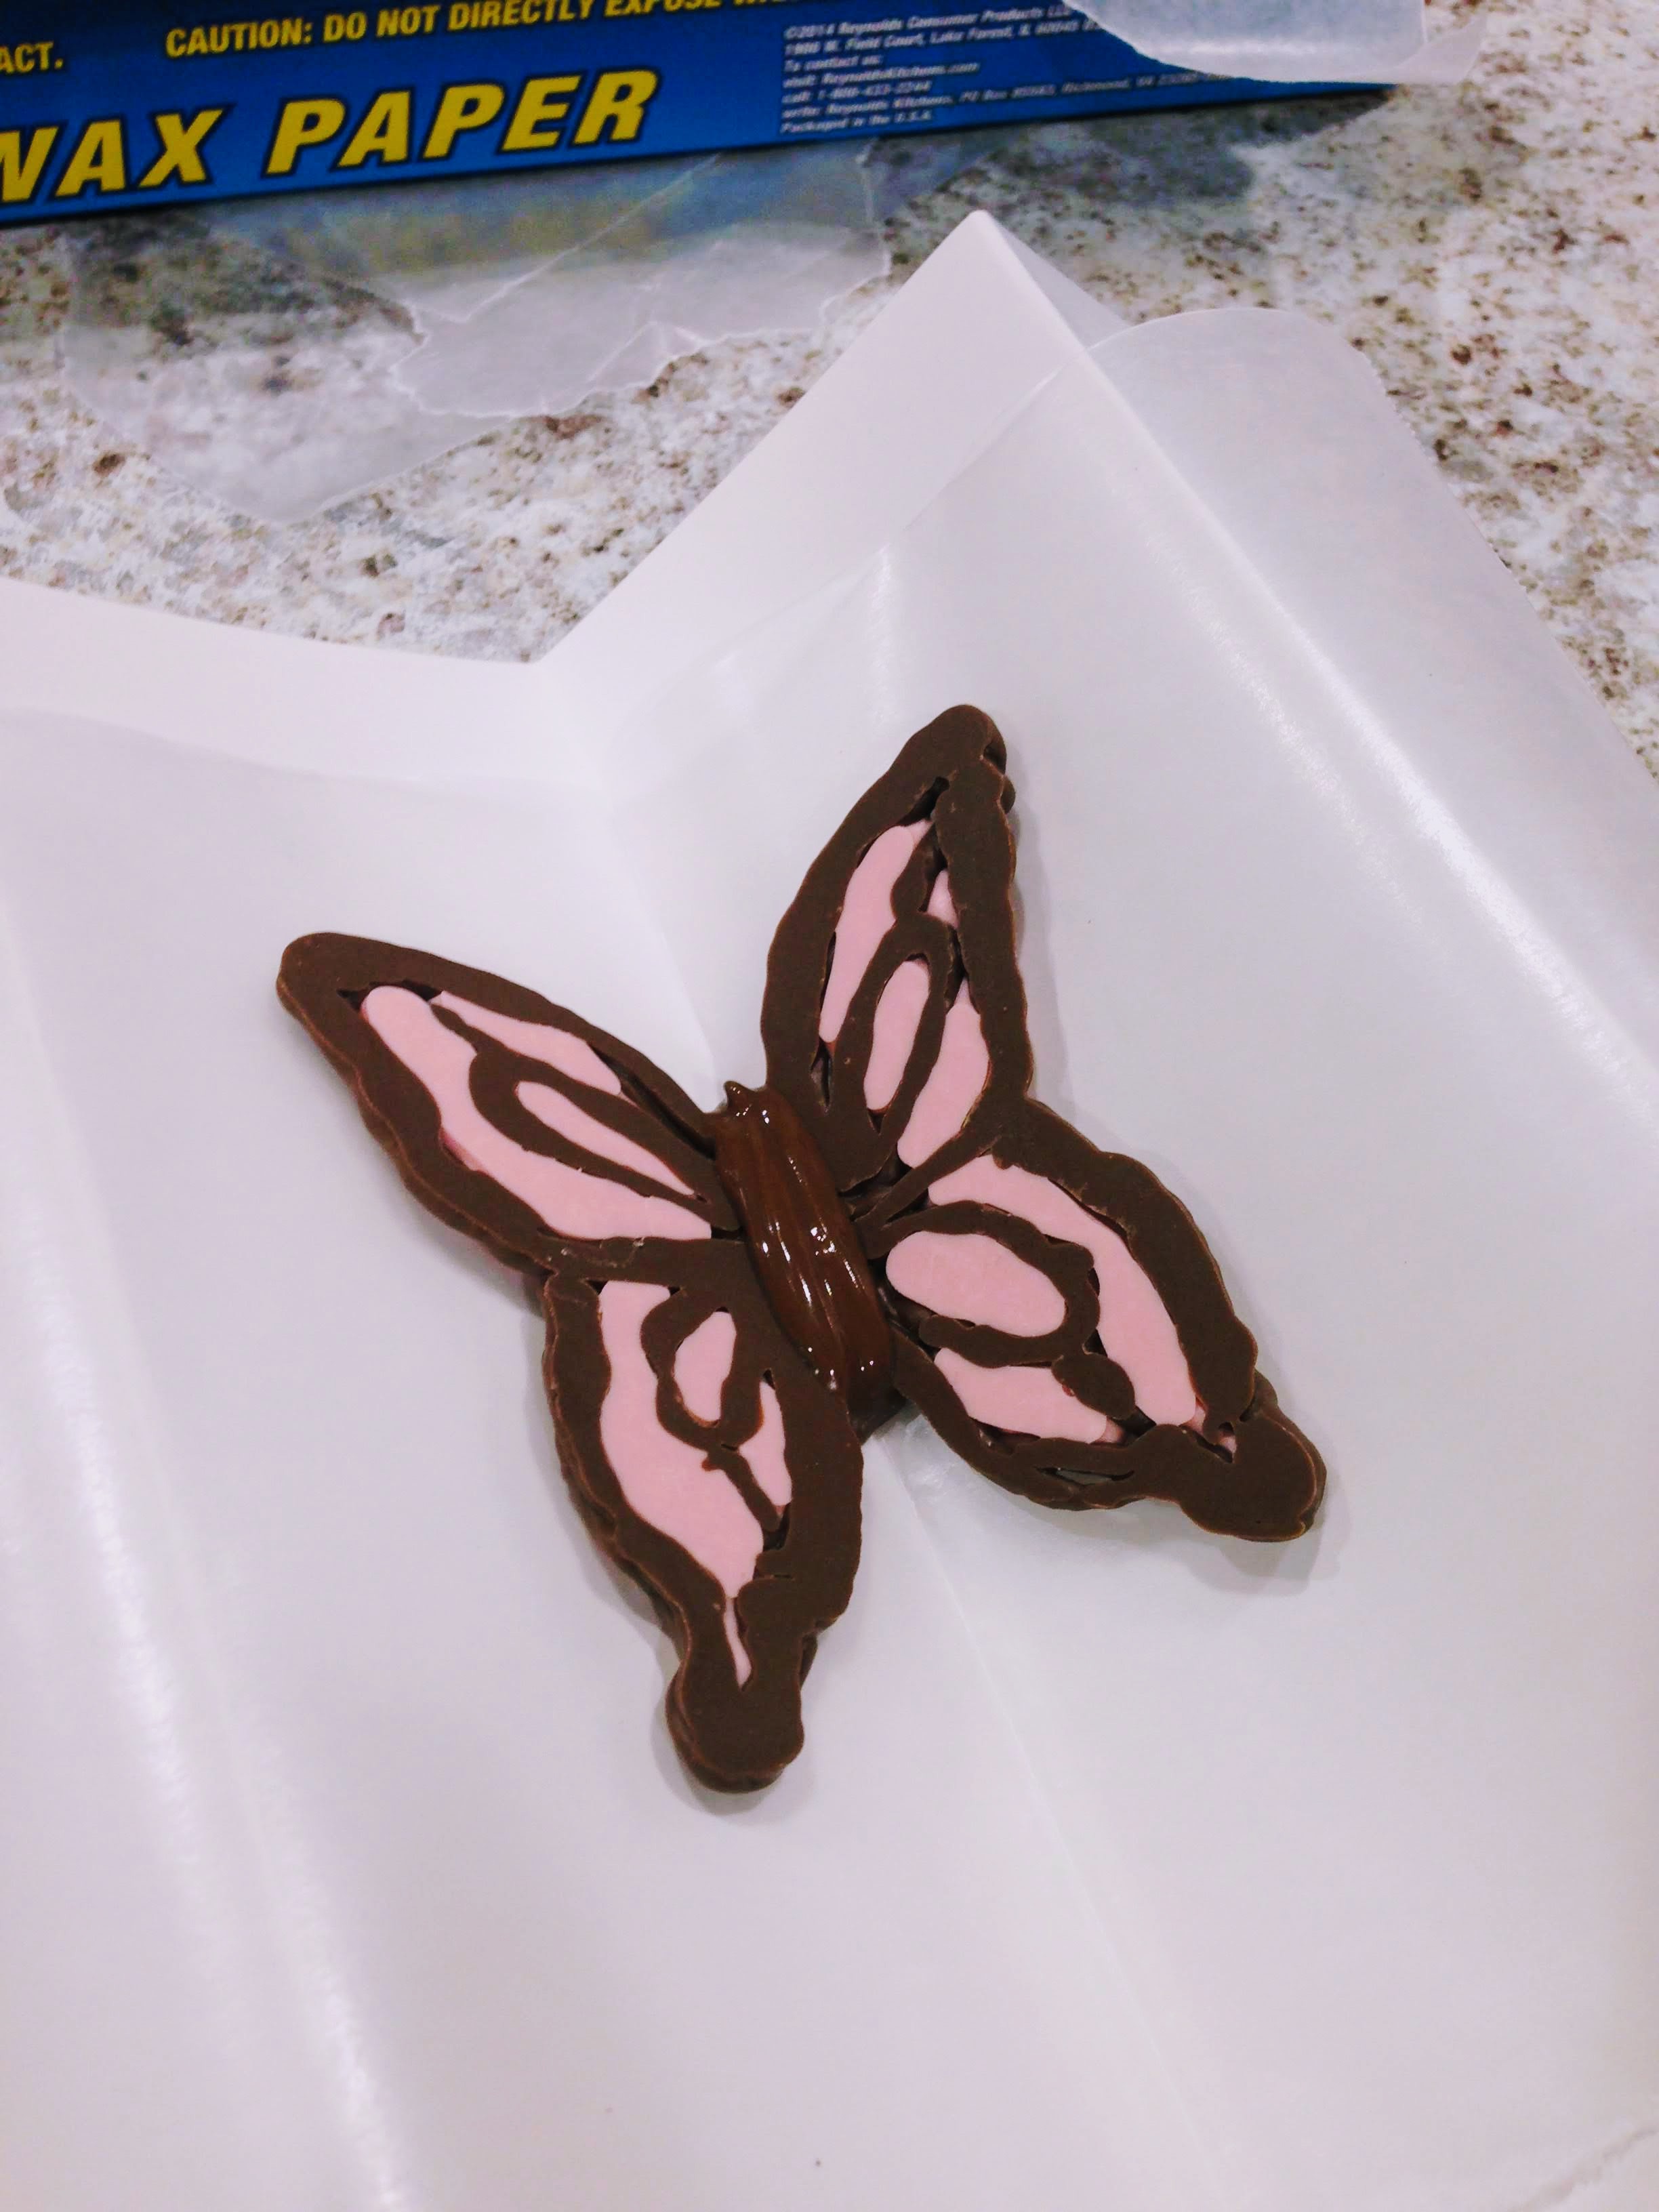
Put a folded piece of wax paper on top of the cardstock. Gently drizzle some chocolate to create the body- put a small amount on the wax paper, place the wings where you want them, and finish creating the body of the butterfly. You can use the back or the front- whichever side you think turned out the cutest! Once your butterflies are dried, just gently remove them (but be especially careful on this part, because they can break so easily!).
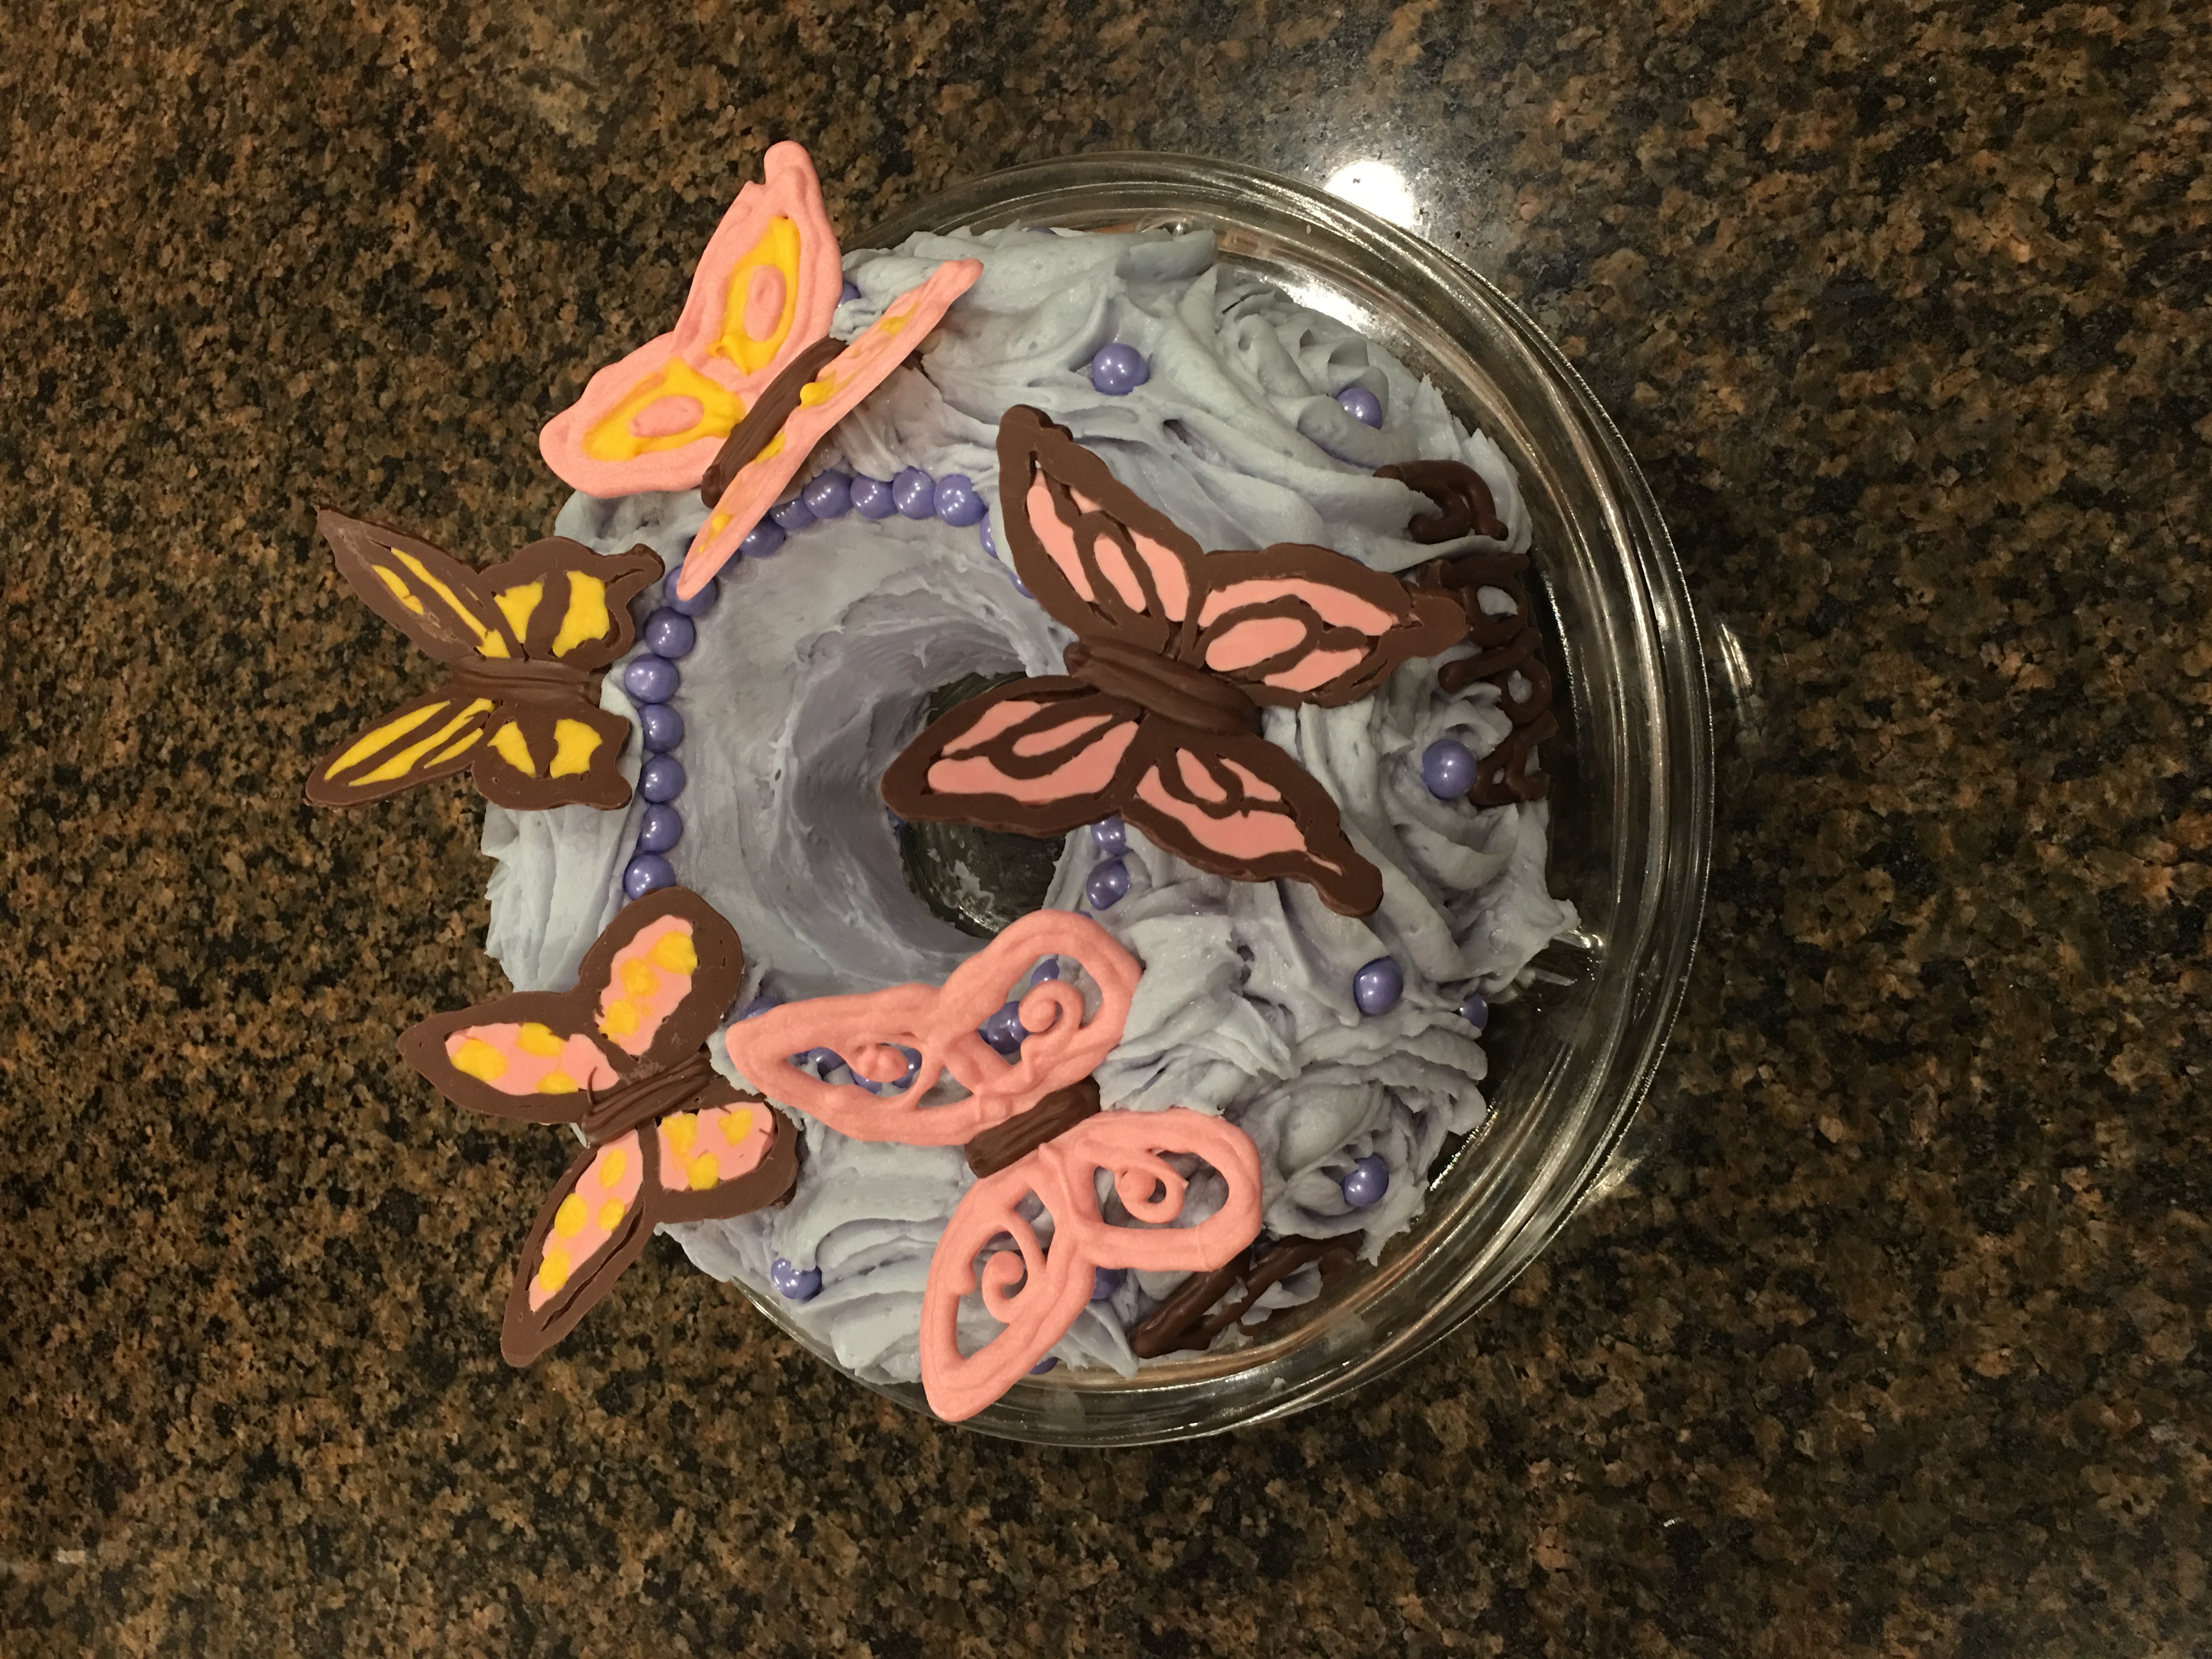
These require a little work and patience, but they are totally worth it! They would make a beautiful addition to cupcakes, brownies, cakes, cookies, or whatever dessert you’re wanting to dress up! They’re quite tasty too ;).
- https://www.flickr.com/photos/mags_eb/4985284124
- https://www.youtube.com/watch?v=5R77hiCe6Ho&feature=youtu.be
 Camille Hoffmann
Weekly Newsletter Contributor since 2014
Email the author! camille@dvo.com