How to Make Applause-Winning Light and Tender Scones
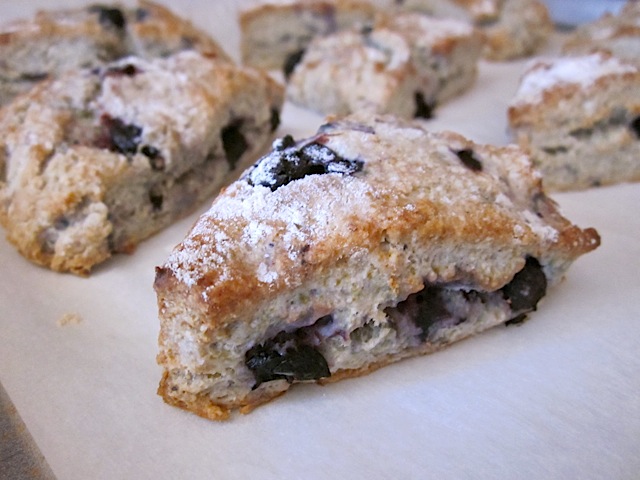
Mastering the art of making scones from scratch can be tricky. Your ultimate aim is a perfect scone that’s a little crumbly.
To help you make the best ever scones, I turn to an online tutorial I found recently (www.thespruceeats.com) on how to make scones that are flavorful, moist and beautiful. First, though, we need an excellent recipe (below)—one the pros turn to time and again.
This lovely recipe is accompanied by a clear, step-by-step tutorial. Do try to follow it carefully; skipping steps or doing your own thing can result in a dismal end product.
Take cutting in the fat, for example. This isn’t a step to sniff at. This is one step that can make or break a scone.
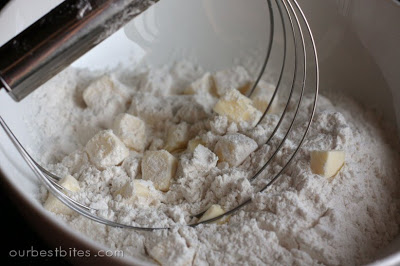
"Cutting in" means incorporating the butter into the flour in such a way that little lumps of the raw butter remain whole within the flour mixture. When the dough is baked, these little lumps create separation in the structure of the product, which is what gives it that flaky consistency. The easiest way to cut fat into flour is with a pastry blender.
Some bakers chill everything — the butter, the flour, even the bowl and other tools. Why? Flour contains proteins called glutens that stiffen up as a dough is mixed or kneaded. Cool temperatures slow down this stiffening, giving the baker more control over the process.
When it's warm, butter softens and blends in with the flour, so you get fewer of the little lumps and thus a less flaky texture, which is not what you want.
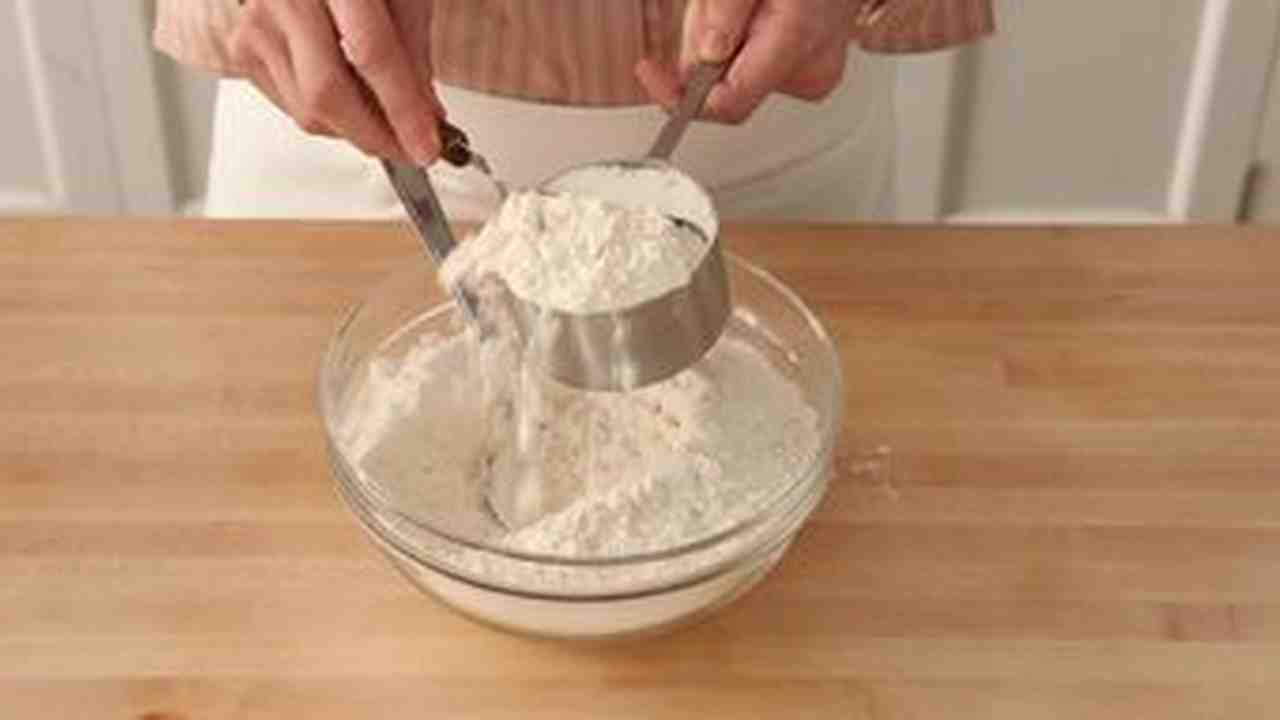
It's important to measure your flour accurately because it's the ratio of butter to flour, and the way the lumps of butter blend in with the flour, that creates the flaky texture you want.
Sifting the flour helps ensure a uniform amount when you're measuring by volume. Unlike with liquids, the amount of flour in a cup depends on how tightly it's packed into the cup. A loosely packed cup has less flour in it than a tightly packed cup. Sifting helps eliminate that discrepancy to some extent. And that's important, because if there's too much flour, the butter-to-flour ratio will be off, and your pastry won't be as flaky.
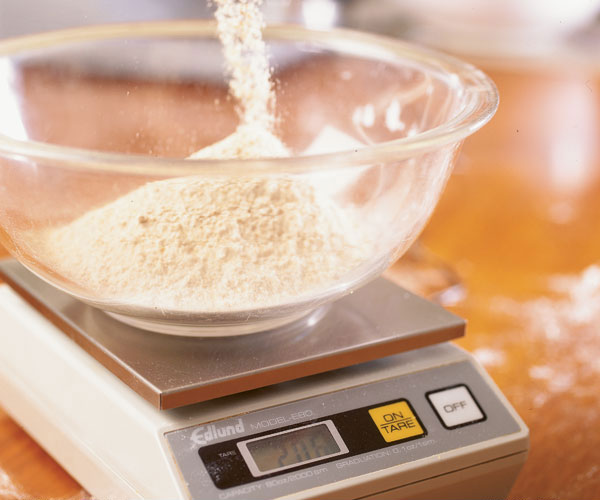
Ultimately, though, because baking is so precise in its ratios, professional bakers specify ingredients in weights rather than volumes. That way no matter whether the flour is sifted, tightly packed or somewhere in between, a pound is always a pound. A baking scale is always a nice kitchen tool to have on hand.
The term "pastry blender" sounds like it should be some sort of electric kitchen appliance, or at least something with moving parts. But as you can see, it's a really simple device. They can average less than $5.
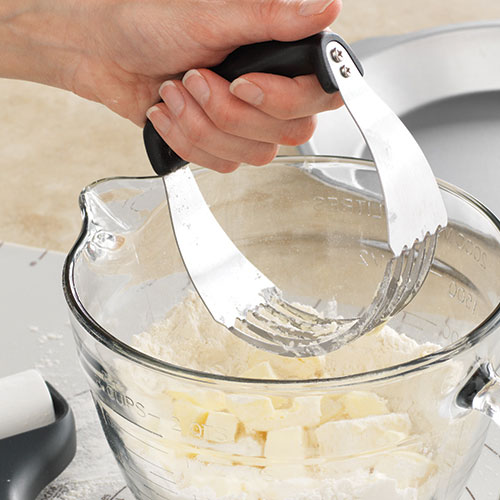
Gripping the handle of the pastry blender, you're going to press the blades downward into the butter.
Cutting butter into flour is actually one of the easier kitchen tasks. Some people like to use a fork, or a pair of knives, or even their fingers, but a pastry blender makes it much easier. The problem with doing it by hand is that your fingers will warm up the butter too much. And it really does help to chill the pastry blender beforehand.
Some recipes will specify how big the lumps of butter should be. One might call for "pea-sized" lumps, while another says the flour mixture should resemble crumbs. Still others suggest a consistency resembling corn meal. But just remember, the flakier you want your pastry, the bigger the lumps need to be.
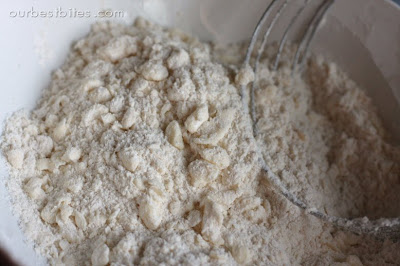
If done correctly, the lumps of butter are still visible in the flour mixture. The lumps referenced are described as "pea-sized."
At this stage, you can refrigerate the dry ingredients with the butter cut in and hold it for baking later. Once you add any wet ingredients like water, eggs, milk or whatever, you've got to finish the recipe and bake it right then, as the moisture will activate the leavening agents (the baking powder or baking soda, depending on the recipe).
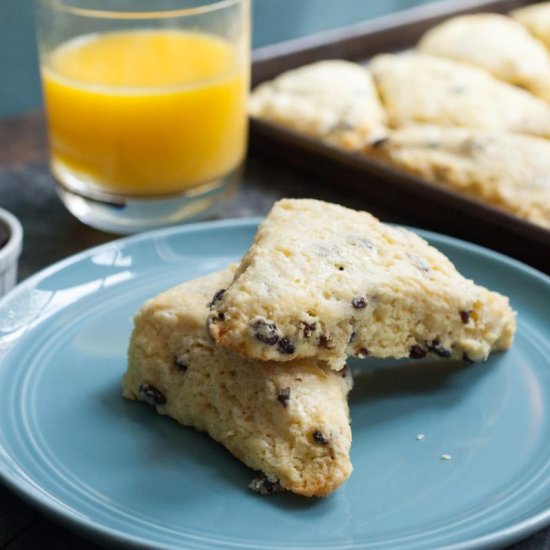
Now put your “cutting in” skills to work on this tried-and-true scone recipe. It may take a little practice, but creating applause-winning, light and tender scones is truly worth the effort!
BUTTERY SCONES
2 cups all-purpose flour, unsifted
3 teaspoons baking powder
2 tablespoons sugar
½ teaspoon salt (table salt, not Kosher)
4 tablespoons butter (½ stick)
3 eggs
½ cup heavy cream
½ cup dried currants
Preheat oven to 400 degrees.
To begin, combine the flour, sugar, salt and baking powder in a bowl. Then add cubes of cool butter and cut in the butter with a pastry blender.
In a separate bowl, beat two of the eggs until they're light and airy. Keep the third egg reserved for later — you're going to use it to brush the scones with egg wash before baking.
Add the heavy cream and mix until thoroughly combined. It won't hurt to have a bit more cream reserved in case you need to moisten the dough later. You could use water to moisten, but cream will give the scones a richer flavor and texture.
As soon as you add the wet ingredients, you'll activate the baking powder, so you're kind of on the clock. Stir until the dough just comes together, and add the dried currants.
Press together until the dough barely holds together. You don't want to overwork it at all, or the scones will be too tough.
If you need a bit more liquid to moisten the dough, you can add it now — about a tablespoon at a time, just enough so that the dough holds together.
You can dust your rolling pin with a bit of flour to keep it from sticking. And once again, don't overwork the dough or your scones will taste like little blobs of leather.
I like to use fluted pastry cutter for making scones, but you can use plain round cutters. Or just cut the scones into triangles with a knife, which is a good technique because you'll have fewer scraps.
Here's where we use that third egg we set aside earlier. Beat the egg in a small bowl along with a tablespoon or so of water. Then paint the tops of the scones with the egg wash, just enough to make them glossy.
Bake 15 minutes. Scones should be eaten as soon after baking as possible. The perfect scone should be hot enough to melt butter without quite burning your mouth when you bite into it.
- www.budgetbytes.com
- www.ourbestbites.com
- www.marthastewart.com
- www.finecooking.com
- www.pamperedchef.com
- www.foodgawker.com
 Alice Osborne
Weekly Newsletter Contributor since 2006
Email the author! alice@dvo.com