Side Dishes to Applaud!

OH boy, did I find a treasure trove of information this morning. Linda Loosli (aka Food Storage Moms, found at www.foodstoragemoms.com), just posted “50 Quick and Easy-to-Make Side Dishes.”
Talk about good timing. I’ve been looking around for this kind of help. Folks at our house are saying they’re getting a little tired of the same ‘ol same ‘ol night after night (although they do make sure to mention they’re grateful for dinner).
While we all have favorites we tend to lean on, it is good practice to mix it up once in a while. So if you’re also wanting some fresh ideas and recipes for side dishes, here’s a little of what Linda has to say (for the complete post and all her recipes, head to her site.)
What’s especially nice about her information is how she’s organized it into groups so you can pick and choose the ones you like. She’s also added instructions or links if the recipes aren’t hers. See if these recipes don’t deserve applause!
Since we have a lot of canned and frozen corn in our storage, recipes for using this veggie were especially interesting. Linda shares a creamed corn recipe that is simple and really delicious—the addition of cream cheese makes all the difference!

ALLISON’S CREAMED CORN
2 pounds frozen white, super sweet corn
8 ounces cream cheese
1/2 cup butter
2 tablespoon water
2 tablespoons sugar
Chopped fresh parsley and chives, for garnish (just before serving)
Combine the ingredients in a large slow cooker and cook on low for 3-4 hours or until heated through.
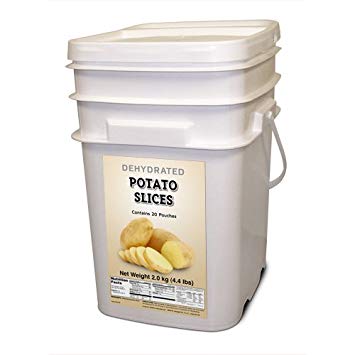
From corn, let’s move on to potatoes. Can’t beat ‘em when it comes to side dishing. But here’s Linda’s twist: make life easier and dinner quicker with dehydrated sliced potatoes. She believes, and I would agree, that this is one emergency food you shouldn’t be without.
Of course, fresh potatoes always work as a side dish in any recipe, but it’s smart to learn to use dehydrated or freeze-dried veggies. And if you’re not fond of grocery shopping, or just want to save some money, then dehydrated and freeze dried food is a great option.

It takes about 45 minutes to rehydrate these potatoes (in water or milk), and then they’re ready to mash, bake, or fry.
Here’s one of Linda’s favorite potato side dish recipes. She loves this dish because it can be made and baked in about an hour (whether you use fresh or dehydrated potatoes—cubed or sliced). This is perhaps one of the simplest au gratin or scalloped potato recipes I’ve ever seen!
You’ll notice this recipe calls for Swiss cheese, but of course, you can substitute another cheese or use a combination of cheeses. The vote always goes to whatever you have on hand.
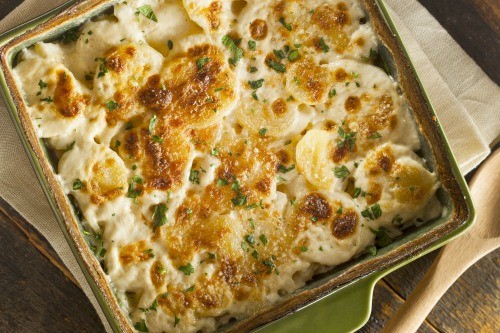
SWISS CHEESY POTATOES (yield: 8 servings)
3 (3 1/2 ounce) packages dehydrated sliced potatoes (re-hydrate according to package directions)
3-4 cups grated Swiss cheese or to taste (depending on how cheesy you want yours)
½ cup butter, melted
1 tablespoon minced onion (freeze dried works well)
1 cup whipping cream
Salt to taste
Pepper to taste
Preheat oven to 350 degrees.
Place ½ of the rehydrated potatoes in a 9″ by 13″ greased pan.
Next layer with ½ of the cheese, sprinkle the minced fresh or freeze-dried onion over this layer.
Add the rest of the potatoes and drizzle the butter over this layer.
Add the rest of the Swiss cheese and pour the whipping cream over the last layer and salt and pepper to taste.
Cover with foil and bake for about one hour or until heated through and bubbling.
Finally, here are a few more unique side dish ideas, courtesy of a random neighborhood survey I did in preparation for this article:
Sweet potatoes baked with cranberry relish.
Sauteed spinach with minced fresh garlic and bacon.
Balsamic roasted Brussels sprouts.
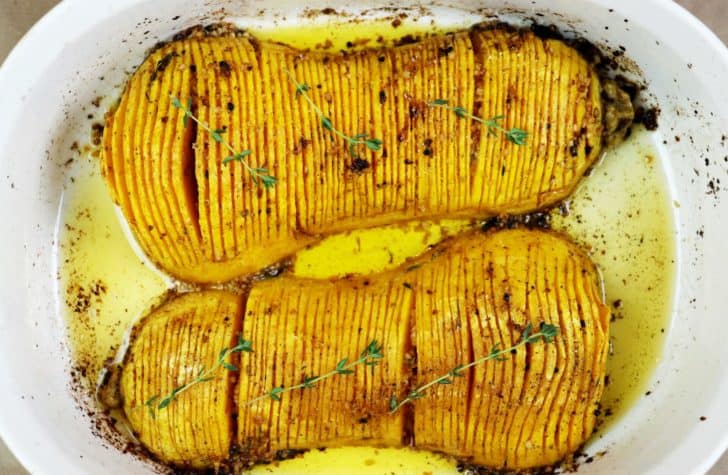
And how about this amazing approach to squash that I found on the site, Forkly (www.forkly.com)? Hasselback butternut squash is a take on those hasselback baked spuds we all love. For this you just need butter, olive oil, minced garlic, salt and pepper and other herbs to your liking (fresh thyme is perfect for this).
Cut your butternut squash in half lengthwise, remove the seeds with a spoon, and use a peeler to remove all the skin. Then brush it all with olive oil and sprinkle with salt and pepper, and roast with the cut sides facing down for 20 minutes or until softened.
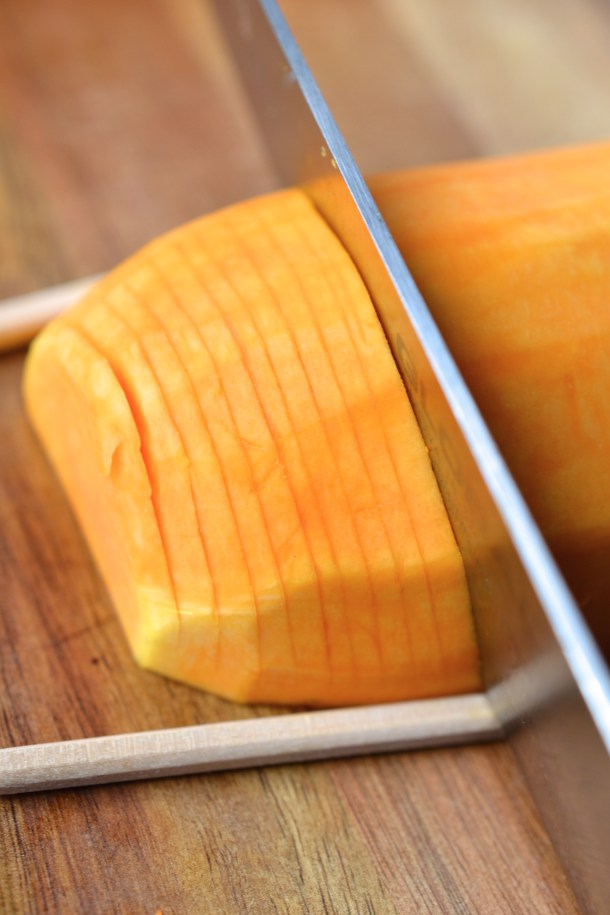
Remove the squash from oven and the roasting dish, and carefully place it onto a cutting board. With a sharp knife, cut slits down the back of the squash about 3/4 of the way through in thin slices. Proceed slowly to be sure you're not cutting through the squash. (Hint: place a chopstick down each side of the squash, as the photo shows, and you’ll automatically avoid slicing through the squash!)
Return the squash to your roasting dish, and mix your melted butter, seasonings and garlic and brush this over the now sliced backs of the squash. Sprinkle with salt and pepper and place some sprigs of fresh thyme within the slices, if desired.
Return to the oven and roast for an additional 30 or more minutes, basting with the juices every 10 minutes.
Once browned and fully cooked to your liking (this depends on the size of your squash) then remove from the oven, baste and top with more fresh thyme. You can serve right out of the dish immediately or place onto a serving platter.
- www.foodstoragemoms.com
- www.amazon.com
- www.gettystewart.com
- www.forkly.com
- www.everylastbite.com
 Alice Osborne
Weekly Newsletter Contributor since 2006
Email the author! alice@dvo.com