What to Do About Your Sticky Dough Issues

If you like baking bread goods, then you’re probably familiar with Peter Reinhart, very famous bread baker and cookbook author. Maybe you even have one of his books?
I was looking for some help the other day with my sticky dough issues and I found his truly helpful information. You who have sticky dough issues as well will appreciate this:
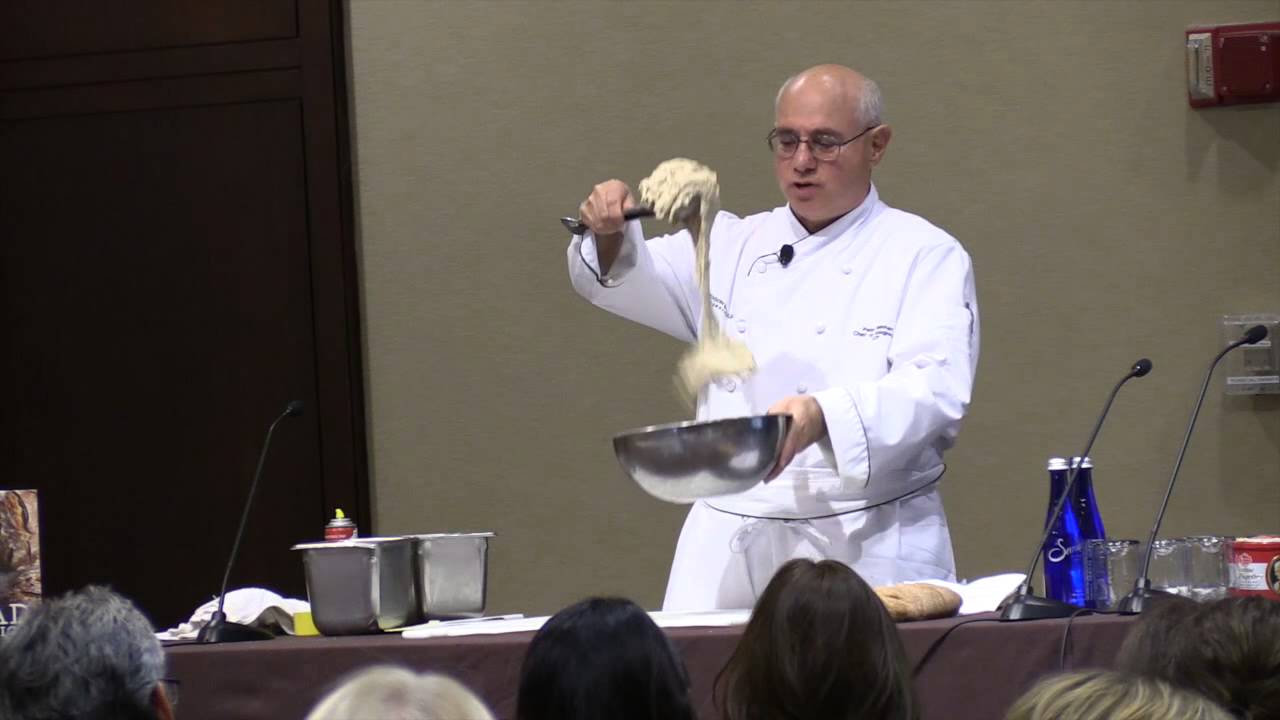
“It’s all about stretching and folding(S&F) your dough…I continue to provide recipes that utilize this technique because it is a remarkable way to maximize gluten development in a dough with minimum mixing time. Sometimes referred to as “intermittent kneading” and also by the term “folding,” it’s pretty much the same method. In short, S&F is intermittently folding the dough over onto itself during the fermentation stage.
“Why bother? Doing this strengthens the bonding of the gluten protein threads that hold the dough together. This procedure traps the carbon dioxide created by the yeast. This is what creates the bubbles or air pockets that we refer to as the “crumb” in the final bread.
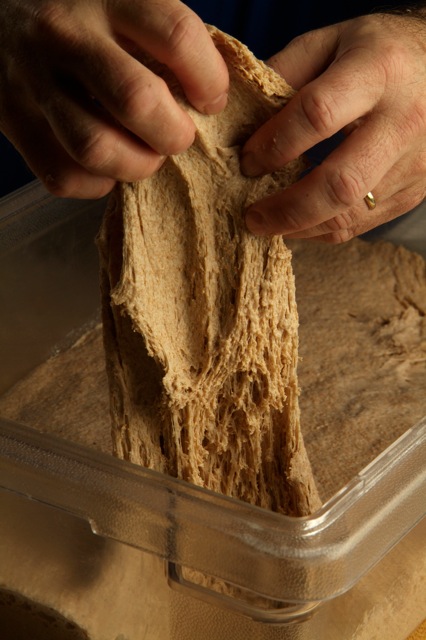
“I suggest this technique more and more often in my classes and recipes, as it allows the dough to more fully hydrate, almost to the point of over-stickiness, yet still creates a very workable, dynamic dough, one that pops in the oven and produces more of the large irregular holes that artisan bakers (and consumers) love to see.
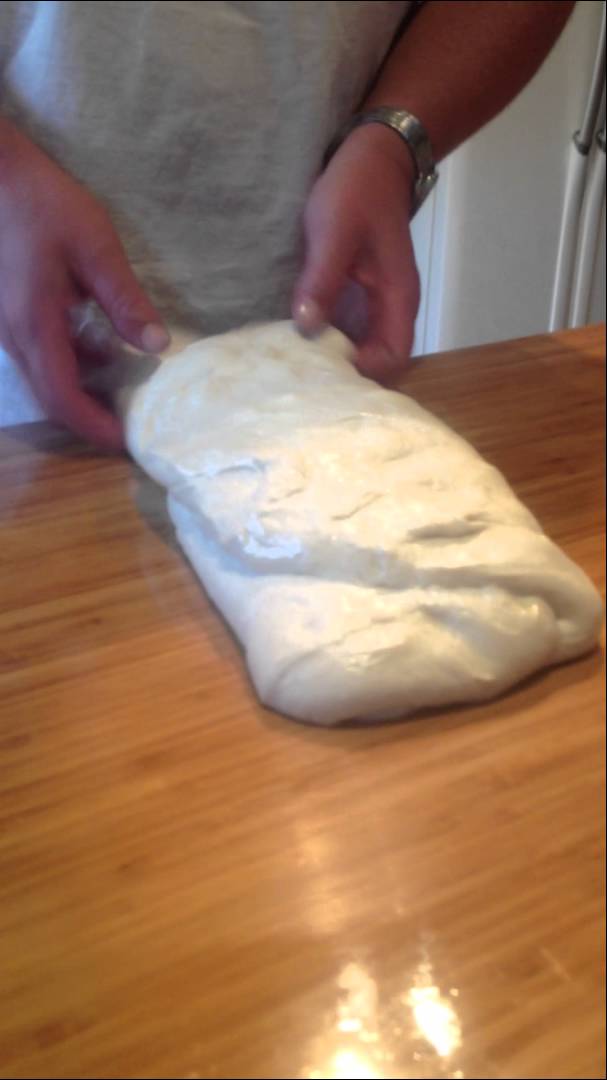
“Instead of using flour on the work surface and hands, I prefer to use an oiled work surface (either olive or vegetable) and either oil my hands or dip them in water (sticky dough won’t stick to wet or oily hands). All you have to do is to transfer the dough from the mixer to the oiled work surface, pat it into a rectangle or ball, and then pull, or stretch out about half of the dough from one side and then flip the stretched piece back over the top of the dough, about to the middle.
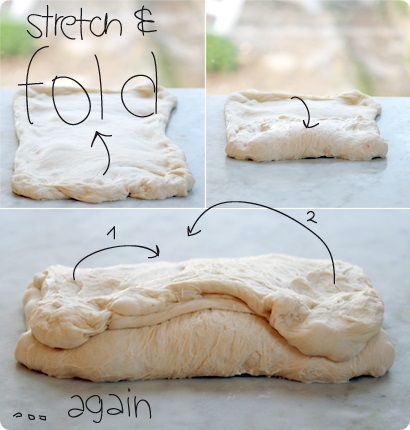
“Then repeat this from the other three sides, stretching and folding half the dough back over the top of the dough. Then, when all four sides have been folded over, flip the whole dough ball over so that the smooth underside is face up and the folded top is underneath. At this point, you either place the dough into an oiled container or leave it on the oiled work surface and cover it with a bowl.
“You can repeat this S&F at 5, 10, or even 45 minute intervals, depending on your baking schedule for the dough in question. For same day bakes, three or four S&F’s at 30 to 40 minute intervals are common, which allows the dough to ferment in between the S&F’s. For overnight dough the S&F intervals can be as short as 5 minutes. Typically, four S&F’s are sufficient to fully develop and firm up the dough, but some doughs require only one, while others might require five S&F’s if they are very wet.
“This technique greatly enhances the oven spring and causes the dough to achieve a kind of bounce and liveliness that is hard to replicate by conventional mixing methods. It also allows us to push the envelope regarding hydration, sometimes making it possible to add as much as 5% to 10% more water than the recipe calls for.”
And most importantly, something I’ve discovered as I’ve tried his S&F approach: It’s also a lot of fun and gives great pleasure to watch and feel the dough get stronger and more vibrant with each S&F. As Peter likes to say, “When making bread, we’re working with a living, dynamic product!” I hope if you do try S&F on your next bread batch, you’ll let us know how it went.
- www.centralmilling.com
- www.jcsciphile.com
- www.foodbeam.com
- www.youtube.com
 Alice Osborne
Weekly Newsletter Contributor since 2006
Email the author! alice@dvo.com