How to Season Your Cast Iron Pan
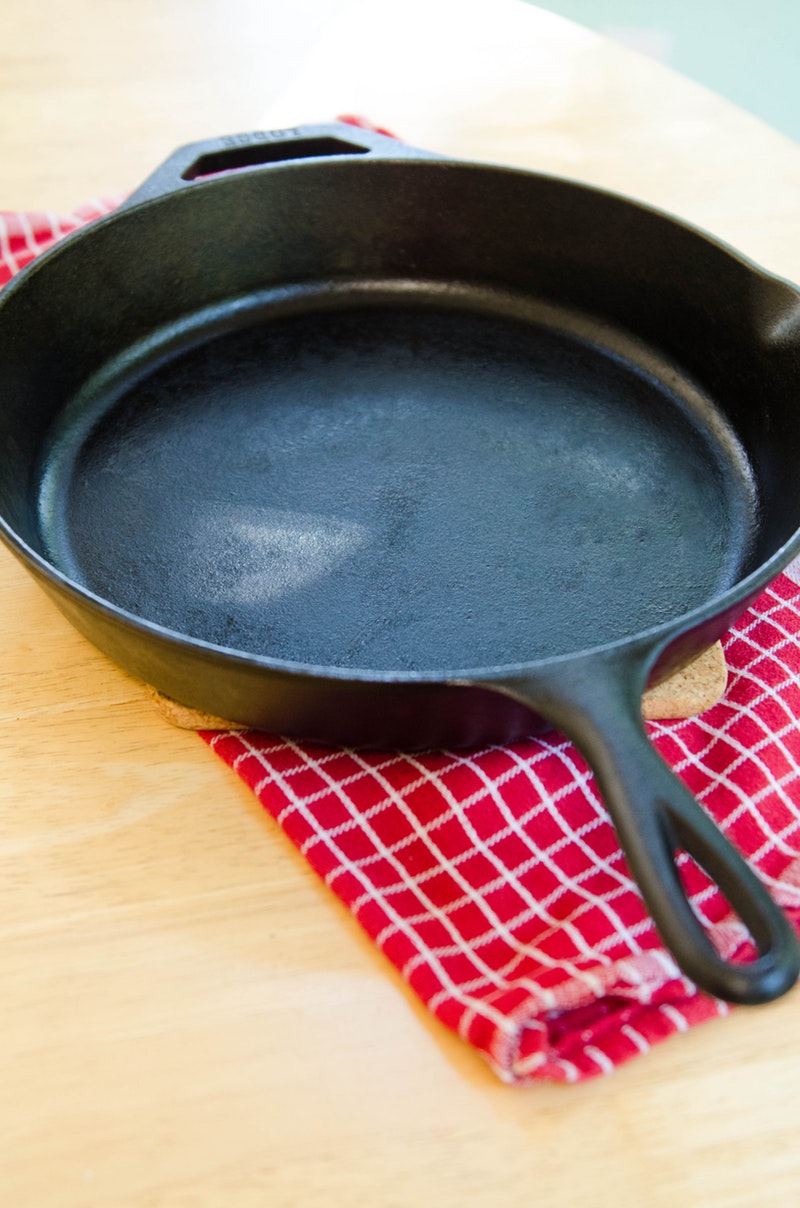
When talking about non-stick pans, it’s pretty hard to beat a well-seasoned cast iron pan. A few months ago I wrote about why cast iron pans really are a great investment- and this past weekend we took the plunge and actually bought one and I am super excited about it! While the pan we bought is advertised as being pre-seasoned, I know better than to just start whipping up my favorite foods! There are a couple things to know about “seasoning” your cast iron pan, and while it may seem a little inconvenient at first, it will be totally worth it when your end result is a perfect non-stick pan!
What exactly does it mean to season a cast iron pan? Basically, you’re building up the oil layer on your pan to the point that it will not rust and gives you a wonderful nonstick finish! You can use shortening, vegetable oil, or even lard- but if you do use an animal-based oil you’ll want to make sure you are using your pan regularly to prevent it from going rancid.
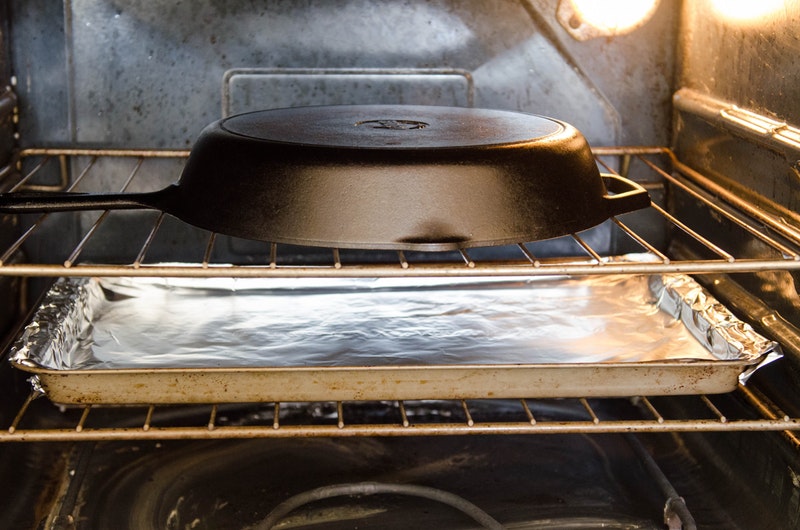
Initially, seasoning your pan is going to take a little more work. Preheat your oven to 450 degrees. I chose to do this on a cold day, and it was the perfect way to heat up my house ;). Rub your entire pan (inside and out) with cooking oil- I used canola. Use a paper towel to buff your pan, removing any excess oil. Put your cast iron in the oven for 30 minutes. It’s a smart idea to place a cookie sheet or pan beneath your cast iron in case any oil drips off, but I didn’t have any problems with this since I did a good job buffing ;). After you pull it out of the oven, repeat the whole process again. You want to do this 3-4 times to create a really good seasoning layer on your new cast iron pan. I did mine 4 times, and the result was beautiful. I tested it out that night, and while I would normally stress about getting burnt bits of food off the pan, they came right off in my adequately prepped cast iron! I tend to overdo everything, so if this process seems a little time-intensive, set your oven to 400 degrees and let your pan bake for 1 hour. At that one hour mark, turn the oven off and let your pan cool in the oven. This is also a great method to use when you feel like your cast iron pan could use a little re-seasoning (i.e. it looks rusty, food is starting to stick).
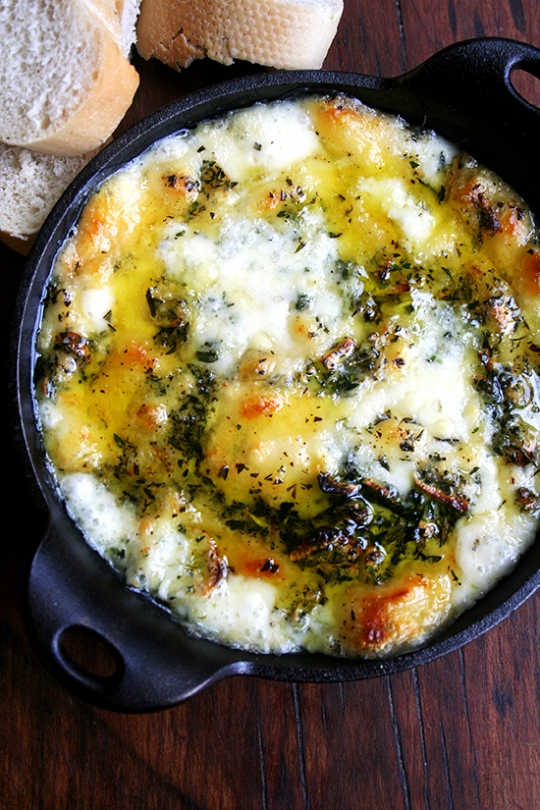
Every time you clean your cast iron pan, you’ll want to put a fresh layer of oil on the interior to keep up that seasoned layer. You can do the whole thing if you want, or just the interior for those day to day seasonings. And really, the best way to keep up this seasoned layer is to cook with it again! The thing about cast iron is that it will be more seasoned the more you use it. Every time you cook with oil you are strengthening that seasoning layer. So cook away! When you first cook with your cast iron pan, you’ll want to cook recipes that will help your pan achieve that perfectly seasoned milestone. Sauteing veggies, pan-frying chicken, baking cornbread etc. will all help your pan reach the ideal seasoned layer that cast irons are known for!
With that said, you’ll also want to avoid cooking certain foods in your cast iron pan until it has been used for awhile and the pan is very seasoned. Avoid highly acidic foods like tomatoes, beans, etc. Also take note- if your pan becomes sticky, it’s because there’s too much oil built up. You can fix this easily by baking your pan upside in the oven for an hour or so at 400 degrees. Once it has cooled, you can repeat the process if needed.
While the seasoning may take a little more effort, it will be well worth it when you have a healthy and nonstick skillet that will last your family ages!
- https://www.seriouseats.com/2016/09/how-to-season-cast-iron-pans-skillets-cookware.html
- https://www.lodgemfg.com/use-and-care/what-is-seasoning
- https://www.thekitchn.com/how-to-season-a-cast-iron-skillet-cleaning-lessons-from-the-kitchn-107614
- https://keeprecipes.com/recipe/howtocook/barefoot-contessas-baked-fontina-0
 Camille Hoffmann
Weekly Newsletter Contributor since 2014
Email the author! camille@dvo.com