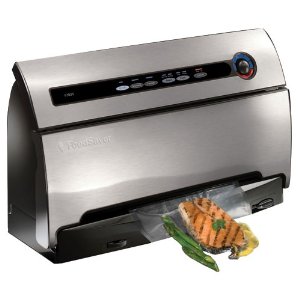
Why Vacuum Sealing is A “Best Practice”
Prepping and freezing meals ahead is such a smart way to manage time, especially during the warmer months. But if it’s not done right, freezing meals can be a waste of time and money, due to a loss of quality.
Quality? Yes. A loss of flavor and a deterioration in food texture means a loss of quality. And the number one cause for the loss in these areas is freezer burn. Ewww, freezer burn is nasty. And there’s not one single thing you can do to reclaim food that’s been freezer burnt. Sure, it’s still edible, but ewww…
So the “best practice” is to prevent it in the first place. And the best way to do that is with vacuum sealing—a best practice when freezing food.
The vacuum packaging process extends the life of foods by removing most of the air from the sealed container, thereby reducing oxidation, which affects nutritional value, flavor and overall quality. Removing air can also inhibit growth of microorganisms, which can cause problems under certain conditions. For instance:
MOLD: This is easily identified by its fuzzy characteristic. Mold can’t grow in a low oxygen environment, therefore vacuum packaging will drastically slow mold growth.
YEAST: This results in fermentation, which can be identified by smell and taste. Yeast needs water, sugar and a moderate temperature to grow. It can also survive with or without air. While refrigeration slows the growth of yeast, and freezing stops most yeast growth, removing air guarantees no possibility of yeast adulteration whatsoever.
Besides effectively handling the mold and yeast issues, vacuum packaging also effectively handles the storage life issue. If long-term storage is important to you, consider this:
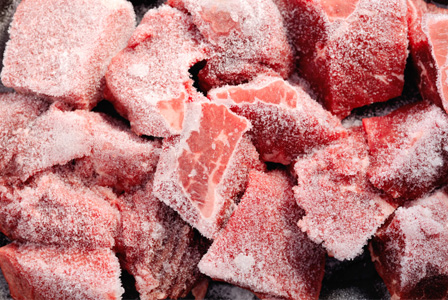
Beef, pork, lamb, and poultry can be frozen normally for 6 months. When vacuum sealed they’ll store without loss of flavor or nutrients or deterioration in texture for 2-3 years.
Fish can be frozen normally for 6 months. When vacuum sealed it will store without loss of flavor or nutrients or deterioration in texture for up to 2 years.
Ground meat can be frozen normally for 4 months. When vacuum sealed it will store without loss of flavor or nutrients or deterioration in texture for up to 1 year.
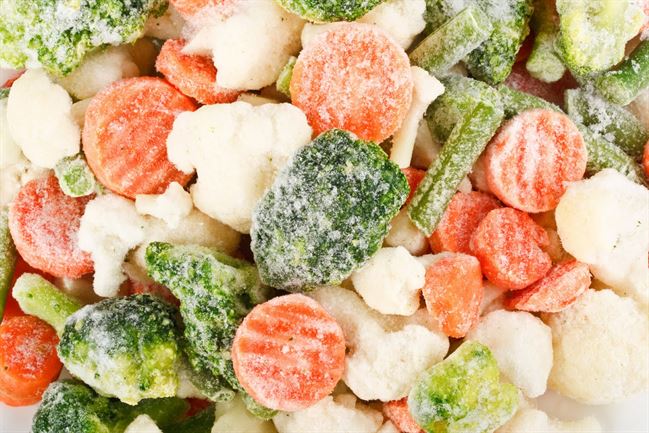
Most vegetables can be frozen normally for 8 months. But when vacuum sealed, they’ll store for 2-3 years.
Apricots, plums, peaches, and nectarines can be frozen normally for 6-12 months. When vacuum sealed, they’ll store for 1-3 years.
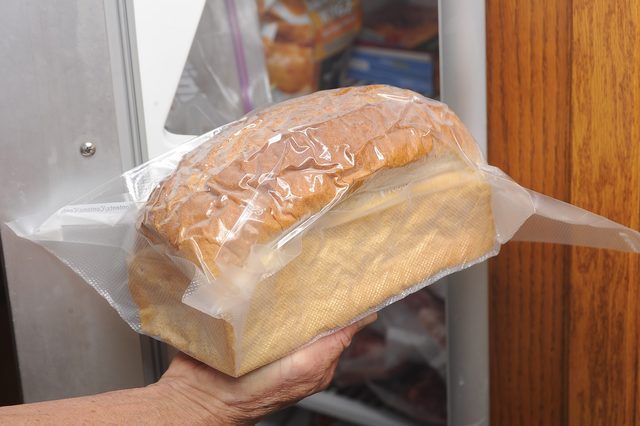
Bagels, bread, and pastries can be frozen normally for up 6-12 months. When vacuum sealed they’ll store for 1-3 years. (Freeze them in a plastic bag first, then as soon as they’re frozen, remove them from the plastic bag, place them in a vacuum sealing bag, and seal. This step protects them from being crushed when being vacuum sealed.)
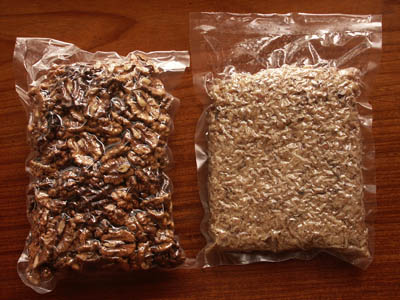
Nuts and seeds can be frozen normally for 6 months. When vacuum sealed, they’ll store for 2 years.
Coffee beans can be frozen normally for 6 months. Vacuum sealing them increases this to 2-3 years. And pantry storage is drastically affected as well: 3 months in the bag they come in, but 1 year when vacuum sealed.
Ground coffee can be frozen normally for 6 months. Vacuum sealing it increases this to 2 years. And as with coffee beans, pantry storage is drastically affected: 1 month in the container it comes in, but 6 months when vacuum sealed.
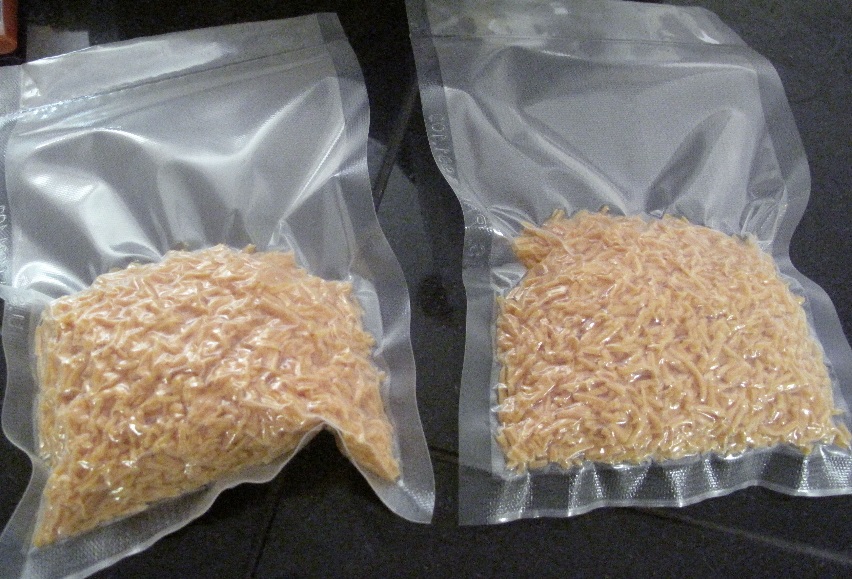
Beans, grains, pasta, rice, dry milk, dried coconut, flour, and sugars can be pantry stored in the packages they come in for 6 months. BUT (and this is a BIG DEAL), you run the risk of weevil infestation. When vacuum sealed for pantry storage, they’ll store for 1-2 years with no chance of weevil infestation at all!
A tip for pantry storage of vacuum sealed products: The best way is to put the product in an oversized bag. Then each time you cut the bag to remove some of the product, you can reseal it in the same bag. Keep this process going—cut bag, remove some food, reseal bag—until the bag’s almost empty.
And a tip for storing uncooked meatloaf, soups, stews, rice casseroles: Freeze them in baking dishes, then as soon as they’re frozen, pop them out of their dishes and into vacuum sealing bags and seal. Be sure to label each bag with the contents, date made, and any pertinent cooking or baking instructions.
When ready to use, defrost a sealed meal in the refrigerator. NEVER defrost on the counter.
And here’s a nice bonus: Vacuum packaging will also protect non-food items from oxidation, corrosion, and moisture. For instance:
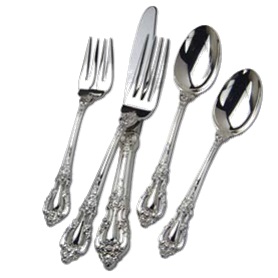
Protect your fine silver place settings and eliminate the need for polishing. To vacuum package these, first wrap fork tines in soft cushioning material such as a paper towel (to avoid bag punctures).
When camping or backpacking, vacuum packing your matches, maps, flashlight, and extra clothing will keep them dry and compact. (Be sure to have some way to open the bag.)
Or when sailing or boating, vacuum package your film and a dry change of clothes. (Be sure to have some way to open the bag.)
To have fresh drinking water when picnicking, camping, or backpacking, simply fill a vacuum sealing bag with ice and seal it. As it melts there’ll be no leakage, and you can just cut a corner of the bag and drink straight from it. (A small pair of scissors will make cutting a corner easiest.)
Keep auto, boat, or home emergency kits dry and organized. Vacuum package flares, batteries, flashlights, matches, candles, and other necessities.
I’ve had my vacuum sealer for a couple years now, and I use it several times a week (probably once a day in the summer). It’s more than earned back its cost in the amount of food it’s saved from freezer burn (ewww). I hope you’ll seriously consider this appliance, if you don’t already have one. When it comes to prepping and freezing meals ahead of time, vacuum sealing really is a “best practice!”
Now I’ll close with a 5-Star recipe for meatloaf—a food that freezes well normally, and even better when vacuum sealed!
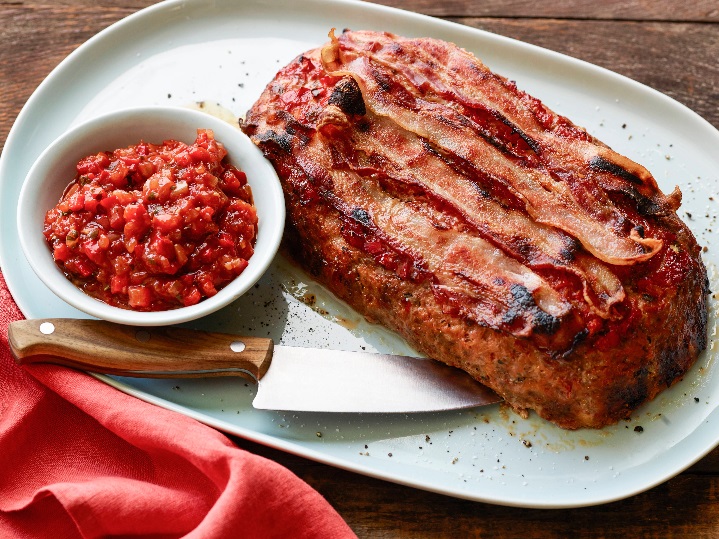
MEATLOAF (serves 8, or makes 2 meals of 4 servings each, or 4 meals of 2 servings each; it all depends on how you package it for the freezer)
3 tablespoons unsalted butter
¾ cup yellow onion, chopped
¾ cup celery, with leaves, chopped
½ cup carrots, peeled and finely chopped
¼ cup fresh parsley, chopped
4 cloves garlic, minced
2 eggs, lightly beaten
½ cup cream
½ cup ketchup
½ teaspoon ground nutmeg
½ teaspoon dried thyme
½ teaspoon dried marjoram
¼ teaspoon salt
1 teaspoon black pepper, freshly ground
2 pounds lean ground beef
½ pound ground veal
½ pound ground pork
¾ cup plain bread crumbs
1 tablespoon Worcestershire sauce
½ cup tomato sauce
3 thick strips bacon, uncooked
Canola oil or nonstick cooking spray
Preheat oven to 375°F. Grease a baking dish (large rectangular if baking the entire recipe). In a heavy skillet over medium heat, melt butter and sauté onion, celery, carrots, parsley, and garlic until softened and the moisture has evaporated, approximately 10 minutes. Remove from heat and set aside to cool.
In a large bowl, whisk together eggs, cream, ketchup, nutmeg, thyme, marjoram, salt, and pepper. Add in the meats, bread crumbs, and cooled vegetables; mix thoroughly.
Form the mixture into a large oval and place in baking dish.
Mix Worcestershire and tomato sauces together; spoon over top of meatloaf.
Place bacon strips lengthwise over the meatloaf (atop the mixed sauces).
Bake for 45 minutes on the middle rack of oven.
Remove from oven and allow meat to rest for 15 minutes before slicing. Serve immediately or vacuum seal and freeze as needed.
- www.chefsville.org
- www.news.asiantown.net
- www.storethisnotthat.com
- www.natureproducts.net
- www.ehow.com
- www.survivingshtfmom.com
- www.topratedkitchen.com
- www.foodnetwork.com
 Alice Osborne
Weekly Newsletter Contributor since 2006
Email the author! alice@dvo.com