BEST Ways to Prepare Meals for Freezing
In the next few weeks Cook’n readers are going to get some good ideas for freezing meals. Freezing meals is a good idea in and of itself, what with summer almost here. Who wants to spend beautiful days in the kitchen cooking? And who wants to heat up the kitchen cooking during hot weather?
So that said, I thought it might be smart to make sure we know how to properly freeze those meals you’ve worked so hard to make ahead. Freshness and quality of the food at the time of freezing affect the condition of frozen foods. If foods are frozen at the peak of their quality, they emerge tasting better than foods frozen near the end of their freshness. So freeze items you won’t use in the near future sooner rather than later. It’s important to store all foods at 0° or lower in order to retain vitamin content, color, flavor, and texture.
Now let’s look at the BEST ways to prepare meals for freezing, advice found on the Cooking Light website:
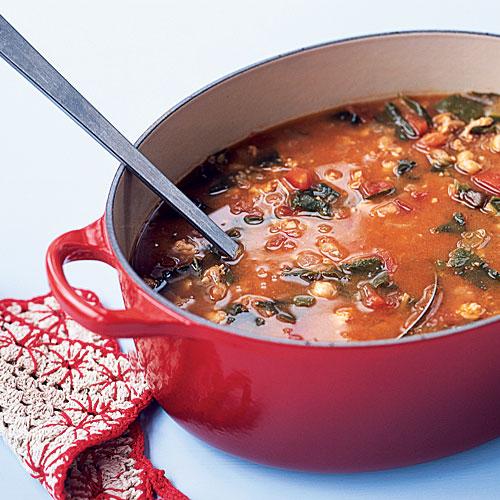
Step 1: Choose freezer-friendly foods. Some food is better suited to freezing and reheating than others. Casseroles, soups, stews, chili, and meat loaf all stand up to the freezer well.
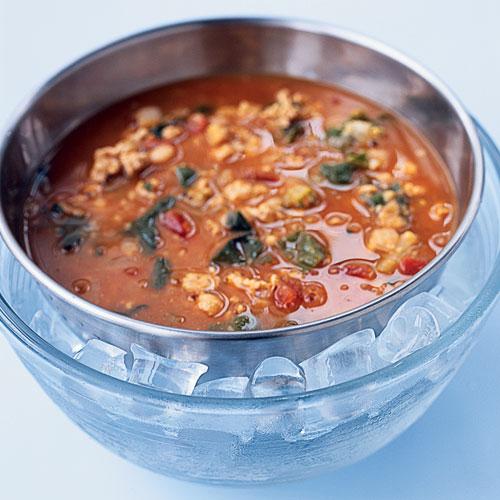
Step 2: Chill. To keep food safe, cool freshly cooked dishes quickly before freezing. Putting foods that are still warm in the freezer can raise the temperature, causing surrounding frozen items to partially thaw and refreeze, which can alter the taste and texture of some foods. Place food in a shallow, wide container and refrigerate, uncovered, until cool. To chill soup or stew even faster, pour it into a metal bowl and set in an ice bath—a larger bowl filled halfway with ice water. Stir occasionally.
For stews, braises, or other semi-liquid dishes with some fat content, chill completely, and then skim the fat from the top before freezing. Fat spoils over time in the freezer and shortens a dish’s frozen shelf life.
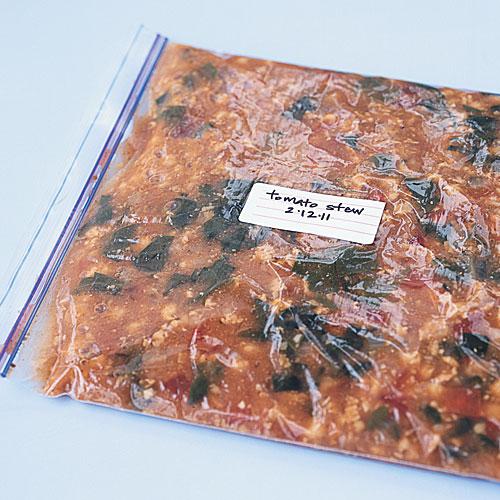
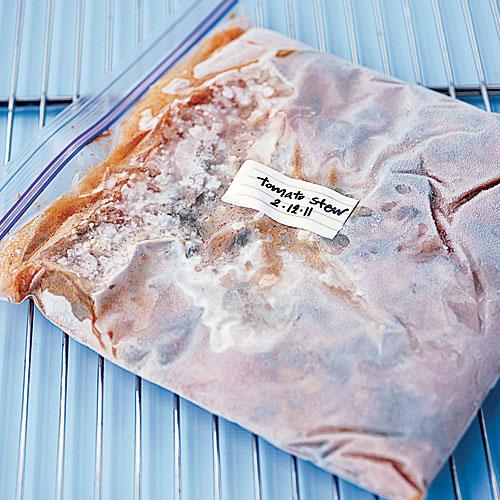
Step 3: Avoid freezer burn by using proper containers. Some folks like those plastic so-called freezer containers (with the blue lids), but it’s not easy to remove all the air before adding the lid. A better choice are moisture-proof zip-top plastic bags. It’s much easier to remove the air from them before sealing. And soups and stews stored in these bags can be placed flat and freeze quickly.
Store foods in small servings, no more than 1 quart, to help them freeze quickly. This also allows you to defrost only what you need.
Use a permanent marker to label each container with the name of the dish, volume or weight if you’ve measured it, the date you put it in the freeze, and any special cooking/baking instructions.
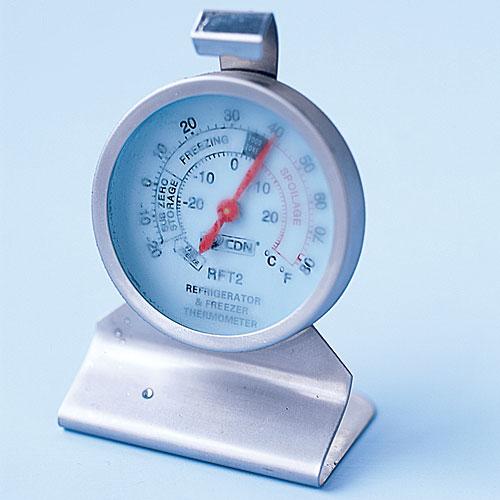
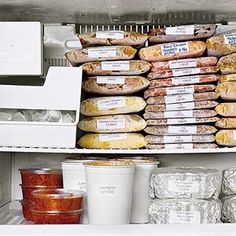
Step 4: Freeze Quickly! The quicker food freezes, the better its quality once thawed. Do not crowd the freezer—arrange containers in a single layer in the freezer to allow enough room for air to circulate around them so food will freeze rapidly. Food frozen slowly forms large ice crystals that will turn food mushy. Most cooked dishes keep for two to three months in the freezer. Use a freezer thermometer to ensure that your unit remains at 0° or below.
Step 5: Defrost properly. Defrost food in the refrigerator or the microwave. When defrosting in the refrigerator, be sure to allow enough time—roughly 5 hours per pound. To avoid risk of contamination, never defrost food at room temperature.
Finally, know which foods just aren’t freezer-friendly. While freezing is a terrific make-ahead strategy, not all foods do well with this approach. For instance:
Gravies and sauces thickened with cornstarch or flour will separate during the freezing process. The best way is to freeze an non-thickened sauce, and then add thickeners after thawing.
Fruits and vegetables with a high water content, such as lettuce and watermelon, will become limp and soggy when thawed.
Cooked potatoes develop a gritty texture when frozen.
Fully cooked pasta may become mushy once reheated. Slightly undercook pasta before freezing it.
Some dairy products, such as yogurt, sour cream, milk, and light cream, will separate when frozen.

And by the way, see this picture? This is a perfect example of how NOT to prepare a dish for freezing. You’re guaranteed freezer burn if all you do is cover the dish with foil. When you’re tempted to do this, refer back to Step 3. There’s nothing nastier than freezer burn, and there’s no recipe in the world that can recover from it!
- www.pinterst.com
- www.cookinglight.com
 Alice Osborne
Weekly Newsletter Contributor since 2006
Email the author! alice@dvo.com