Five Steps to a Gorgeously Seasoned Cast Iron Pan (Hint: We Used to Do It Wrong)
Cast iron. You always hear how amazing it is. You have that one friend who always rants about their cast iron cornbread recipe. You have that one other friend who brags that they “seasoned” their pan with deer’s blood (what’s up with that?). But whenever you bust out your dusty cast iron, it burns your food quickly, gets a bunch of gunk stuck to it, and makes you realize how much you love your non-stick pan.
From what I’ve seen in friends’, family’s, and acquaintances' kitchens, a lot of us love the idea of cast iron more than we actually love cast iron.
Maybe I can help with that. My wife calls my cast iron pan my mistress because I love it so much. And truthfully, cast iron cooking takes more than one article, but I think that at least we can start with dusting your pan off, scaring off whatever woodland creatures have made a home in it, and giving that thing a good cleaning and seasoning. Let’s get started!
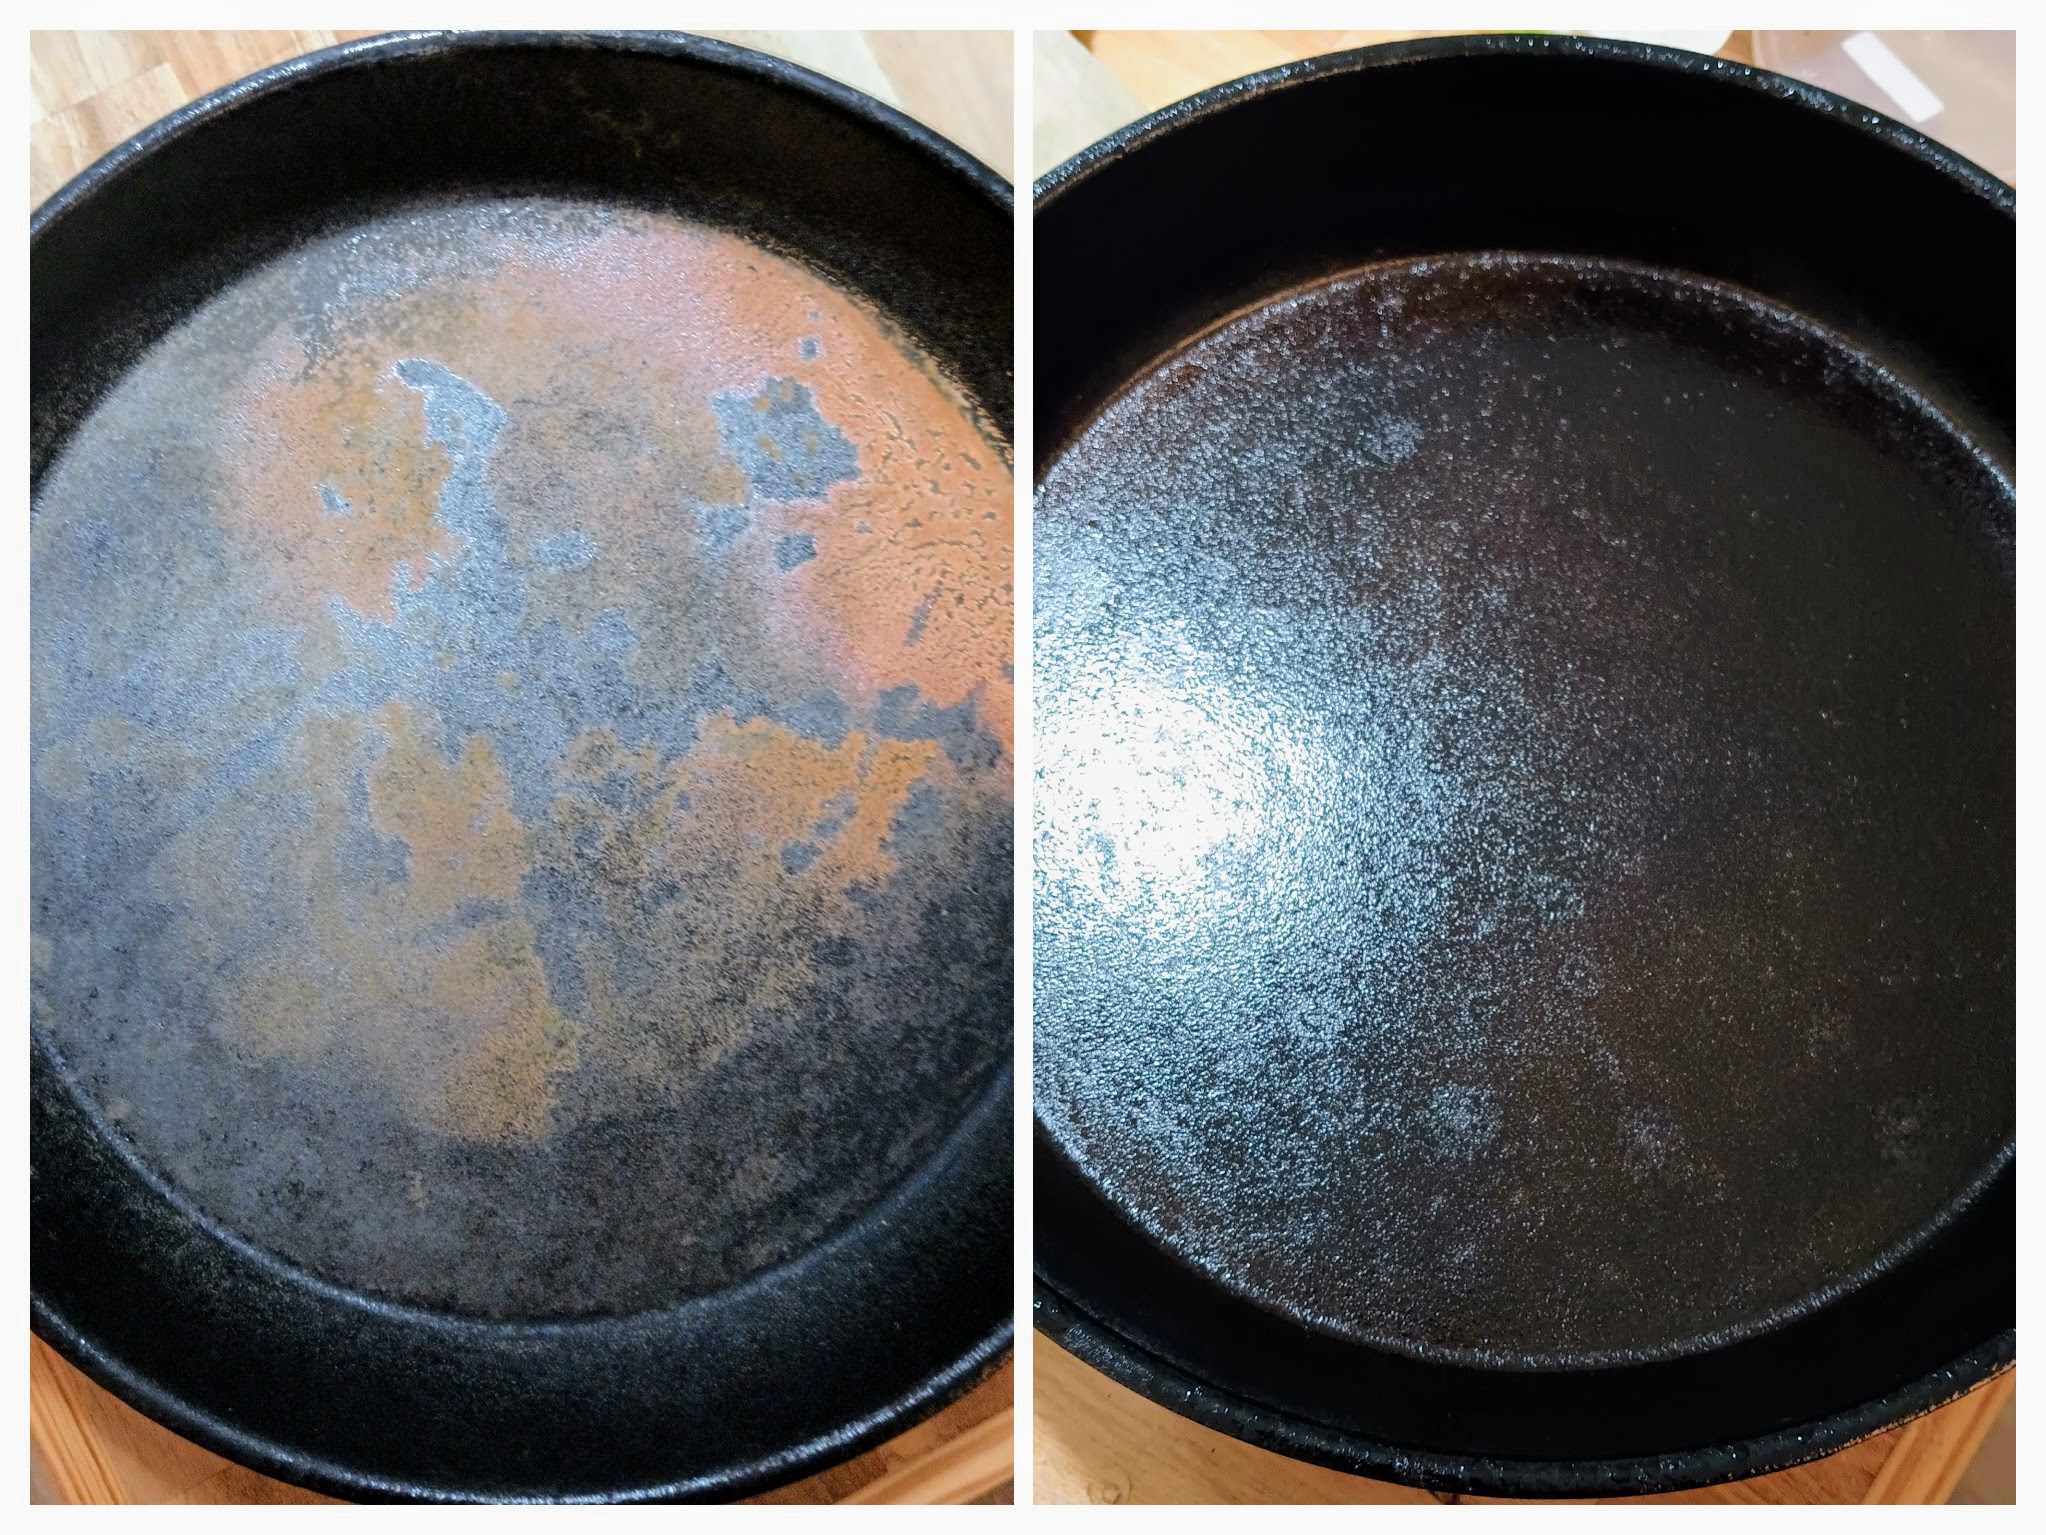
Step One: Get a Nasty Pan and Your Supplies
This is super easy. In this case, I borrowed one from a friend. Maybe your pan has accumulated rust (because it was left wet and unseasoned), or maybe it has a bunch of built-up, burned-on gunk.
Next, get your mise en place: steel wool, lots of salt, plant-based oil with a high smoke point (e.g., grapeseed oil), and soap. Yes, soap.
Step Two: We Were Wrong… Wash it With Soap

Doesn’t soap ruin your cast iron pan somehow? Like… it strips the seasoning or something?
Okay, two things. First, you’re going to reseason it at the end of this article, so don’t worry about stripping the seasoning. Second, soap used to be a big problem with stripping your pan’s seasoning, but that was back when soap was much harsher. These days, you can go ahead and wash a well-seasoned pan with soap, and you don’t need to be afraid of ruining it. In fact, I recommend it because far too many people leave old food and gunk in their pan. Please stop doing that.
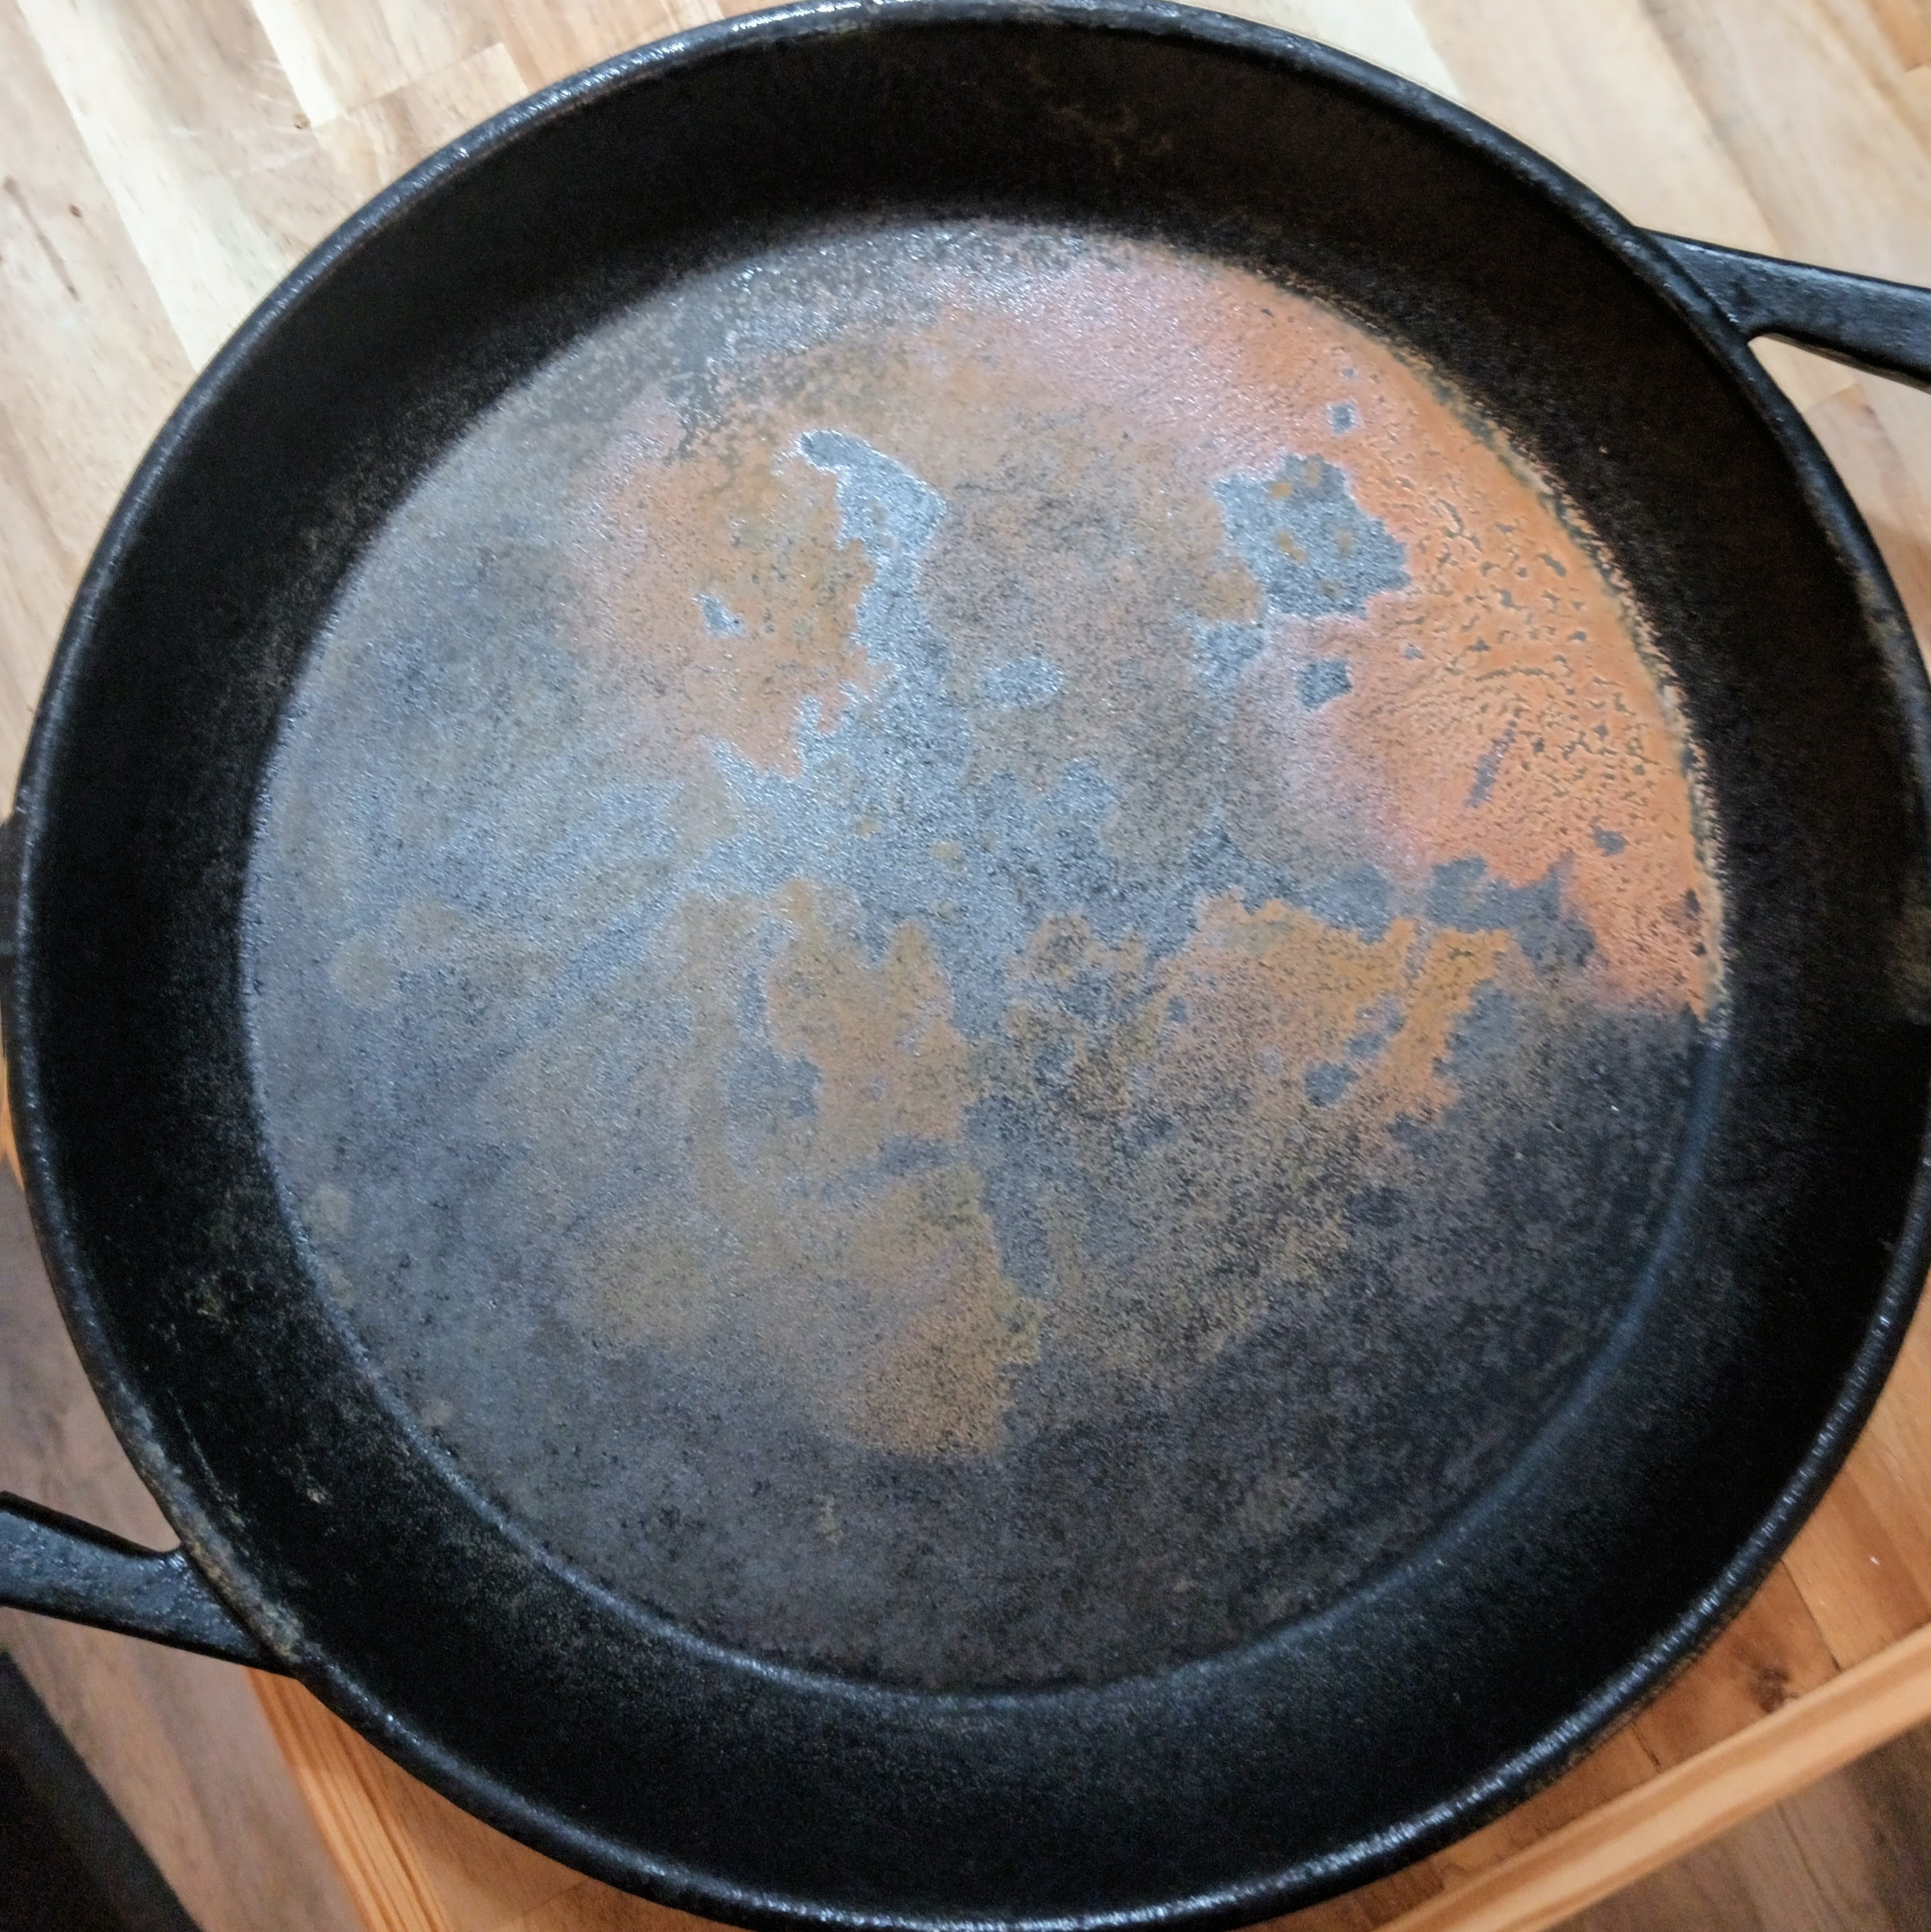
Scrub your pan as clean as you can with soapy water, then wipe it nice and clean. If you leave it wet, it will rust within just a few hours.
While the pan above looks generally clean, you’ll notice there’s still just a little bit of gunk built up along the edges and bottom. Soap and a scrub brush can’t get everything. Before we season this thing, we want to have as clean a slate as possible, which brings us to our next step.
Step Three: Scrub that Thing with Salt
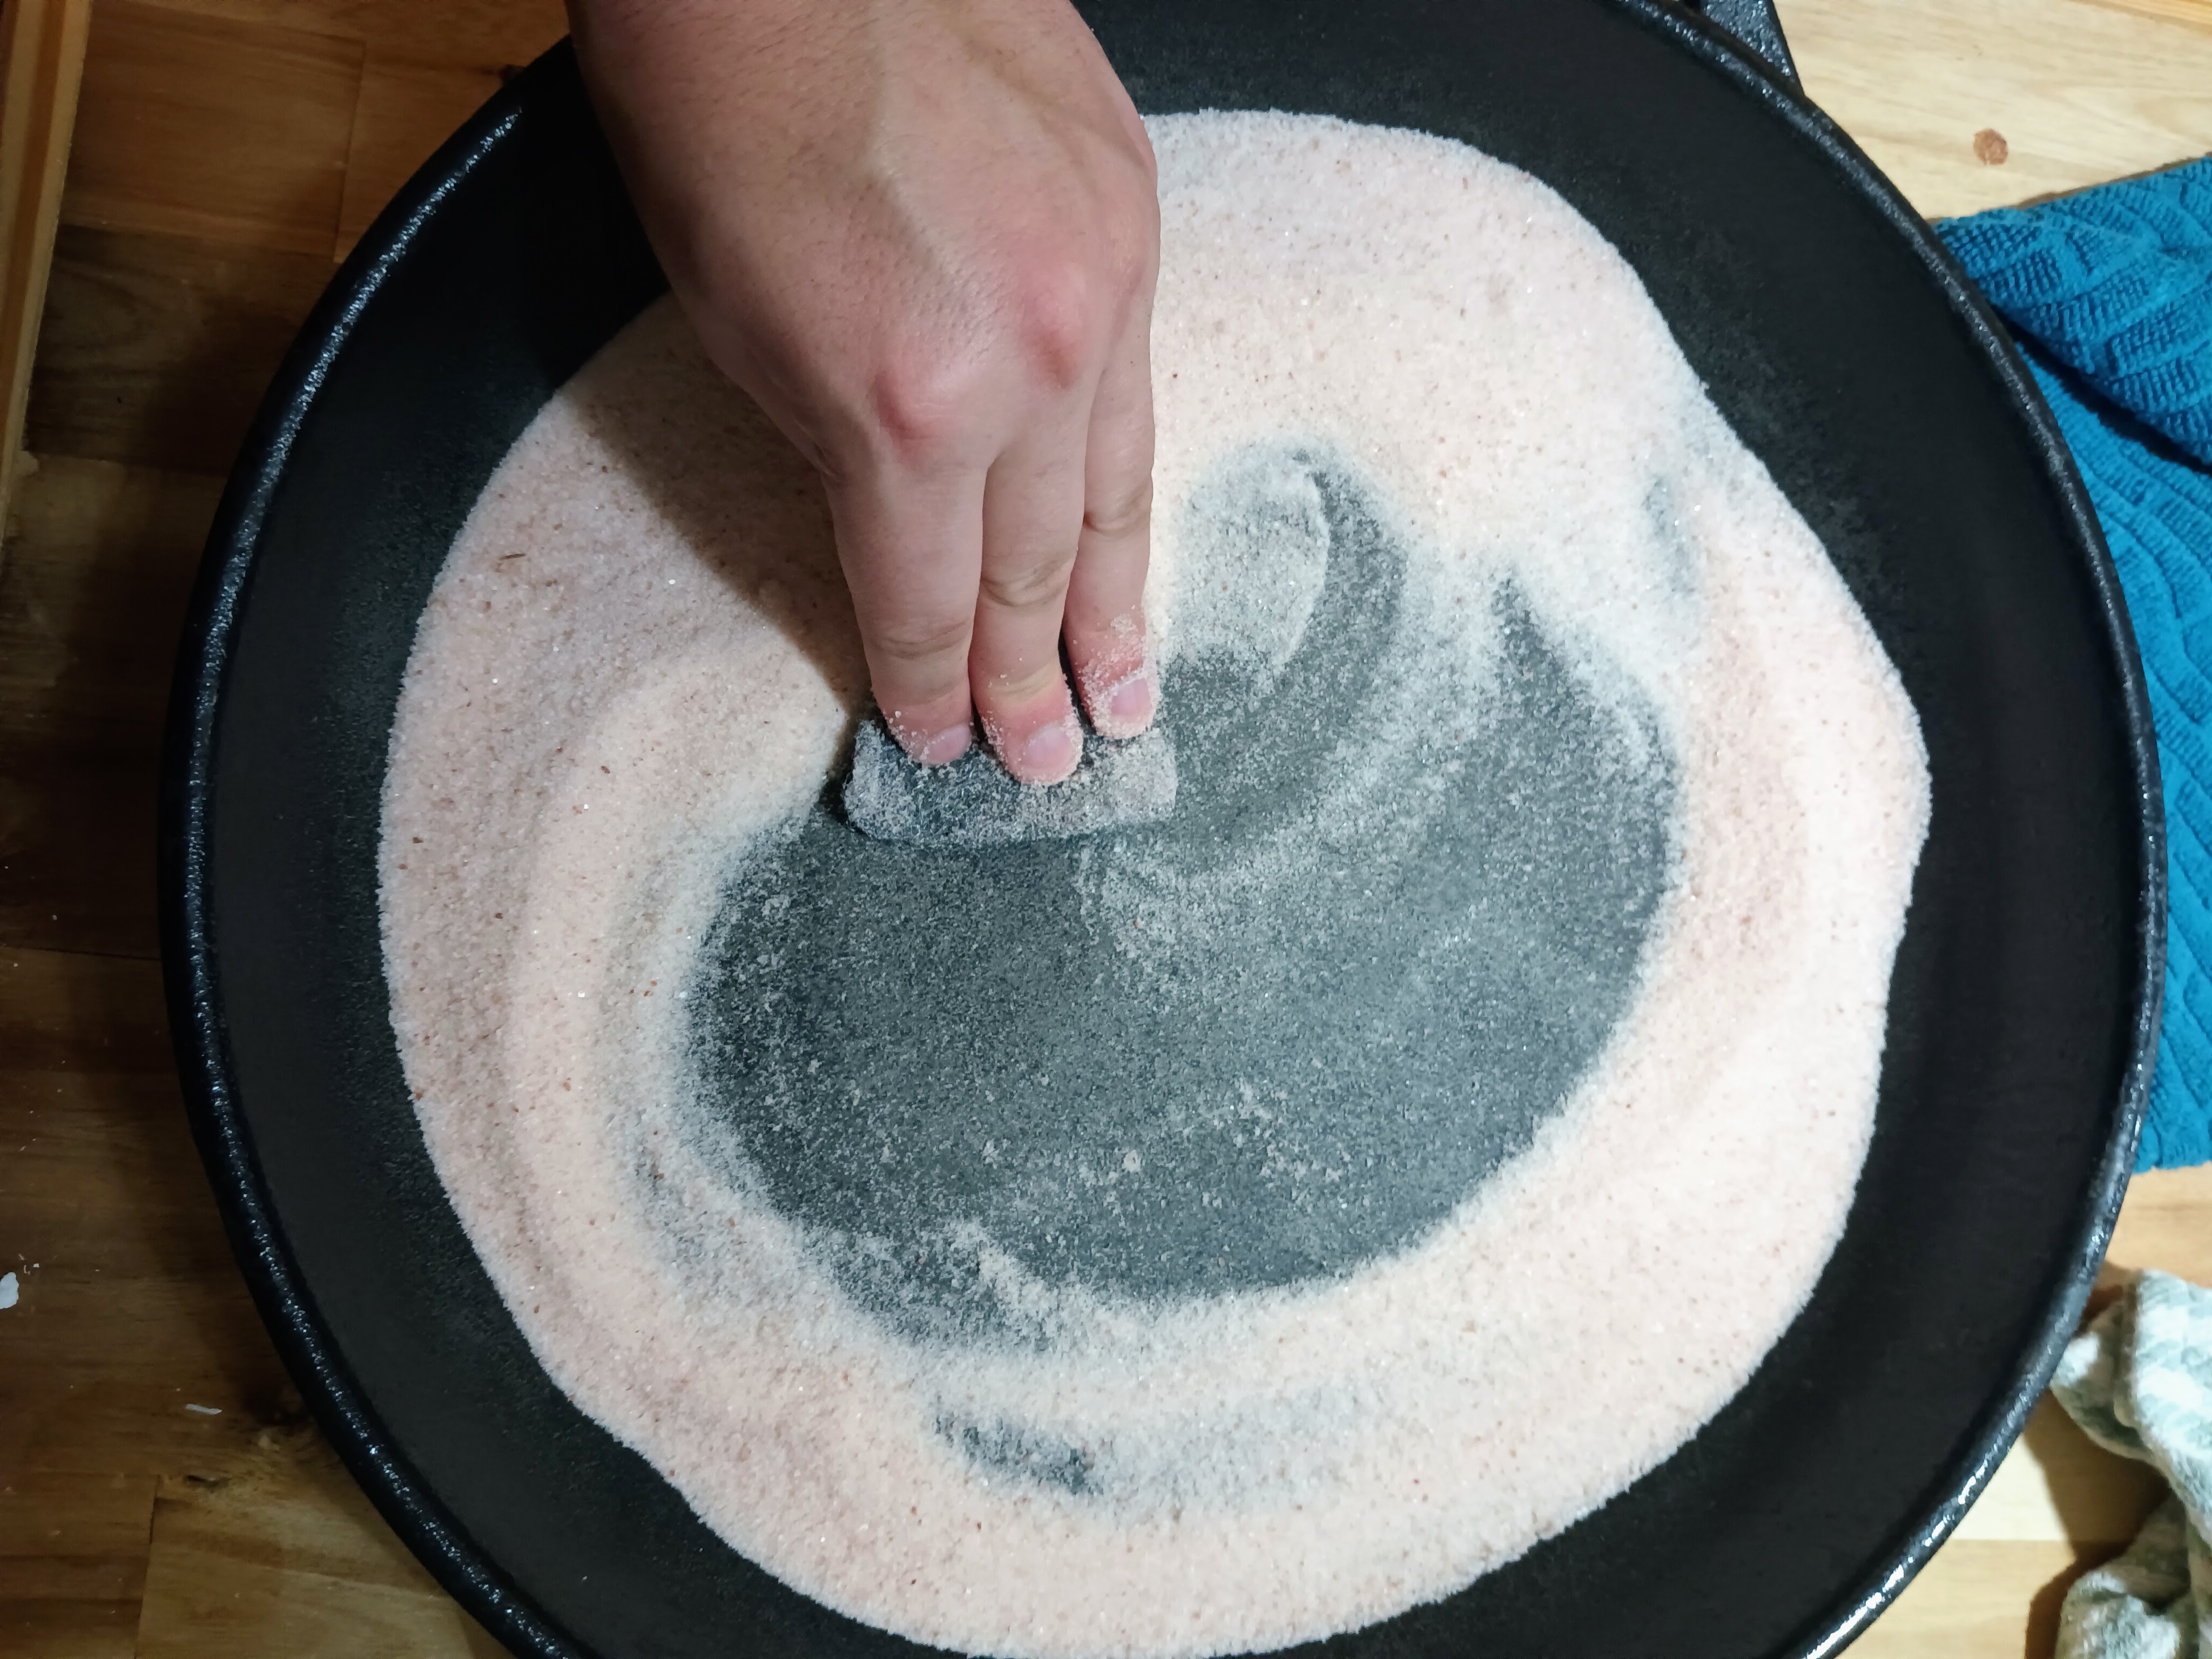
This is where you really want your steel wool. Take plenty of fine salt and bump it into your pan, then scrub it vigorously with steel wool. I thoroughly scraped up the bottom of the pan until I was certain it was nothing but cold iron, then I focused on the inner edges of the pan and got it nice and clean.
I’ll be honest with you—this takes some elbow grease. But just think of making some incredible bacon or incredibly silky eggs, and it’ll all be worth it.
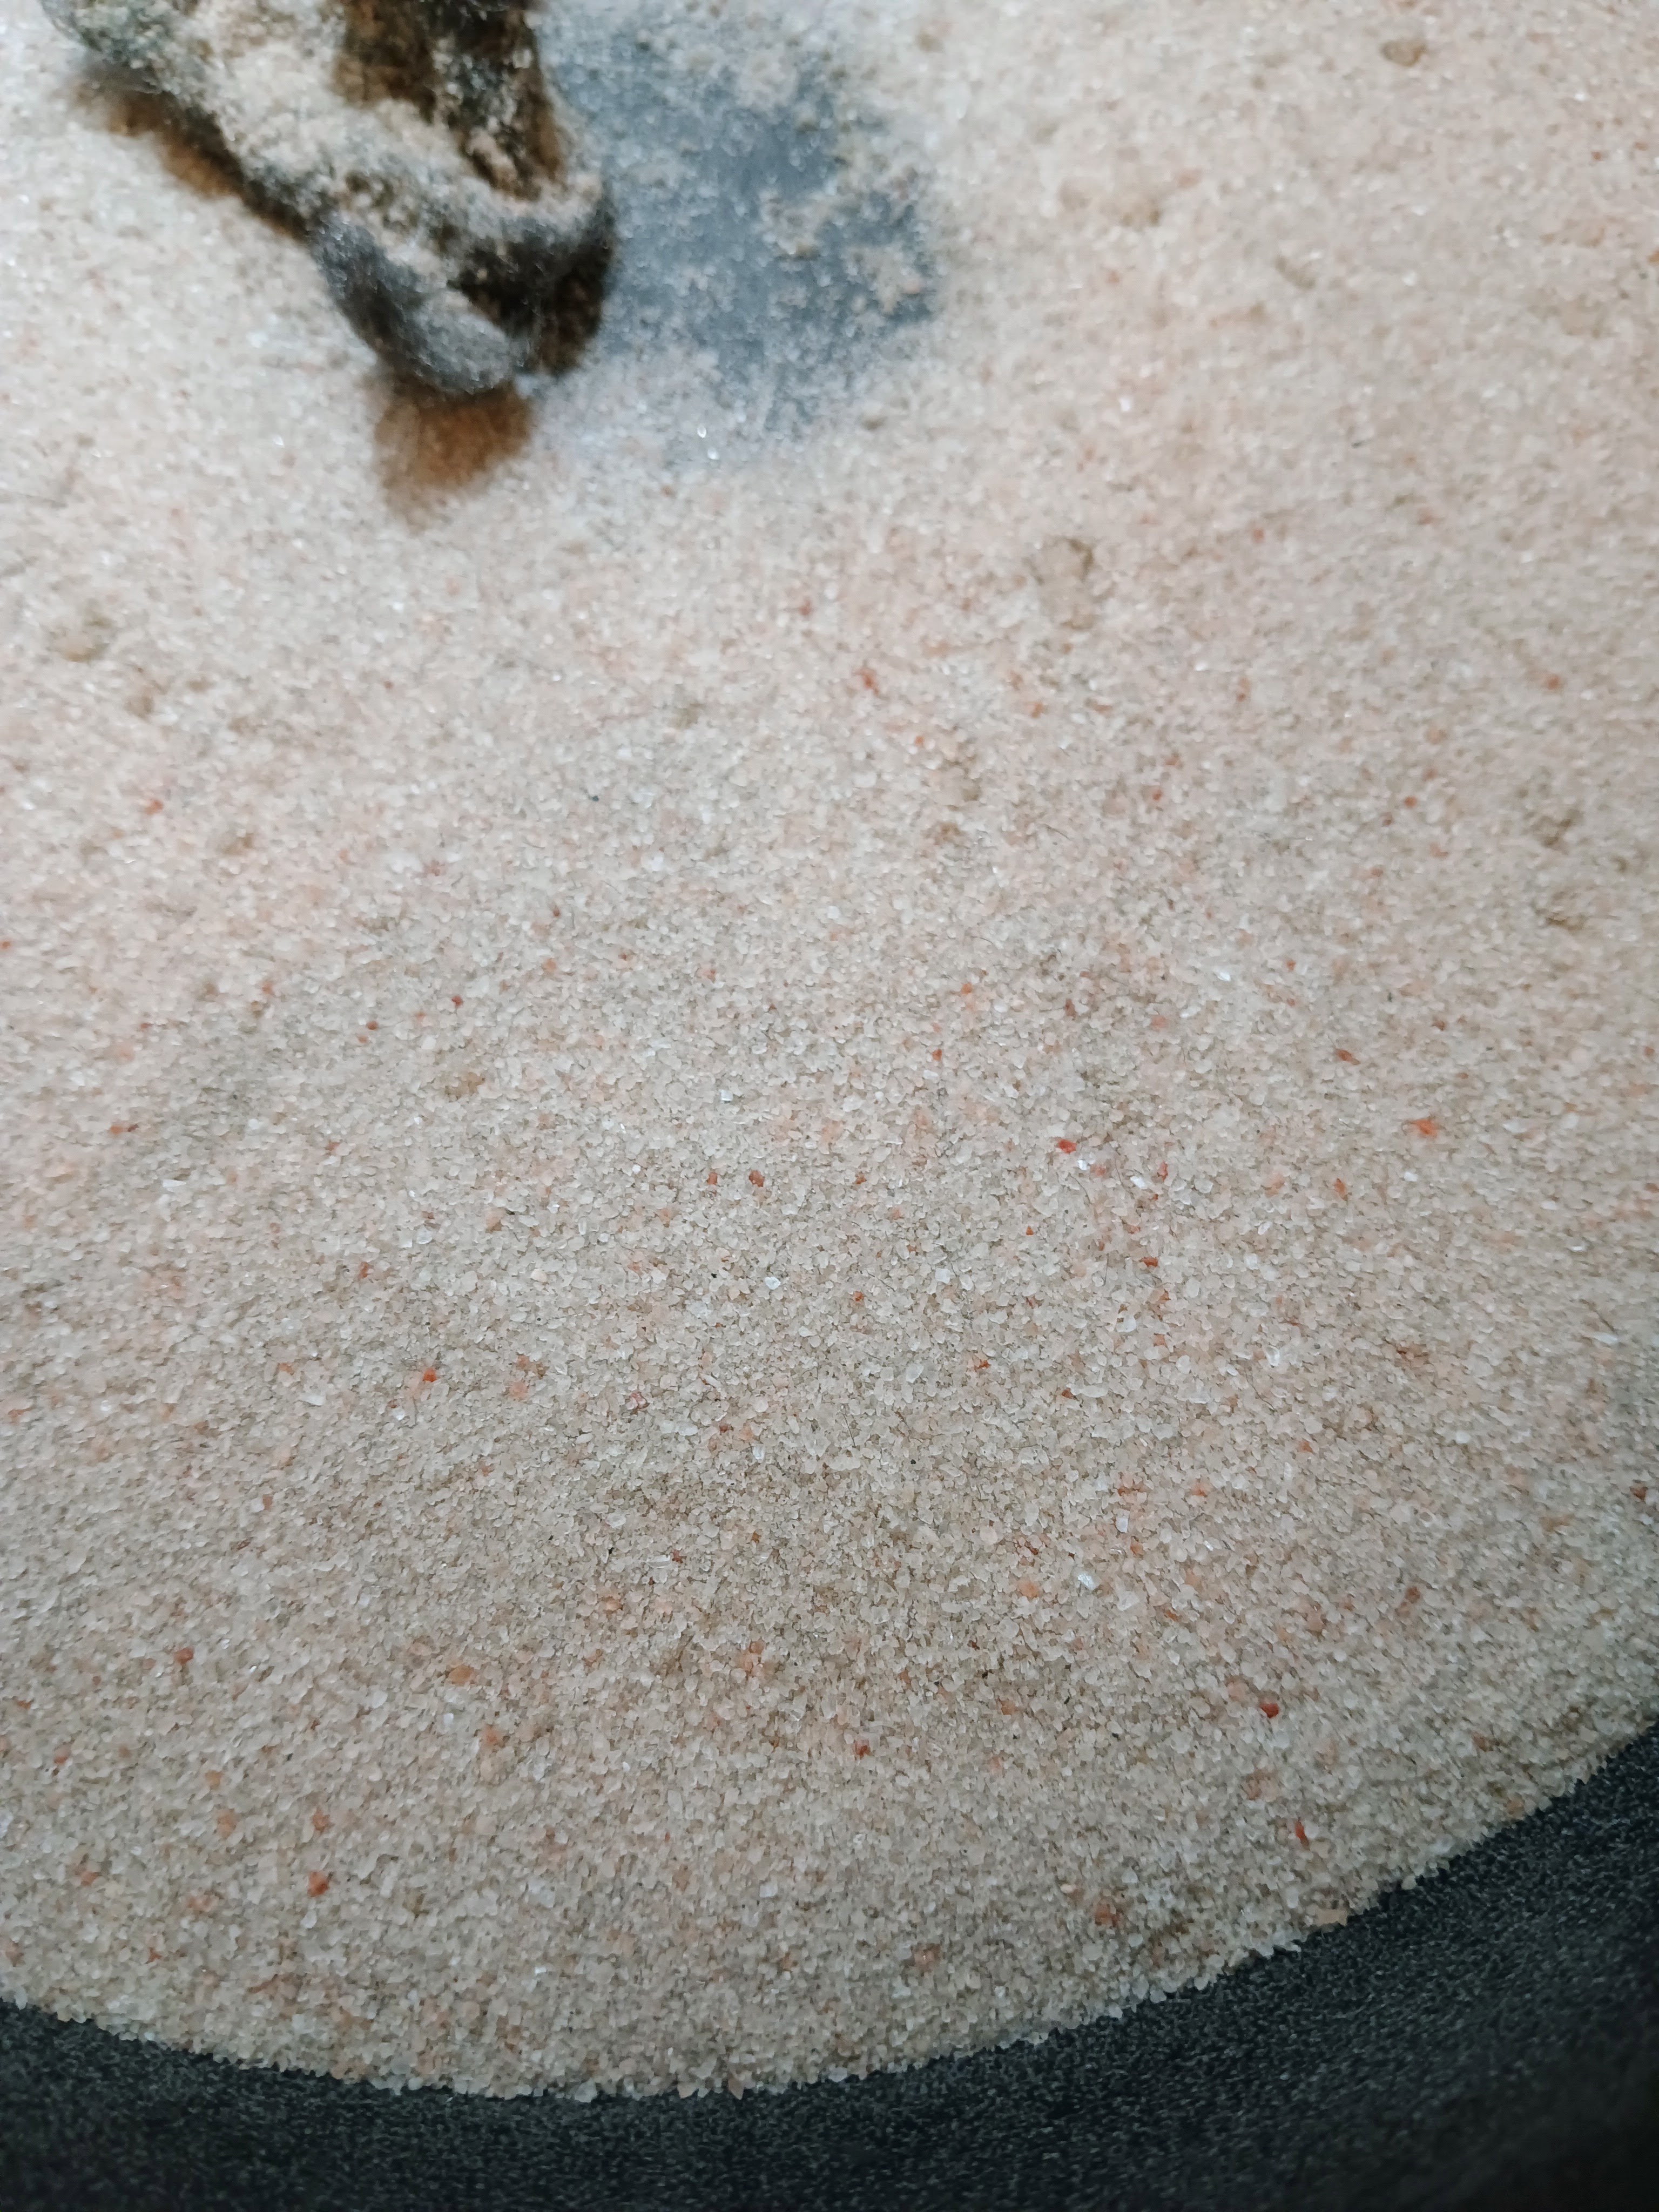
You’ll notice the salt in your pan turns gray as you scrub. That means it’s working! Professionals recommend you eventually throw out the salt and replace it until the next batch turns gray, then replace it again. Repeat this process until your salt no longer turns gray, and you’ll know your cast iron is perfectly clean and ready.
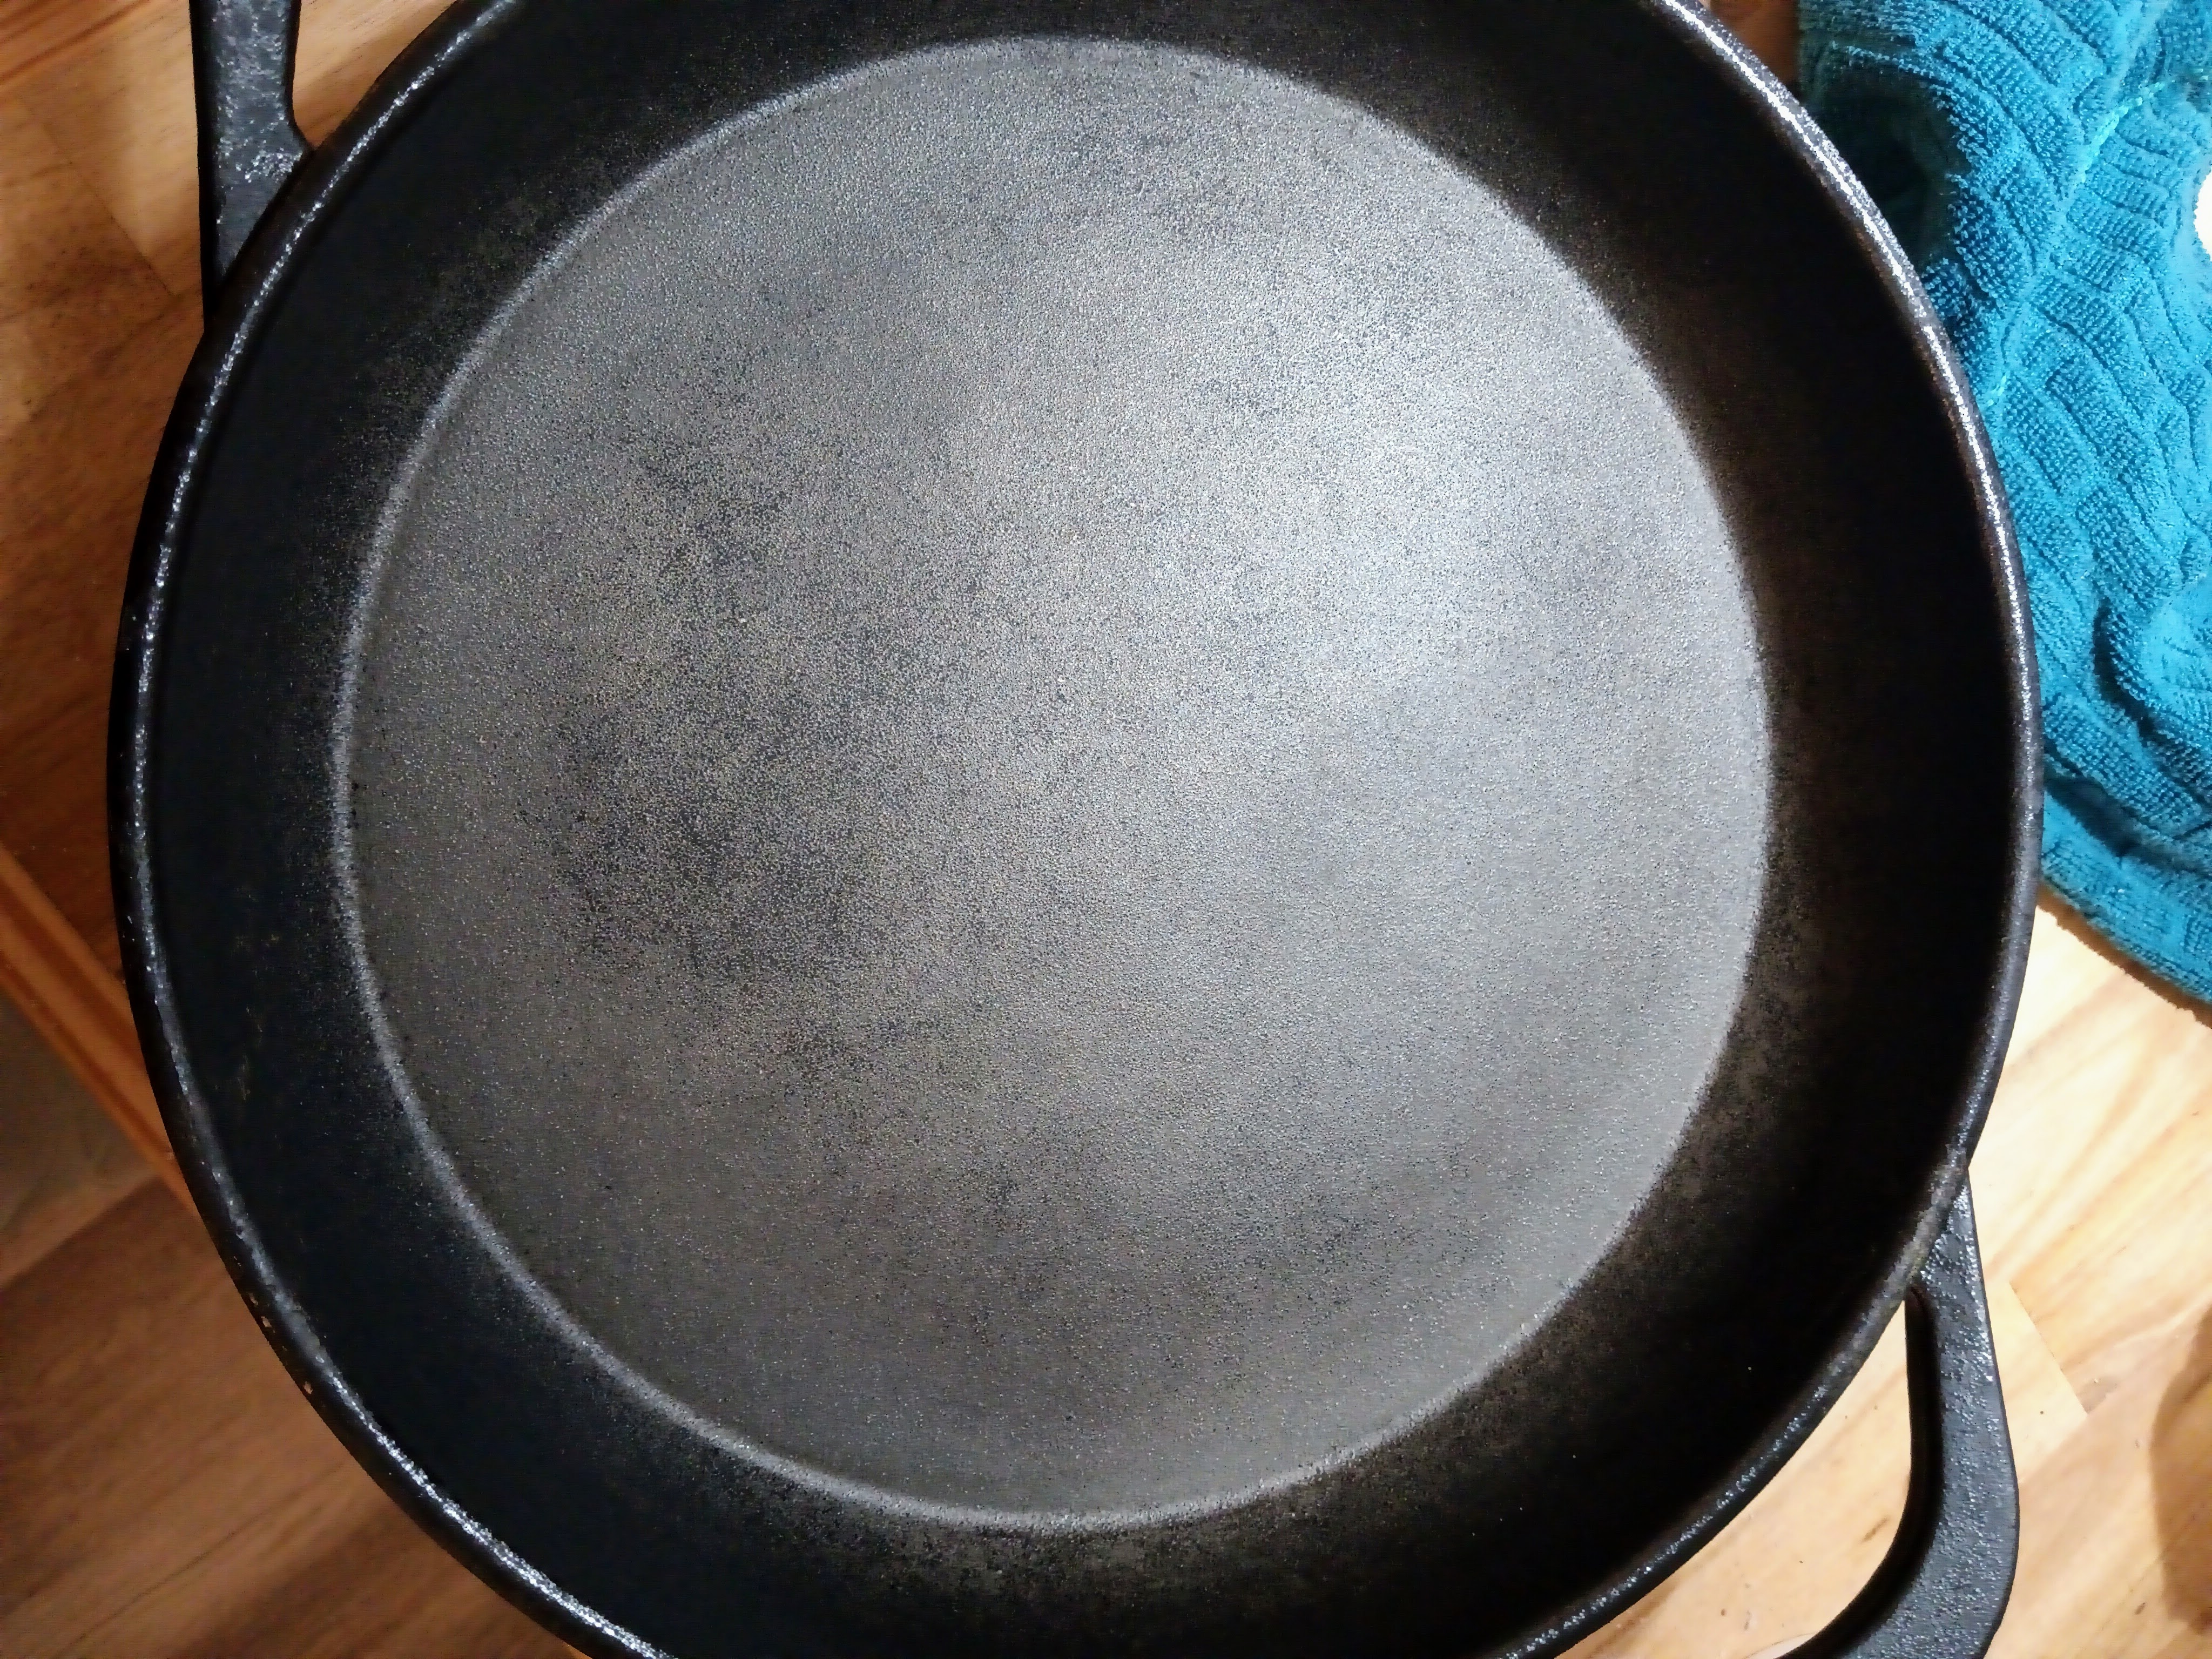
Step Four: Time to Season!
So what is seasoning? One unfortunate myth is that it has something to do with adding flavoring to your pan so that your food all tastes like that in the future. When I first started learning about cast iron, some fellow enthusiasts recommended seasoning it with garlic and herbs, and yes, I even had one friend who bragged that he’d seasoned his pan with blood so that meat tasted even more meaty.This is all false. Seasoning is simply the process of giving your pan a non-stick surface. It has nothing to do with flavor. It works by superheating oil to the point that it breaks down and then binds on the molecular level to the surface of the cast iron (science!!!). This is a process called polymerization
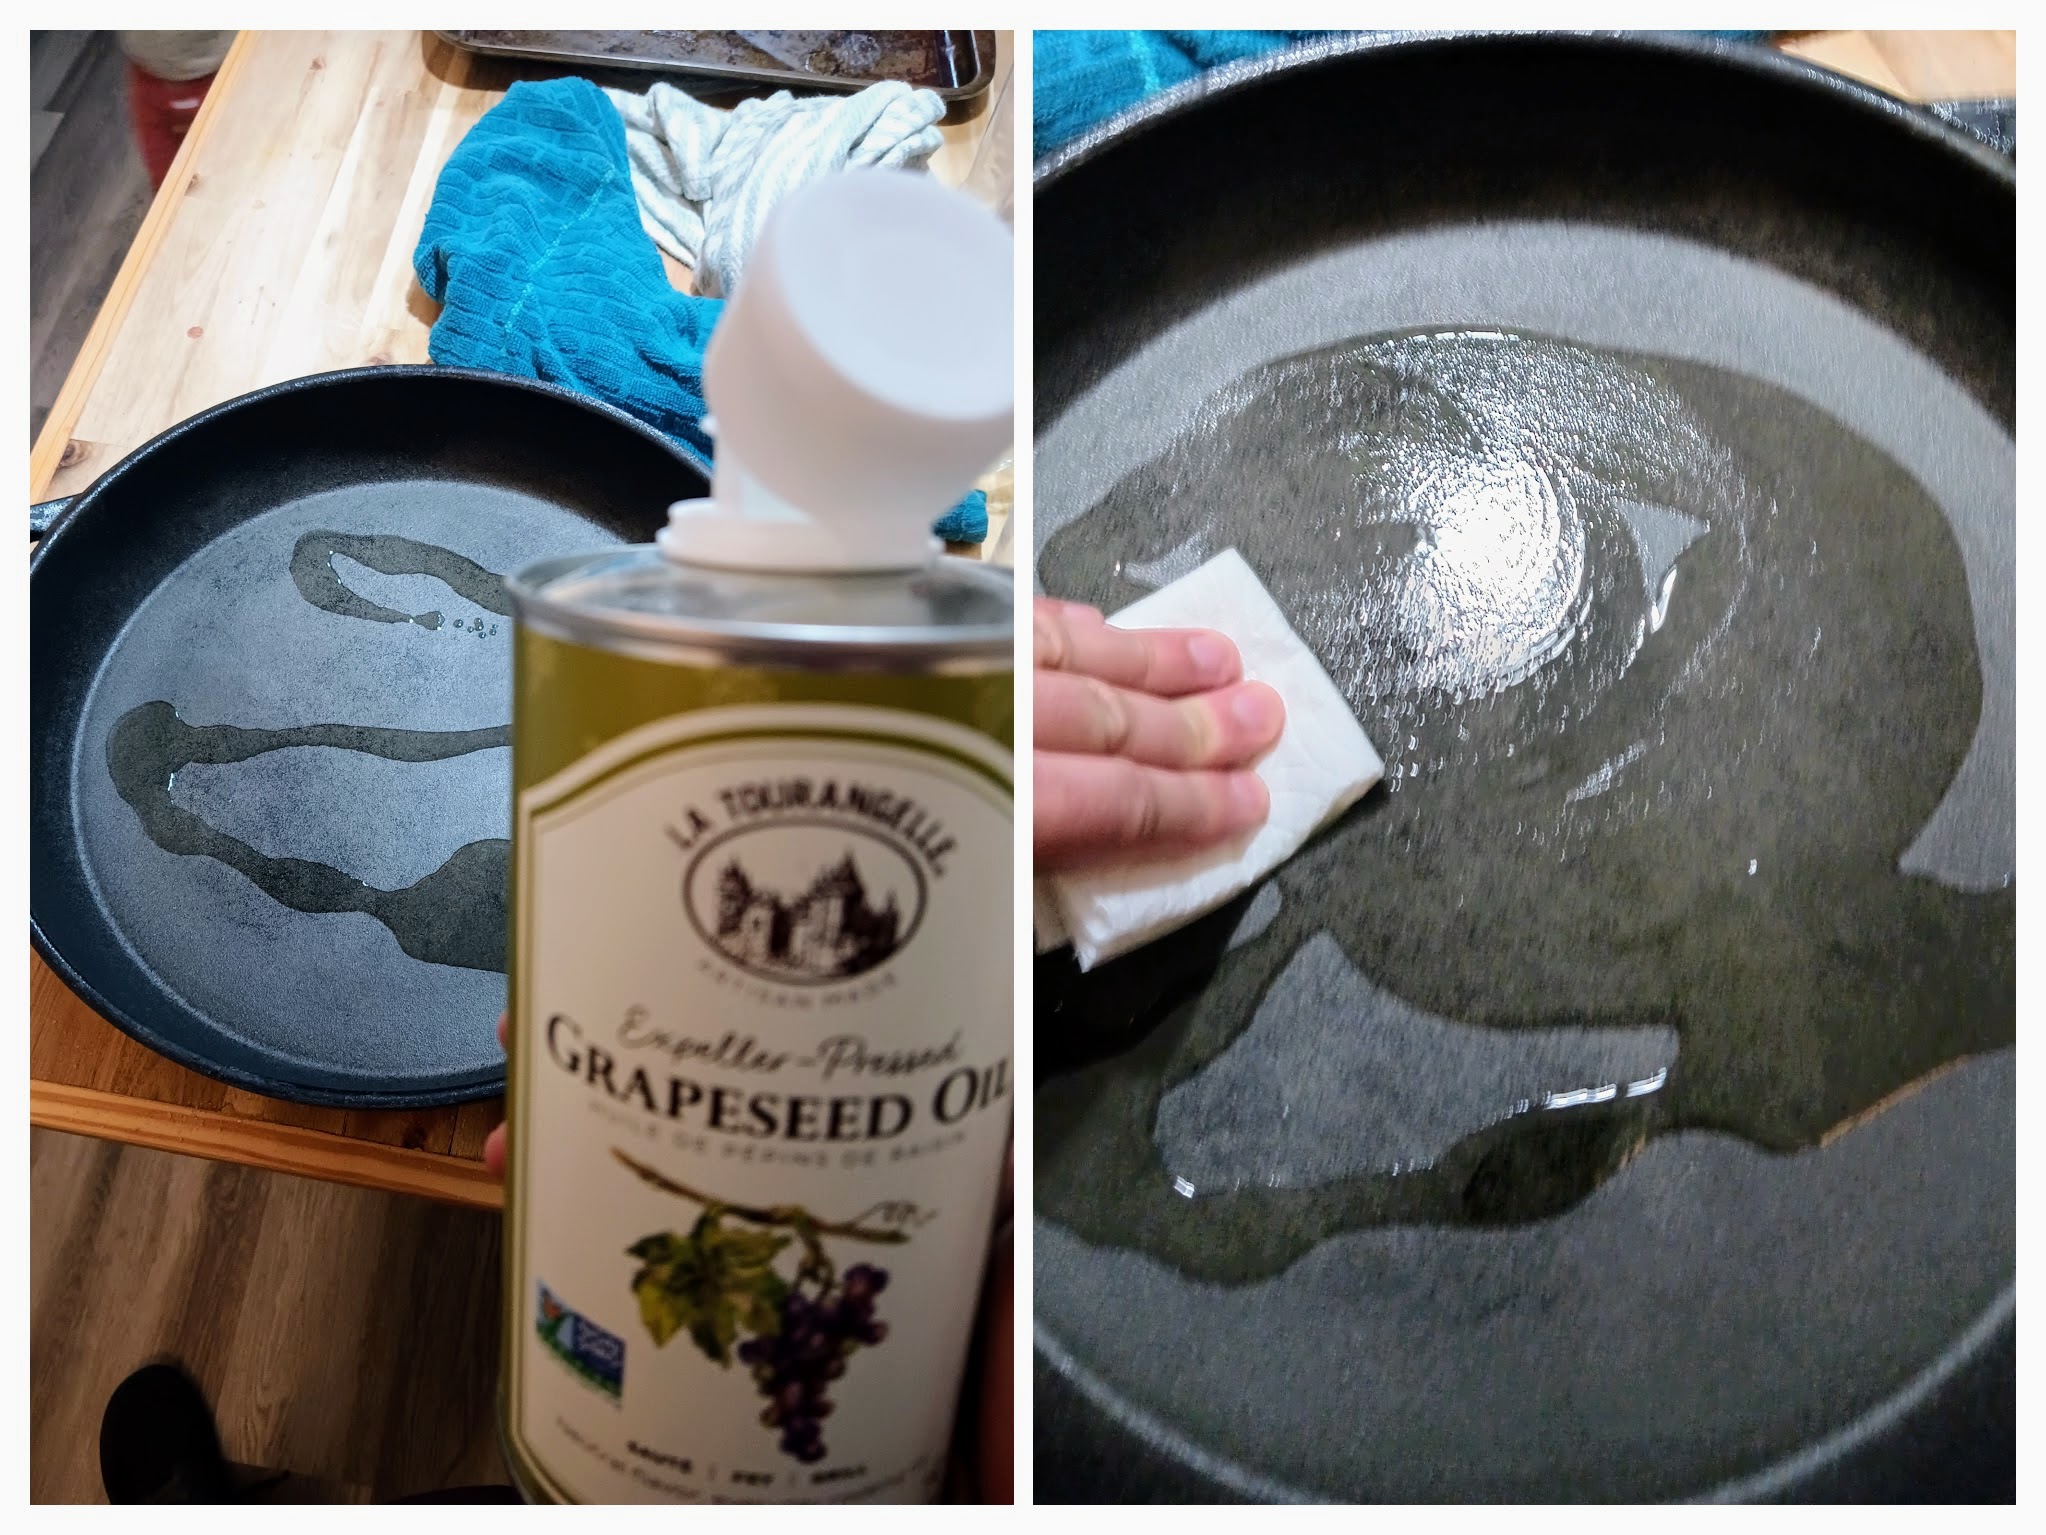
First, get a plant-based oil with a high smoke point, and use a paper towel to apply a very thin layer of it to your pan. Plant-based oil is better because it’s an unsaturated fat, which has a looser structure that breaks down more when heated. This is very bad news for eating (foods fried in plant oil are super unhealthy), but it’s great news for seasoning your pan. I recommend grapeseed oil
Apply your oil all over the place. You don’t need to get the outside, but get every millimeter of the inside, and even up along the edge of the pan.
It’s simple:
- 450 degrees
- 40 minutes
- 4 times
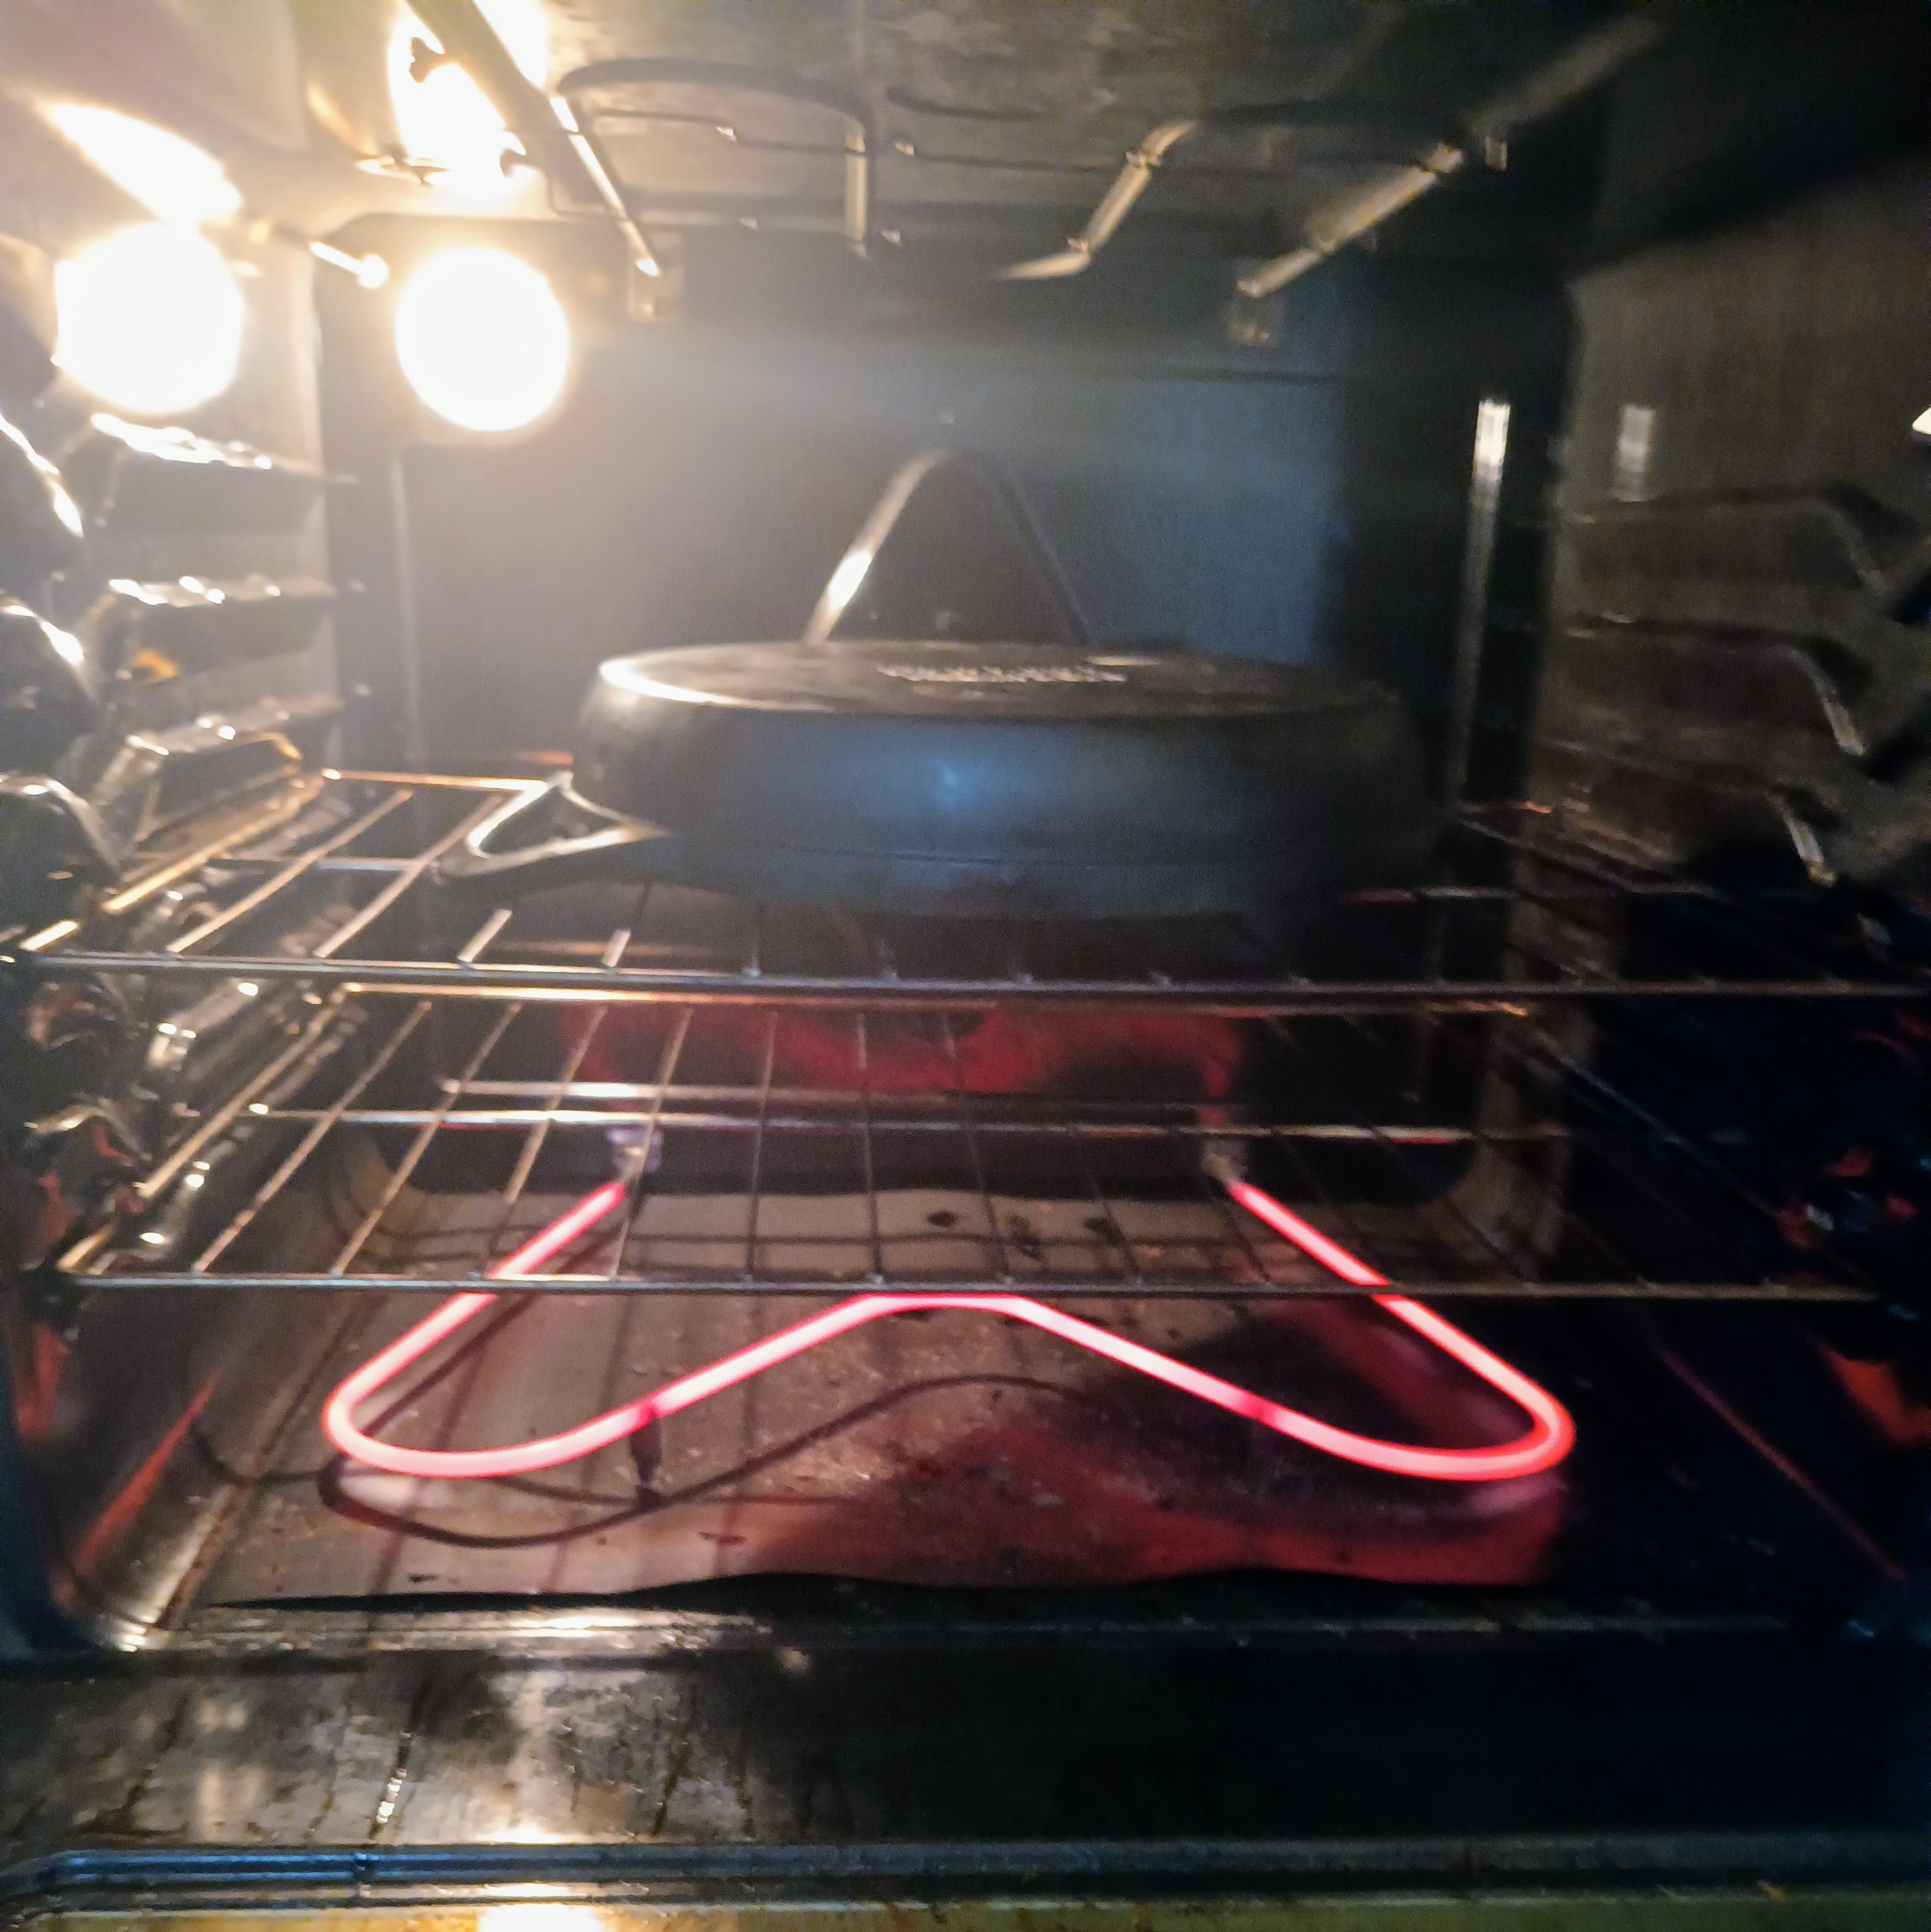
Crank your oven up to 450℉ and put your oiled pan in it upside down. Consider placing a cookie sheet on the rack below it—in case you applied too much oil, it’ll catch the excess.
Set a timer for 40 minutes. After the timer goes off, remove the pan, reapply another thin layer of oil, and repeat. Heat the pan like this four times, and you’ll be done!
Step Five: Now We Cook
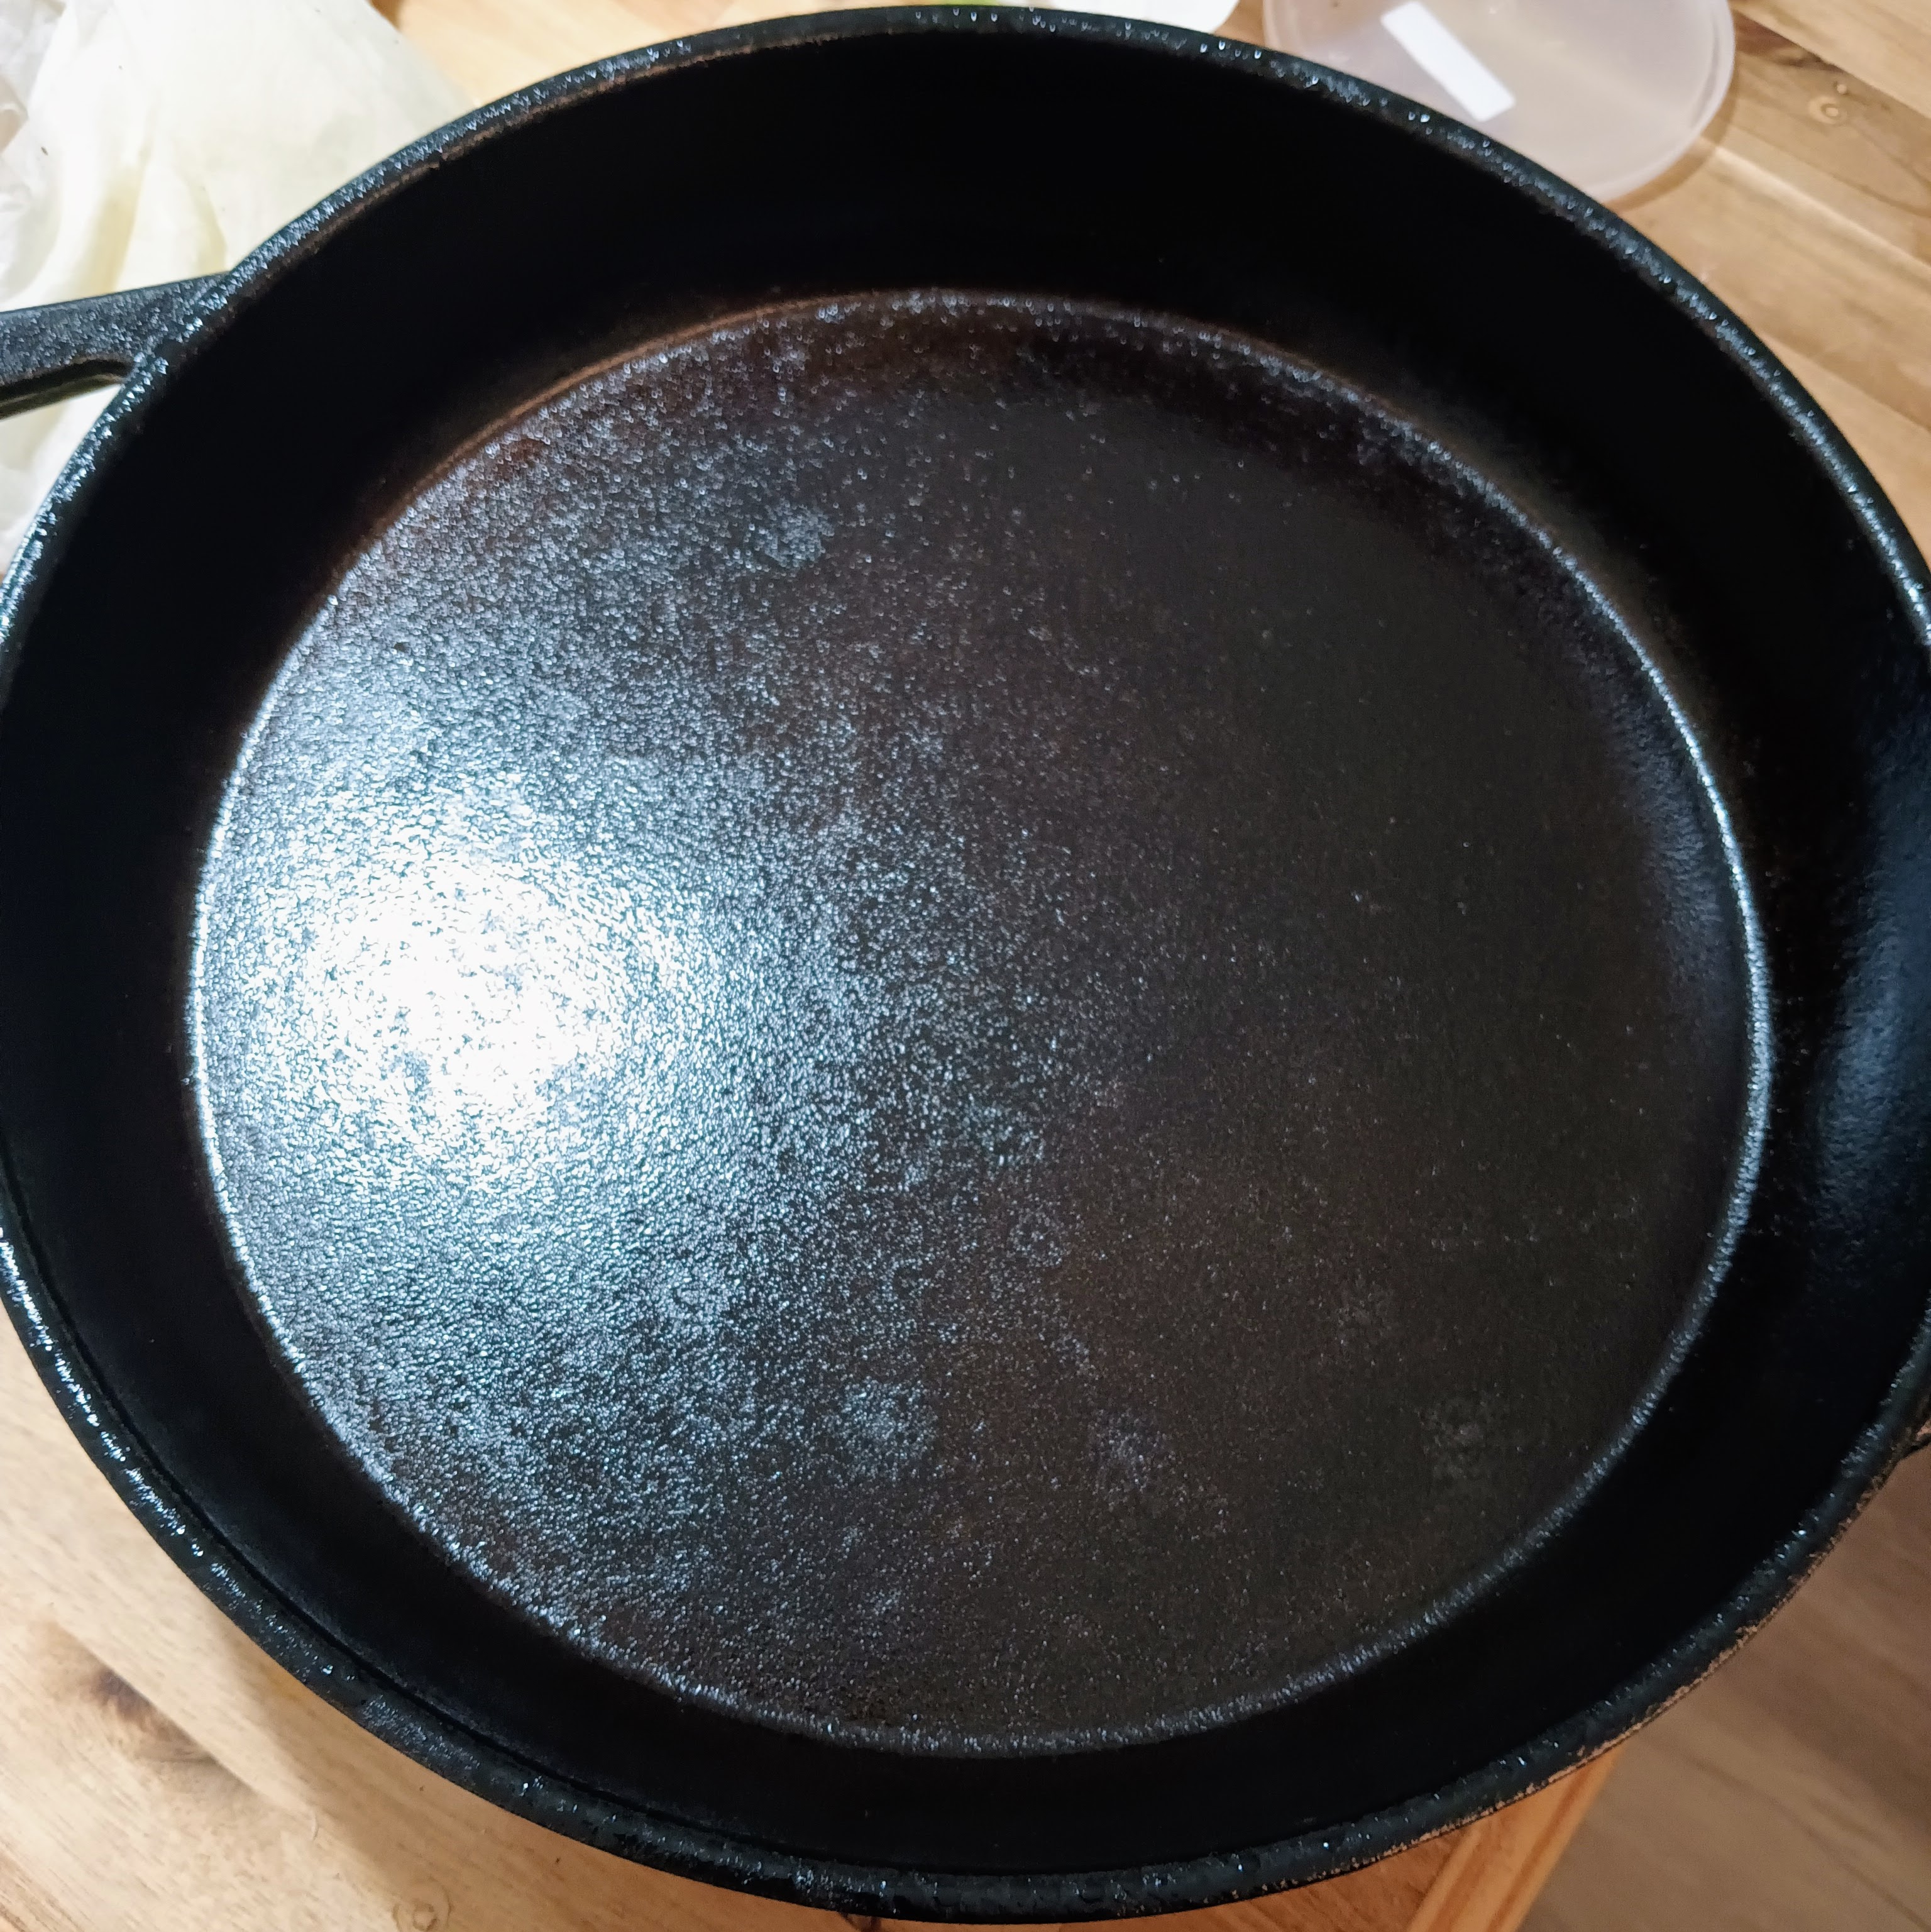
You now have a gorgeously seasoned, stick-resistant pan. It is not the same as a magical teflon pan—meaning it still needs to be greased before you cook, and things will stick to it if you're not careful. But treat your pan right and plan good meals around it, and it’ll treat you like royalty.
I suggest the first thing you cook be something high in fat, such as bacon. After you’ve cooked a few high-fat dishes, then you can cook with something a little more acidic like tomatoes.
 Matthew Christensen
Weekly Newsletter Contributor since 2023
Email the author! matthew@dvo.com
Sources:
- www.pinterest.com
- www.goodhousekeeping.com
- www.lakinaturals.com
- www.qvc.com
- www.wedderspoon.com