Getting Started With Cheese Platters
While vacationing in Napa Valley, my husband and I stumbled upon a local cheese we adored, called Humboldt Fog. We hadn't quite entered the world of cheeses yet, but we knew our experience with that cheese plate in Calistoga was just the start of a new adventure for us both. Over the next months and years, we began spending time with a local cheese monger, and even started a cheese log of our own to record what we had tried and how we felt about it.
In the years since, we have found plenty of opportunities to build cheese plates for ourselves and for others. Through trial and error, I have come up with a few tips and tricks that will hopefully help you start building well-rounded and tasty cheese platters from the get go!
Choosing Your Cheeses:
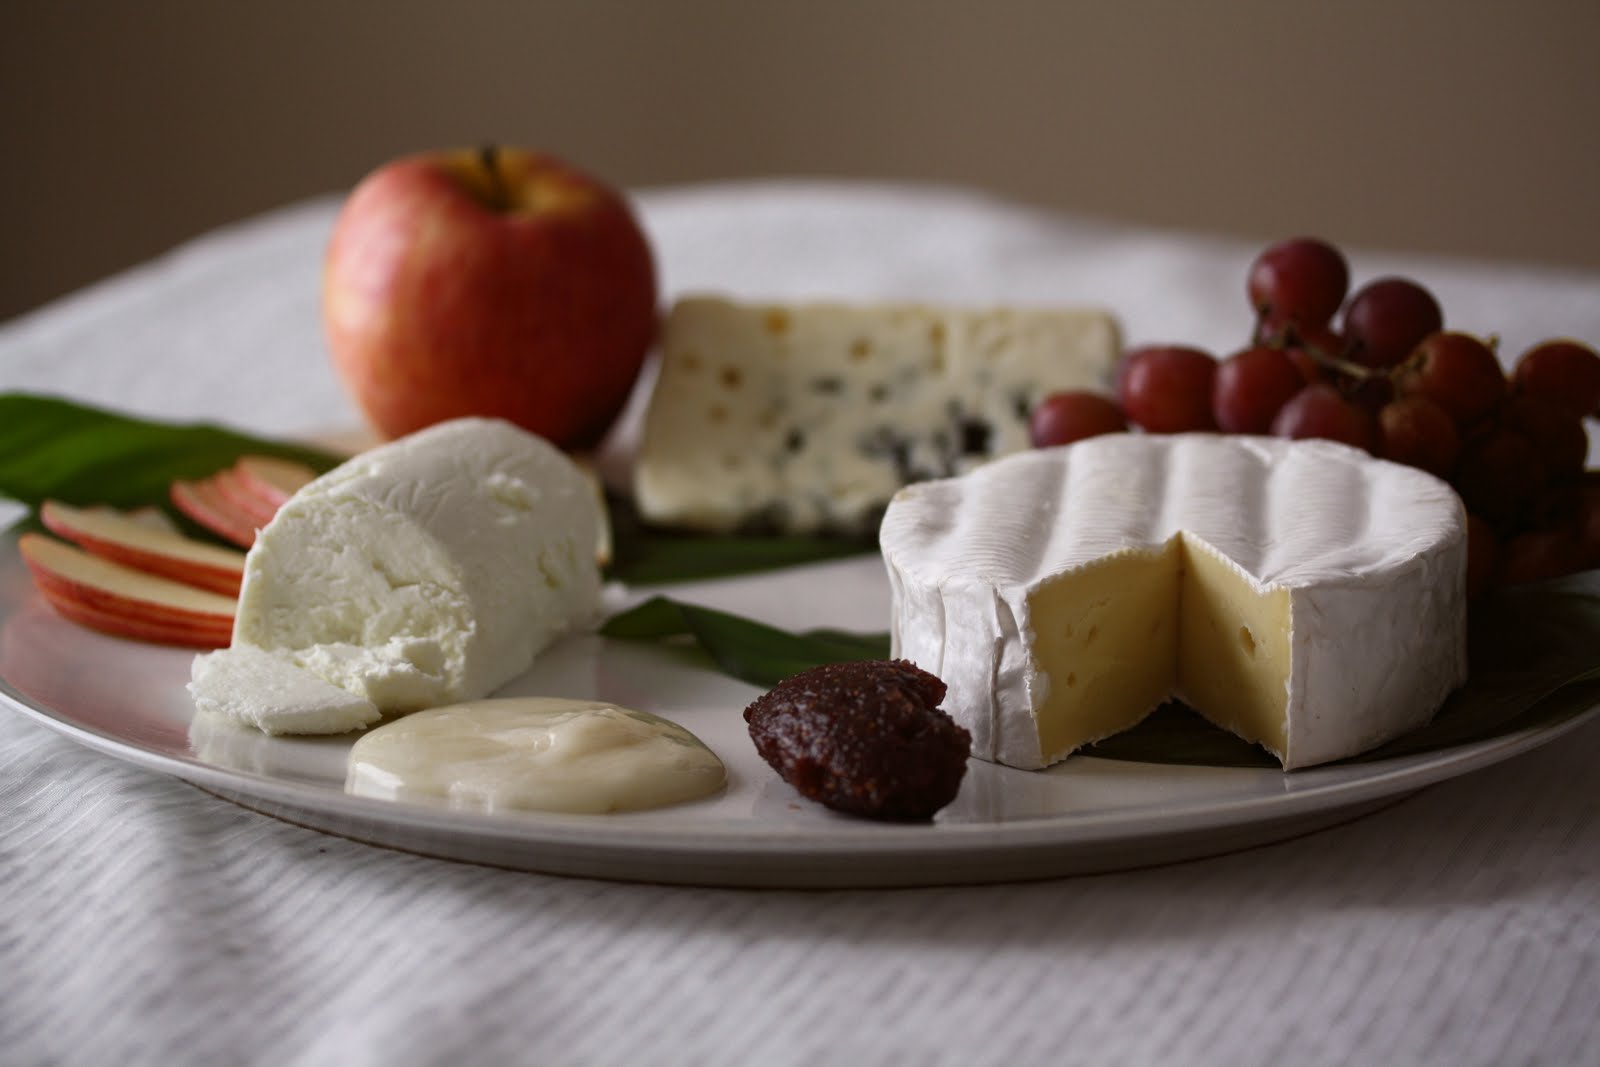
Include a variety of textures and flavors. Generally, cheeses fall into 4 types. Here is one of my personal favorites from each category:
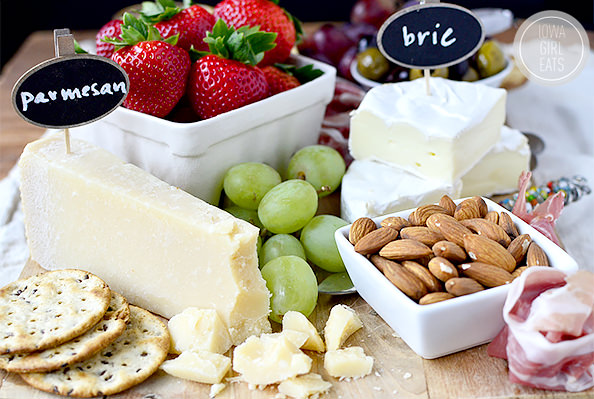
Aged- Parmigiano-Reggiano
Soft- Camembert, or Brie
Firm- Cantalet
Blue- I still don't love blue cheeses, but Stilton and Roquefort are popular!
You can also present cheese made from each cow, milk and goat milk to be sure you get a variety of flavors on your platter. I always serve at least one familiar cheese for those who aren't as adventurous but still want to participate! Don't be afraid to ask lots of questions and taste plenty of options as you select the cheeses you'll buy for your platter.
How Much Should I Buy?
As a general rule, 1oz per person, per cheese. I usually buy between 3-7 various cheeses for a platter. If the cheese platter is the sole purpose of your gathering, think about buying a bit more!
Accompaniment Ideas:
I try to offer a variety of taste and texture when it comes to accompaniments as well. I always serve a thin sliced baguette (cut at the bakery!), along with a cracker and some seasonal and/or dried fruit. Green grapes always seem to pair well, and strawberries and pears are also very popular. Depending on the situation, I sometimes offer cured meats such as salami or prosciutto. Something salty also adds some variation to your platter, consider including pistachios or some artichoke hearts.
Serving Suggestions
First of all, take cheese out of refrigerator about an hour before serving. Be sure you label your cheeses so you don't become a broken record, reciting the details of each cheese all night! Think about the flow of people and consider breaking up your cheeses into 2 platters and separating them so people feel they have access to the cheeses. I always offer a separate knife for each:
Crumbly cheeses- a cheese wire (or you can use dental floss!)
Soft cheeses- a butter knife
Hard cheeses- a triangle knife
Storing Suggestions
Wrap in parchment or wax paper, to let the cheese "breathe." Saran Wrap seems like it would work well, but it makes the cheese sweat and leaves it with a bit of a plastic taste.
Building a cheese plate can feel daunting at first, but just dive right in and you'll be surprised how fun it is and how quickly you'll learn. Let me know your favorite cheeses in the comments below, or any tips and tricks that have made building a cheese plate easier for you!
- https://iledefrancecheese.com/blog/katies-cheese-platter/#.VrF485MrJE4
- https://iowagirleats.com/2014/11/12/how-to-make-a-cheese-platter-for-entertaining/
 Stefanie Hathaway
Monthly Newsletter Contributor since 2016
Email the author! stefanie@dvo.com