Whipping Cream: Never Run Out and Know How to Stabilize It!
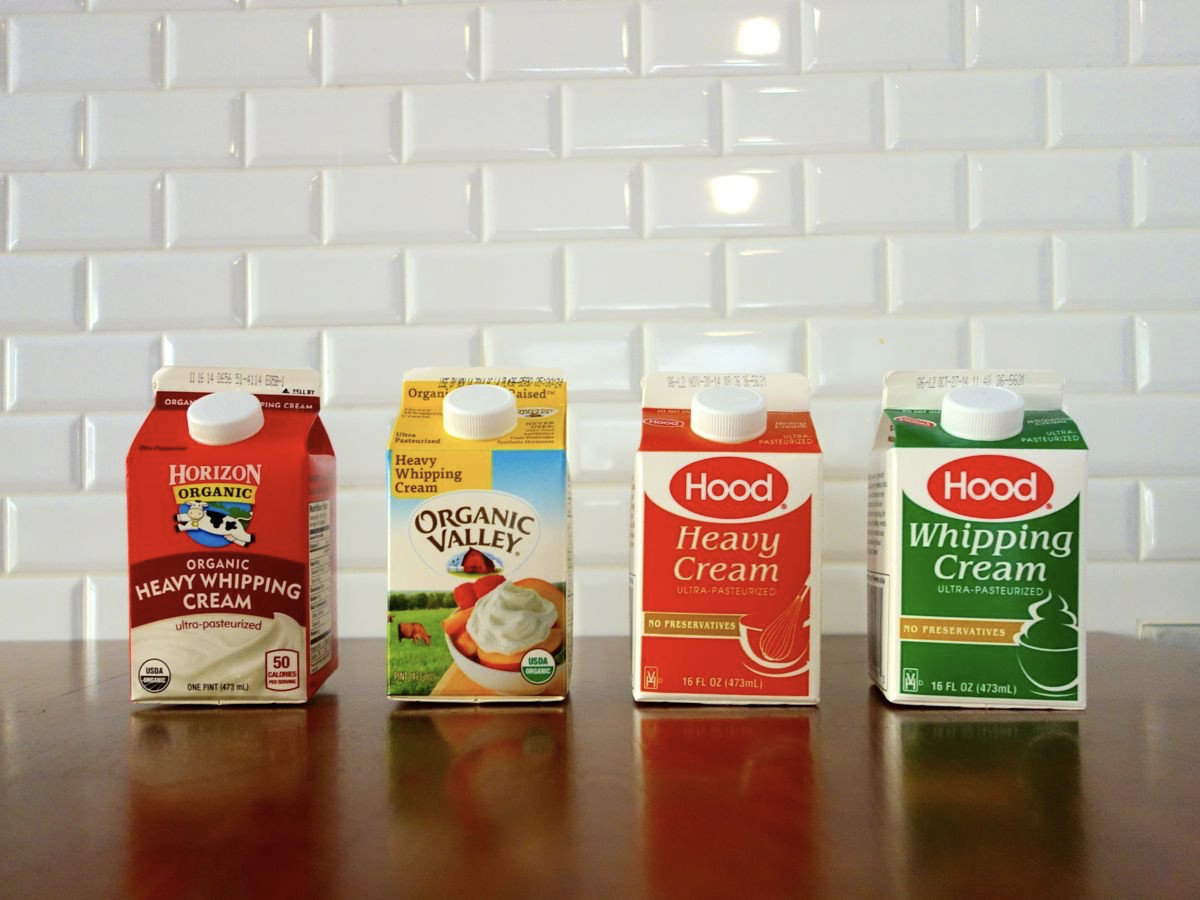
As versatile as whipping cream is, it’s always smart to have some on hand, so why not stock up when it goes on sale? And about now is the time its cost drops—coinciding with the emergence of fresh strawberries.
But how can I stock up on something that won’t keep for very long, you wonder? Freezing is the answer. Here’s what you do:
Pour it into all your ice cube trays (borrow trays from your neighbor if you need to). Freeze the cream until it’s solid. Pop cubes into freezer bags. (One cube is approximately 3 tablespoons of thawed cream.) When needing whipped cream, thaw the amount of cubes needed (in refrigerator), then whip as usual.

These cream cubes are also very handy when wanting a blender fruit smoothie with a little decadence. Just add them in with other ingredients—the finished product is almost like ice cream (good enough to serve for dessert).
“Truth in advertising” prompts me to admit that since whipped cream is made from cream (the high-fat layer of milk), it’s not the best product if you’re watching your fat intake. But, the good news is that when you're eating whipped cream, most of what you are eating is air, so at least the calories are low (one or two tablespoons has less than 30). In other words, moderation in all things is the motto here.
Besides incredible taste, there are good reasons for using it. First, cold whipped cream adds a nice contrast to a hot food or drink. Second, whipped cream brings a mild, sweet milkiness and to a food or drink. Lastly, whipped cream adds texture. Its lightness, smoothness, and fluffiness, works well with heavier foods.
And here’s a little encouraging news for those with lactose intolerance: Cream has LESS lactose than milk and evaporated milk. According to the latest research, whipping cream is 2.9% lactose, while whole milk is 4.8% and skim milk is 5.2%. Evaporated milk is a big 10.3%! So here again, with some moderation, even the lactose intolerant may be able to enjoy whipped cream. It’s worth a try in my book.
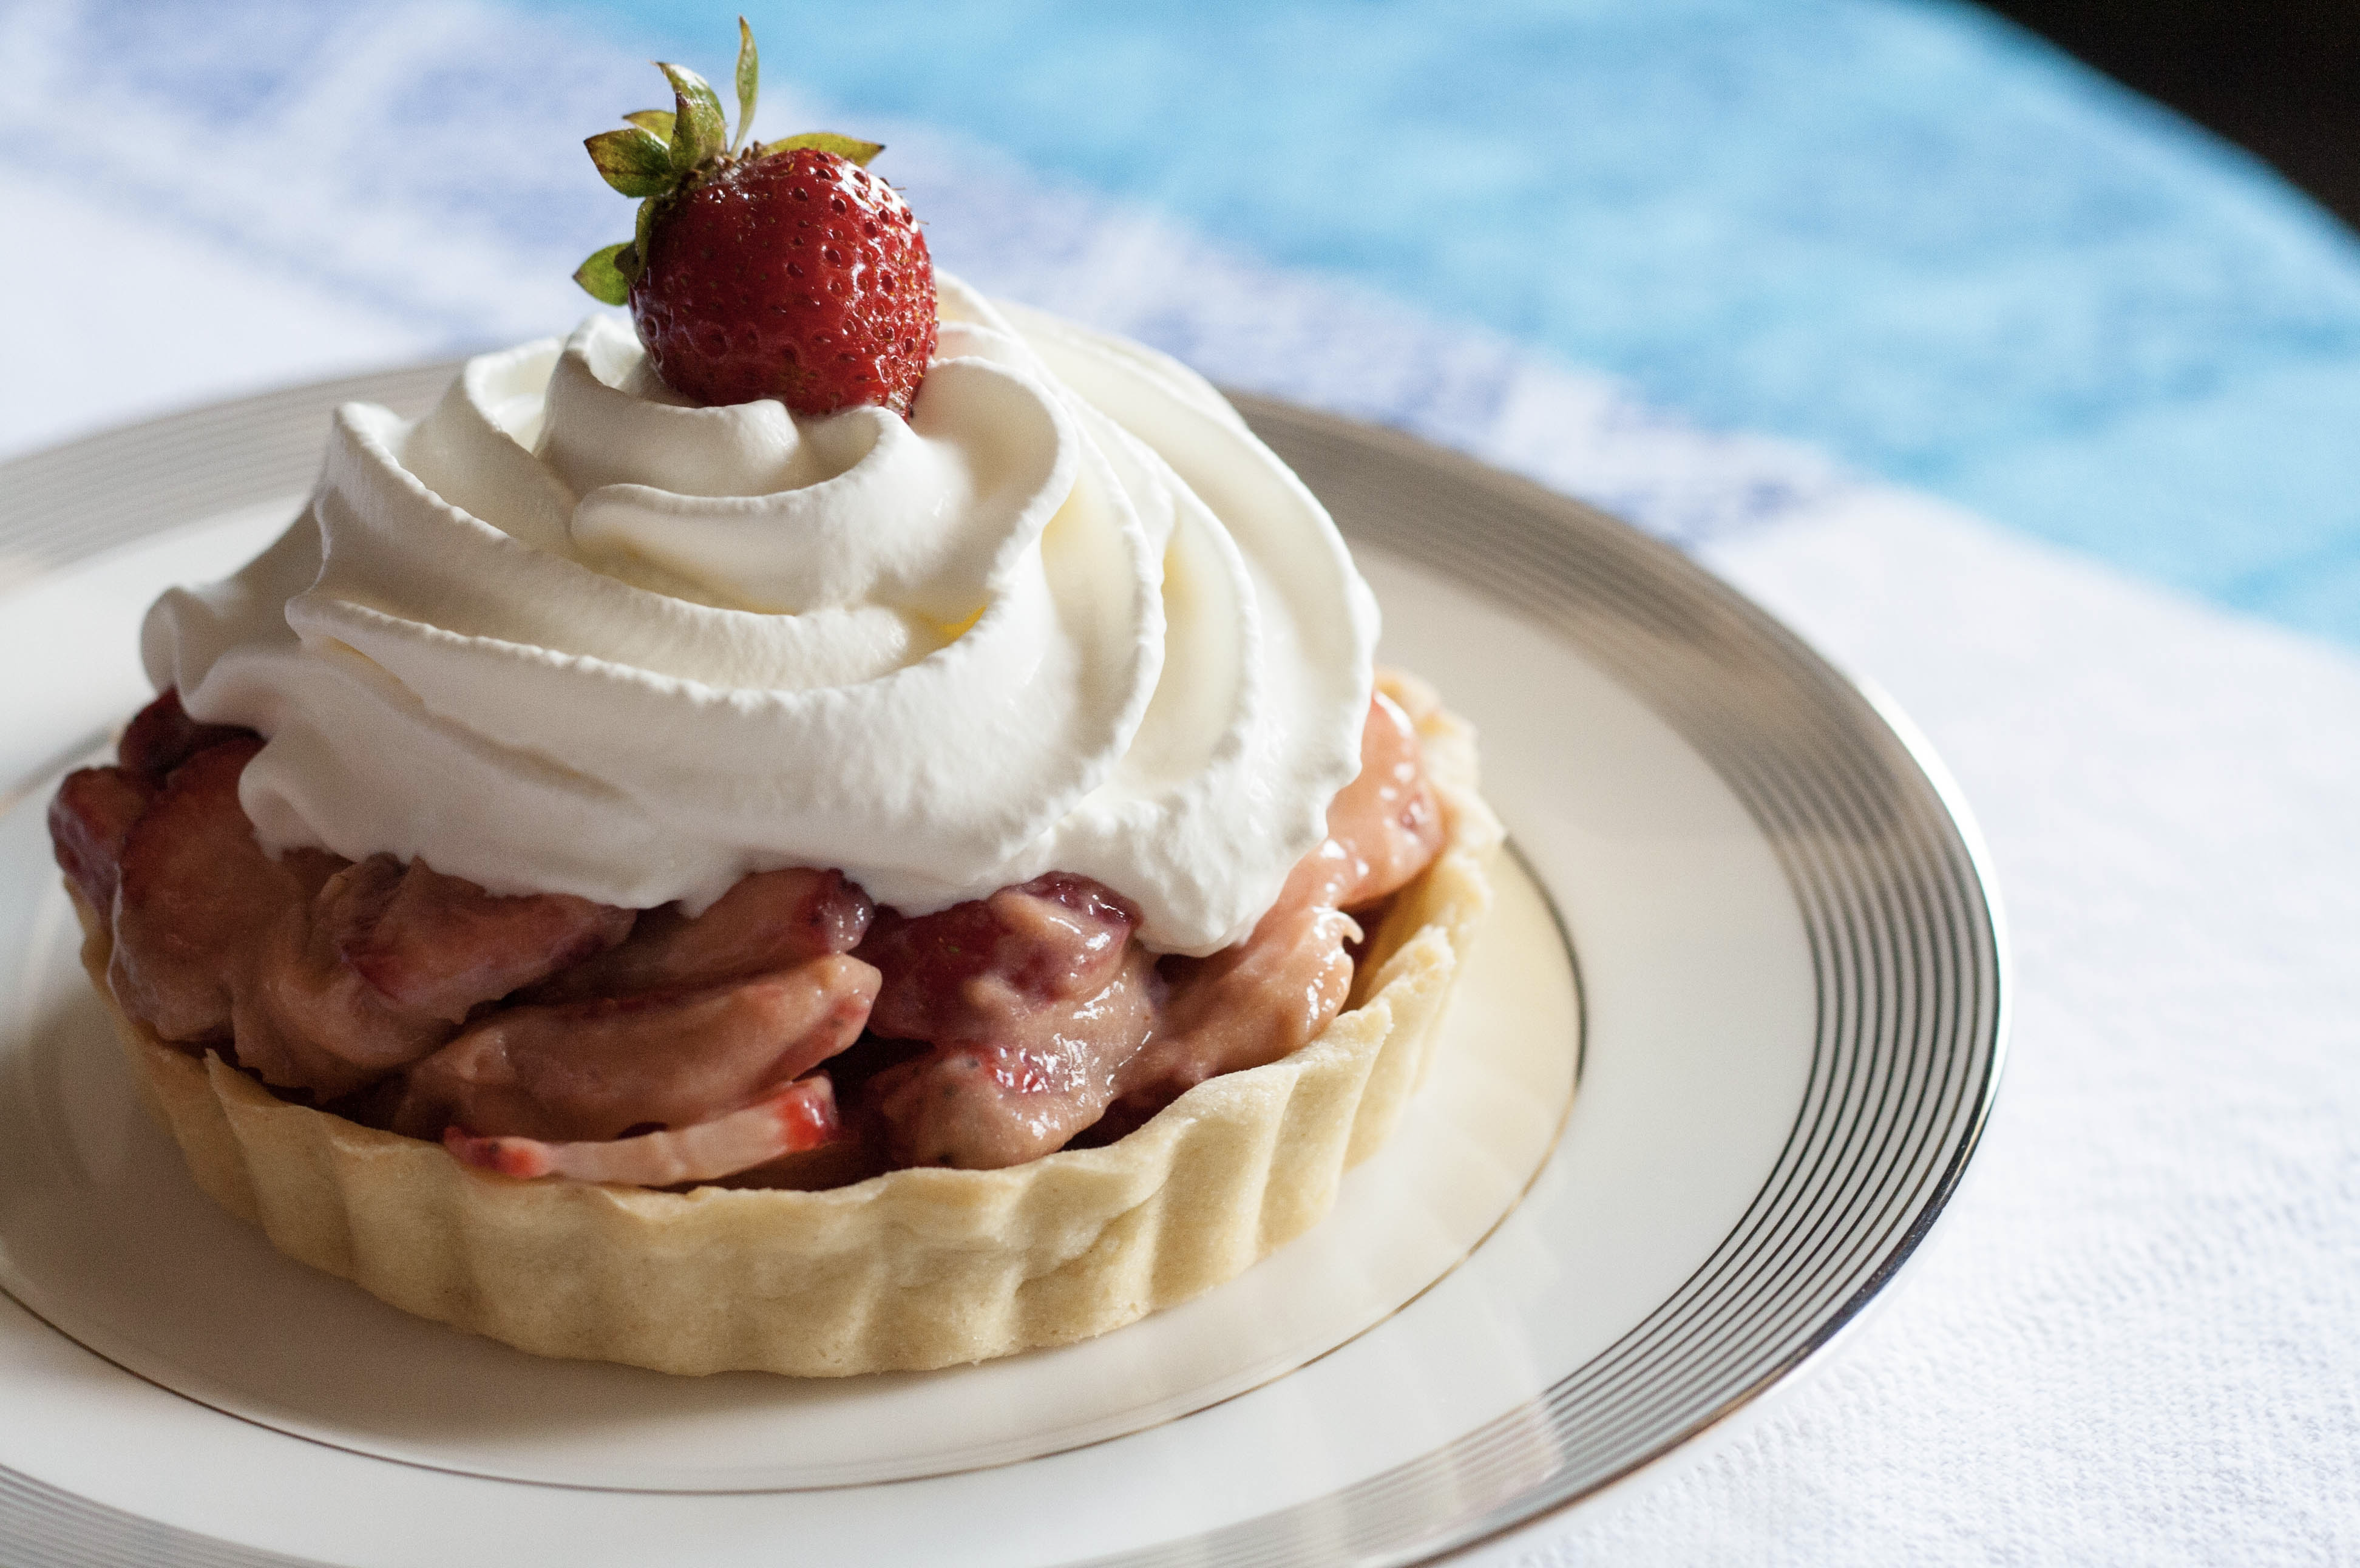
To conclude, how about information on stabilizing it? Stabilizing whipped cream gives it a firmer texture and allows it to be used as piping for a decorative border on cakes, cupcakes, or pies; prevents it from weeping; and stops it from deflating when mixed with juicy ingredients, such as fresh fruit. To stabilize with unflavored gelatin:
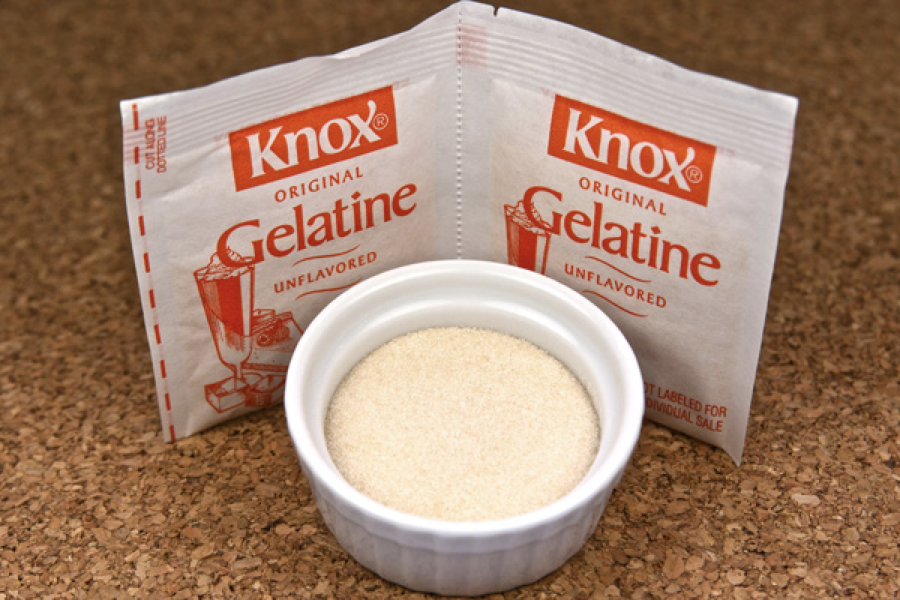
Soak 1/2 teaspoon of plain gelatin in 1 tablespoon of cold water for 5 minutes.
Place the gelatin and cold water in a heat resistant container and set in a small pan of very hot water just until the gelatin is dissolved. If heating on a stove, do not allow the gelatin to boil.
After gelatin has dissolved, set it aside to cool. Allow it to cool to about body temperature. Note: if the gelatin is too hot it will deflate the whipped cream when it is added and if it is allowed to cool too much it will thicken too much and not incorporate into the cream.
When whipping the cream, add the gelatin after the sugar and flavoring has been whipped in but before the cream forms soft peaks.
Once the gelatin is incorporated in the whipped cream, beat until cream forms soft peaks, and then stop beating with the electric mixer. Finish whipping with a wire balloon whisk to bring the cream to the desired consistency.
If the whipped cream is to be spread on a cake or dessert, do this immediately because it will set quickly and become difficult to spread.
Using gelatin to stabilize whipping as a stabilizer can be tricky, but there are other methods that work also. I’ll close with these:
But how can I stock up on something that won’t keep for very long, you wonder? Freezing is the answer. Here’s what you do:
Pour it into all your ice cube trays (borrow trays from your neighbor if you need to). Freeze the cream until it’s solid. Pop cubes into freezer bags. (One cube is approximately 3 tablespoons of thawed cream.) When needing whipped cream, thaw the amount of cubes needed (in refrigerator), then whip as usual.
These cream cubes are also very handy when wanting a blender fruit smoothie with a little decadence. Just add them in with other ingredients—the finished product is almost like ice cream (good enough to serve for dessert).
“Truth in advertising” prompts me to admit that since whipped cream is made from cream (the high-fat layer of milk), it’s not the best product if you’re watching your fat intake. But, the good news is that when you're eating whipped cream, most of what you are eating is air, so at least the calories are low (one or two tablespoons has less than 30). In other words, moderation in all things is the motto here.
Besides incredible taste, there are good reasons for using it. First, cold whipped cream adds a nice contrast to a hot food or drink. Second, whipped cream brings a mild, sweet milkiness and to a food or drink. Lastly, whipped cream adds texture. Its lightness, smoothness, and fluffiness, works well with heavier foods.
And here’s a little encouraging news for those with lactose intolerance: Cream has LESS lactose than milk and evaporated milk. According to the latest research, whipping cream is 2.9% lactose, while whole milk is 4.8% and skim milk is 5.2%. Evaporated milk is a big 10.3%! So here again, with some moderation, even the lactose intolerant may be able to enjoy whipped cream. It’s worth a try in my book.
To conclude, how about information on stabilizing it? Stabilizing whipped cream gives it a firmer texture and allows it to be used as piping for a decorative border on cakes, cupcakes, or pies; prevents it from weeping; and stops it from deflating when mixed with juicy ingredients, such as fresh fruit. To stabilize with unflavored gelatin:
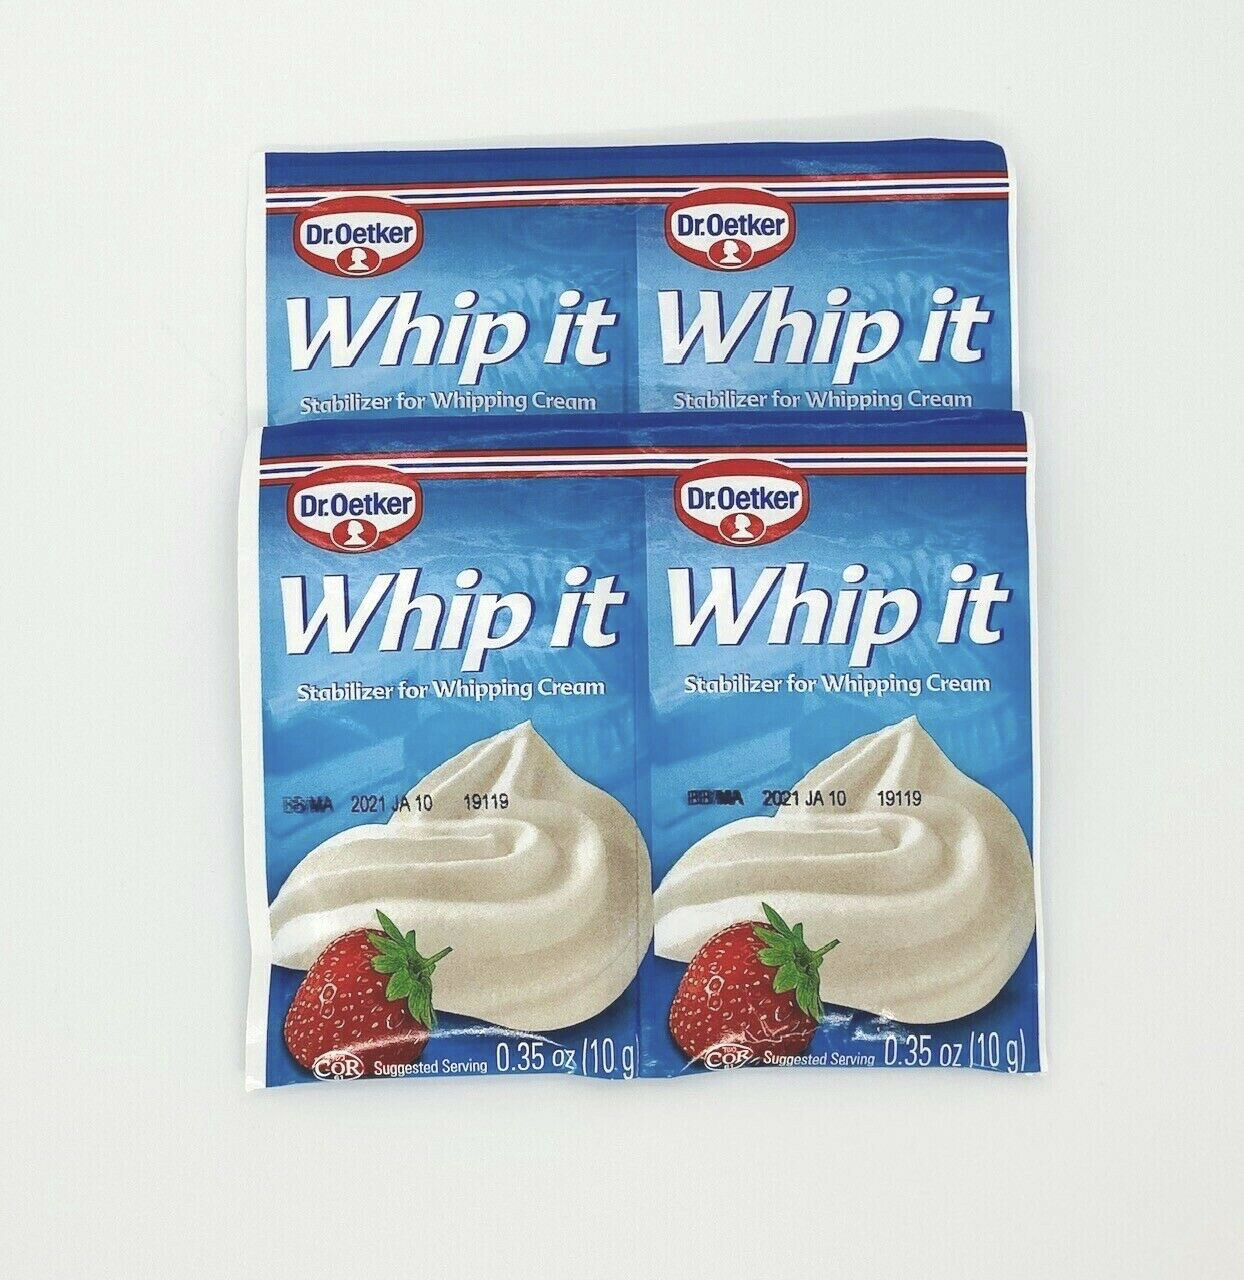
- Use a commercial binding stabilizer. One available brand is Dr. Oetker's WHIP IT.
- Add 2 teaspoons of nonfat dry milk to one cup of cream before whipping.
- Use powdered sugar instead of granulated sugar when sweetening. Powdered sugar generally contains cornstarch which helps stabilize the whipped cream.
- Speaking of cornstarch, add ½ teaspoon to your cream as you whip.
- Incorporate a little marshmallow cream into the whipped cream towards the end of whipping.
Sources:
www.churncraft.com
www.cuisineathome.com
www.dirtylaundrykitchen.com
www.bakepedia.com
www.ebay.com
 Alice Osborne
Weekly Newsletter Contributor since 2006
Email the author! alice@dvo.com