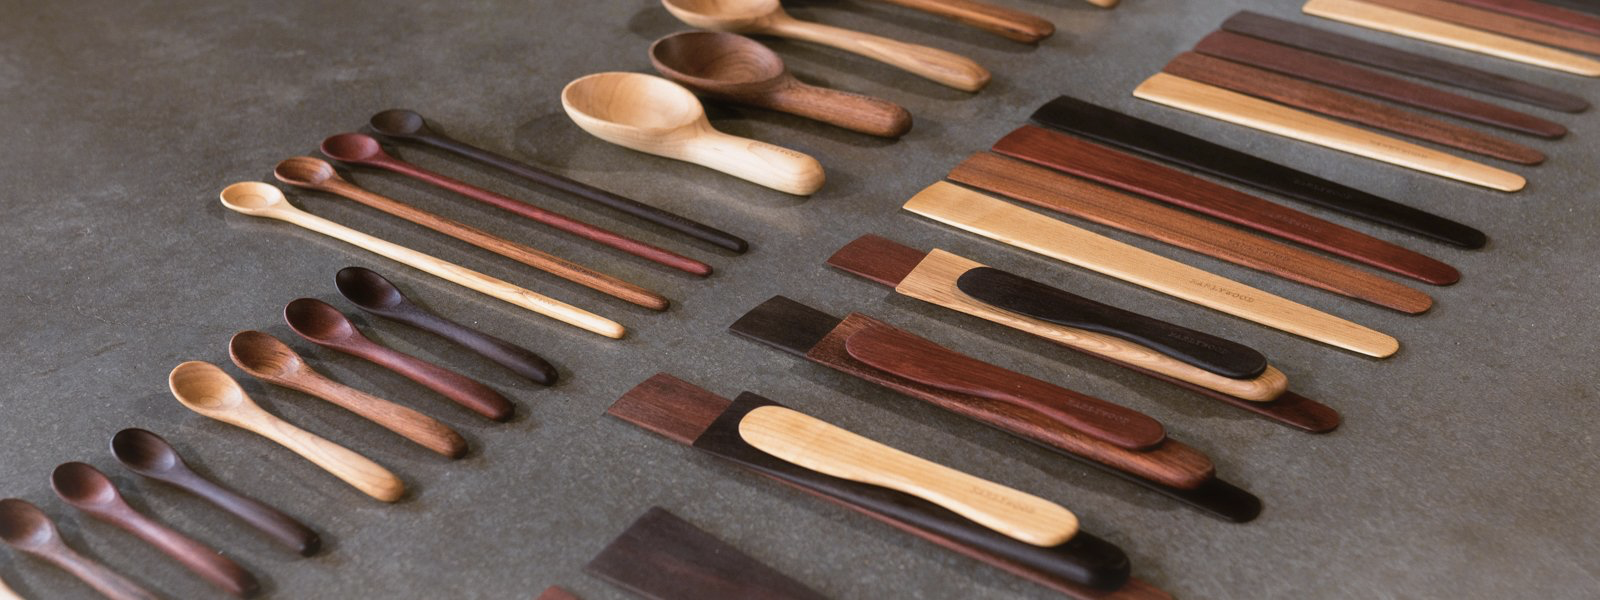
Wooden Utensils: With Proper Care, We Can Pass ‘Em On!
What are your thoughts on wooden utensils? Professional chefs/cooks believe you should have lots, for a handful of reasons. For instance, besides being beautiful and extremely versatile, they’re inexpensive and durable. And unlike plastic, they won’t melt or burn your hands when they’re exposed to high heat.
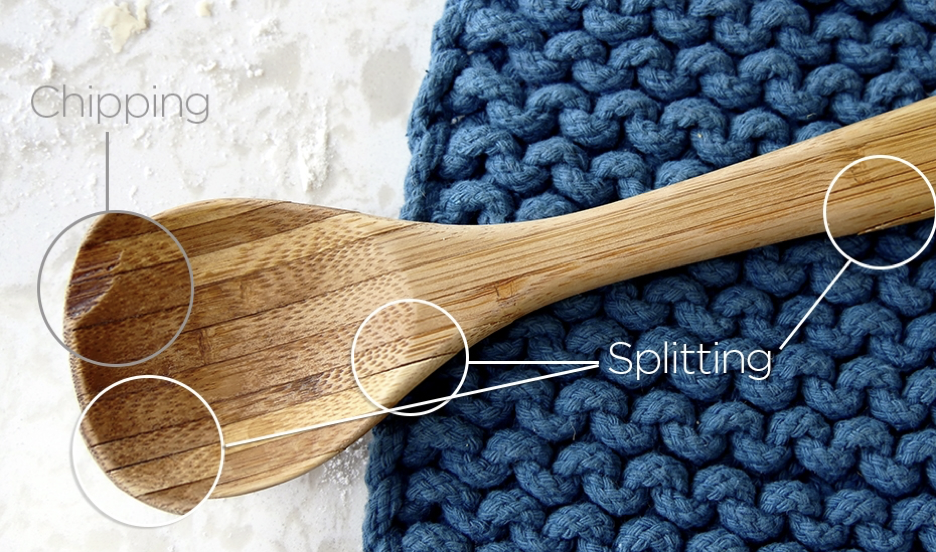
There is one caveat with wooden utensils, however. All the above is only true if they are taken care of properly. If wooden utensils don’t get the right care and keeping, they won’t stay vibrant and smooth. They simply won’t have the protection they need to keep them from splitting or cracking. You’ll find yourself eventually tossing them out.
So, what is the proper way to care for your wooden utensils? It’s much more than just washing and drying them. But that “much more” isn’t complicated. It’s only a matter of some easy steps:
First, rinse IMMEDIATELY. Once finished using your utensil, rinse it off right away in warm water. NEVER soak it.
Wash them by hand ALWAYS. Never put wooden utensils in the dishwasher; this is one of the biggest and most common mistakes made. They’re not meant to soak in extremely hot water for any length of time. And the high heat drying cycle is also damaging to wood. You can tell if a wooden utensil has been through washer cycles because it’ll be gray and fuzzy. Besides being not so pretty, its life span is shortened.
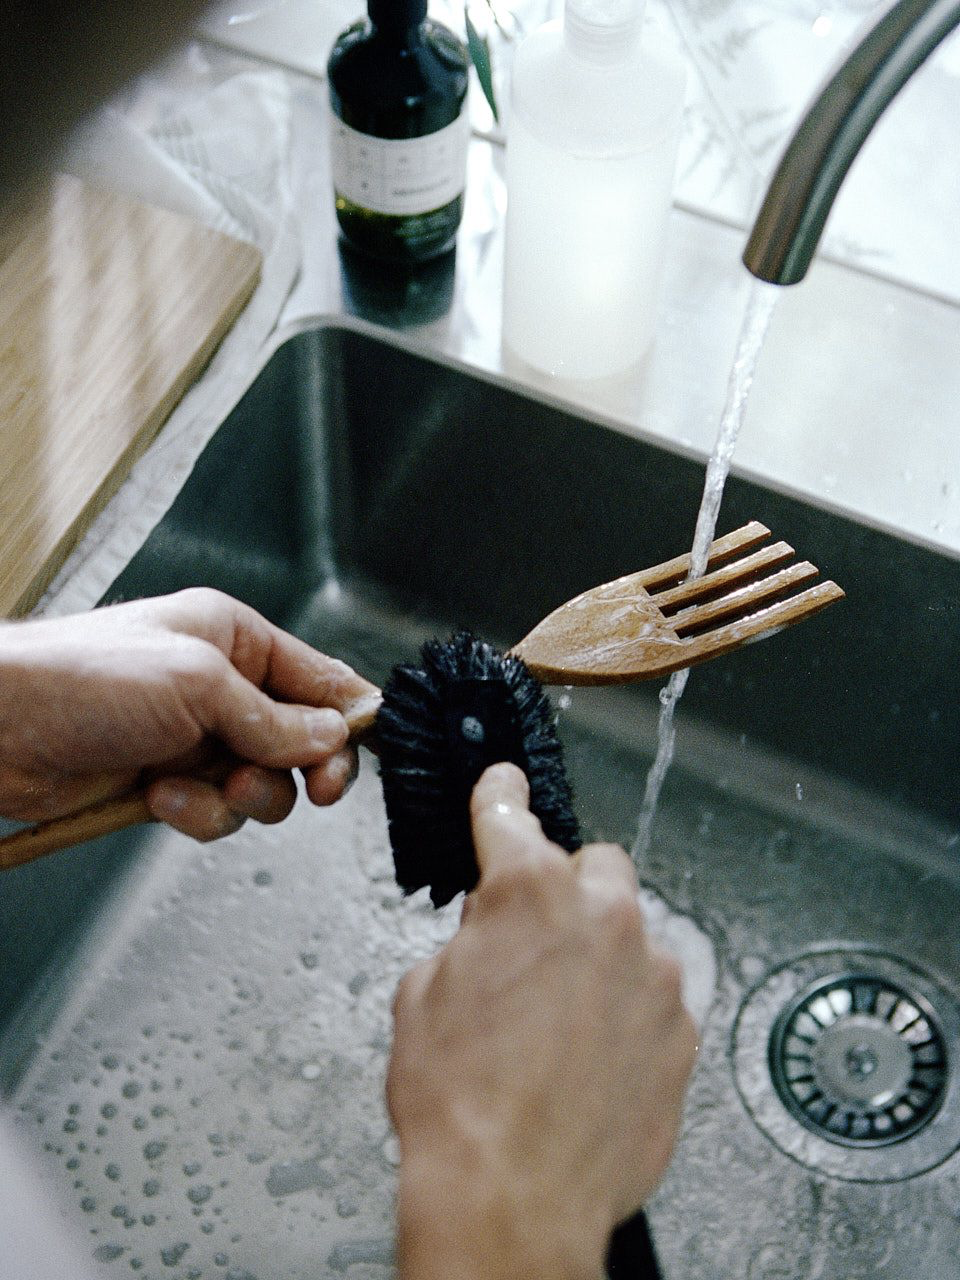
Wash QUICKLY in hot water using mild dish soap. Scrub either with a washcloth, a soft bristled brush, or the scratchy side of your sponge.
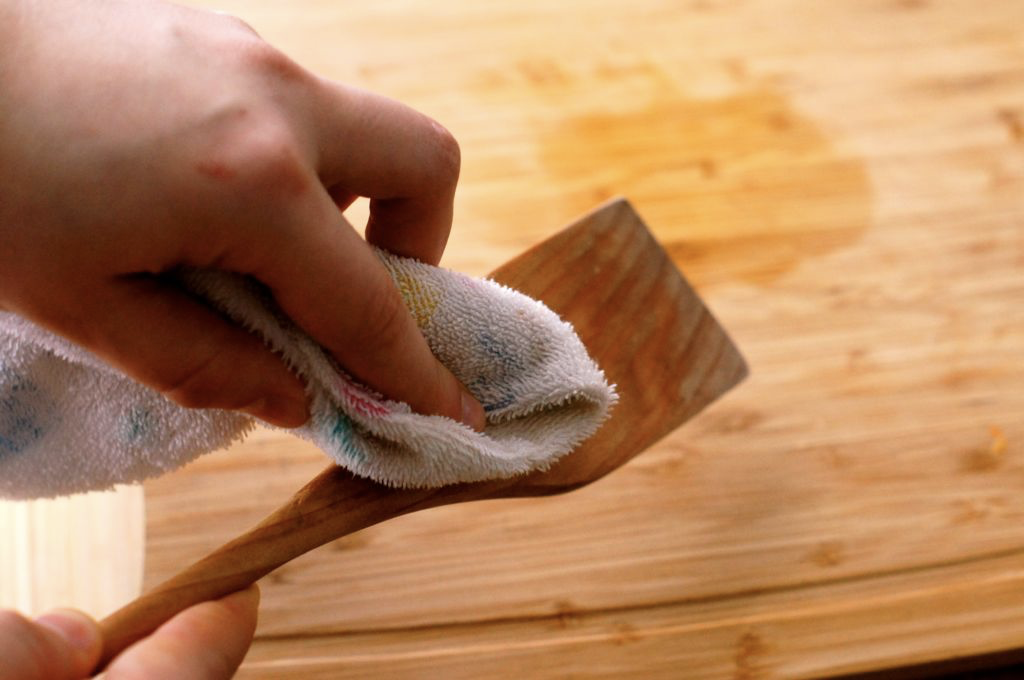
Towel dry thoroughly, then prop them UP. Wet wood can expand and contract if it doesn’t dry properly, and you don’t want that. Propping wooden utensils up makes them available to more airflow so they can evenly dry.
Oil them every 6 months. While this is one of the best ways to keep wooden utensils looking nice, it also creates a protective barrier, making them less prone to cracking, splitting, and fading. It also creates a resistance to staining and absorbing odors.
Be sure to use the right oil. Never use varnishes and polyurethanes. Based on smell alone, it should be obvious why they are not good for anything that comes into contact with food. They create a shell around the utensil that, with use, will eventually crack and chip off in your food. Yuk. Not recommended.
And also avoid food-based oils such as olive, corn, vegetable, and canola oils. They will never dry and chip off into your food like hardening oils, but they can discolor your utensils, thicken, and go rancid, giving your spoons and cutting boards a rotten smell. If you ever see an old, yellow and sticky cutting board (at a garage sale, for instance), you can rest assured it got that way from being treated over the years with a food-based oil. And, when treated with food-based oils, they also go rancid over time, which affects the taste of your food.

According to chefs and wooden utensil makers, the very best oil is 100% food-grade, low-viscosity mineral oil. WHY? Because:
I’ll conclude this wooden utensil tutorial with advice from professional wood-workers and wooden utensil makers on the best way to apply your oil:
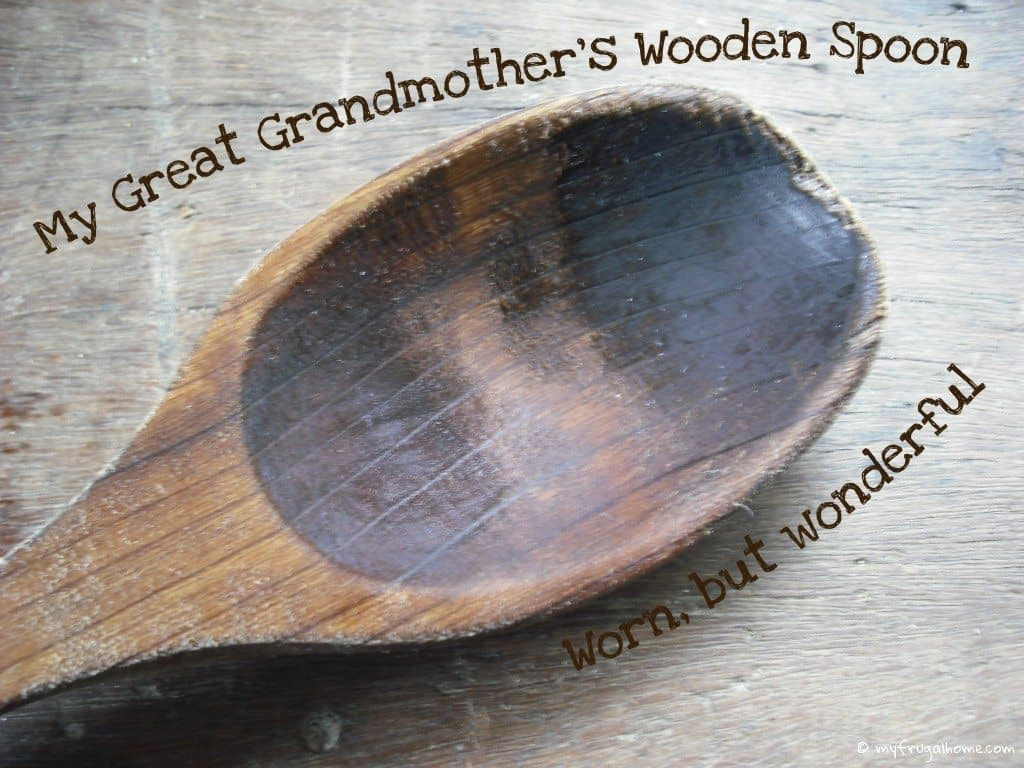
It’s a fact, you know, that if we take proper care of our wooden utensils, we can pass them on to our grandchildren, and they to theirs. What a legacy!
There is one caveat with wooden utensils, however. All the above is only true if they are taken care of properly. If wooden utensils don’t get the right care and keeping, they won’t stay vibrant and smooth. They simply won’t have the protection they need to keep them from splitting or cracking. You’ll find yourself eventually tossing them out.
So, what is the proper way to care for your wooden utensils? It’s much more than just washing and drying them. But that “much more” isn’t complicated. It’s only a matter of some easy steps:
First, rinse IMMEDIATELY. Once finished using your utensil, rinse it off right away in warm water. NEVER soak it.
Wash them by hand ALWAYS. Never put wooden utensils in the dishwasher; this is one of the biggest and most common mistakes made. They’re not meant to soak in extremely hot water for any length of time. And the high heat drying cycle is also damaging to wood. You can tell if a wooden utensil has been through washer cycles because it’ll be gray and fuzzy. Besides being not so pretty, its life span is shortened.
Wash QUICKLY in hot water using mild dish soap. Scrub either with a washcloth, a soft bristled brush, or the scratchy side of your sponge.
Towel dry thoroughly, then prop them UP. Wet wood can expand and contract if it doesn’t dry properly, and you don’t want that. Propping wooden utensils up makes them available to more airflow so they can evenly dry.
Oil them every 6 months. While this is one of the best ways to keep wooden utensils looking nice, it also creates a protective barrier, making them less prone to cracking, splitting, and fading. It also creates a resistance to staining and absorbing odors.
Be sure to use the right oil. Never use varnishes and polyurethanes. Based on smell alone, it should be obvious why they are not good for anything that comes into contact with food. They create a shell around the utensil that, with use, will eventually crack and chip off in your food. Yuk. Not recommended.
And also avoid food-based oils such as olive, corn, vegetable, and canola oils. They will never dry and chip off into your food like hardening oils, but they can discolor your utensils, thicken, and go rancid, giving your spoons and cutting boards a rotten smell. If you ever see an old, yellow and sticky cutting board (at a garage sale, for instance), you can rest assured it got that way from being treated over the years with a food-based oil. And, when treated with food-based oils, they also go rancid over time, which affects the taste of your food.
According to chefs and wooden utensil makers, the very best oil is 100% food-grade, low-viscosity mineral oil. WHY? Because:
- It’s 100% food safe
- It quickly penetrates the tight grain of the hardest hardwoods
- It will never go rancid
- It never dries or leaves a sticky residue
- It’s odorless
- It has a decades-long shelf life
- It enhances but does not change the natural color of the wood
- It can be used for utensils, cutting boards, knife handles (even if they are plastic)!
I’ll conclude this wooden utensil tutorial with advice from professional wood-workers and wooden utensil makers on the best way to apply your oil:
- With a Scotch Brite or similar sponge, rub the utensil up and down with the grain, using the scratchy side of the sponge for several minutes. This will create a nub-free, smooth surface.
- Pour a small amount of oil directly onto the utensil’s surface; work the oil in with your fingers, rubbing up and down along the wood’s grain.
- If possible, let your utensil(s) sit overnight to allow the oil to soak into the wood grain.
- The next day, depending on how the utensil looks, you will either buff it with a clean and dry cloth (up and down with the grain), or you should add more oil, again working it in with your fingers; let the utensil continue to sit to absorb more oil. The goal is a utensil with a low sheen—if looks dry and drab, it needs more oil.
It’s a fact, you know, that if we take proper care of our wooden utensils, we can pass them on to our grandchildren, and they to theirs. What a legacy!
Sources:
- www.earlywooddesigns.com
- www.everythingkitchens.com
- www.facebook.com
- www.spoonuniversity.com
- www.myfrugalhome.com
 Alice Osborne
Weekly Newsletter Contributor since 2006
Email the author! alice@dvo.com